Quick Answer
For safety at the top of stairs, always use a hardware-mounted walk-thru baby gate. Pressure-mounted gates are not secure enough for stair tops and can be pushed out of place.
Why Hardware Mounting Matters at the Top of Stairs
A walk-thru baby gate at the top of stairs must withstand repeated pushing and leaning. Pressure-mounted gates rely on tension against walls or doorframes, which can loosen over time and fail. A hardware-mounted gate uses screws and brackets to anchor securely into the wall or banister, providing the stability needed for stair-top safety.
Evenflo's Walk-Thru Top Of Stairs Baby Gate is engineered specifically for this location. It includes a safety hardware mount attachment that installs in minutes and helps prevent the gate from being dislodged accidentally.
Measuring Your Opening Correctly
Before buying or installing, measure the width of the opening between the two mounting surfaces. Most walk-thru gates, including the Evenflo model, adjust to fit openings from 30 to 48 inches. If your opening is narrower or wider, you may need a different gate or extension kit.
A common mistake is measuring only at the floor. Staircase openings can taper or widen near the top. Measure at the top, middle, and bottom of the intended mounting position to ensure the gate fits snugly at every point.
Step-by-Step Installation Guide
- Step 1: Gather Tools and Read Instructions: You will need a drill, screwdriver, level, tape measure, pencil, and the hardware kit included with your gate. Read the entire manual before starting — each gate model has specific mounting requirements. Skipping the manual is the most common cause of installation errors.
- Step 2: Mark Mounting Locations: Hold the gate in the desired position and mark where the brackets will attach. Use a level to ensure the gate will be straight. For stair tops, mount the gate so it opens away from the stairs (toward the hallway or room) to prevent a fall hazard when opening. Marking with a level prevents a crooked gate that may not latch properly.
- Step 3: Drill Pilot Holes and Attach Brackets: Drill pilot holes at your marks to avoid splitting wood or damaging drywall. Insert wall anchors if mounting into drywall (not into a stud). Screw the brackets firmly into place. For banisters or metal frames, use the provided hardware or consult a professional. Skipping pilot holes can crack trim or cause screws to strip.
- Step 4: Mount the Gate and Test the Latch: Slide the gate into the brackets and secure it according to the instructions. Test the one-hand latch several times to ensure it engages fully and does not release with pressure. The gate should feel solid with no wobble. If the gate wobbles, check that all screws are tight and the brackets are flush against the wall.
- Step 5: Final Safety Check: Apply firm pressure to the top and bottom of the gate from both sides. Try to push it open without using the latch. If it moves or the brackets shift, re-tighten or reposition. Repeat the check weekly, especially as your child grows and applies more force. A gate that passes a push test today may loosen over time — regular checks are essential.
Product Facts
-
Walk-Thru Top Of Stairs Baby Gate: The Evenflo Walk-Thru Top Of Stairs Baby Gate accommodates openings 30" – 48" and uses a safety hardware mount attachment. This means you can install it securely at the top of stairs without worrying about the gate shifting or being pushed open by a curious toddler.
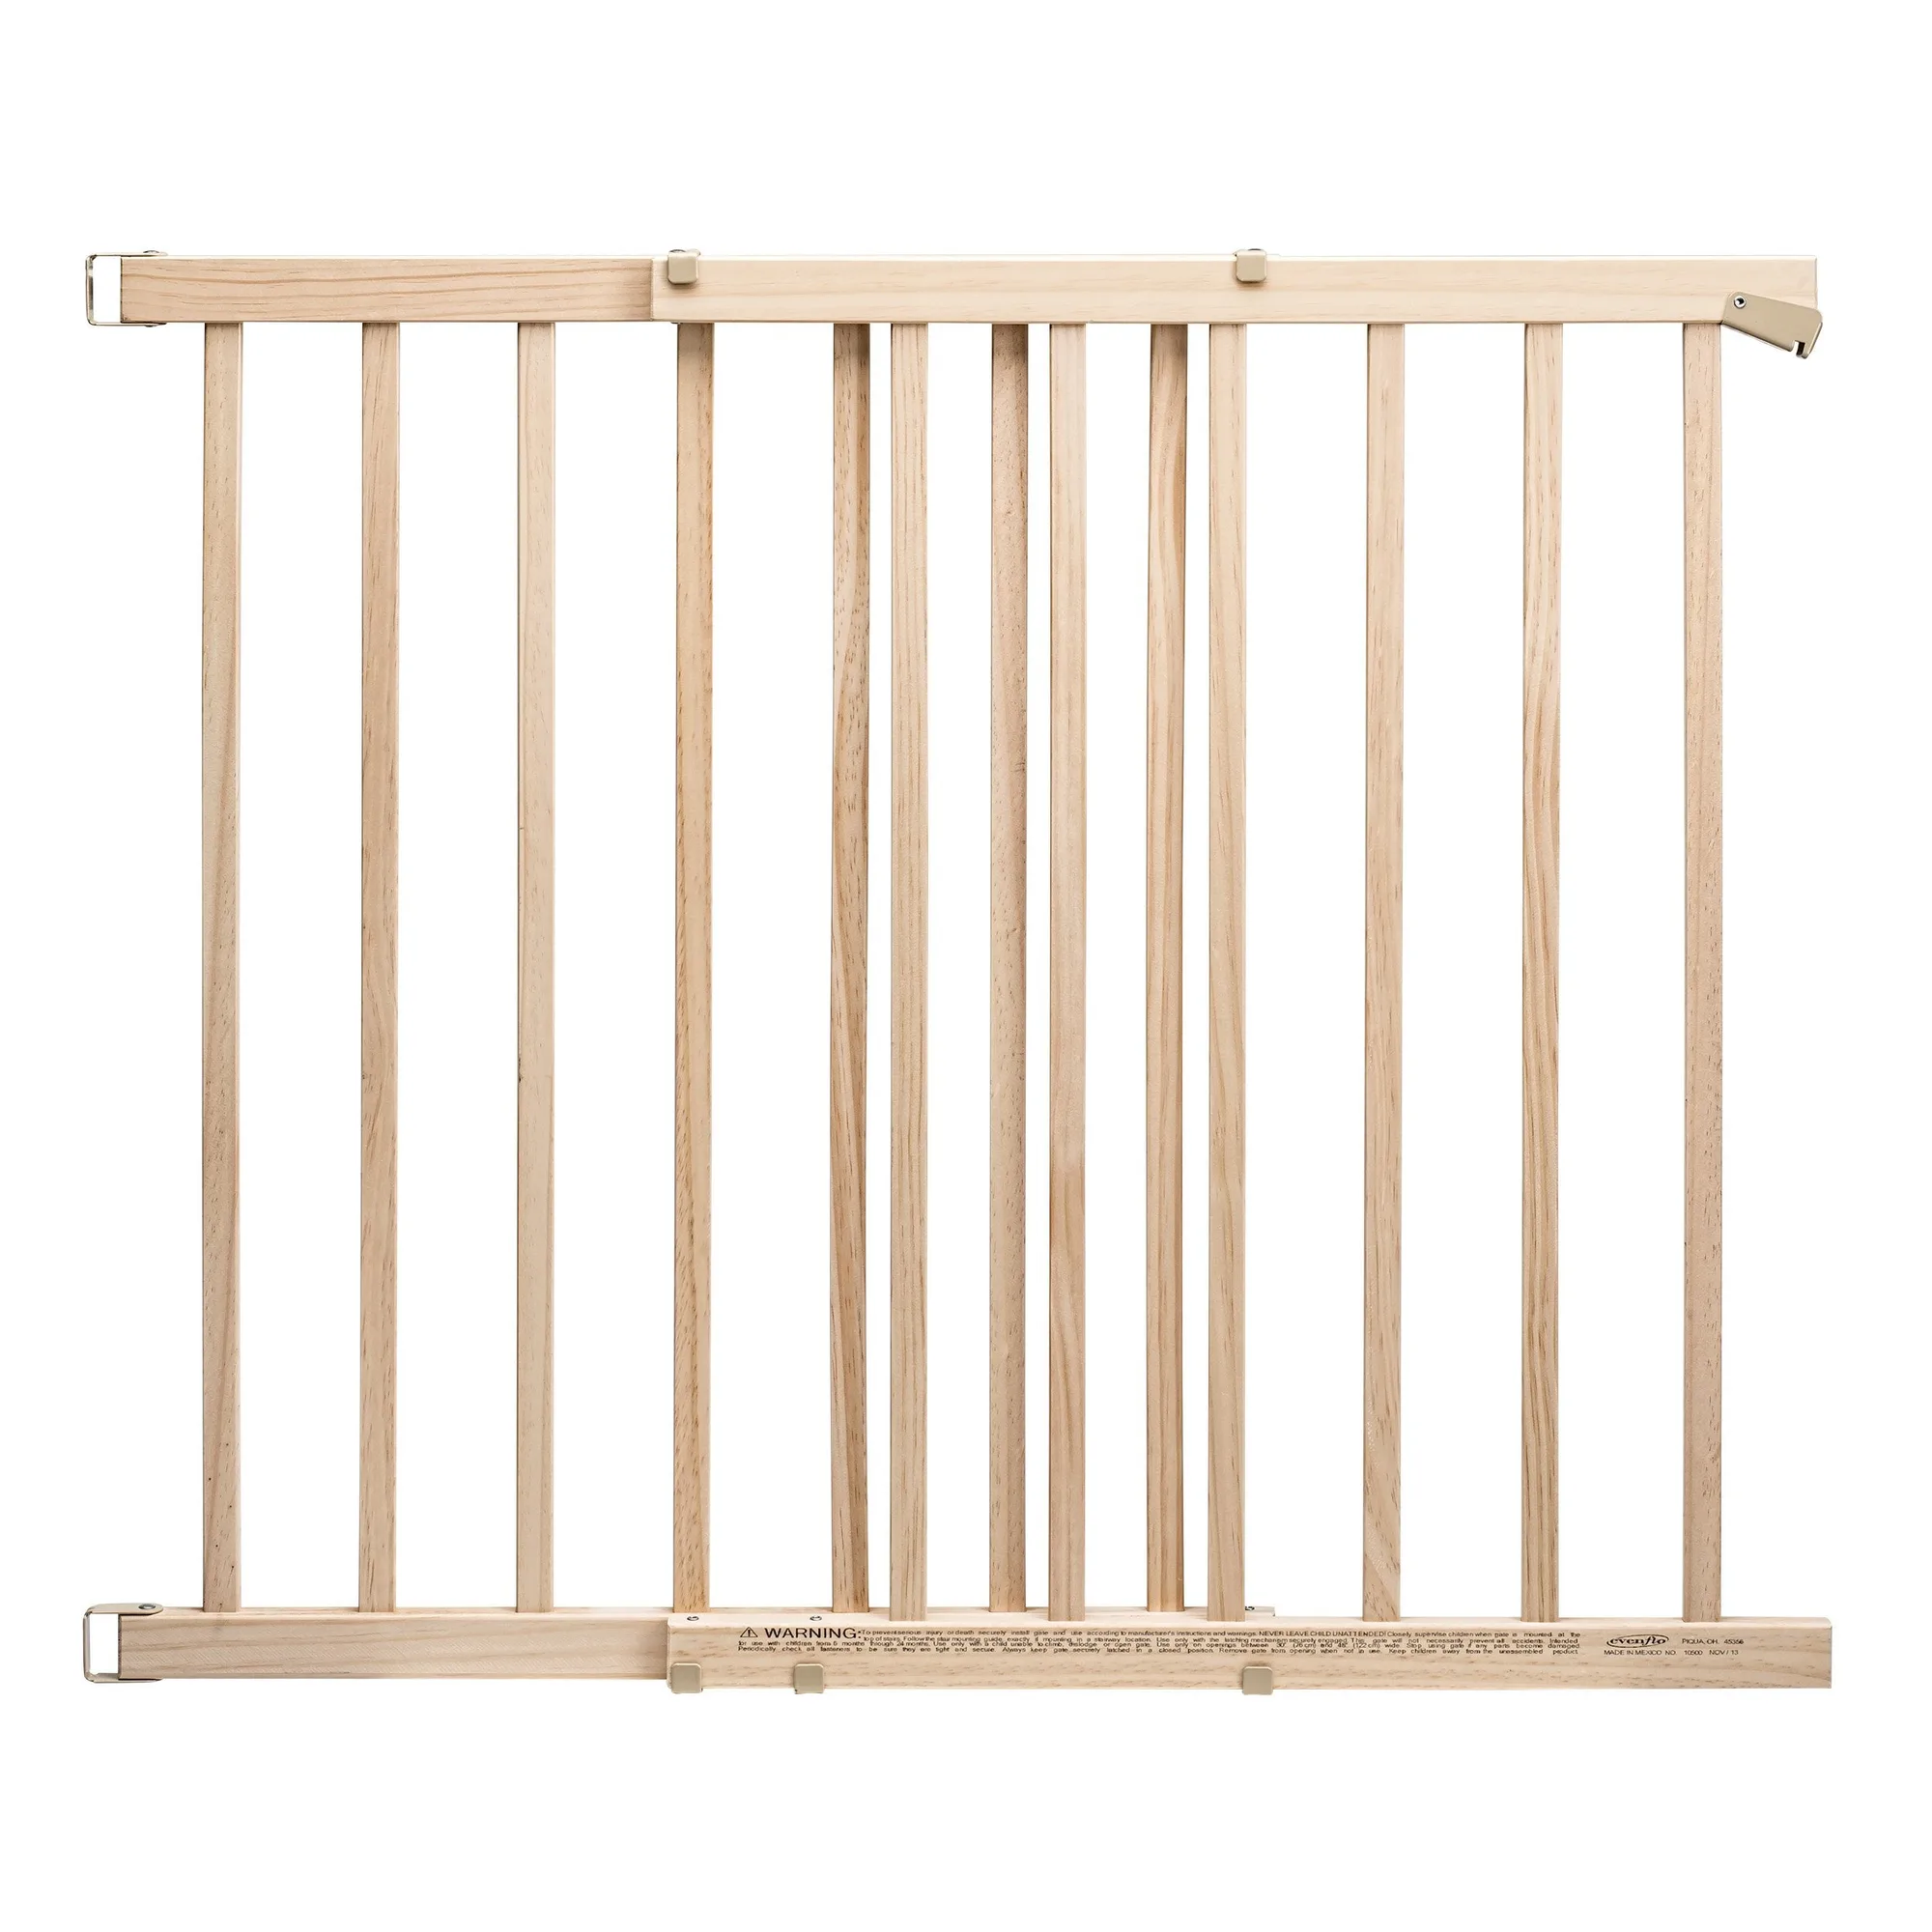
Walk-Thru Top Of Stairs Baby Gate