Quick answer
Install a wall-mounted safety gate without damaging walls by using the included Wall Shields™ or pressure-mount hardware. For a no-screw approach, choose a pressure-mounted gate like the Regalo Easy Step® Extra Tall White Safety Gate. For extra-wide openings, the Regalo Wall Safe® Extra Wide Safety Gate comes with Wall Shields™ that protect drywall while providing a secure fit.

Extra Wide Safety Gate
Why Choose a No-Damage Installation Method
Renters, homeowners who don't want to patch drywall, and anyone who plans to move the gate later all benefit from a no-damage install. Pressure-mounted gates use tension against the door frame or wall to stay in place, leaving no holes or marks. Hardware-mounted gates can also be installed without damage if you use the included Wall Shields™ or adhesive mounting strips. The trade-off is that pressure mounts are slightly less secure than drilled hardware, so they are best used between doorways and not at the top of stairs.
Step-by-Step Installation Guide
- Measure the opening width and choose your gate type: Measure the width of the doorway or opening. For standard openings (up to 38 inches), a pressure-mounted gate like the Easy Step® works. For extra-wide spaces (up to 73 inches), choose the Wall Safe® Extra Wide Safety Gate. Check that the gate's width range matches your opening. Common mistake: assuming a gate fits without measuring. Always measure twice before buying.
- Attach Wall Shields™ if using a hardware-mounted gate: If you chose the Wall Safe® Extra Wide Safety Gate, position the Wall Shields™ against the wall on each side of the opening. Use a pencil to mark the screw holes through the shields onto the wall. Drill pilot holes into the wall (not through the shields), then screw the shields into place. Finally, attach the gate to the shields. Checkpoint: Wall Shields™ protect the wall surface, but you still drill into drywall. For truly no-damage install, skip drilling and use the pressure mount method.
- Position the pressure-mounted gate without drilling: For the Easy Step® gate, extend the gate to the width of the opening. Place it at the desired height (typically 1-2 inches off the floor to clear baseboards). Tighten the pressure knobs on each side until the gate is snug against the door frame or wall. Test that it doesn't slide by pressing firmly on the center. Common mistake: overtightening can crack plastic components. Tighten until snug, then test stability.
- Test the gate for security and adjust as needed: After installation, give the gate a firm push in both directions. If it shifts or feels loose, adjust the pressure knobs slightly. For the Wall Safe® gate, check that the Wall Shields™ are flush against the wall and the gate latches securely. Re-test after 24 hours as pressure mounts can settle. Checkpoint: a properly installed gate should not move when you apply moderate force. Re-tighten if needed.
- Maintain and inspect the installation regularly: Every few weeks, check that pressure knobs are still tight and that the gate hasn't shifted. For Wall Shields™, inspect the screws for signs of loosening. Clean the gate with a damp cloth as needed. Replace any worn or damaged parts promptly. Next step: if you notice the gate becoming loose, re-tighten the pressure knobs or screws. This keeps your child safe and extends the gate's life.
Products That Help With a No-Damage Install
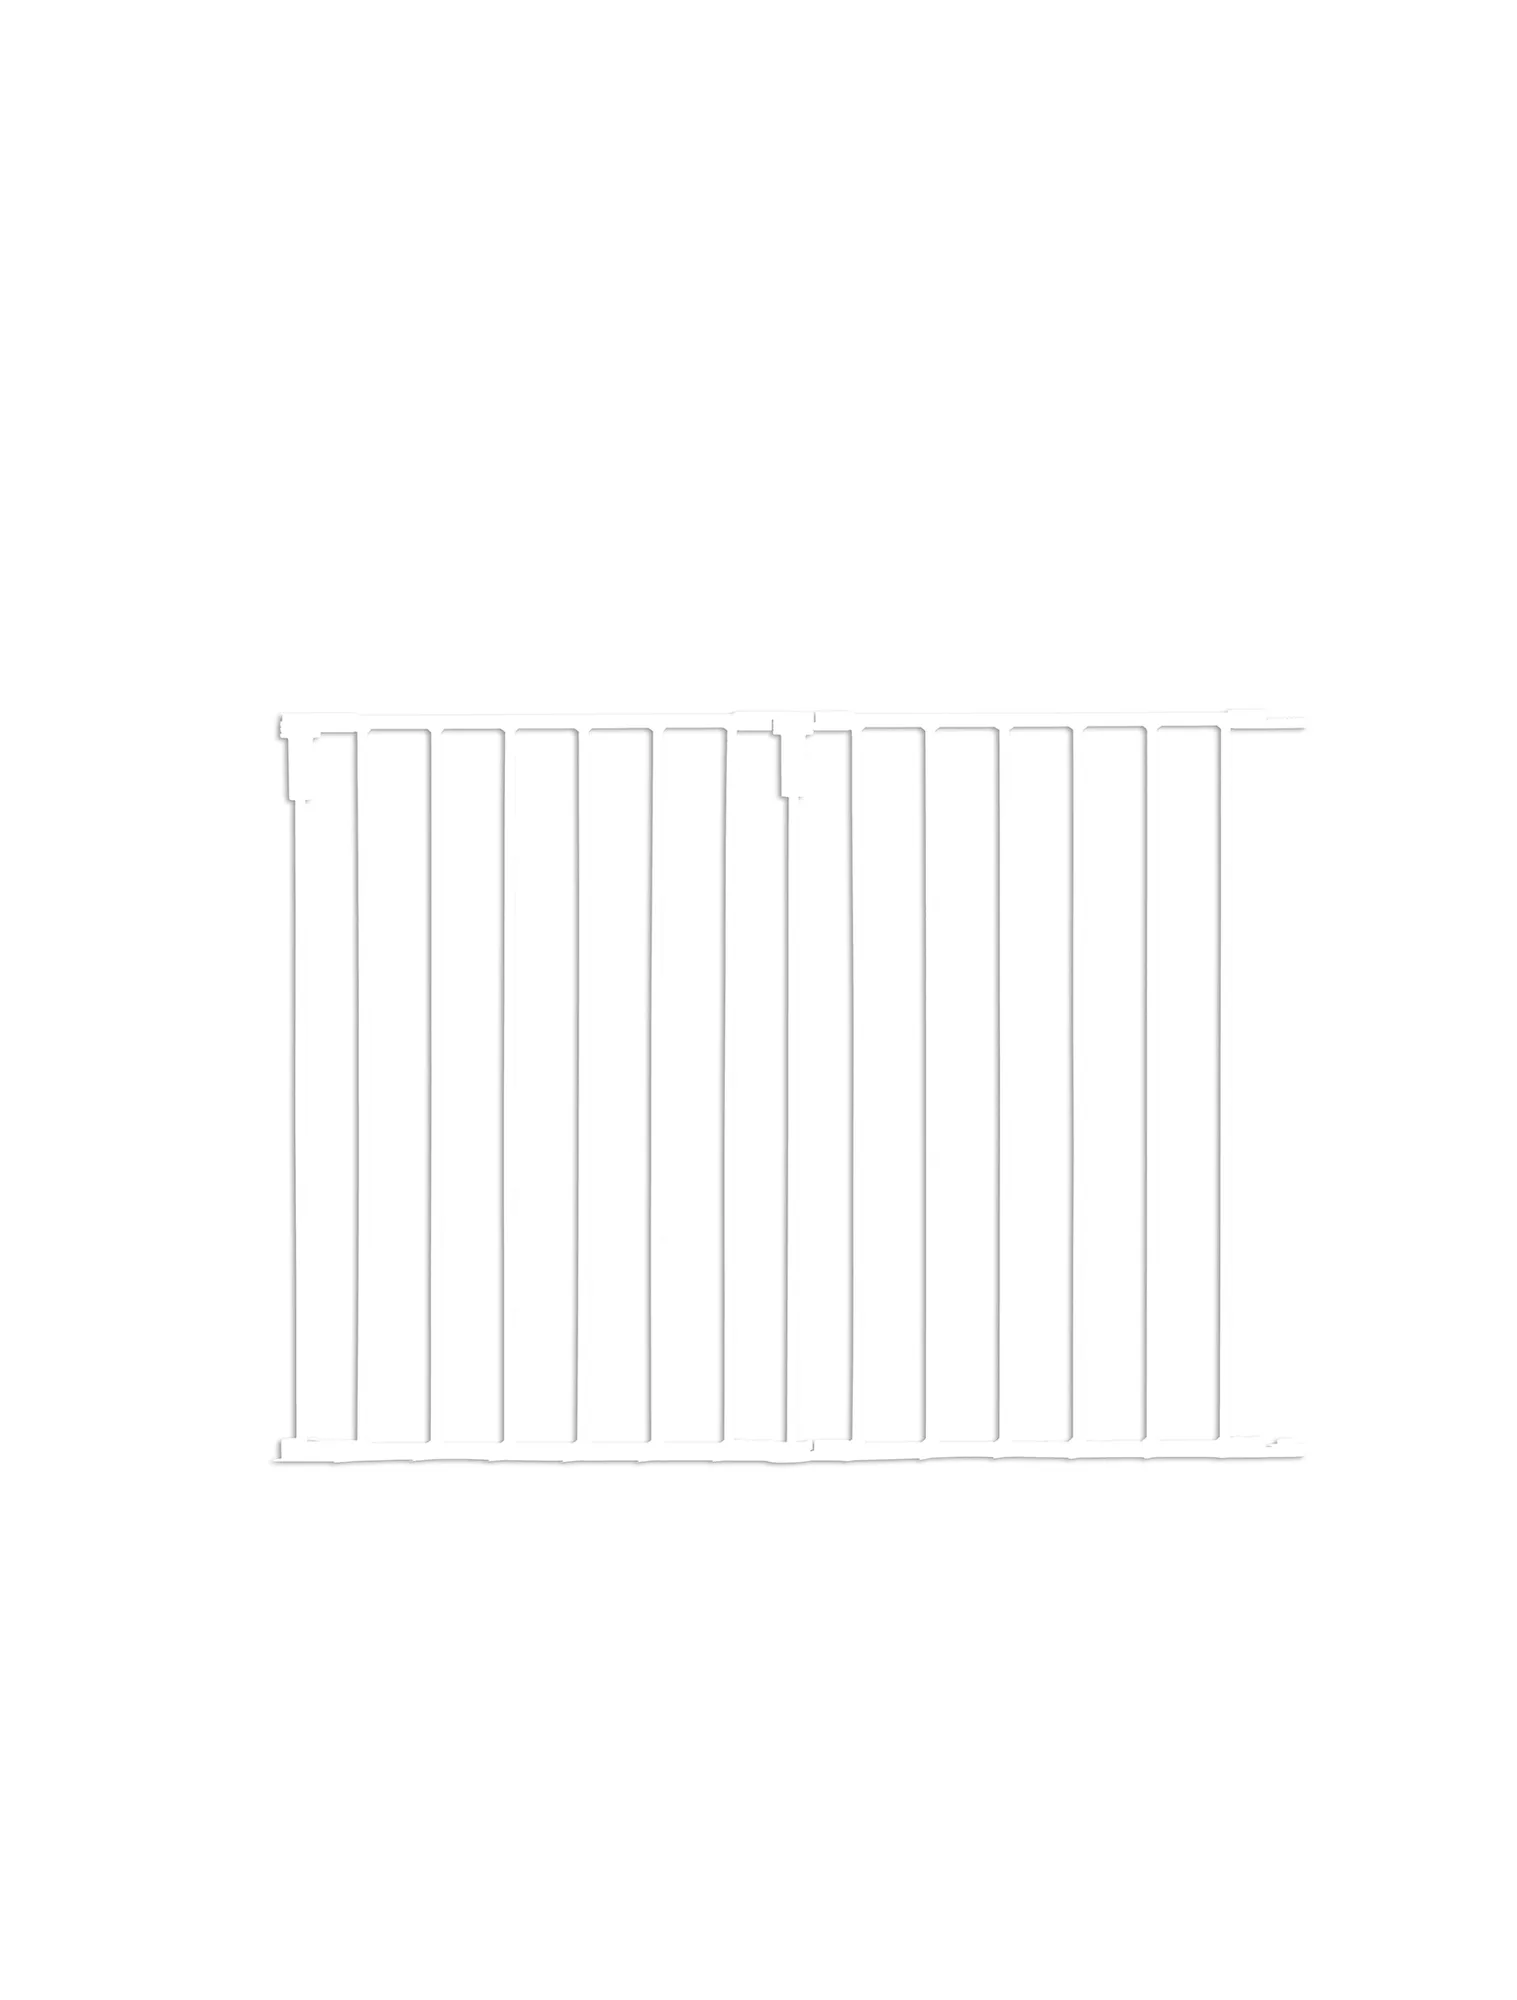
- Wall Safe® Extra Wide Safety Gate: The Wall Safe® Extra Wide Safety Gate (Model #1163WS) includes Wall Shields™ designed to protect walls during installation. Wall Shields™ spread the pressure over a larger area, reducing dents and marks on drywall while still providing a secure fit for extra-wide openings.
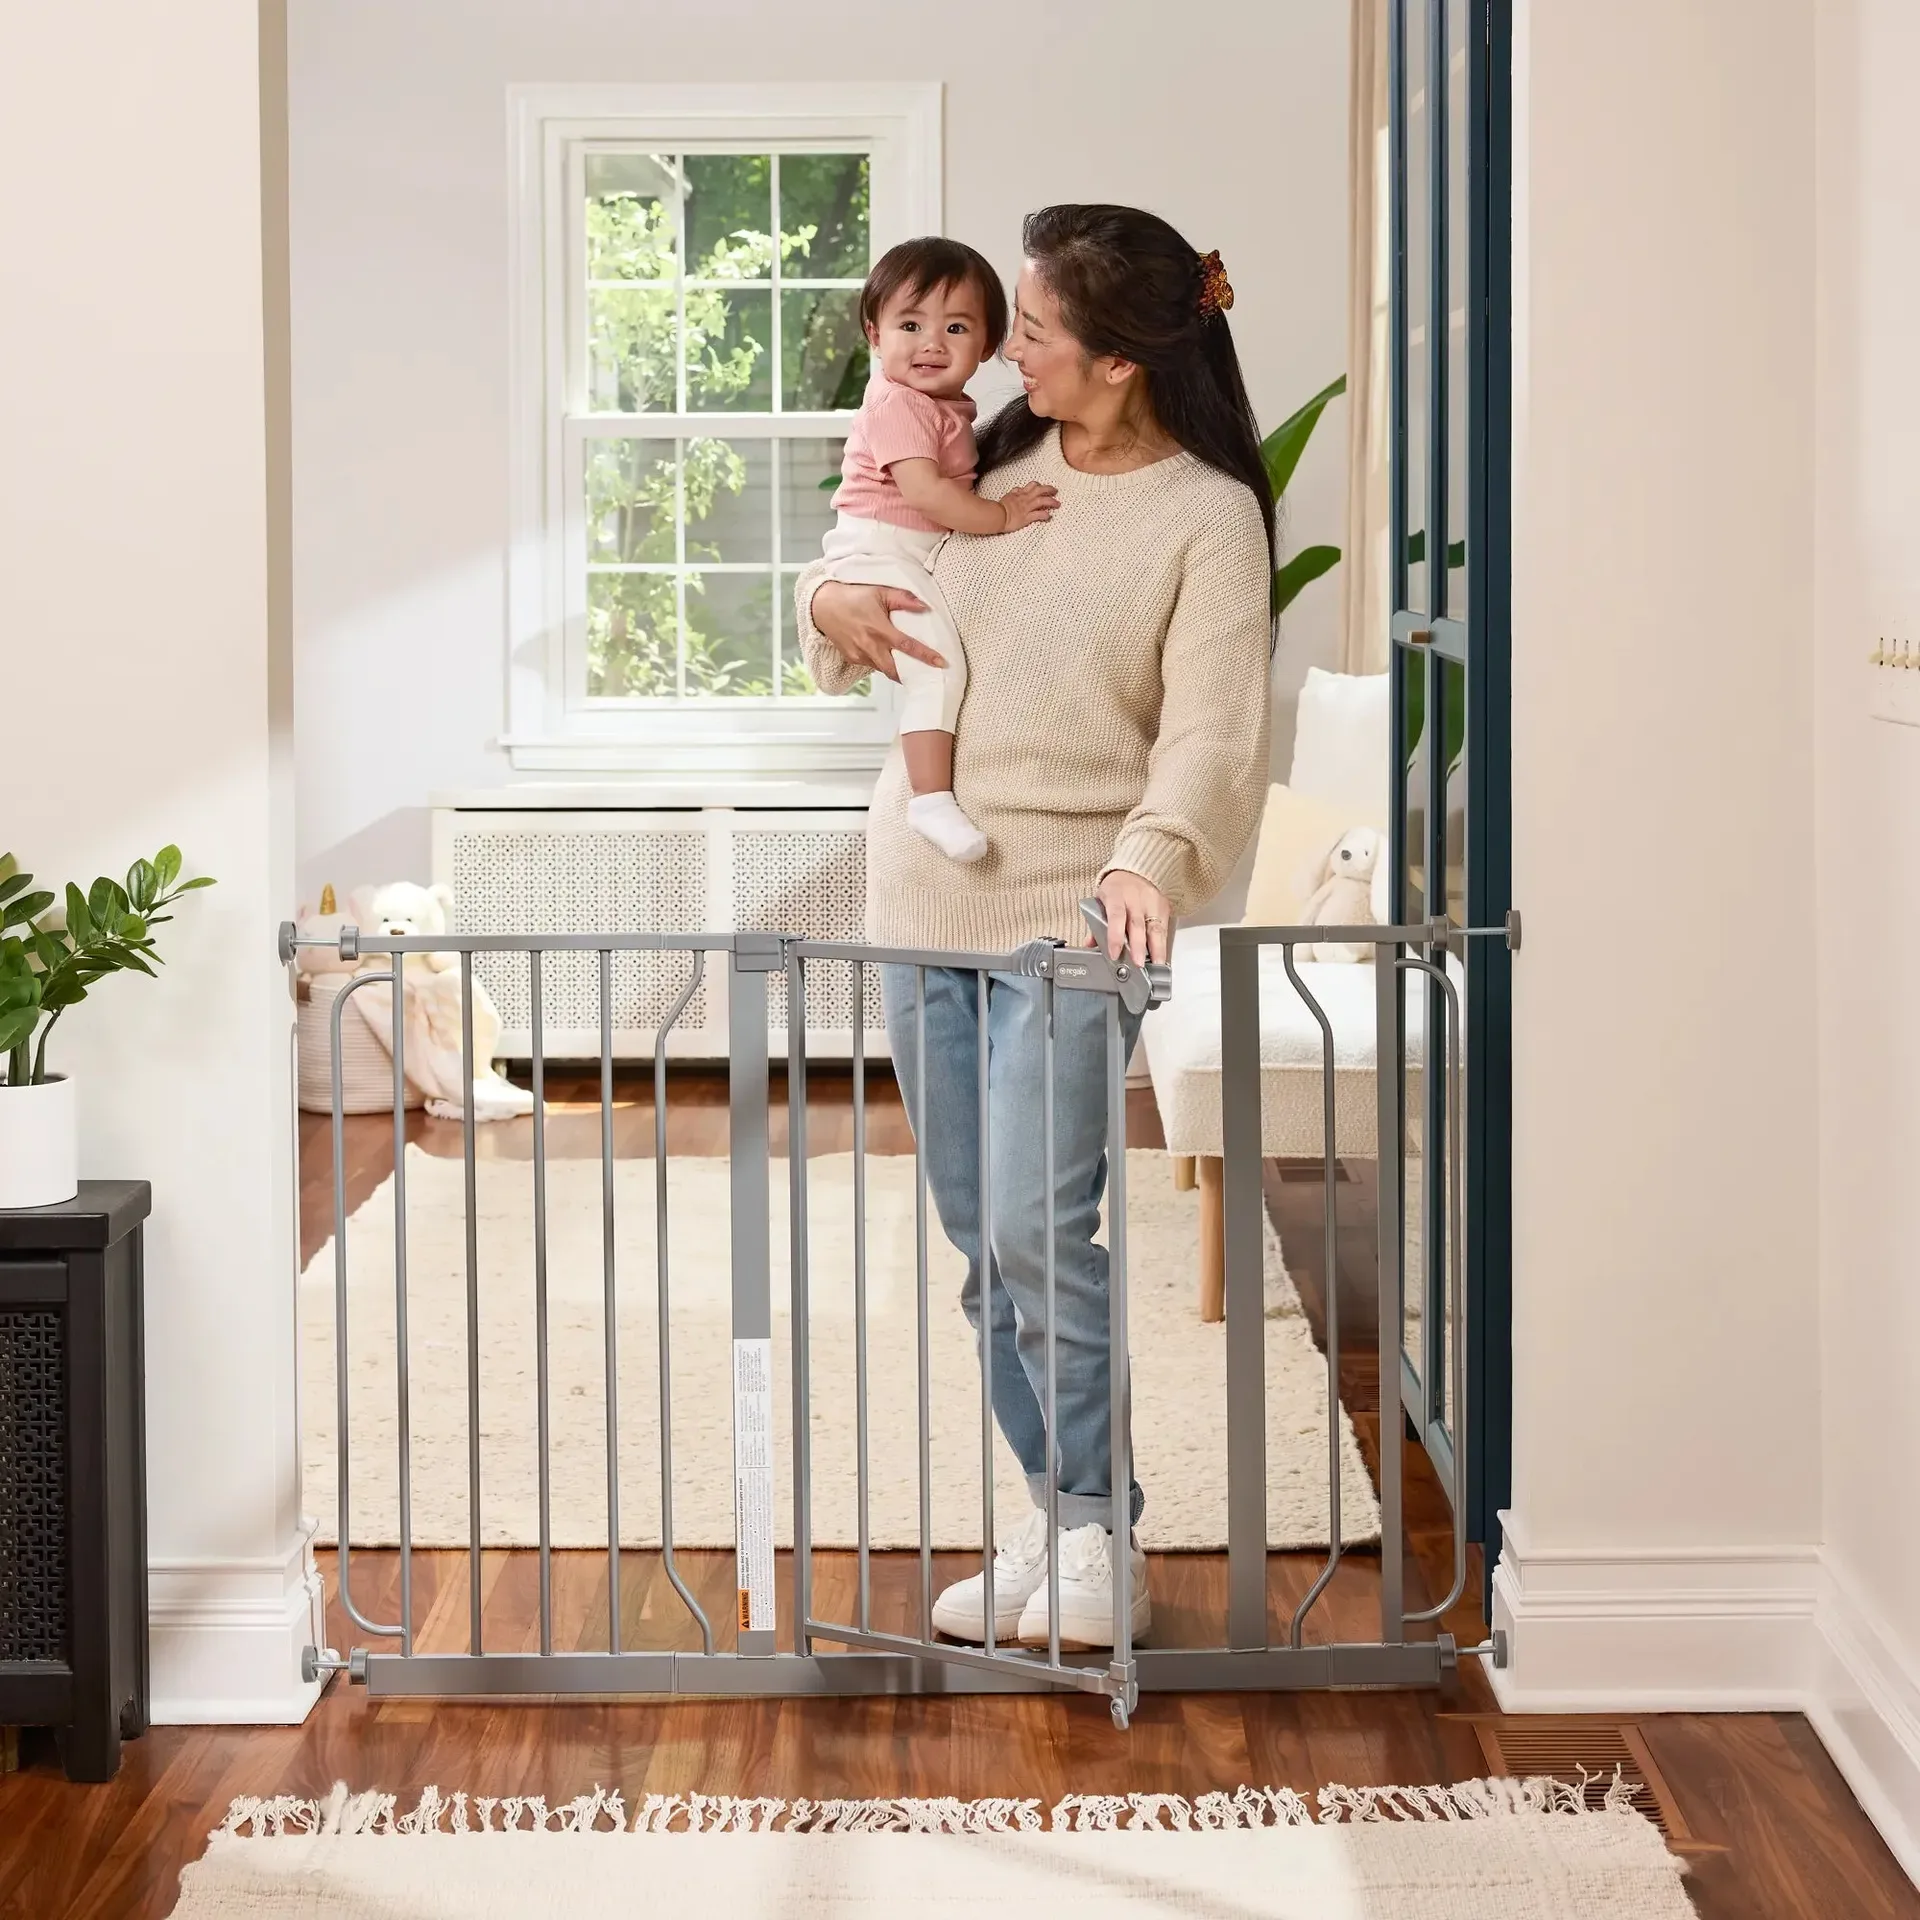
- Easy Step® Extra Tall White Safety Gate: The Easy Step® Extra Tall White Safety Gate uses a pressure mount design that requires no screws or drilling. Pressure mount makes installation quick and reversible, ideal for renters or anyone who wants to avoid wall damage. The one-touch release handle adds convenience for daily use.