Quick Answer
To install and position a Lorex dual-lens camera, choose a mounting height of 8–10 feet, angle the lenses to overlap coverage, and use the camera's app to fine-tune the field of view. For best results, place the camera near entry points and corners to minimize blind spots, and take advantage of smart lighting for night clarity.
Dual-lens cameras are a smart upgrade for anyone who wants broader coverage without adding more devices. By combining two lenses in one housing, they can capture a wider field of view and more detail than a single-lens camera, making them ideal for monitoring large areas like driveways, backyards, or open rooms. But to get the most from this design, installation and positioning matter more than you might think.
This guide walks you through the key steps to install and position your Lorex dual-lens camera effectively. You'll learn how to avoid common mistakes, optimize the camera's angle for maximum coverage, and use features like smart lighting to improve night-time detail. Whether you're setting up a new system or upgrading an existing one, these practical tips will help you reduce blind spots and capture clearer footage.
Understanding Dual-Lens Camera Coverage
Dual-lens cameras, like the Lorex 2K Dual Lens Indoor Pan-Tilt Wi-Fi Security Camera, use two lenses to provide a wider field of view. This design can cover more area than a standard single-lens camera, which is especially useful for monitoring corners or long hallways. The pan-tilt functionality lets you adjust the viewing direction remotely, giving you flexibility to focus on different areas as needed.
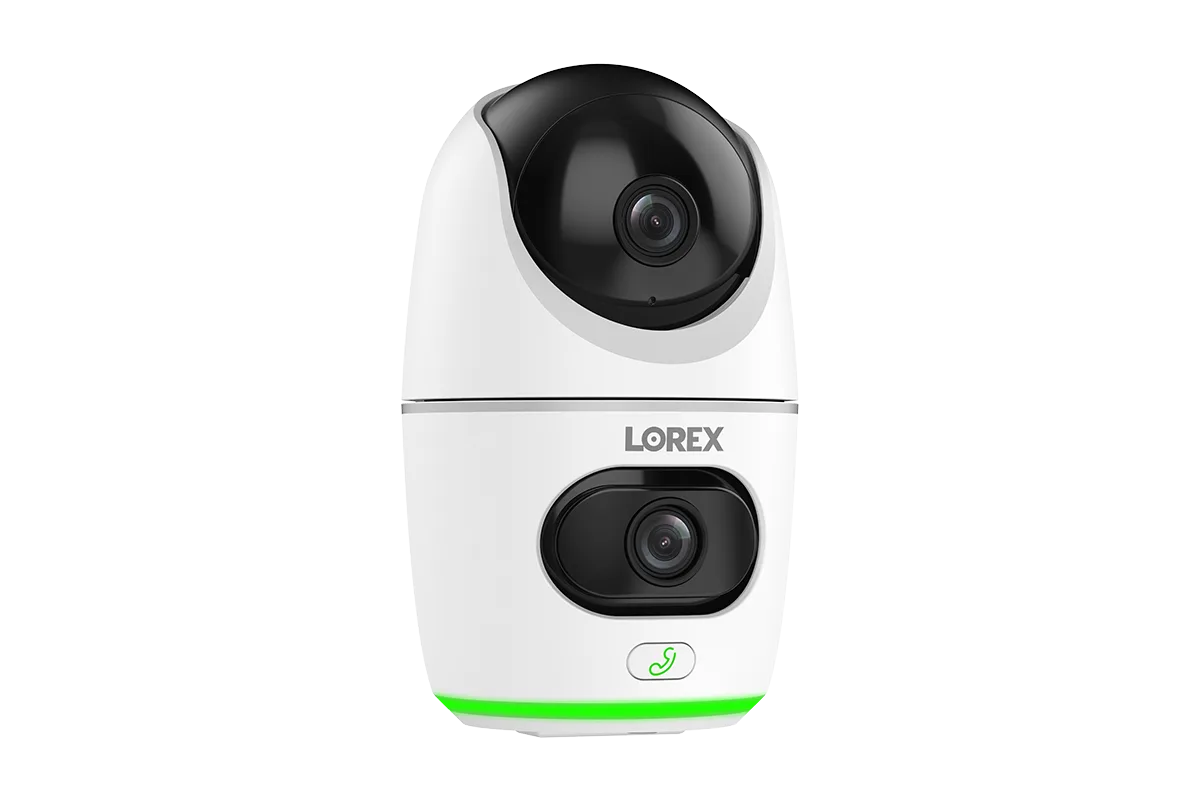
Lorex 2K Dual Lens Indoor Pan-Tilt Wi-Fi Security Camera
When positioning a dual-lens camera, think about what you want to monitor. For outdoor use, a camera with a wide field of view can cover a full driveway or backyard. Indoors, it can watch over an entire living room or open-plan space. The key is to place the camera where both lenses have a clear line of sight, avoiding walls or pillars that can block part of the view.
- Consider the camera's field of view specification—dual lenses often provide a combined horizontal angle wider than 180 degrees.
- For indoor pan-tilt cameras, place them on a shelf or ceiling mount where the motor can rotate freely without obstruction.
Choosing the Right Mounting Height and Angle
Mounting height is one of the most important factors in camera positioning. For most security cameras, a height of 8 to 10 feet works well. This elevation gives a downward angle that captures faces and license plates without being too high to miss details. If you mount too low, the camera is easier to tamper with; too high, and you may lose the ability to identify people clearly.
The angle of the camera also affects coverage. Tilt the camera slightly downward to cover the area in front of it, but avoid pointing it directly at the ground, which wastes the lens's potential. For dual-lens cameras, you can often adjust each lens independently, so experiment with different angles to find the sweet spot that covers both the immediate area and the distance.
- Use a ladder and a level to ensure the camera is straight before tightening the mount.
- If you're covering a doorway, position the camera to the side rather than directly above to capture a full view of the person's face.
Installing the Camera Securely
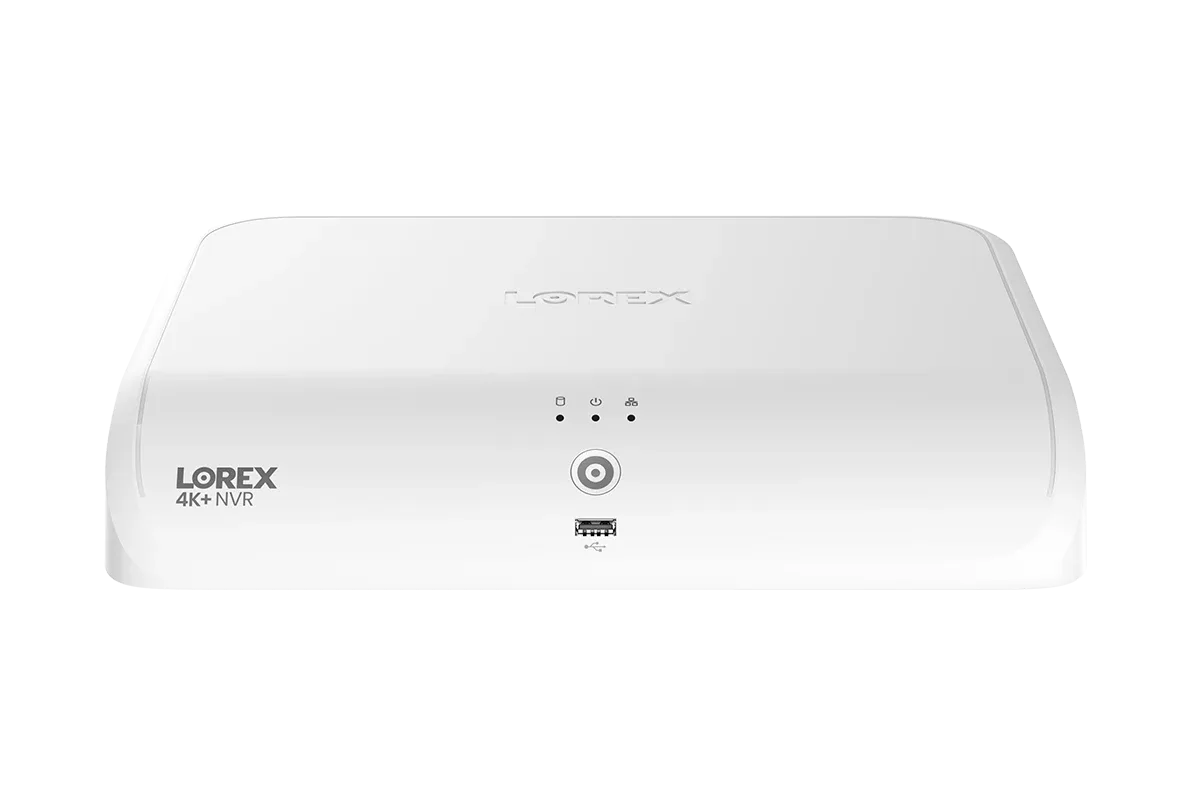
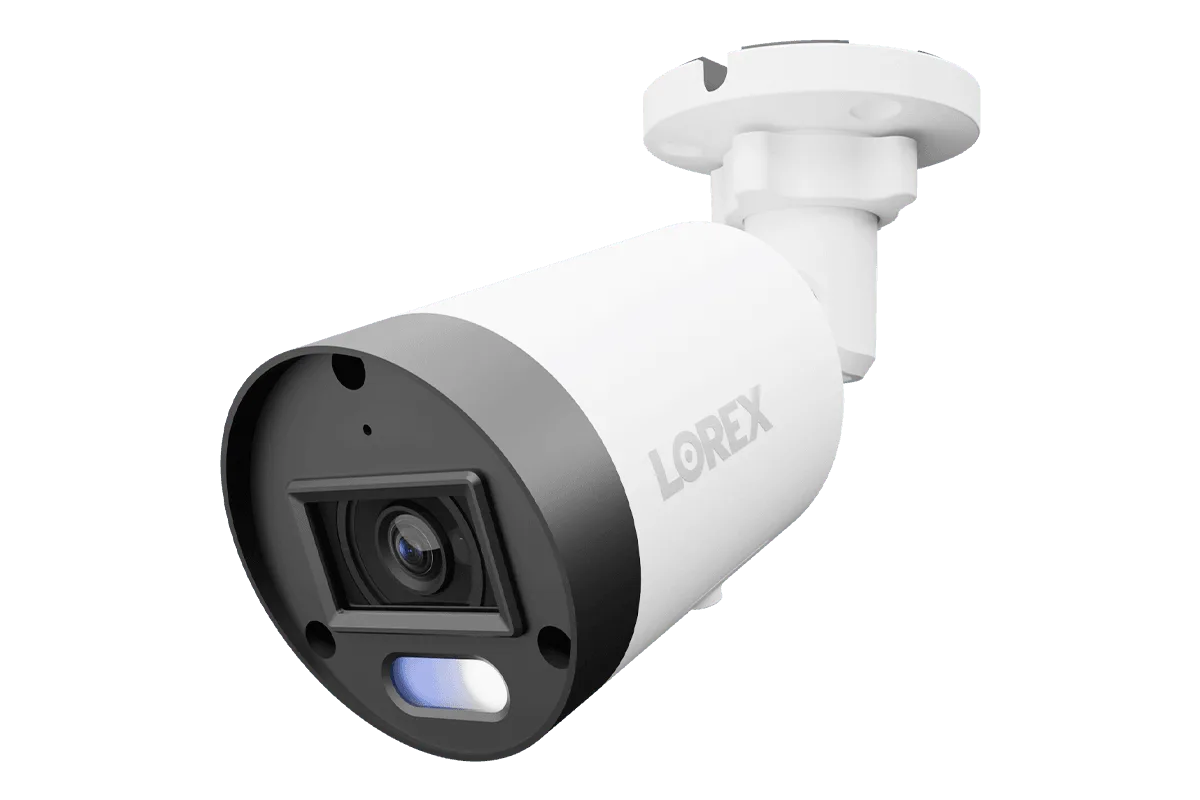
Once you've chosen the location, it's time to mount the camera. For wired cameras, like the Lorex 4K+ 12MP IP Wired Bullet Security Camera, you'll need to run the Ethernet cable to the camera and connect it to your NVR or PoE switch. Make sure the cable is protected from weather and physical damage, using conduit if necessary. Secure the mount to a solid surface—brick, wood, or metal—using appropriate anchors.
After mounting, connect the camera to your network and power it on. Use the Lorex app to add the camera to your system and check the live view. This is the moment to adjust the angle and confirm that the coverage matches your expectations. Walk around the area to see if there are any blind spots, and reposition the camera if needed before finalizing the installation.
- Always use the included waterproof connectors for outdoor cameras to prevent moisture damage.
- Test the camera's night vision before sealing the installation to ensure the infrared LEDs are working.
Optimizing Smart Lighting for Better Night Detail
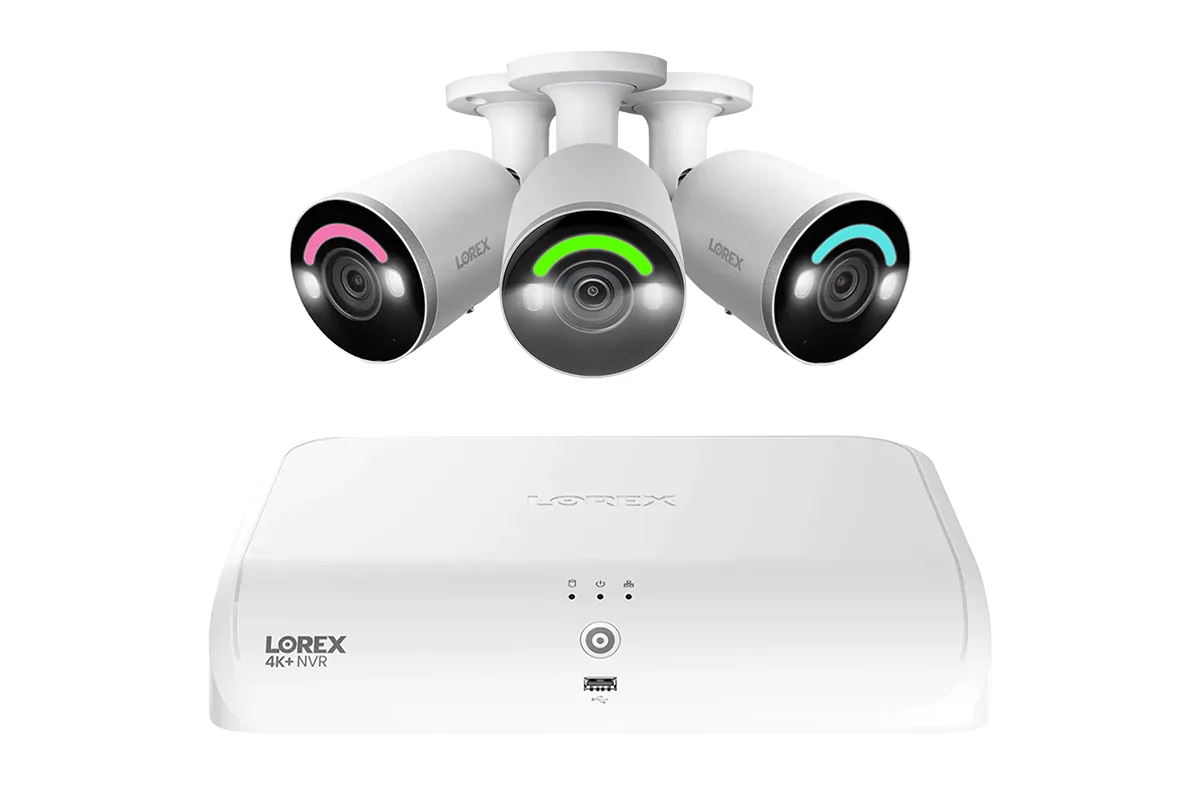
Many Lorex cameras include Smart Security Lighting, which can dramatically improve night-time footage. This feature uses built-in lights to illuminate the area when motion is detected, allowing the camera to capture color video instead of black-and-white infrared. For dual-lens cameras, this can help both lenses see clearly in low light, reducing the chance of missing important details.
When positioning the camera, think about the lighting. Avoid pointing the camera directly at a bright light source, which can cause glare and wash out the image. Instead, position the camera so the smart lighting illuminates the area you want to monitor, but the camera itself is not looking into the light. This creates a balanced exposure that keeps details sharp.
- Adjust the smart lighting sensitivity in the app to avoid false triggers from passing cars or animals.
- If the camera has adjustable lighting, aim the lights to cover the entry points you care about most.
Step-by-Step Installation and Positioning Checklist
- Plan the Coverage Area: Walk around your property and identify the areas you need to monitor. Mark entry points, corners, and high-traffic zones. Decide whether a single dual-lens camera can cover the space or if you need additional cameras. Checkpoint: Ensure the camera's field of view can cover the entire area without obstructions like walls or large furniture.
- Select the Mounting Location and Height: Choose a spot that gives a clear view of the area. Aim for a height of 8–10 feet for outdoor cameras, and slightly lower for indoor cameras if you need face detail. Avoid placing the camera in direct sunlight or near bright lights. Common mistake: Mounting too high or too low can reduce image quality. Test the view before drilling holes.
- Mount the Camera Securely: Use the included mounting bracket and screws. For outdoor cameras, ensure the mount is weatherproof and the cable is protected. Tighten all screws to prevent movement from wind or vibration. Checkpoint: Give the camera a gentle shake to confirm it's stable before connecting the cables.
- Connect and Configure the Camera: Connect the camera to your NVR or Wi-Fi network using the Lorex app. Follow the app's setup instructions to add the camera. Adjust the pan-tilt if applicable and set up motion detection zones. Common mistake: Skipping the app setup can leave the camera with default settings that miss important areas. Take time to customize zones.
- Fine-Tune the Angle and Verify Coverage: View the live feed and adjust the camera's angle to cover the intended area. Walk around the coverage zone to identify any blind spots. Use the app's zoom and pan features to get the best view. Checkpoint: Record a short test clip and review it to ensure faces and license plates are identifiable.
- Test Smart Lighting and Night Vision: After dark, check the camera's night vision and smart lighting. Ensure the lights illuminate the area without causing glare. Adjust the sensitivity to avoid false triggers. Common mistake: Forgetting to test night vision can lead to poor footage when you need it most. Always do a night test.
Lorex Dual-Lens Camera Options
- Lorex 2K Dual Lens Indoor Pan-Tilt Wi-Fi Security Camera (32GB, Cloud-Enabled) - Amazon: The Lorex 2K Dual Lens Indoor Pan-Tilt Wi-Fi Security Camera offers sharp 2K video capture, dual-lens viewing, and flexible pan-tilt movement for comprehensive indoor monitoring. It includes 32GB of onboard storage and supports cloud-enabled recording options. This camera is a great choice for indoor spaces where you need to cover a wide area and adjust the view remotely, such as a living room or office. The pan-tilt feature lets you move the camera to follow activity, and the 32GB storage gives you local recording without a subscription.
- Lorex 4K+ 12MP IP Wired Bullet Security Camera with Smart Security Lighting (Open Box): Lorex’s first 4K+ security camera will capture the finest details thanks to 12MP image sensors that deliver 50% more pixels than 4K. Also featuring our best Color Night vision yet, Smart Security Lighting, Smart Motion Detection, Two-Way Talk and all metal IP67 rated exteriors. For outdoor use, this camera provides exceptional detail and color night vision, making it easier to identify people or vehicles. The IP67 rating ensures it withstands harsh weather, and the smart lighting improves night-time clarity, which is essential for security.
Installing and positioning your Lorex dual-lens camera correctly is the key to getting wider coverage and better detail. By following these steps, you can reduce blind spots, improve night-time clarity, and make the most of your investment. Take the time to plan, mount securely, and test the view—your future self will thank you when you need to review footage.