Quick answer
To safely install a baby gate at the top of stairs, you must use a hardware-mounted gate, not a pressure-mounted one. Measure your opening, mark stud locations, drill pilot holes, and secure the gate with screws into wall studs or the stair newel post.
Why hardware mounting is non-negotiable for top-of-stairs gates
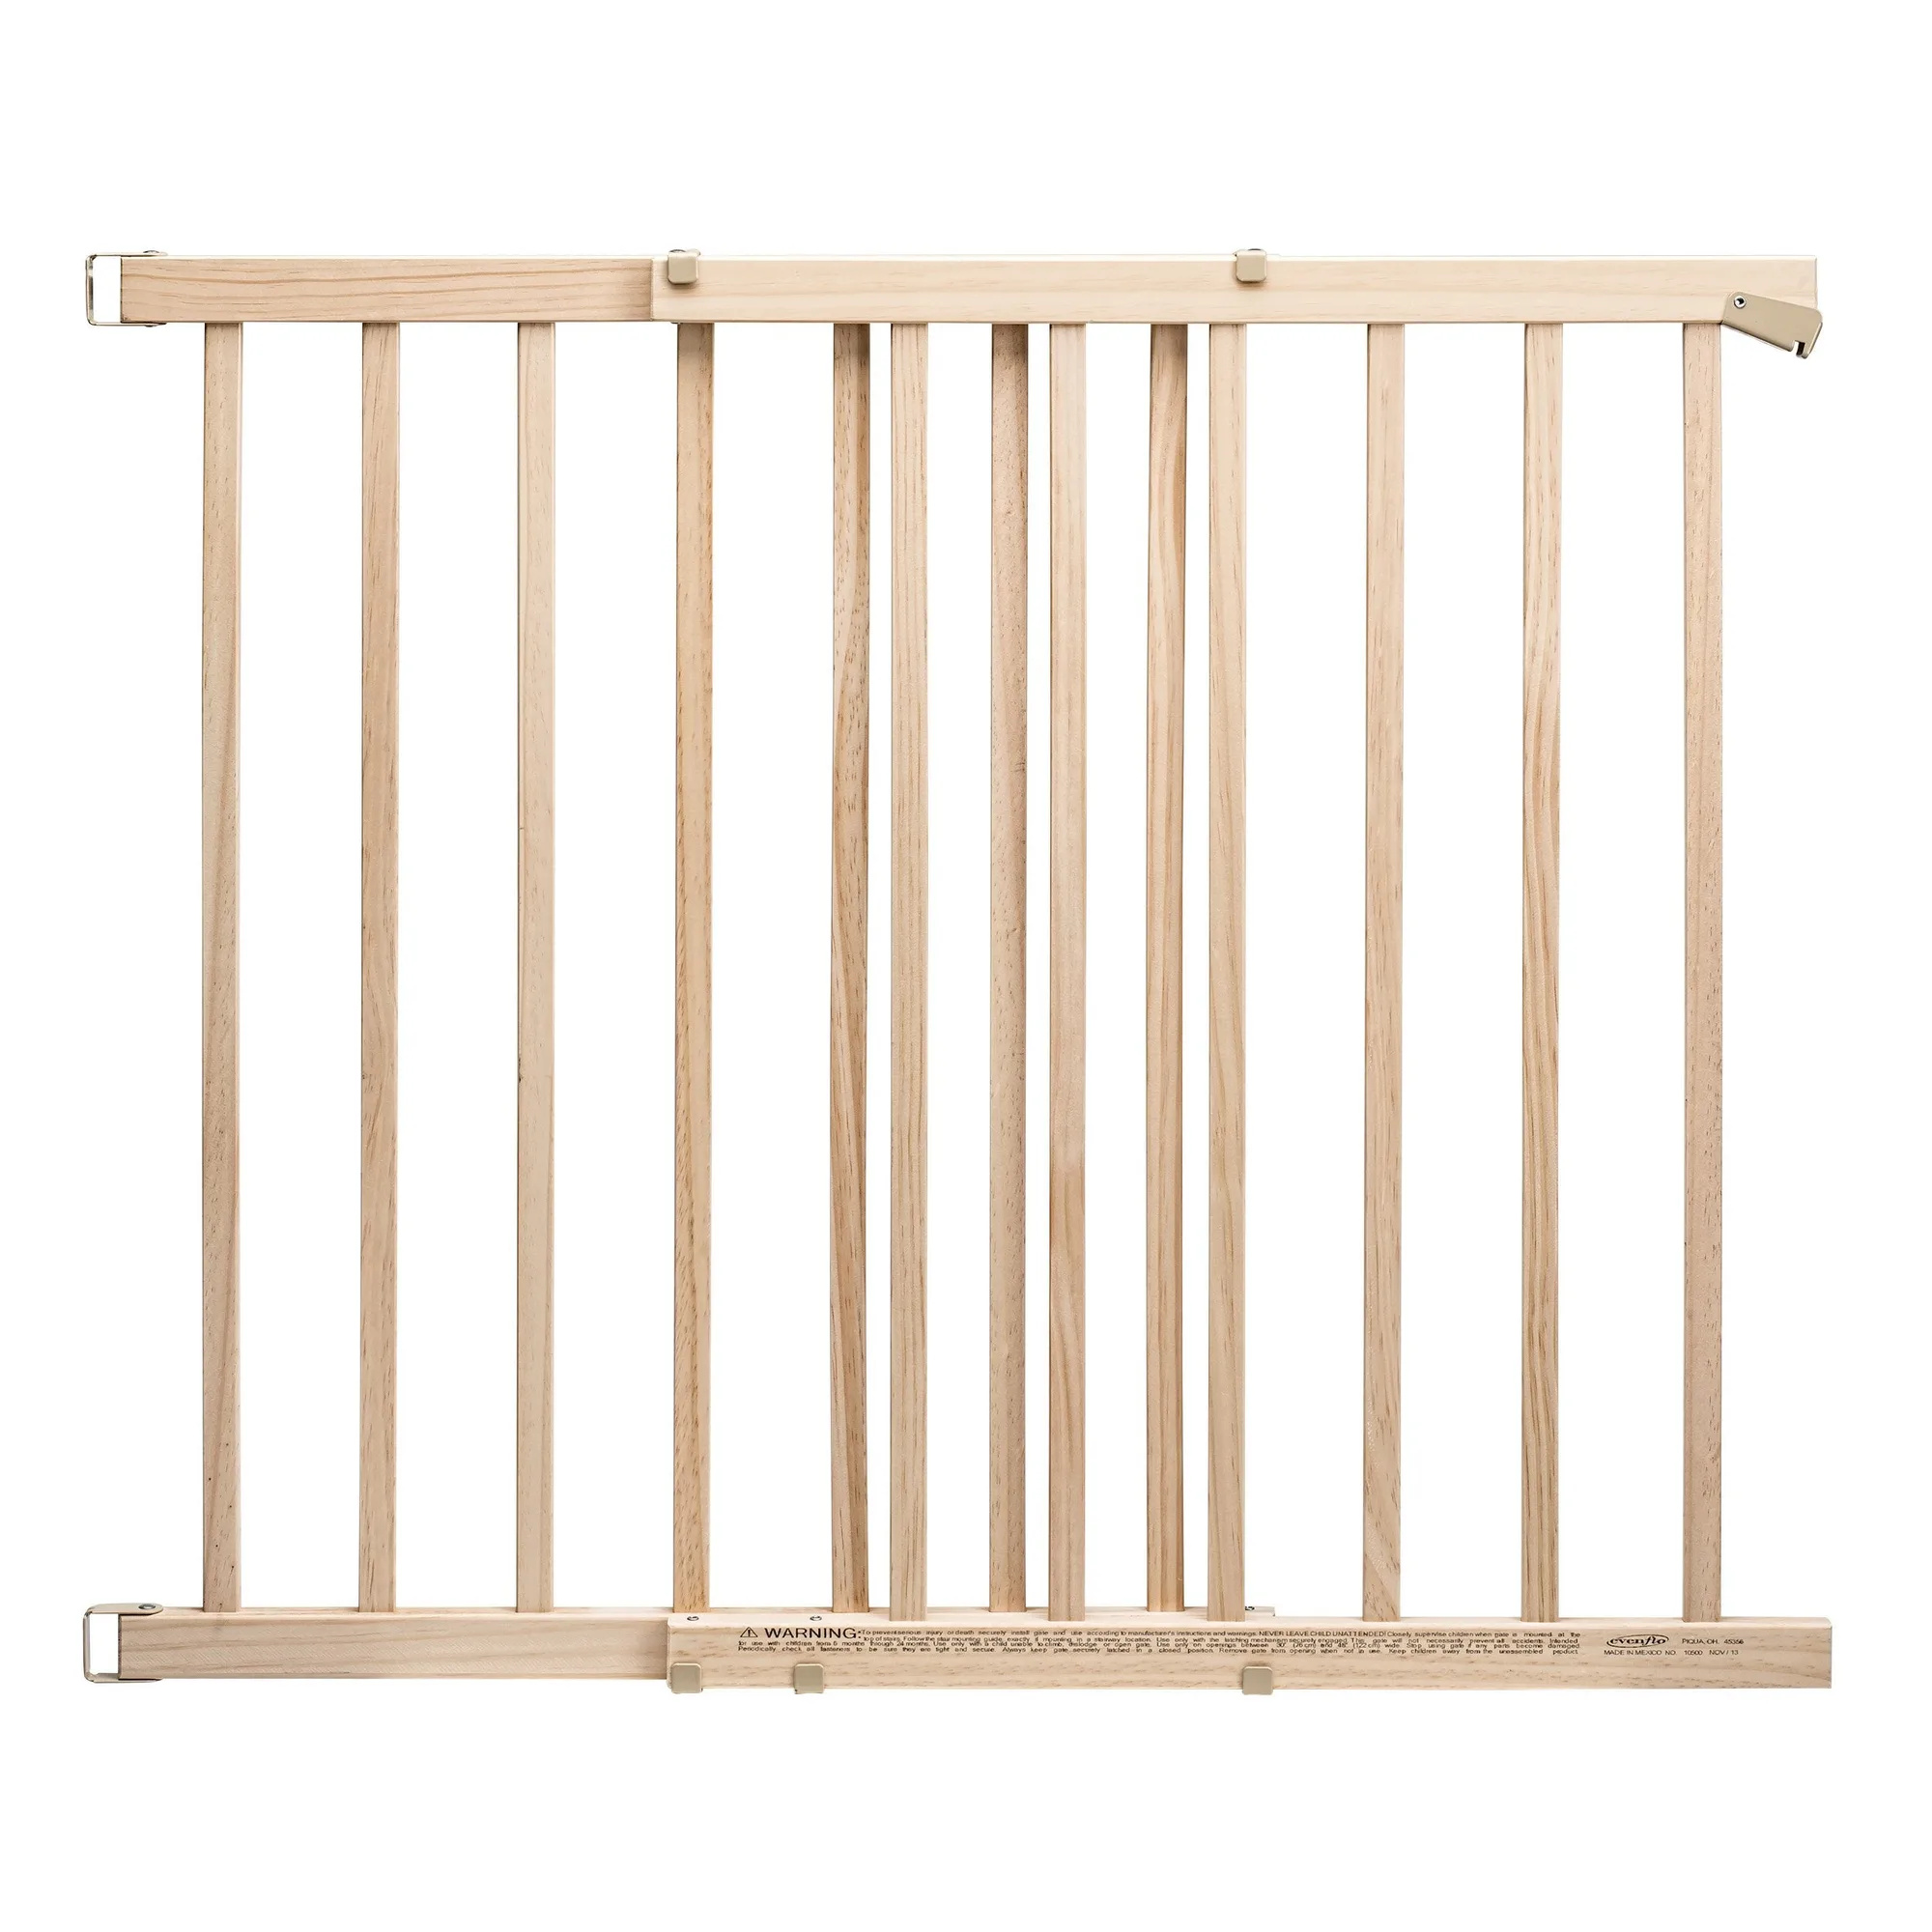
Pressure-mounted gates rely on tension against the wall and can be pushed out of place by an active toddler. At the top of stairs, a gate that gives way can lead to a dangerous fall. Hardware-mounted gates screw directly into the wall or banister, providing the permanent strength needed for that location. Always check the manufacturer's instructions to confirm the gate is rated for stair-top use.
Tools and preparation you will need
Before starting, gather a measuring tape, pencil, drill with appropriate drill bits, a level, and the mounting hardware that came with your gate. If you are installing into drywall, you must locate wall studs with a stud finder. For installations against a stair newel post, use the included lag screws or brackets designed for wood. Avoid using drywall anchors alone at the top of stairs — they are not strong enough for repeated force.
Step-by-step installation guide
- Measure the opening and choose your mounting method: Measure the width of your stair opening from wall to wall or wall to newel post. Most hardware-mounted gates adjust to fit standard openings (typically 28-42 inches). Decide whether you will mount to drywall over studs, a wood banister, or a masonry wall. Common mistake: Assuming a pressure gate works at the top of stairs. Always choose hardware mount for stair tops.
- Mark and drill pilot holes into studs or wood: Hold the gate mounting brackets at your desired height (usually 3-4 inches above the floor). Use a level to ensure they are even. Mark screw locations through the bracket holes. Drill pilot holes using a bit slightly smaller than your screws to prevent wood from splitting. Checkpoint: Confirm you are drilling into a stud, not just drywall. Tap the wall or use a stud finder before drilling.
- Attach the mounting brackets securely: Line up the brackets with your pilot holes and drive the screws in firmly with a drill or screwdriver. Do not overtighten, as this can strip the holes or crack the wood. For newel post installations, use the provided lag bolts and a wrench if needed. Common mistake: Using screws that are too short. They should penetrate at least 1 inch into the stud or wood.
- Mount the gate and test the latch: Slide the gate into the brackets according to the manufacturer's instructions. Close the gate and engage the latch. Give the gate a firm push to ensure it does not budge. Open and close it several times to verify smooth operation and that the latch clicks fully into place. Final check: The gate should not move when you push it from any angle. If it wobbles, recheck bracket alignment and screw tightness.
Recommended products for stair-top safety
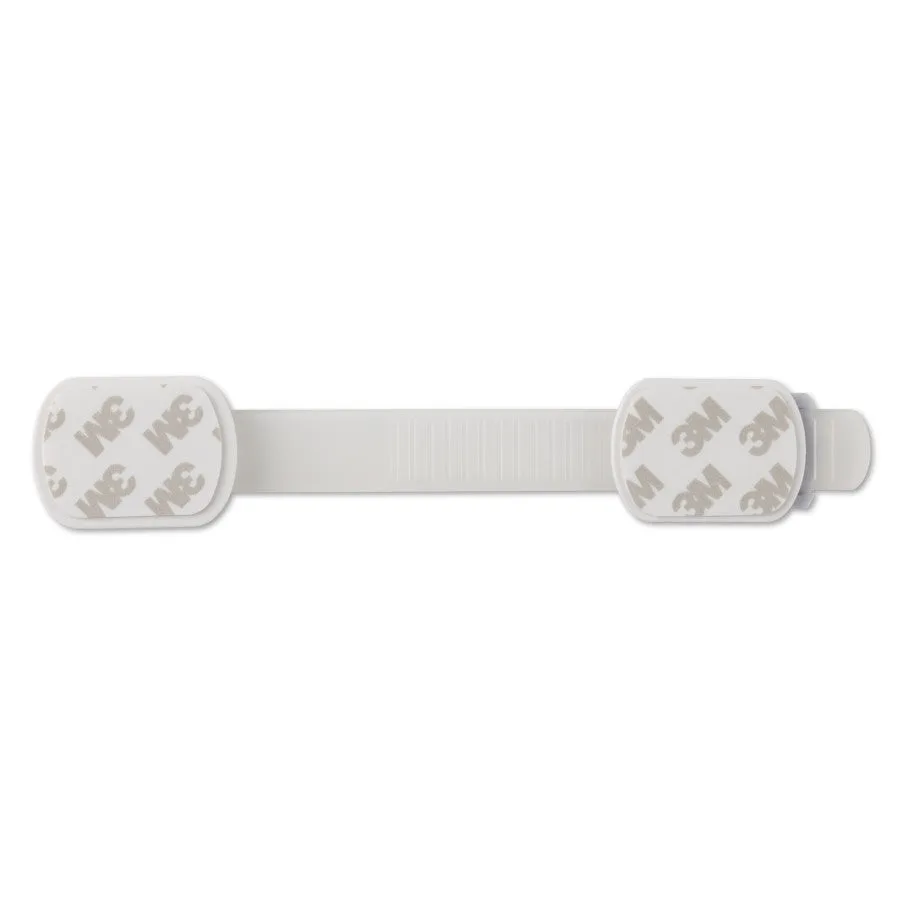
- Multi-Purpose Strap Latch Support: The Evenflo Multi-Purpose Strap Latch helps prevent your child from opening drawers or appliances such as refrigerators and freezers — even hinge-top garbage cans. Strong, high-quality adhesive backing affixes the adjustable, customizable strap latch to doors and drawers you wish to keep your little one out of. Once your gate is installed, use this strap latch on nearby cabinets or drawers to keep curious hands away from potential hazards near the stairs.