Wall shelving stations are a game-changer for commercial kitchens, offering a space-saving solution to keep ingredients, utensils, and equipment within easy reach. Cambro's wall shelving station kits are designed for durability and flexibility, making them a popular choice for restaurants, catering businesses, and food service operations. In this guide, we'll walk you through the installation process step by step, so you can set up your shelving quickly and safely.
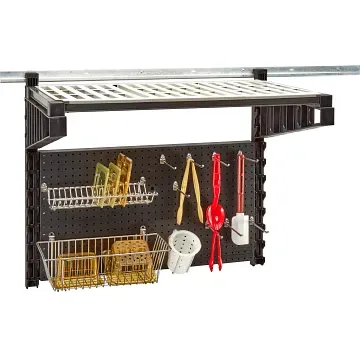
wall shelving station kits
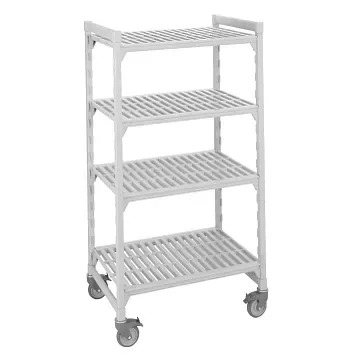
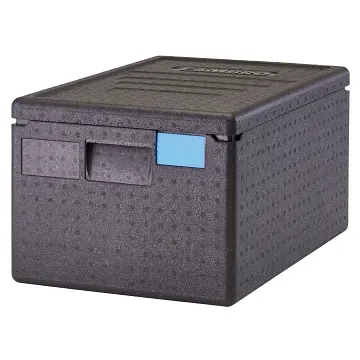
Whether you're a seasoned kitchen manager or a DIY enthusiast, understanding the components and installation process is key to getting the most out of your shelving. From gathering the right tools to securing the unit to the wall, we'll cover everything you need to know. Plus, we'll share some tips on how to maximize your storage with compatible accessories like Camshelving® - Starter Units - Mobile with Vented Shelves and Cam GoBox® Full Size Top Loaders.
Tools and Preparation
Before you begin, gather all necessary tools. You'll typically need a drill, a level, a stud finder, a tape measure, a pencil, and a socket wrench or screwdriver. Check the kit contents to ensure you have all screws, anchors, and brackets. If you're mounting on drywall, use appropriate anchors; for concrete or tile, you may need specialized drill bits.
Clear the installation area and protect the floor with a drop cloth. Review the manufacturer's instructions provided with your kit. It's also wise to have a helper on hand to hold the unit while you secure it, especially for larger shelving stations.
- Always use a stud finder to locate wall studs for maximum support.
- Wear safety glasses when drilling into walls.
- Check for any plumbing or electrical lines behind the wall before drilling.
Step 1: Positioning and Marking
Decide on the desired height and location for your shelving. Consider the workflow in your kitchen—place it near prep areas or cooking stations for easy access. Use a level to mark a straight line where the top of the shelving will sit. Hold the mounting bracket against the wall and mark the screw holes with a pencil.
Double-check your measurements to ensure the unit is level and square. If you're installing multiple units, maintain consistent spacing between them for a professional look. Remember to account for the depth of the shelving so it doesn't interfere with doors or walkways.
Step 2: Drilling and Securing Brackets
Using your drill, create pilot holes at the marked points. If you hit a stud, you can drill directly; if not, insert wall anchors. For heavy-duty installations, it's best to secure at least one side into a stud. After drilling, attach the mounting brackets to the wall using the provided screws. Tighten them securely but avoid over-tightening, which could strip the threads.
Once the brackets are in place, use a level to verify they are even. Adjust if necessary before moving to the next step. This is a critical step to ensure the stability of your shelving.
Step 3: Assembling the Shelving Unit
Now, assemble the shelving unit itself. Lay out all posts, shelves, and connectors. Follow the instructions to attach the shelves to the posts, ensuring they lock in place. For a mobile option, consider using Camshelving® - Starter Units - Mobile with Vented Shelves, which come pre-assembled and feature casters for easy movement.
If you're using a wall-mounted kit, you'll attach the unit to the brackets you've just installed. Lift the assembled shelving onto the brackets and secure it with the provided fasteners. Make sure it's level and firmly attached before loading any items.
- For easier installation, assemble the unit on the floor first, then lift it into place.
- Use a rubber mallet to gently tap shelves into place if they're snug.
Step 4: Adding Accessories and Organizing
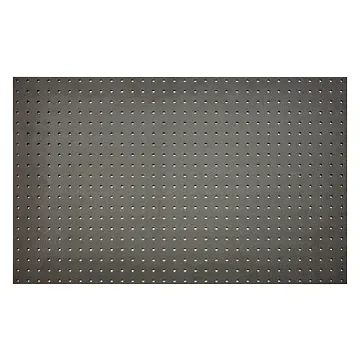
Once your shelving is installed, you can customize it with accessories. For example, add Vertical Wall Uprights to increase storage height, or use Pegboards to hang utensils and small tools. These additions can significantly boost your storage efficiency.
Organize your items logically: place frequently used items at eye level, heavier items on lower shelves, and lighter items on top. Use Cambro's food storage solutions like Camsquares® FreshPro Food Storage Containers – Camwear® to keep ingredients fresh and neatly stacked. You can also store Cambro's Food Storage Lids on a dedicated shelf for easy access.
Step 5: Safety Checks and Maintenance
After installation, perform a safety check. Ensure all screws are tight, and the unit is stable. Test it by applying gentle pressure and loading a few items. If you have a mobile unit, check that the casters lock properly.
Regular maintenance is essential. Periodically inspect the brackets and screws for looseness, especially in high-use areas. Clean the shelves with a damp cloth and mild detergent to keep them hygienic. Avoid overloading the shelving beyond its weight capacity, which is typically listed in the product specifications.
Installing Cambro wall shelving station kits is a straightforward process that can transform your kitchen's organization and efficiency. By following these steps and using quality accessories, you'll create a durable and functional storage solution. For more information on compatible products, explore our range of shelving and storage options to find the perfect fit for your needs.