Quick answer
To install a free float AR15 handguard with 6 screws, first secure the barrel nut to the upper receiver with a torque wrench, aligning the gas tube hole. Then slide the handguard over the barrel nut, ensuring the 6 screw holes line up with the nut's threaded holes. Apply blue threadlocker and tighten the screws in a star pattern to 30-35 inch-pounds. Finally, check alignment and tighten the barrel nut if needed.
Tools and parts you'll need
Before you start, gather the right tools: a torque wrench (inch-pound), barrel nut wrench, upper receiver vise block, blue threadlocker, and a set of Allen keys. You'll also need your new handguard, barrel nut, and crush washers. If your handguard uses KeyMod or M-LOK, no special tools are required for the rail itself, but a torque wrench is non-negotiable for the barrel nut.
- Torque wrench (10-50 inch-pounds)
- Barrel nut wrench compatible with your nut
- Upper receiver vise block
- Blue threadlocker (medium strength)
- Allen keys (usually 3/32" or 5/64")
- Anti-seize compound for barrel nut threads
Step 1: Prepare the upper receiver
Secure your upper receiver in a vise using a vise block. Remove the old handguard, gas tube, and barrel nut. Clean the receiver threads with a brush and apply a thin coat of anti-seize to the barrel nut threads. This prevents galling and makes future removal easier.
Step 2: Install and torque the barrel nut
Thread the barrel nut onto the upper receiver by hand, then tighten with a barrel nut wrench. Torque to 30-35 foot-pounds, then align the gas tube hole. If the hole doesn't align, continue tightening until it does—never loosen. The barrel nut must be tight to ensure accuracy and safety.
Step 3: Attach the handguard
Slide the handguard over the barrel nut, aligning the 6 screw holes with the threaded holes on the nut. Ensure the top rail is level with the upper receiver rail. If your handguard has a KeyMod or M-LOK rail, the mounting holes are on the sides and bottom—no extra alignment needed.
Step 4: Secure the 6 screws
Apply a small amount of blue threadlocker to each screw. Insert all 6 screws by hand, then tighten in a star pattern (top-left, bottom-right, top-right, bottom-left, etc.) to 30-35 inch-pounds. This ensures even pressure and prevents stripping.
Step 5: Final checks
Verify that the handguard is secure and the rail is aligned. Check that the gas tube moves freely inside the upper receiver. If you installed a slim handguard, ensure it doesn't contact the gas block. Re-torque the barrel nut if the handguard feels loose.
6-Screw Installation Steps
- Prepare the upper receiver: Secure the upper in a vise block, remove the old handguard, and clean the threads. Apply anti-seize to the barrel nut threads. Checkpoint: Ensure the receiver threads are clean and undamaged.
- Torque the barrel nut: Thread the barrel nut on by hand, then torque to 30-35 ft-lbs with a barrel nut wrench. Align the gas tube hole by tightening further if needed. Checkpoint: Never loosen the barrel nut to align the hole; always tighten.
- Slide on the handguard: Slide the handguard over the barrel nut, aligning the 6 screw holes. Ensure the top rail is level with the upper receiver. Checkpoint: If the handguard doesn't slide on easily, check for obstructions or thread damage.
- Insert and tighten screws: Apply blue threadlocker to each screw, insert all 6 by hand, then tighten in a star pattern to 30-35 inch-pounds. Checkpoint: Use a torque wrench to avoid over-tightening and stripping the screws.
- Final alignment and function check: Verify the handguard is secure and the gas tube moves freely. Ensure the slim handguard doesn't contact the gas block. Checkpoint: Re-torque the barrel nut if the handguard feels loose.
Products used in this guide
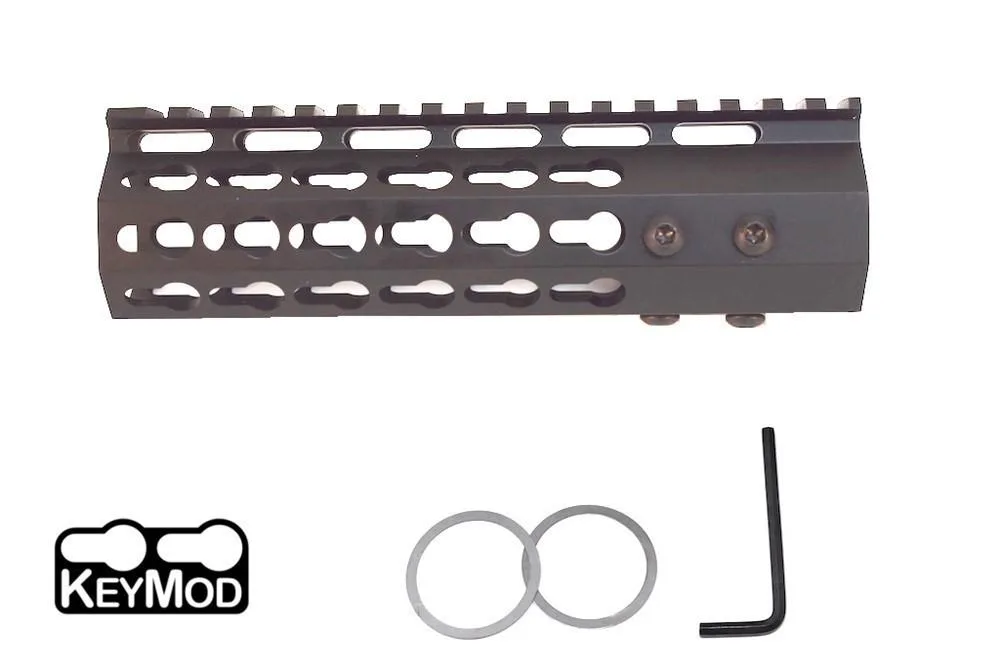
- AR15 7" Slim Keymod Handguard Rail One Piece Free Float with 6 Screws: 7" ULTRA-LIGHT Super Slim Keymod Handguard, One Piece Free Float, includes steel barrel nut, 6061-T6 aluminum, Allen key and crush washers. This handguard is ideal for a lightweight build and comes with all necessary hardware, simplifying installation.
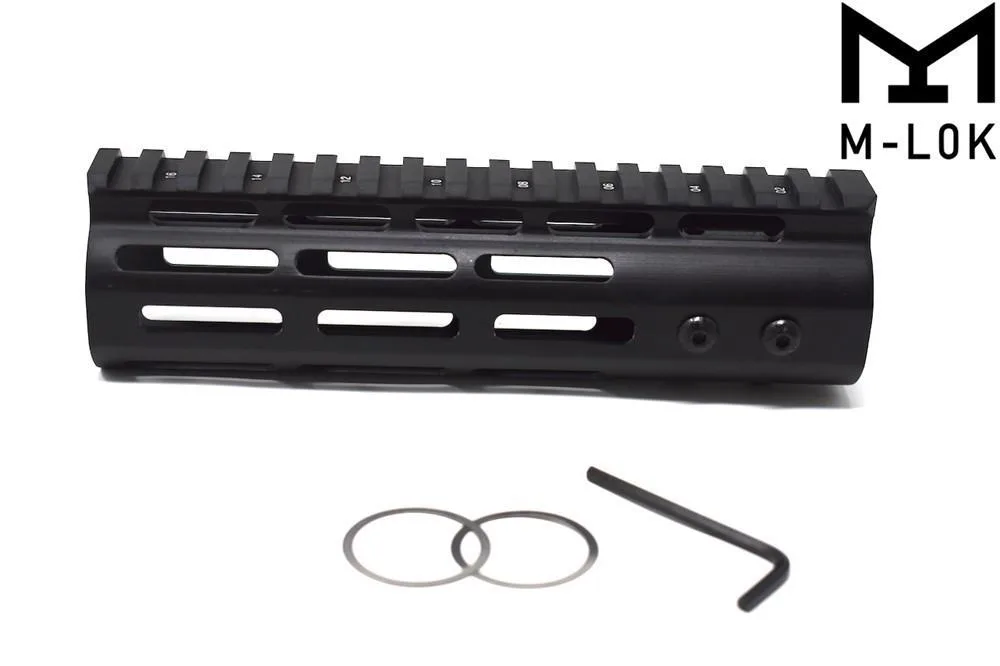
- AR15 7" Slim M-LOK Handguard Rail One Piece Free Float with 6 Screws: 7" ULTRA-LIGHT Super Slim M-LOK Handguard, One Piece Free Float, includes steel barrel nut, 6061-T6 aluminum, M-LOK slots on 3 sides, Allen key and crush washers. M-LOK offers versatile accessory mounting; this handguard includes the barrel nut and tools for a straightforward install.