Installing a shower filter is one of the simplest ways to improve your hair and skin health at home. Hello Klean shower filters are designed to reduce chlorine, heavy metals, and other impurities that can cause dryness, irritation, and damage. The good news? You don’t need a plumber or any special tools. With just a few minutes and this step-by-step guide, you can have your filter up and running.
Whether you’ve purchased the https://trutoolai.com/products/hello-klean-shower-head-plus-175089Hello Klean Shower Head Plus or the Hello Klean Rain Shower, the installation process is nearly identical. Both models feature a universal fit and a quick-connect system that makes setup a breeze. Follow these five easy steps to enjoy cleaner, softer water starting today.
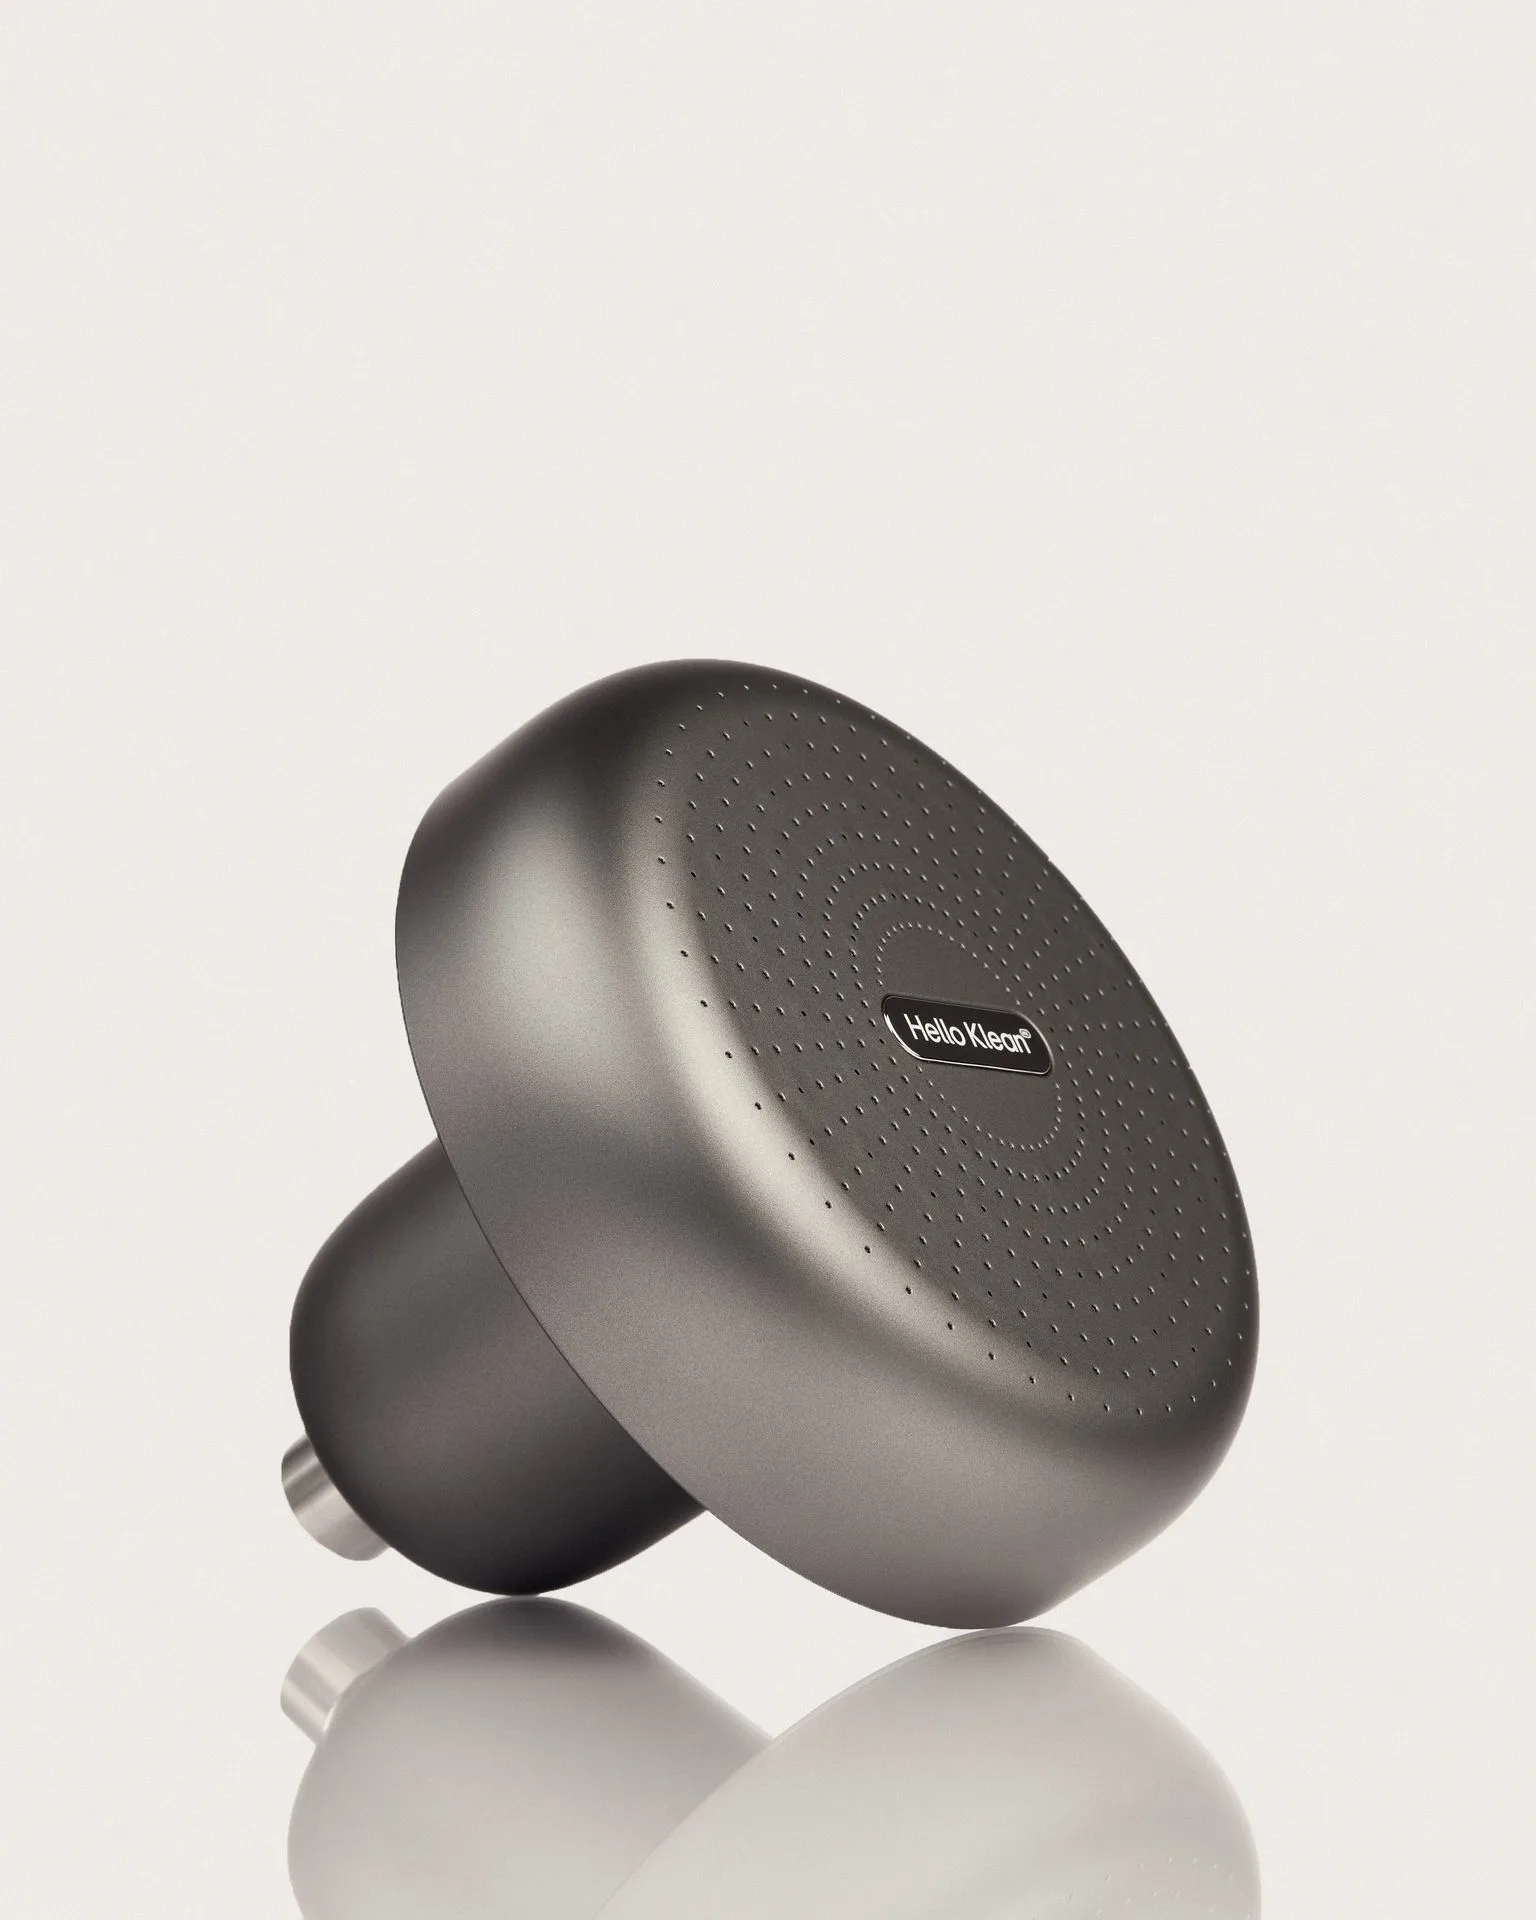
Hello Klean Rain Shower
Step 1: Unbox and Identify the Parts
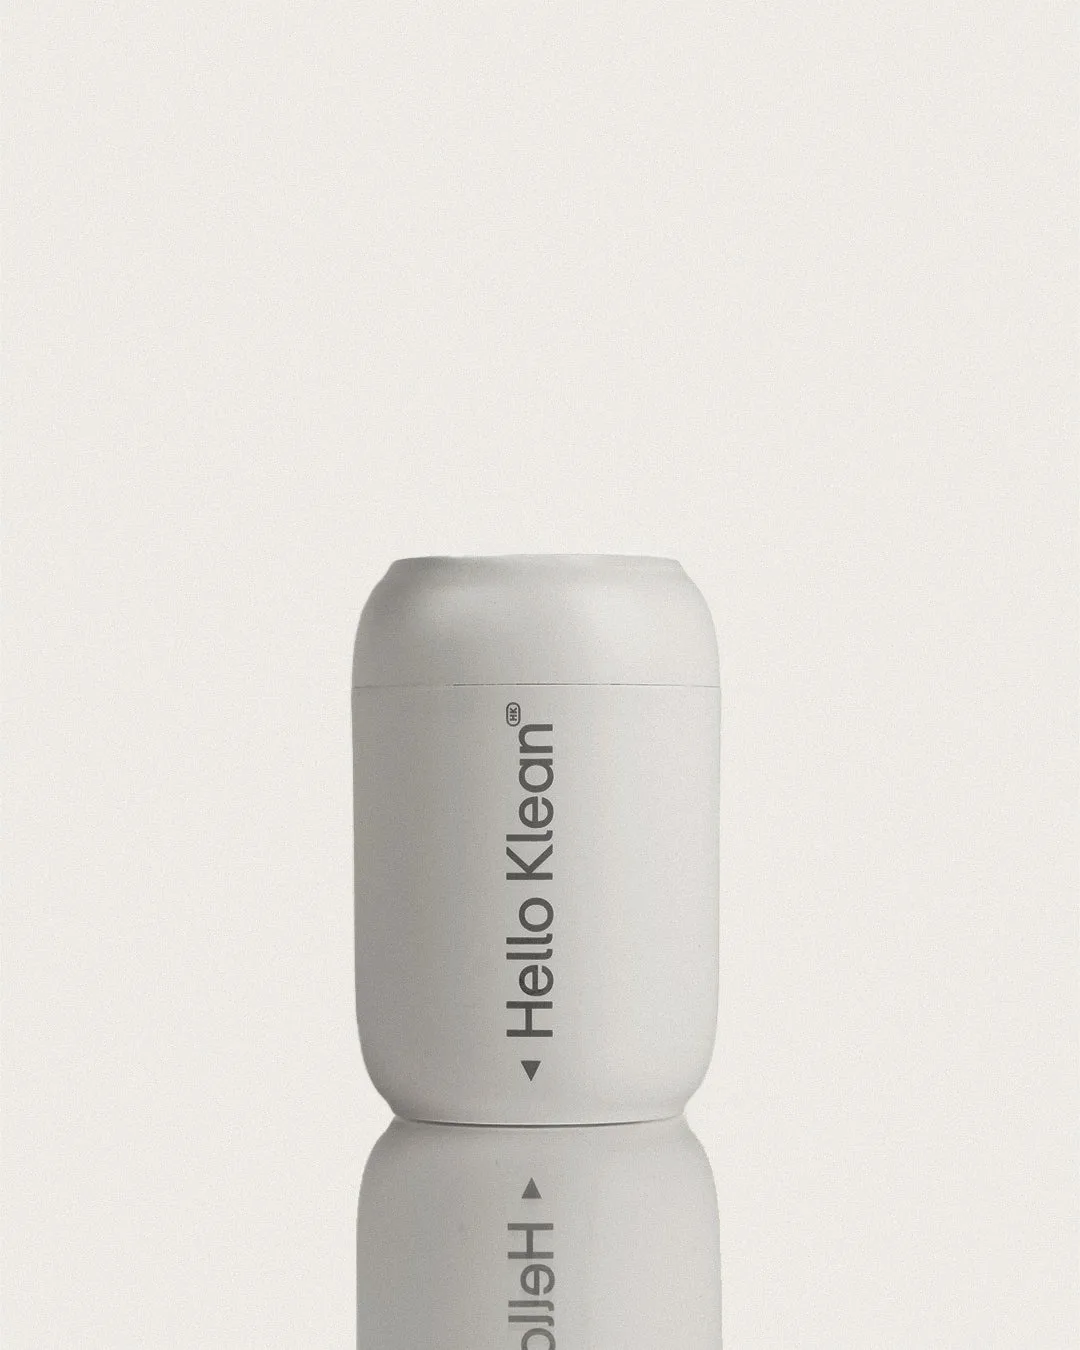
Start by unboxing your Hello Klean shower filter and laying out all the components. You should have the main filter unit, a shower head adapter (if included), a rubber washer, and possibly a Teflon tape. For the Hello Klean Shower Head Plus, you’ll also find the shower head itself. Take a moment to identify each part and ensure nothing is missing.
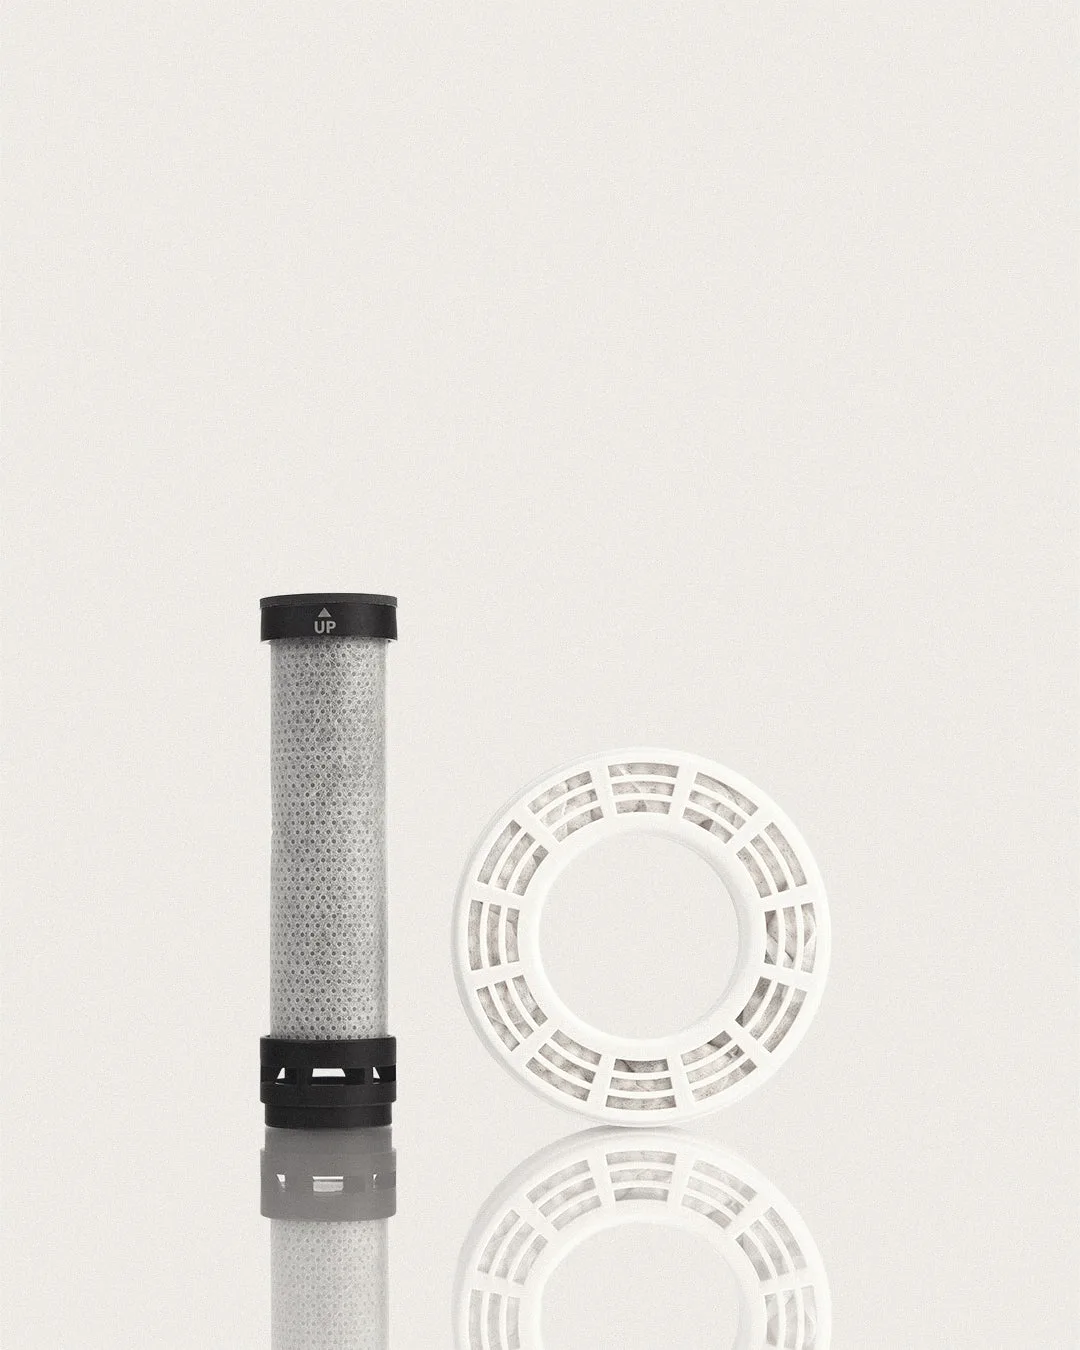
If you purchased the Shower Head + 1-Year Refill Kit, you’ll have additional refill cartridges. Set those aside for later. The filter unit is the key component—it houses the filtration media that removes chlorine and other contaminants.
- Check that you have the filter unit, adapter, and washers.
- If any parts are missing, contact Hello Klean customer support.
Step 2: Remove Your Old Shower Head
Before installing the filter, you need to remove your existing shower head. Use your hands to unscrew it from the shower arm (the pipe coming out of the wall). If it’s too tight, you can use a wrench with a cloth to protect the finish. Turn counterclockwise to loosen. Once removed, clean the threads on the shower arm to remove any old tape or debris.
This is a great time to inspect the shower arm for any damage. If the threads are worn, you may need to replace the arm. Otherwise, proceed to the next step.
Step 3: Attach the Filter Unit to the Shower Arm
Take the Hello Klean filter unit and screw it onto the shower arm. First, place the rubber washer inside the filter’s inlet to ensure a watertight seal. Then, hand-tighten the filter onto the arm by turning clockwise. Do not overtighten—just snug is fine. If you notice any leaks later, you can tighten a bit more.
For added security, you can wrap Teflon tape around the shower arm threads before attaching the filter. This is optional but recommended for older plumbing.
- Use Teflon tape if your shower arm threads are worn.
- Hand-tighten only to avoid damaging the filter.
Step 4: Attach the Shower Head (or Rain Shower)
Now attach your shower head to the filter unit. If you’re using the Hello Klean Shower Head Plus, simply screw it onto the filter’s outlet. For the Hello Klean Rain Shower, the same process applies. Again, hand-tighten until snug. Some models come with a small adapter—use it if needed to ensure a secure fit.
If you’re keeping your old shower head, it should also fit the filter’s standard threads. Just screw it on as usual.
- Ensure the shower head is aligned correctly before tightening.
- If using a handheld shower, attach the hose to the filter outlet.
Step 5: Flush and Test the System
Before your first shower, you need to flush the filter to remove any loose carbon dust from manufacturing. Simply turn on the water (cold only) and let it run for about 2-3 minutes. You may notice discolored water at first—that’s normal. Once the water runs clear, your filter is ready.
Check for leaks at all connection points. If you see drips, tighten the connections slightly. After confirming no leaks, you’re all set. Enjoy your first shower with filtered water! Remember to replace the filter cartridge every 6 months, or as recommended. You can purchase Hello Klean Refill Cartridges for easy maintenance.
- Flush with cold water only to avoid damaging the filter media.
- Set a reminder to change the cartridge in 6 months.
Installing your Hello Klean shower filter is a quick DIY project that pays off with healthier hair and skin. With just five steps, you can remove chlorine and impurities from your shower water. For ongoing maintenance, stock up on Hello Klean Refill Cartridges to keep your filter performing at its best. Start enjoying cleaner water today!