Quick answer
Mount the Kraken Elite 240 radiator in the H5 Flow's top position with the fans pushing air up and out, then set the pump block on the CPU with a light cross-pattern tighten. If your graphics card runs hot, use the front position instead with the tubes entering at the bottom. Either way, plan the tube path and connect the pump tach cable to the CPU_FAN header before you close the side panel.
The NZXT H5 Flow is a compact mid-tower that supports up to a 360mm radiator in front and a 240mm radiator up top, which makes it a natural home for the Kraken Elite 240. The install itself is straightforward, but the order you do things in matters more than the parts list. Radiator placement, fan direction, and tube routing decide whether you finish in an hour or spend an afternoon redoing steps.
This guide walks through the process in the order that avoids rework. You will prepare the case, mount the radiator and fans as one assembly, seat the pump, and route cables so the side panel closes without strain. Along the way, each step calls out the one mistake that most often costs builders time.
Before you start: what to have ready
Clear a table, unplug the PC, and press the power button once to discharge residual power. You will need a Phillips #2 screwdriver, the Kraken Elite 240's mounting hardware for your CPU socket, and a lint-free cloth with isopropyl alcohol for cleaning the CPU heat spreader. Keep the case's accessory box nearby; the H5 Flow includes the screws you will need for the radiator and fans, but it helps to sort them before you begin.
Decide on radiator placement now, not mid-build. The H5 Flow supports a 240mm radiator up top and up to a 360mm radiator in front. Top mounting keeps the front intake clear for GPU airflow, while front mounting gives the CPU cooler first access to cool outside air. If you are not sure, start with the top position and switch only if your GPU temperatures bother you.
- Lay the case on its side before removing the glass panel so it cannot fall.
- Photograph the stock fan and cable layout before you unplug anything.
Step 1: Prepare the case and remove the panels
Remove the glass side panel and the right-side panel so you can reach both sides of the motherboard tray. Take off the top mesh panel if you plan a top-mounted radiator, and the front mesh panel if you plan a front mount. On the H5 Flow, the top and front panels are held by friction tabs, so pull evenly rather than prying one corner.
The most common mistake here is forcing a panel while a cable is still clipped to it. Check for fan cables or front-panel connectors routed along the panel edges before you pull. Set screws in a magnetic tray or a cup; loose screws inside a running case are how builds develop mysterious rattles.
- Keep the removed panels on a soft cloth to avoid scratching the mesh.
Step 2: Mount the fans to the radiator first
Attach the Kraken Elite 240's fans to the radiator before the radiator goes anywhere near the case. This is far easier on a flat surface than reaching into a tight mid-tower. For a top mount, orient the fans to push air up through the radiator and out of the case. For a front mount, orient them to pull air in through the front mesh and through the radiator.
The mistake to avoid is mixing fan orientation halfway through. Look for the small arrow molded on the fan frame that shows airflow direction, and confirm every fan points the same way. If you are using aftermarket fans such as the F120 RGB Core Fans, screw them down snug but not crushing; over-tightening can distort the frame and introduce vibration.
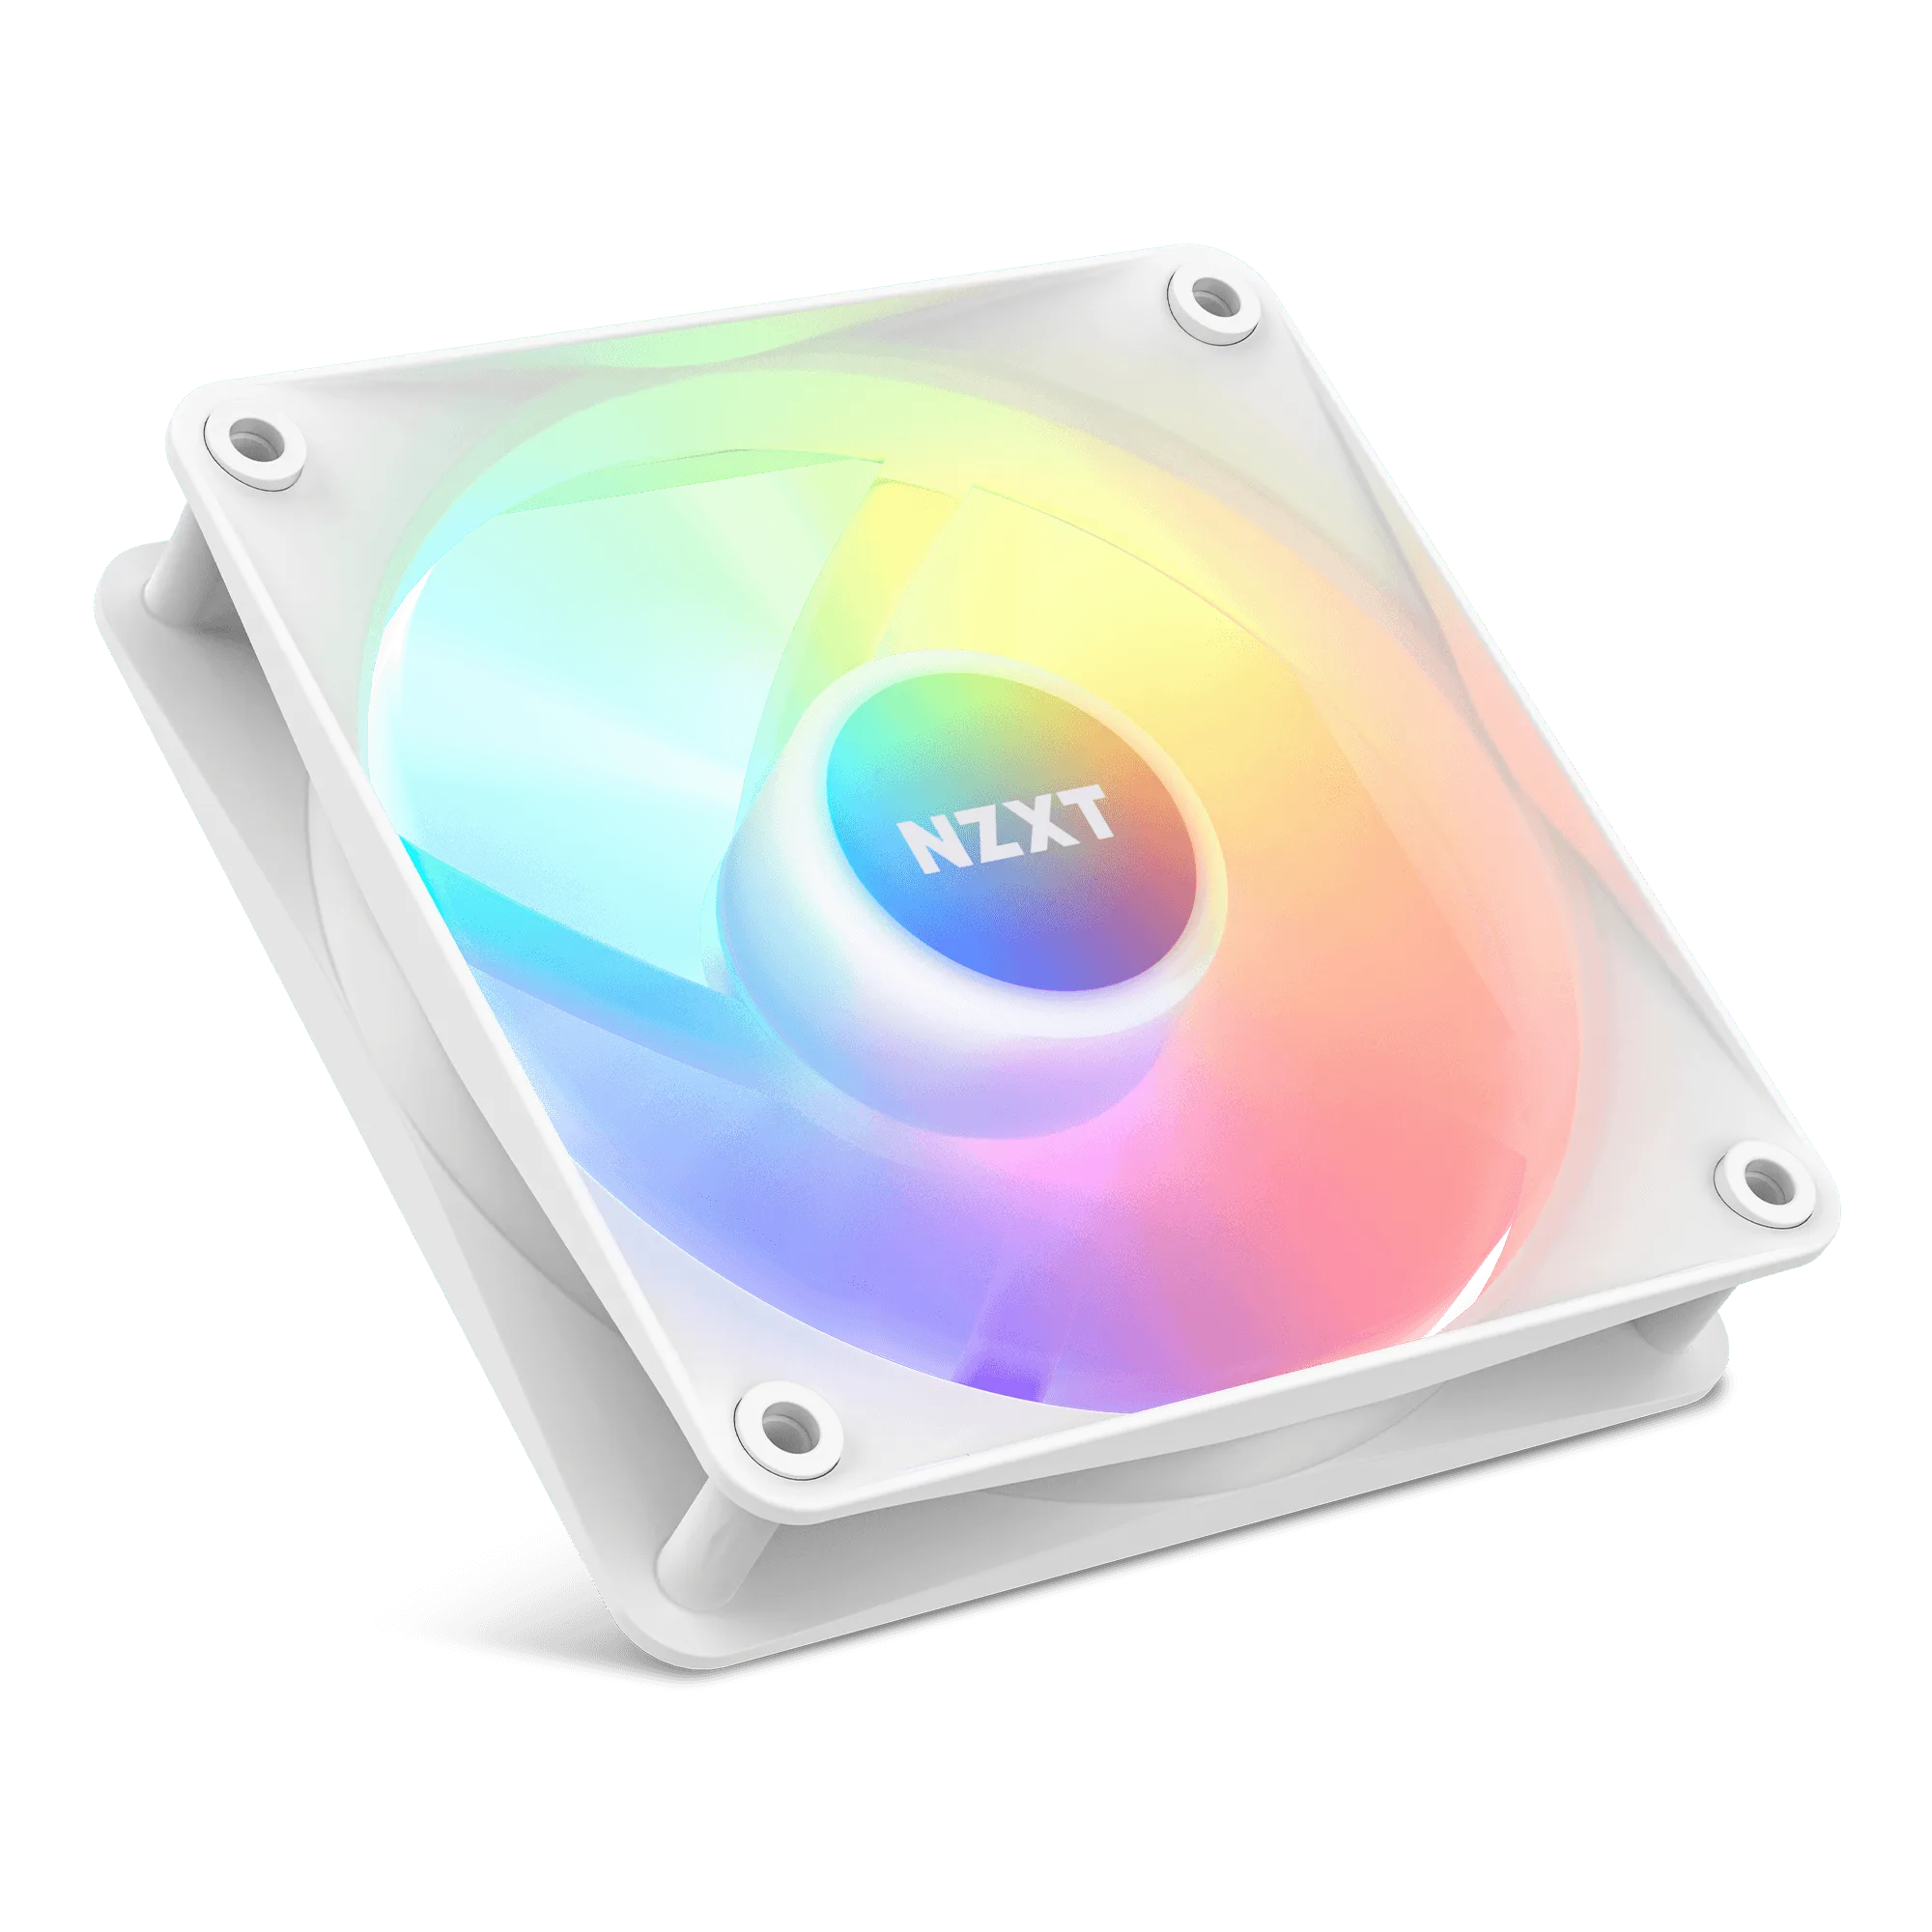
F120 RGB Core Fans
- Hand-tighten fan screws in a diagonal pattern so the radiator does not flex.
- Keep the fan cables facing the side of the case where you can reach them later.
Step 3: Install the radiator in the H5 Flow
Lift the radiator-and-fan assembly into the case and line up the mounting holes. For a top mount, slide it in from inside the case and hold it in place while you start two diagonal screws. For a front mount, feed it in from the front opening and secure it the same way. Start all screws before fully tightening any of them so the radiator can settle into the mounting points.
Tube orientation is the checkpoint here. On a front mount, tubes entering at the bottom keep the pump from becoming the highest point in the loop, which helps avoid gurgling. On a top mount, route the tubes toward the rear of the case so they curve gently to the pump rather than kinking against the motherboard. If the tubes fight you, stop and re-check the radiator position instead of forcing the bend.
- Do not fully tighten radiator screws until all four are started.
- Check that the radiator does not block the top fan mounts you may want later.
Step 4: Prepare the CPU and mount the pump block
Clean the CPU heat spreader with isopropyl alcohol and let it dry completely. Install the correct mounting bracket for your socket, following the Kraken Elite 240's included instructions. Apply a small pea-sized dot of thermal paste in the center of the CPU, or use the pre-applied paste on the pump block if it is still intact. Do not use both.
Lower the pump block straight down onto the CPU, then tighten the mounting screws in a cross pattern a little at a time. The mistake to avoid is tightening one screw all the way before the others; uneven pressure is the most common cause of high CPU temperatures after an otherwise correct install. When the block stops moving under light finger pressure, you are done.
- Peel the protective film off the pump block before mounting. It is easy to miss.
- If the block rocks after tightening, loosen and restart the cross pattern.
Step 5: Connect power, pump, and fan cables
Connect the pump tach cable to the CPU_FAN header so the motherboard sees a CPU cooler and will boot without a fan warning. Power the pump from the appropriate header or controller as described in the Kraken Elite 240 instructions. Route the fan cables from the radiator to a fan header or controller, then tuck the excess behind the motherboard tray.
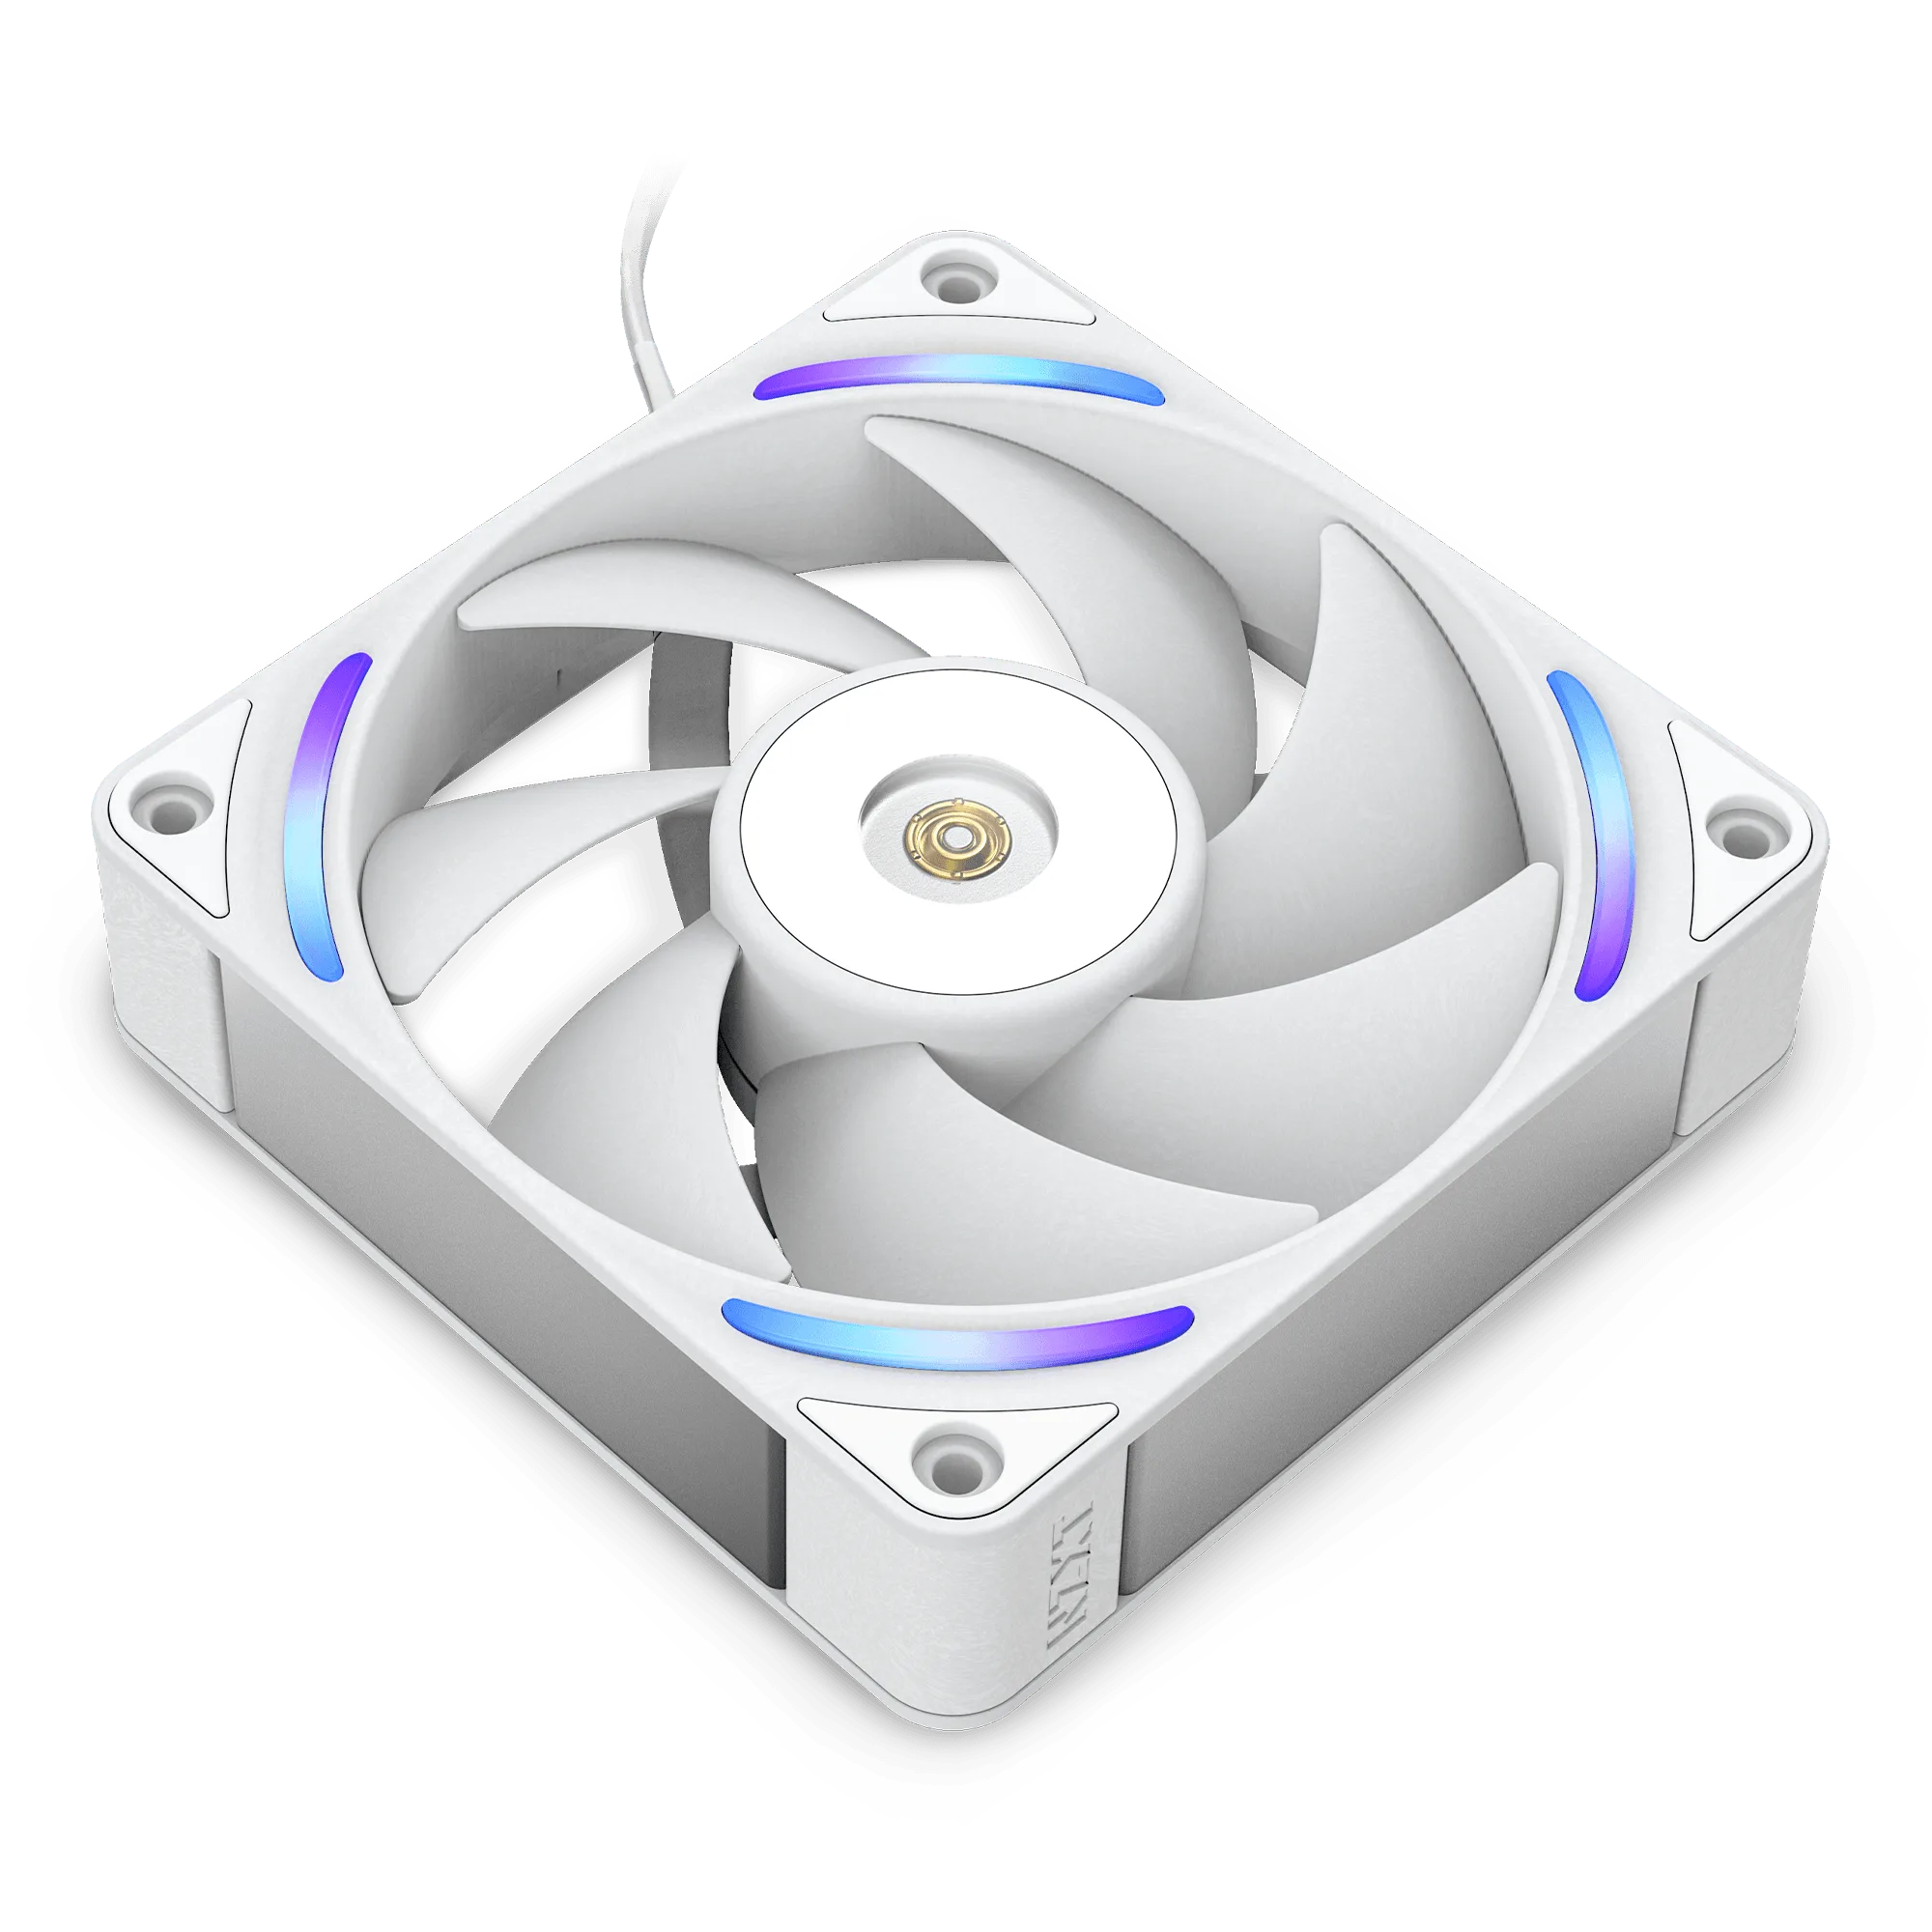
The common mistake is leaving cables where they will be pinched by the side panel or clipped by a fan blade. Before closing up, spin each fan with a finger to confirm nothing touches the blades. If you are adding case fans, the F140X's LCP construction resists flex and vibration at high speeds, which helps keep the build quiet, but cable routing still decides whether you hear a tick at idle.
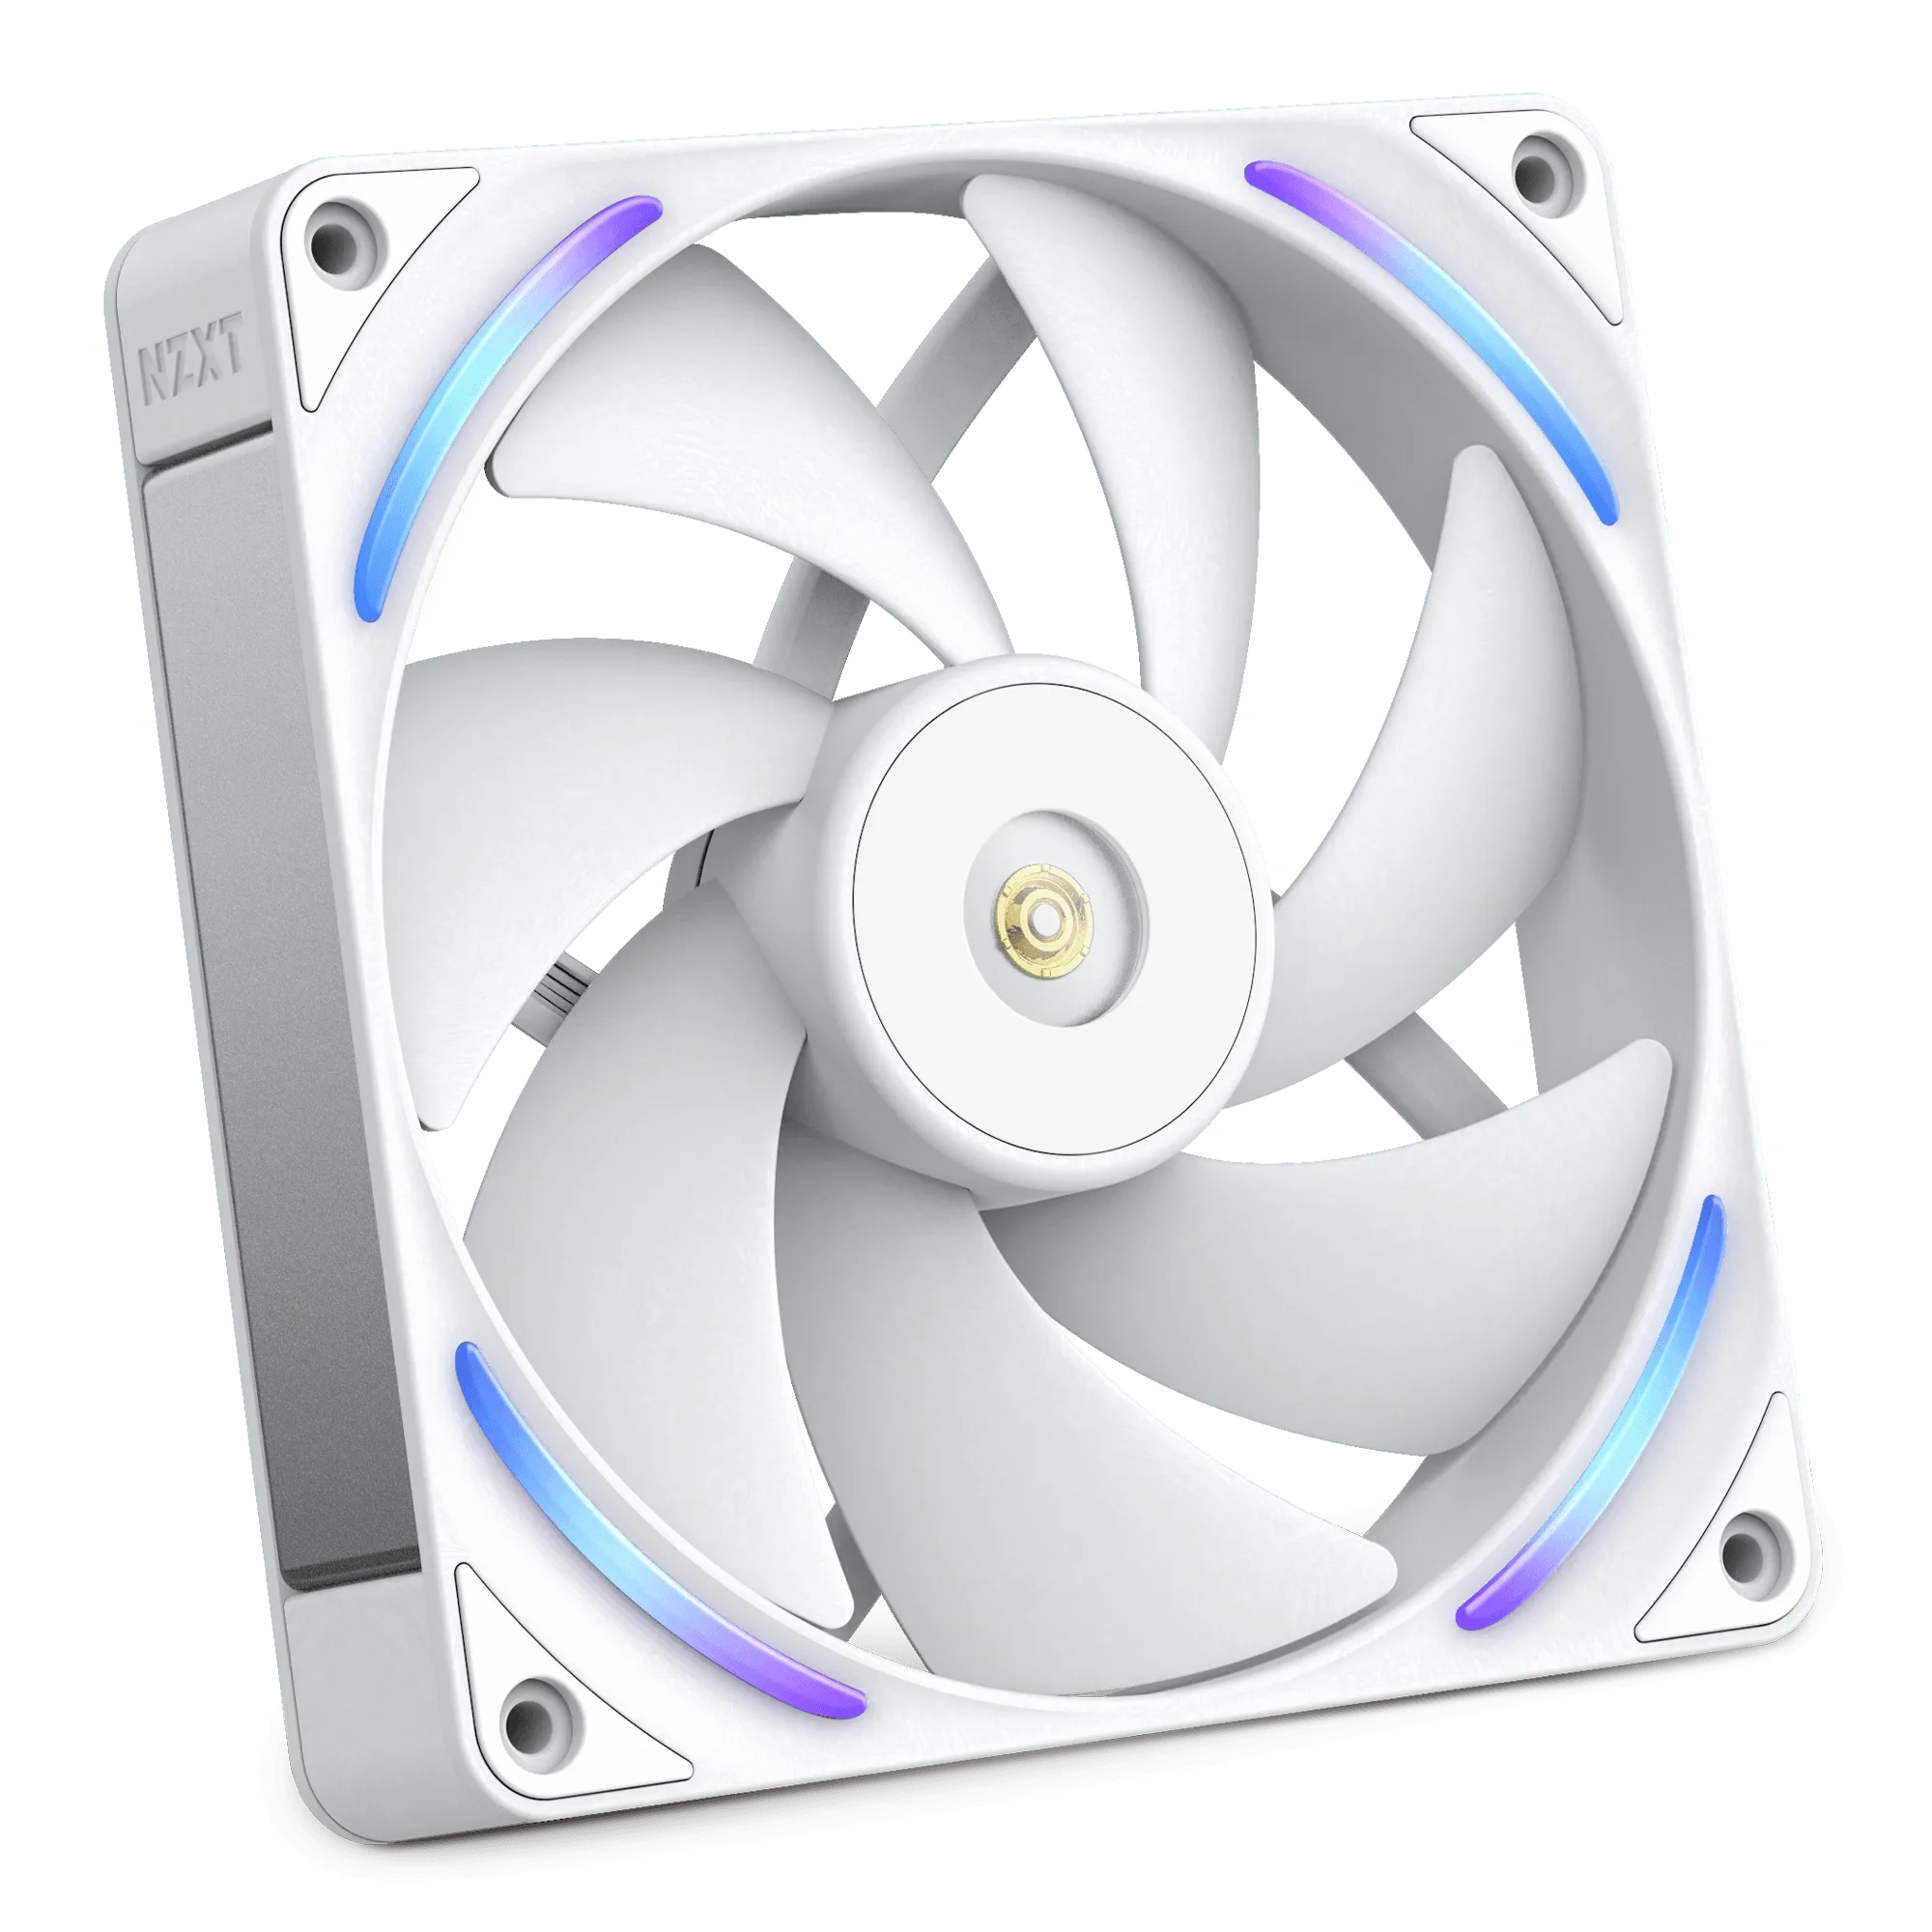
F140X
- Zip-tie cables to the tray, not to the tubes.
- Confirm the pump cable reaches its header without pulling the tube taut.
Step 6: Test, close up, and check temperatures
Before reinstalling panels, connect power and peripherals and boot into the BIOS. Watch the CPU temperature for a minute or two; it should settle rather than climb steadily. If it climbs, power down and re-check the pump mounting and the pump power connection. Once temperatures look normal, shut down, reinstall the panels, and boot into your operating system.
Run a short load test and watch both CPU and GPU temperatures. In the H5 Flow, a top-mounted radiator leaves the front intake free for the graphics card, which is usually the better balance in a compact case. If GPU temperatures are higher than you expect, revisit front versus top radiator placement and confirm all intake and exhaust fans are oriented consistently.
- Set a fan curve after the first boot rather than leaving fans at full speed.
- Re-check pump screws after a week; they can settle slightly.
Install steps at a glance
- Prepare the case: Remove the glass, right-side, top, and front panels as needed, and check for cables clipped to panel edges before pulling. Checkpoint: no panel should require force to remove.
- Mount fans to the radiator: Attach fans on a flat surface with all airflow arrows pointing the same direction, then hand-tighten in a diagonal pattern. Checkpoint: every fan arrow points the same way.
- Install the radiator: Top mount for GPU airflow or front mount with tubes at the bottom; start all screws before tightening any. Checkpoint: tubes curve gently and do not kink.
- Seat the pump block: Clean the CPU, apply a pea-sized dot of paste, peel the protective film, and tighten in a cross pattern. Checkpoint: the block does not rock under light finger pressure.
- Route cables: Connect the pump tach to CPU_FAN and fan cables to a header or controller, then tuck excess behind the tray. Checkpoint: spin each fan by hand to confirm nothing touches the blades.
- Test and close up: Boot to BIOS, watch CPU temperature settle, then run a load test and set a fan curve. Checkpoint: temperatures stabilize instead of climbing.
Parts that fit this build
- H5 Flow + Kraken Elite 240: The H5 Flow is a compact mid-tower with mesh panels and a perforated PSU shroud, and it supports up to a 240mm radiator up top and up to a 360mm radiator in front. That top 240mm support is what makes the Kraken Elite 240 a direct fit without modifying the case, and the front option gives you a fallback if GPU temperatures need attention.
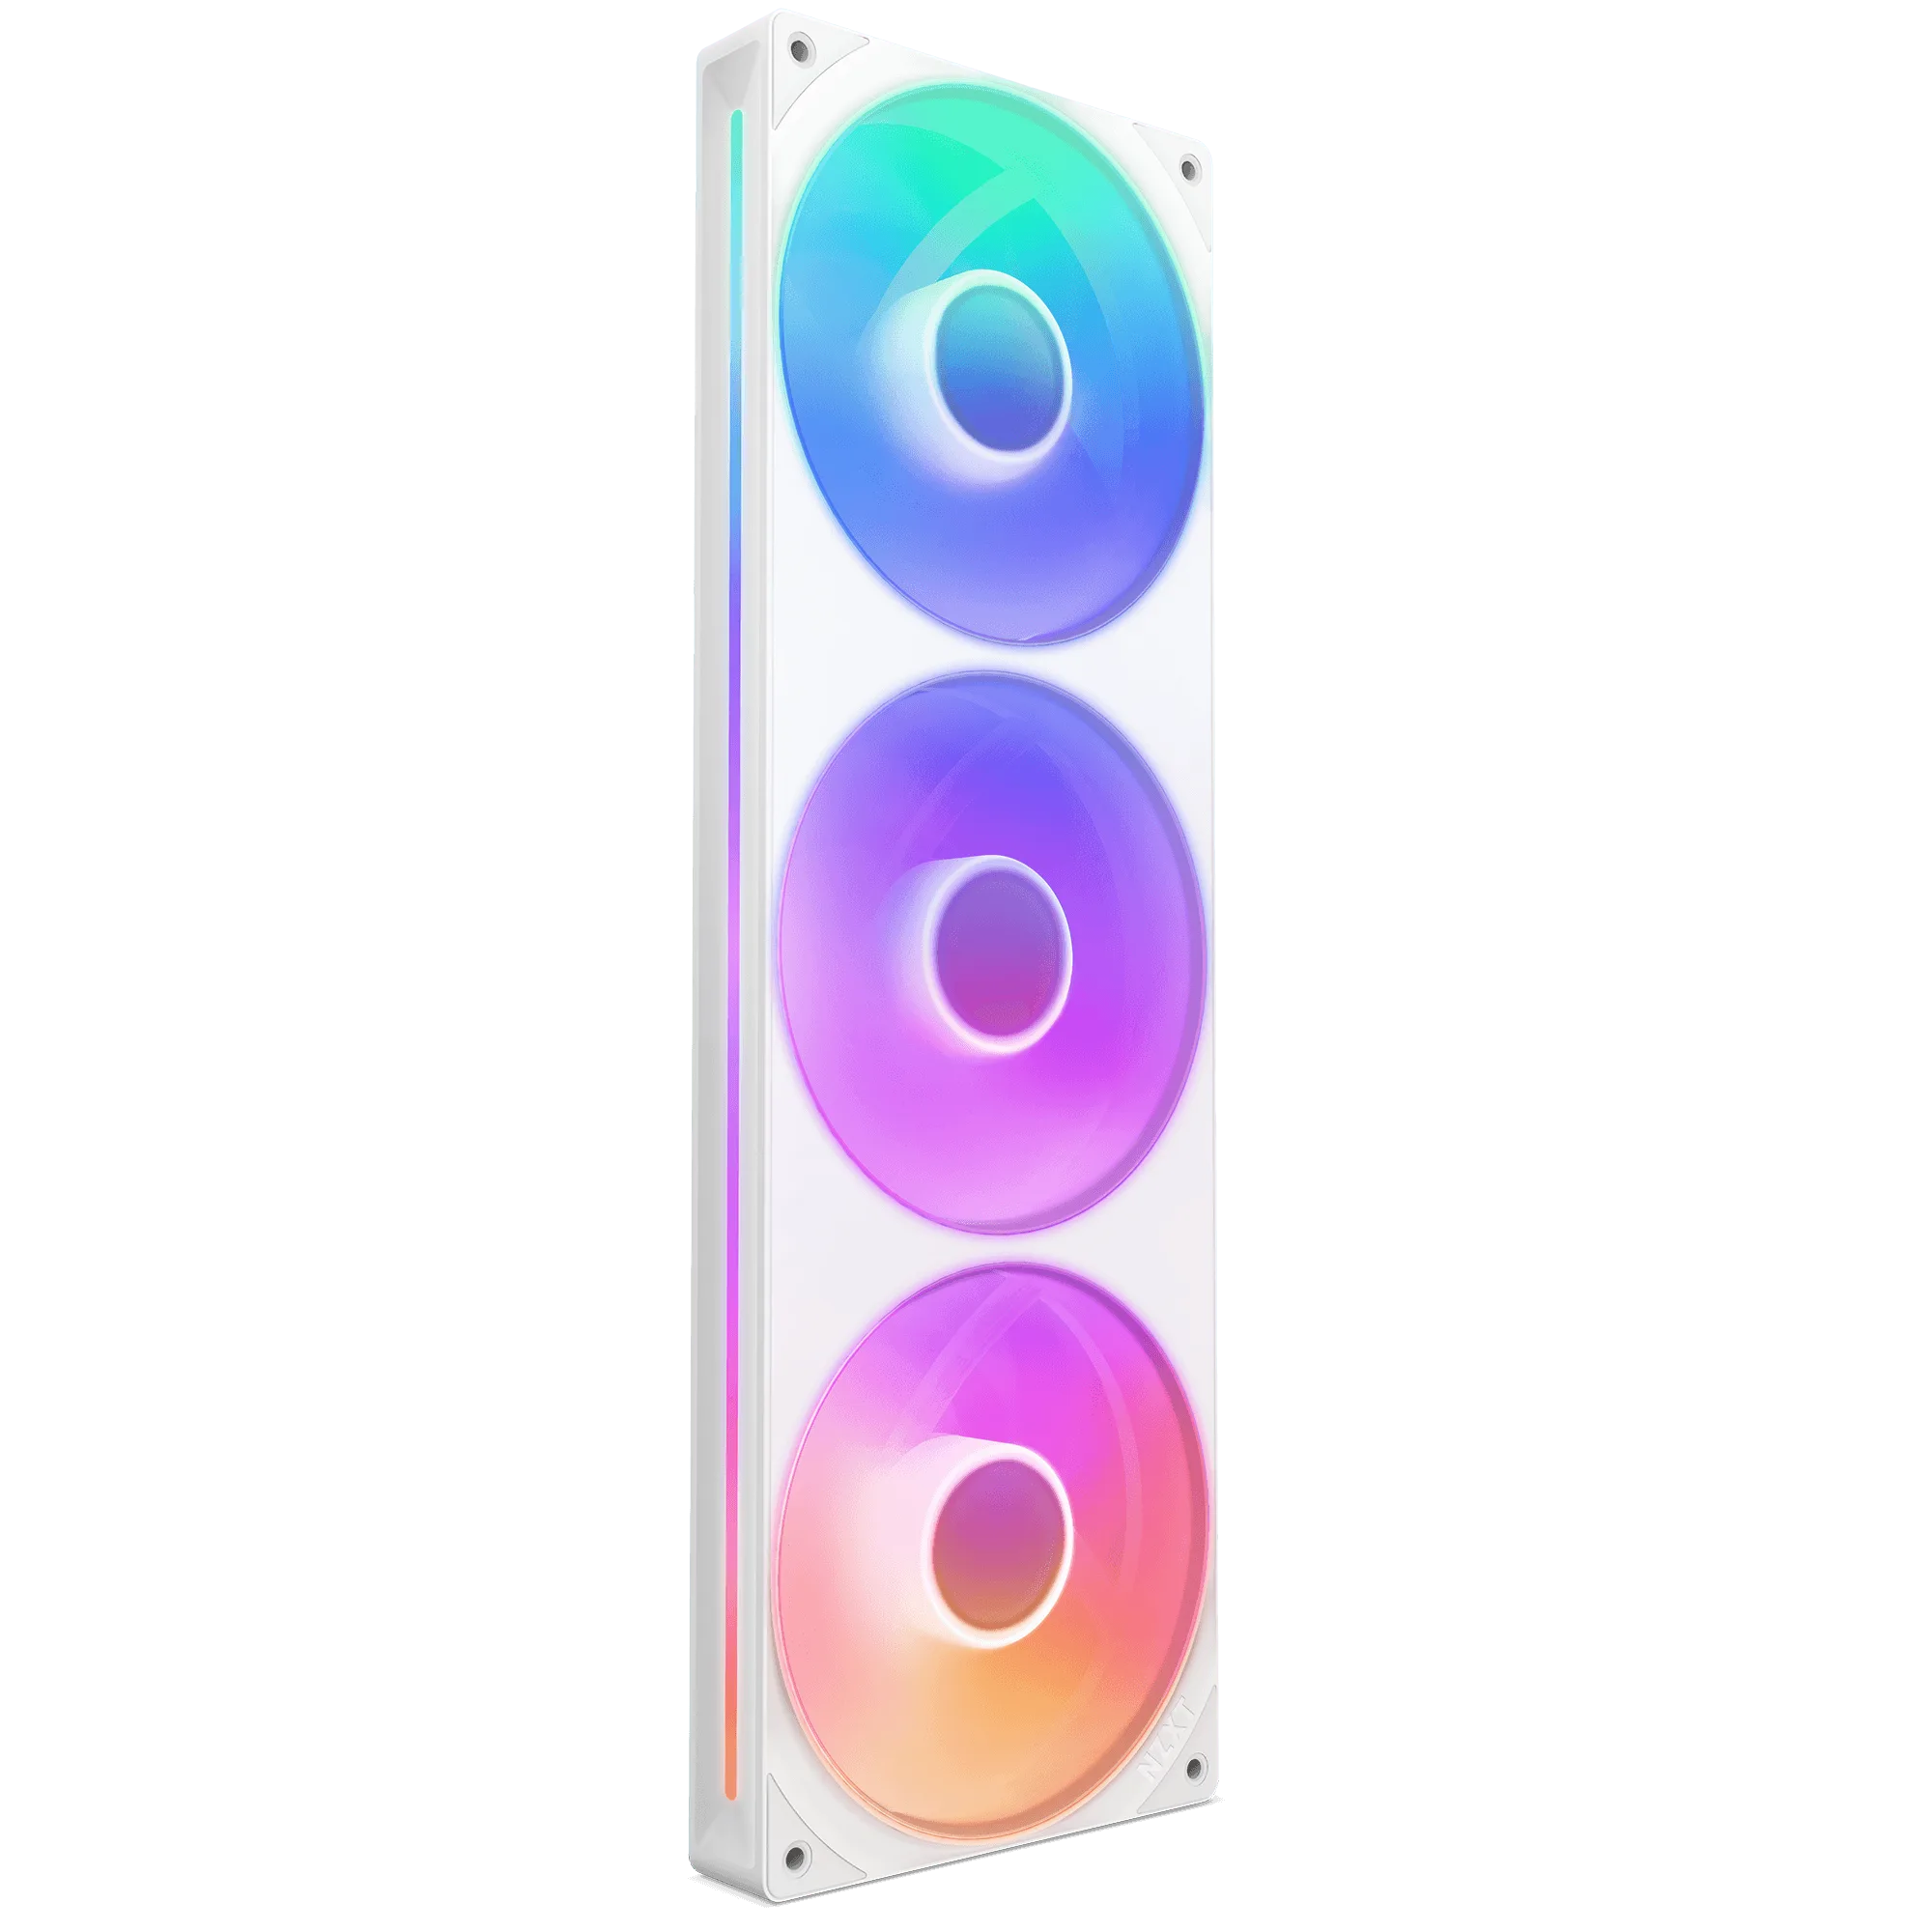
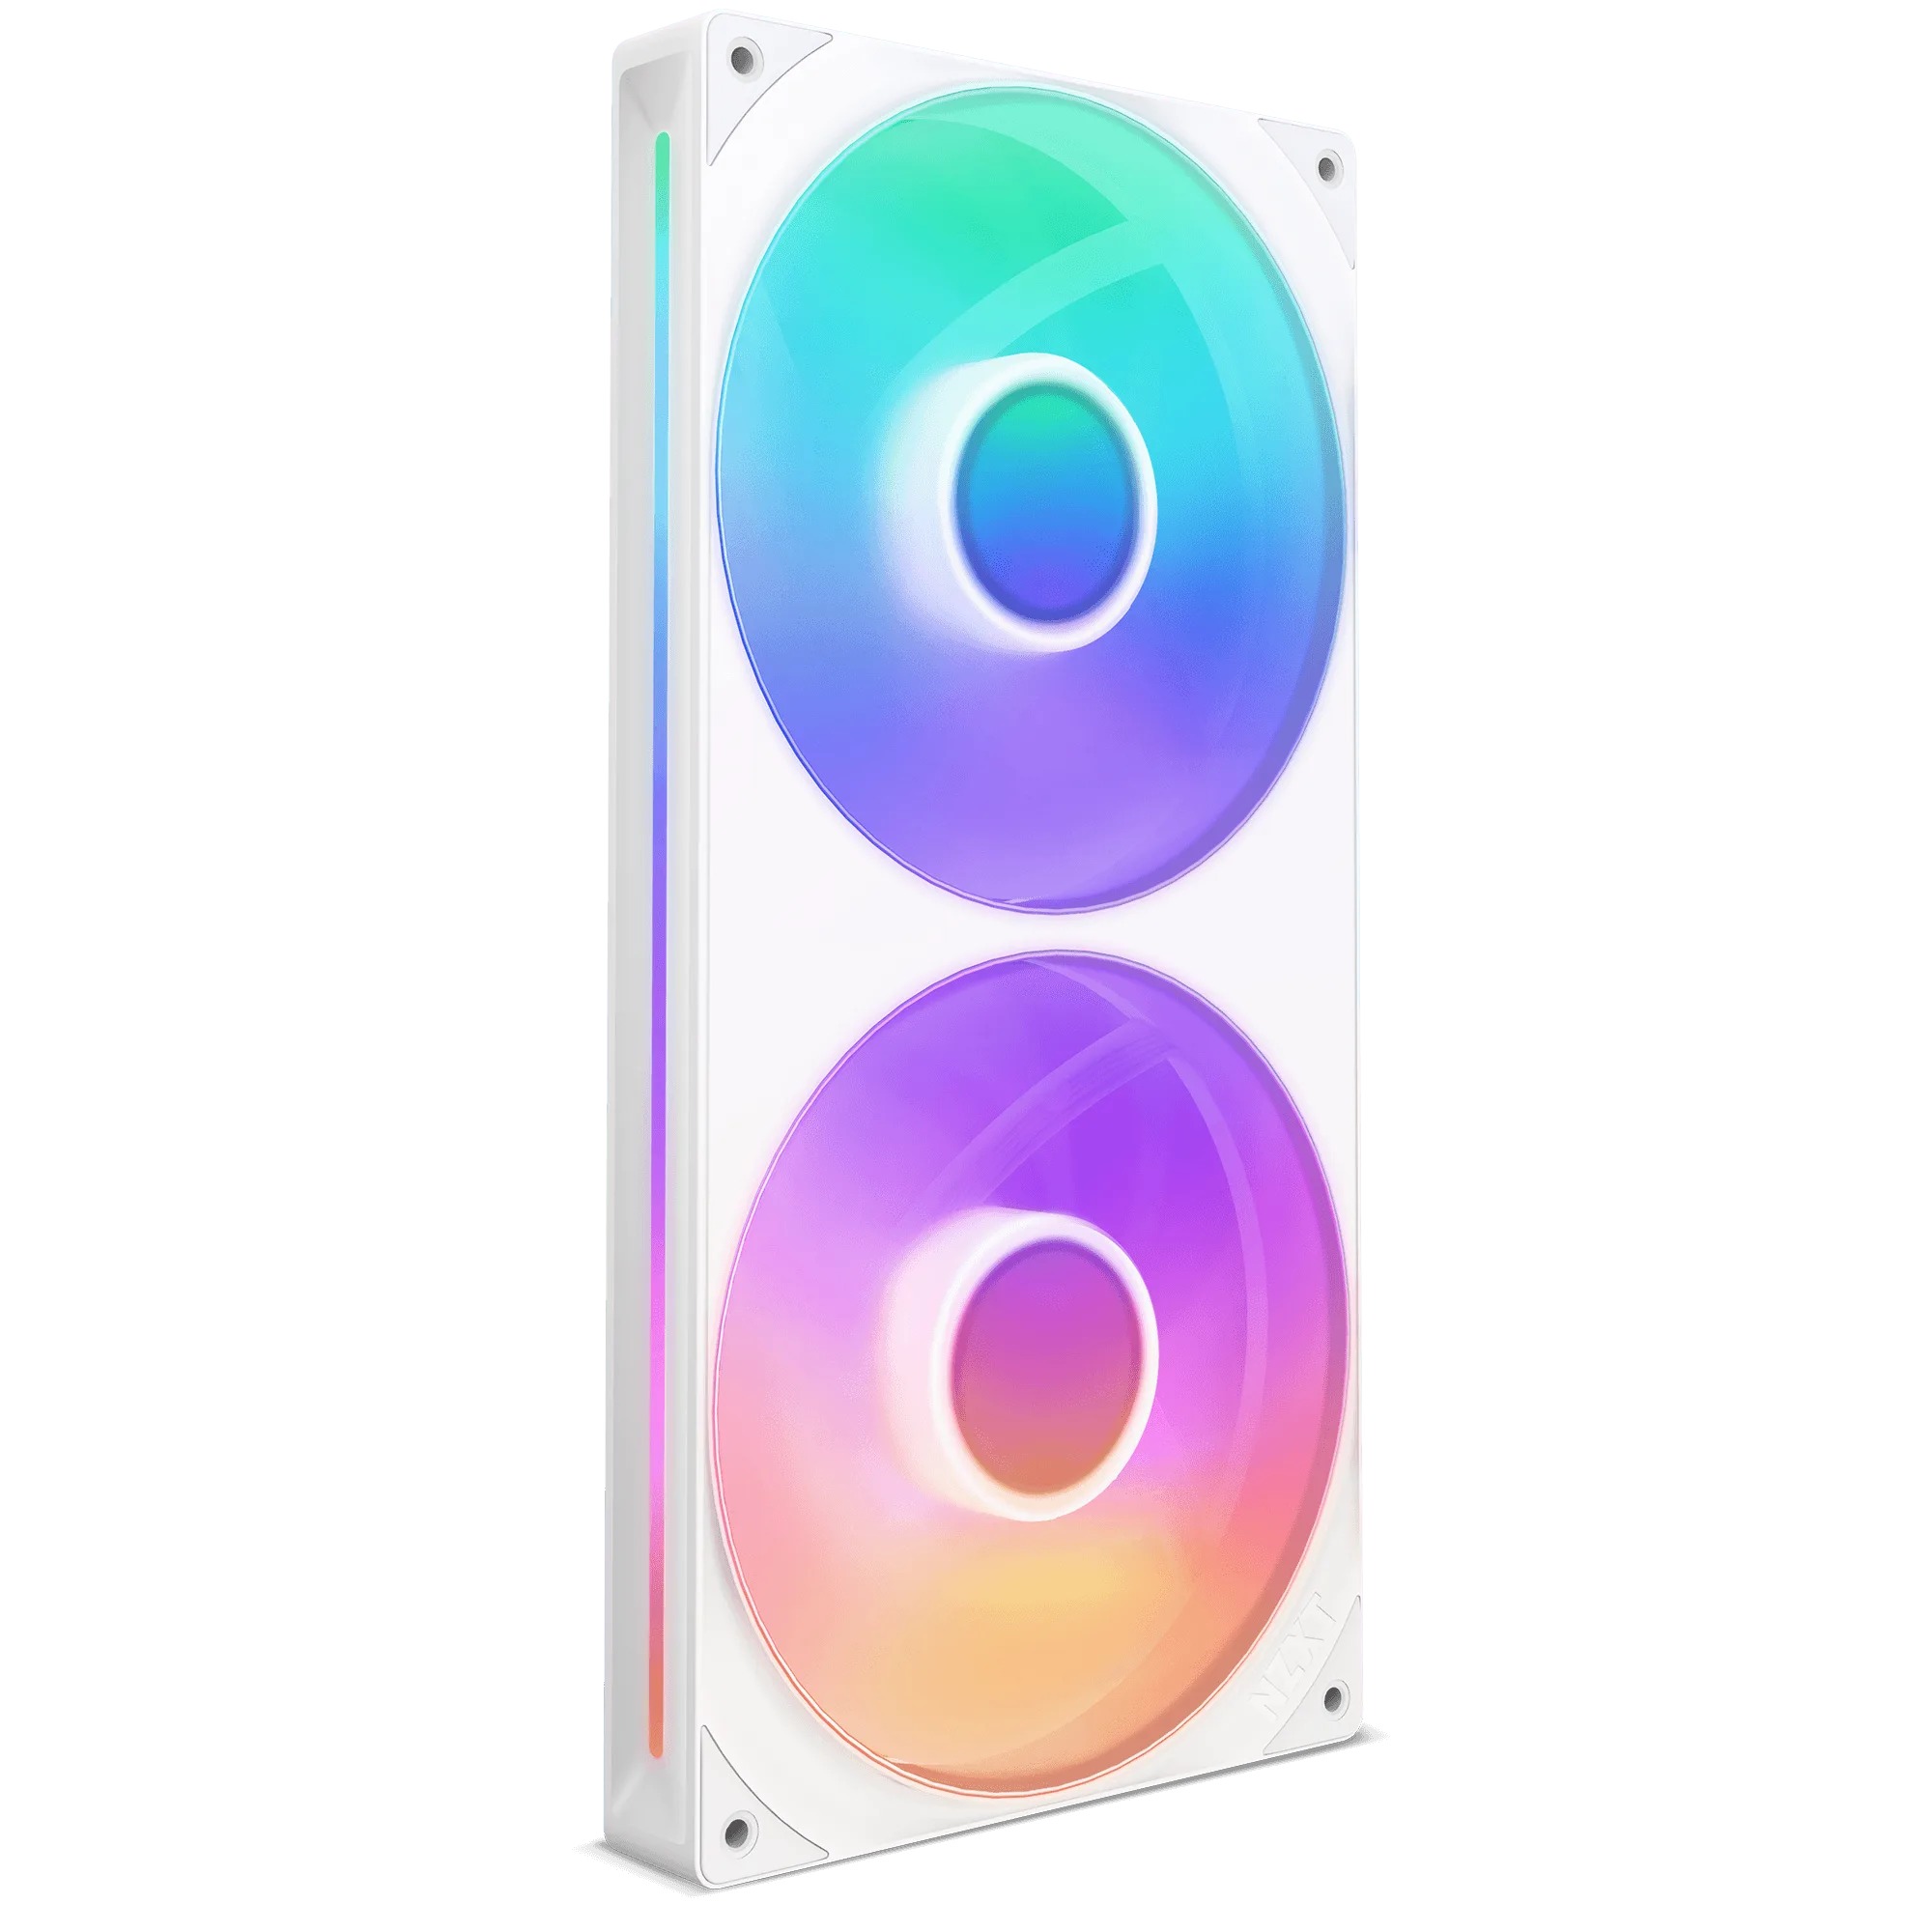
- F120 RGB Core Fans: The F Series RGB Core Fans use eight individually addressable LEDs on the hub and a refined hub and blade design that increases static pressure for pushing air through a radiator. Higher static pressure is the specification that matters on a radiator, where thin fans with low pressure struggle to move air through dense fins.
- F140X: The F140X uses liquid-crystal polymer blades and frame that resist flex and vibration at high speeds, with a hybrid bearing system. If you add case fans alongside the AIO, that resistance to flex and vibration is what keeps the build quiet when fans ramp up under load.
The Kraken Elite 240 and H5 Flow pair cleanly once you commit to a radiator position and mount the fans before the radiator goes in. Work through the steps in order, keep the cross-pattern tightening for the pump, and check temperatures before you reinstall the panels. If something feels forced, stop and re-check the placement rather than tightening through it.