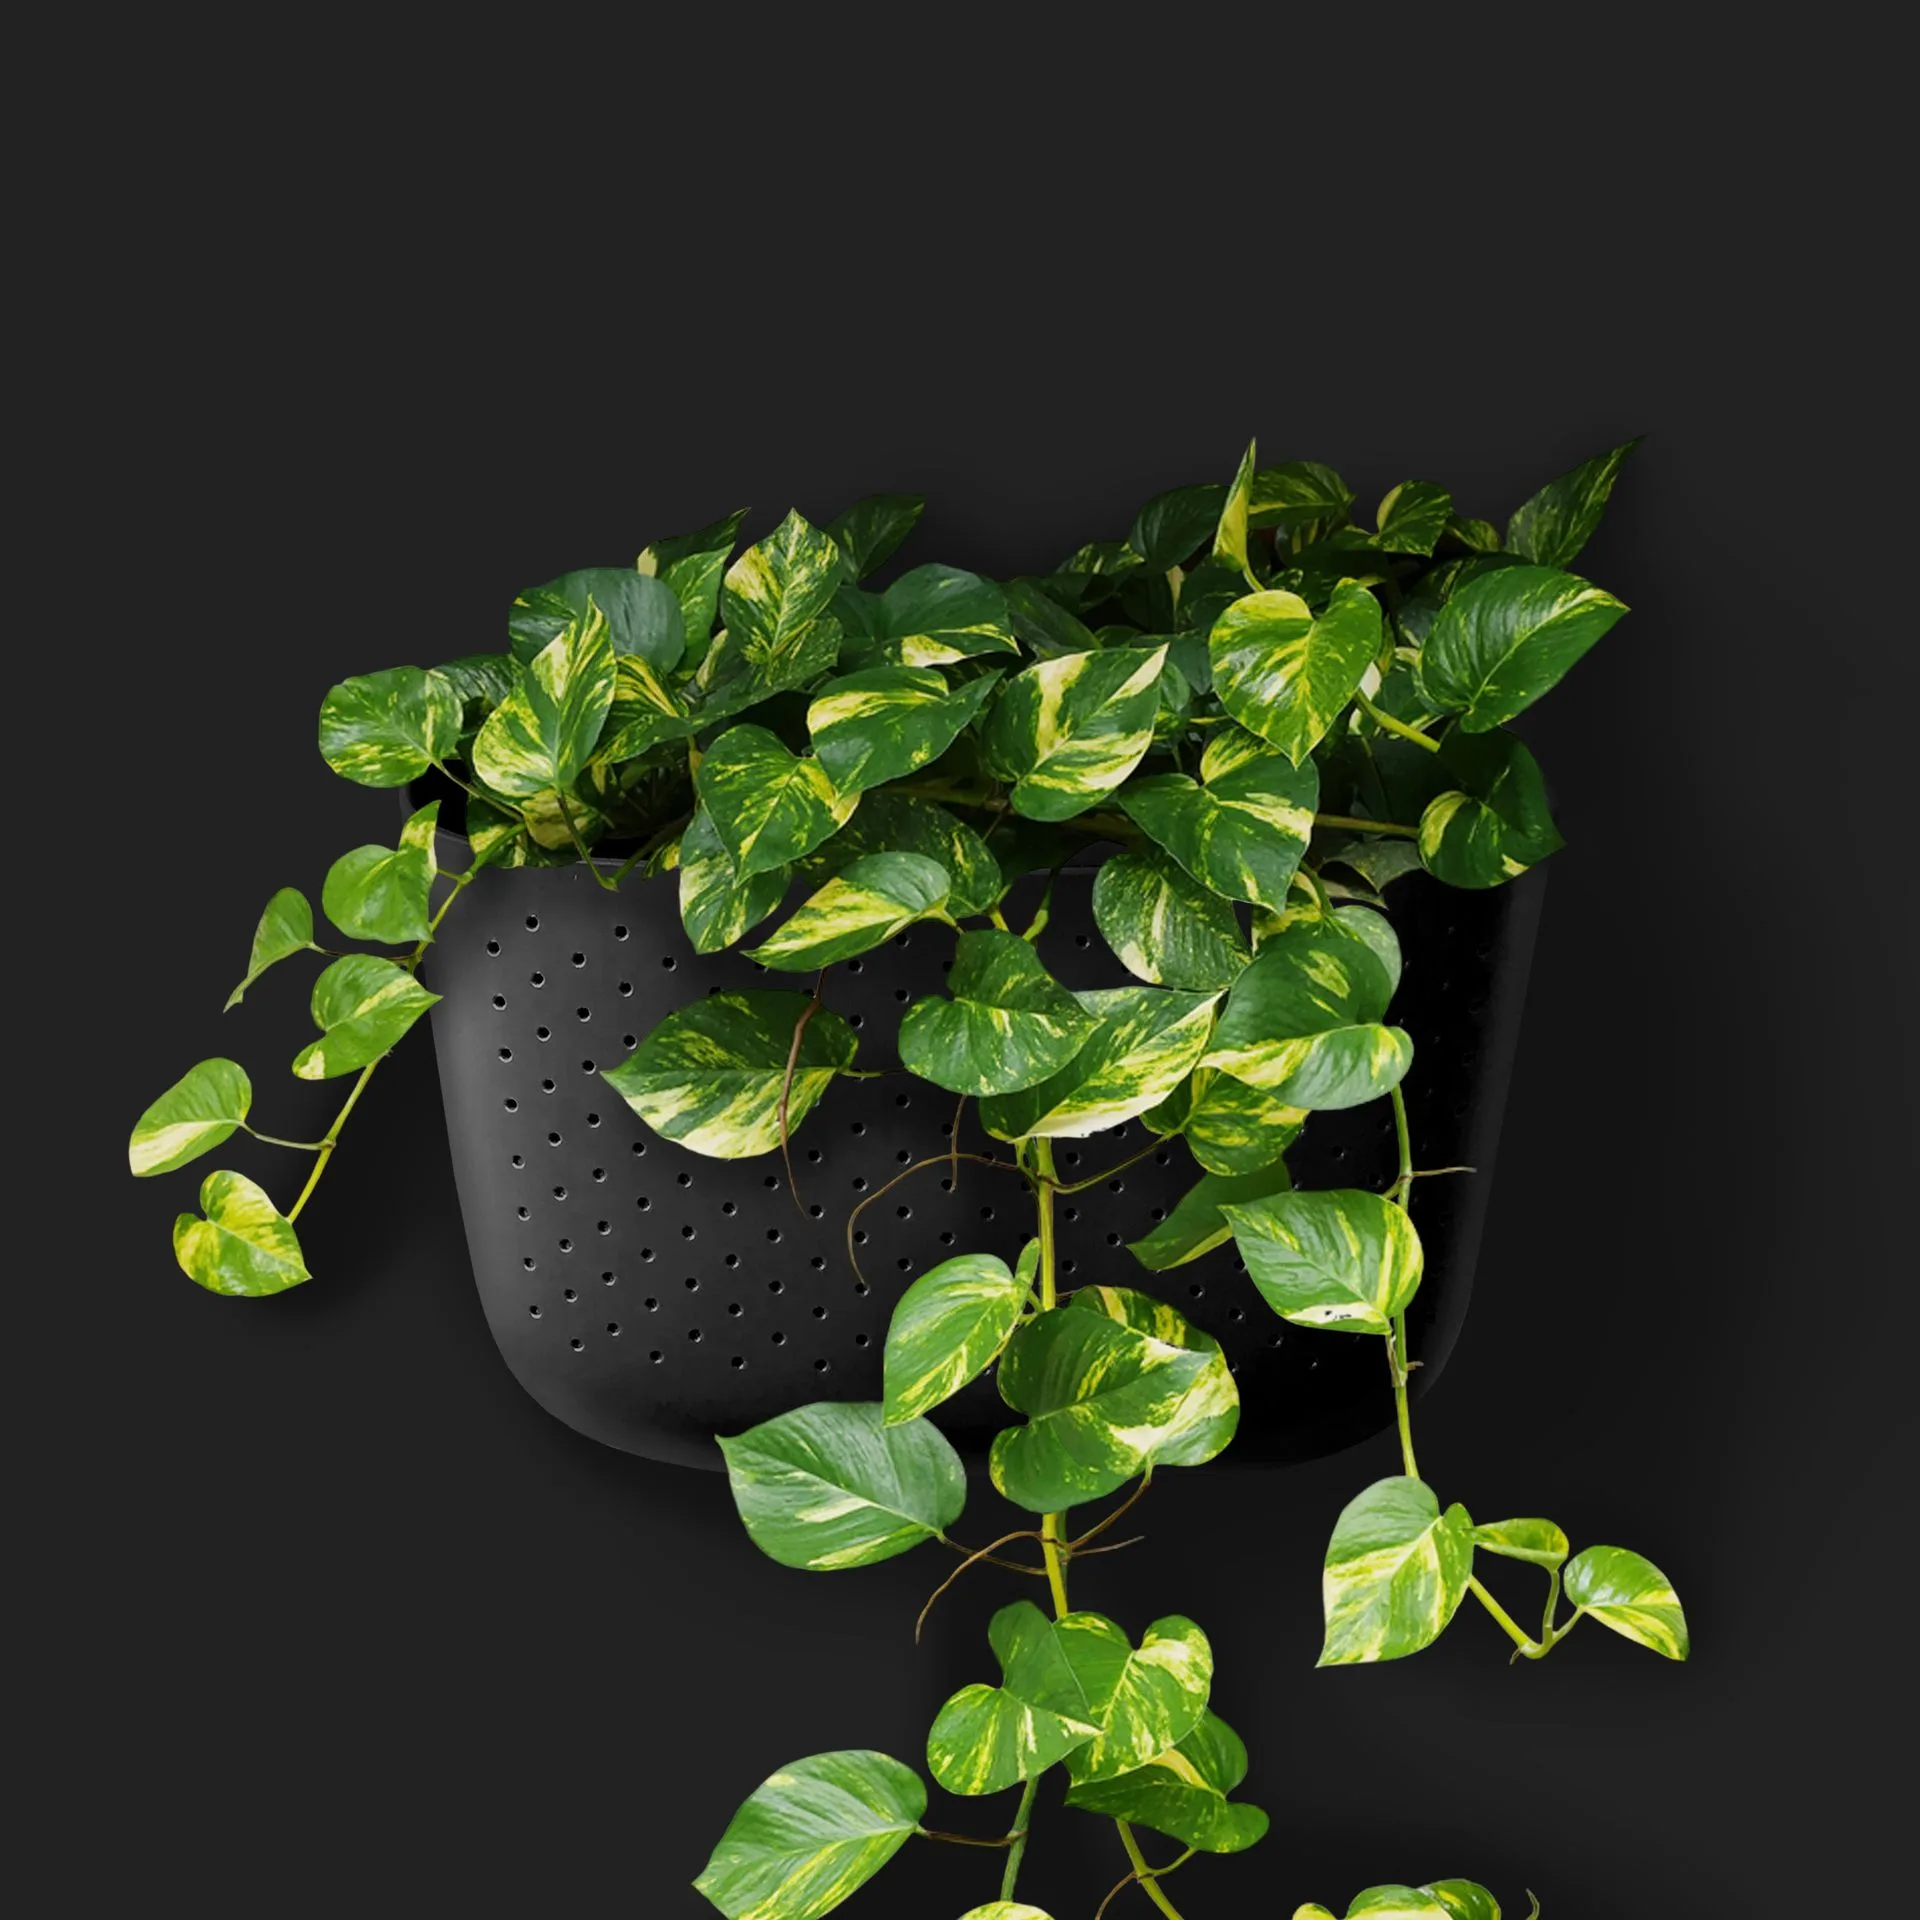
Hanging planters are a great way to add greenery to your home without taking up floor or shelf space. A loop white hanging planter, with its clean lines and neutral finish, fits into almost any decor style. But getting it securely mounted to the ceiling takes a bit of planning and the right hardware.
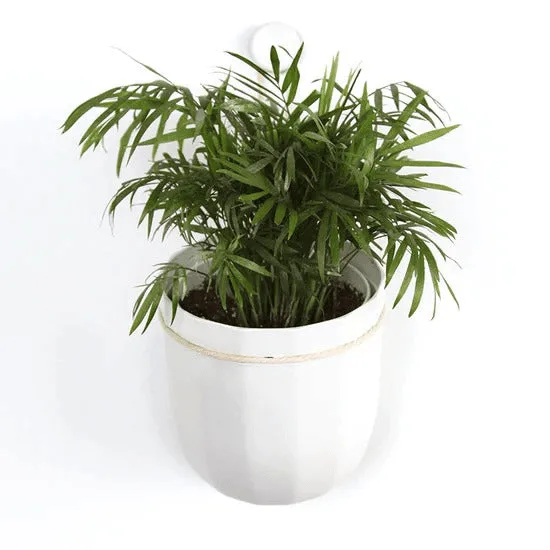
loop white hanging planter
This guide walks you through the entire process — from choosing a location and selecting anchors to hanging the planter and adjusting the height. Whether you are a first-time planter installer or just want a refresher, these steps will help you get it done safely and neatly.
What You Need Before You Start
Before drilling any holes, gather your tools and check the weight of your planter. A typical loop white hanging planter paired with a pot and soil can weigh several pounds, so you need a ceiling anchor rated for at least double that weight. For most drywall ceilings, a toggle bolt or a heavy-duty plastic anchor works well. If you are mounting into a ceiling joist, a simple screw eye hook is sufficient.
You will also need a drill with the correct bit size, a pencil for marking, a stud finder (optional but helpful), and a tape measure. For the planter itself, have the hanging rope or chain ready. If your planter did not come with a hanging kit, you can purchase one separately. The Eco Oat Wall Planter and the Eco Teal Wall Planter are both lightweight options that work well with standard ceiling hooks.
- Always check the manufacturer's weight limit for your specific planter and hardware.
- Use a stud finder to locate a ceiling joist for the most secure mount.
Choosing the Right Location and Height
Pick a spot where the planter will get the right light for your plant and where it won't be bumped by people walking by. For trailing plants like pothos or string of pearls, a spot near a window but out of direct afternoon sun is ideal. Also consider the ceiling height — you want the bottom of the planter to hang at least 6 to 7 feet above the floor so it doesn't interfere with headroom.
Mark the exact center point on the ceiling with a pencil. If you are hanging multiple planters, space them at least 12 inches apart to allow for growth and air circulation. For a single statement piece, centering it above a side table or in an empty corner creates a natural focal point.
- Leave extra rope or chain length so you can adjust the height later if needed.
Installing the Ceiling Mount
Drill a pilot hole at your marked spot using a bit slightly smaller than your anchor. If you are using a toggle bolt, push the anchor through the hole and tighten until the wings spring open behind the drywall. For a screw eye hook into a joist, simply screw it in by hand or with pliers until the eye is flush with the ceiling surface.
Once the mount is secure, attach the hanging hardware from your planter. Many loop white hanging planters come with a metal ring or a clip that hooks directly onto the ceiling hook. If your planter uses rope, tie a secure knot (like a figure-eight) around the hook and trim any excess. Test the connection by gently pulling downward before placing the plant inside.
- For drywall without a joist, use a toggle bolt rated for at least 50 pounds to be safe.
- Never hang a planter from a light fixture or electrical box unless it is specifically rated for support.
Adding the Plant and Final Adjustments
After the mount is secure, place your plant (still in its nursery pot) inside the planter. If the planter does not have drainage holes, use a cachepot system — keep the plant in a plastic pot with drainage and set it inside the decorative planter. This makes watering easier and prevents root rot.
Adjust the height by shortening or lengthening the rope or chain. Most hanging planters allow you to slide the knot or clip to change the drop length. Step back and check the overall look from different angles. For a cohesive display, pair your loop white hanging planter with a Fern Placemat underneath to catch any stray water drips.
- Water your plant in the sink before hanging it to avoid dripping on the floor.
- Rotate the planter every few weeks so the plant grows evenly toward the light.
Installing a loop white hanging planter is a straightforward weekend project that instantly lifts your indoor garden to eye level. With the right hardware and a little patience, you can safely mount your planter and enjoy a beautiful, space-saving display. Just remember to check the weight limits, choose a sturdy anchor point, and adjust the height for both your plant's needs and your home's layout.