Installing a PoE (Power over Ethernet) turret camera is a smart way to enhance your home or business security. Lorex turret cameras are known for their durability, wide field of view, and easy integration with NVR systems. In this guide, we'll walk you through the entire process, from planning and mounting to wiring and configuration, ensuring you get the most out of your wired security setup.
Whether you're a DIY enthusiast or a first-time installer, this step-by-step tutorial will help you avoid common pitfalls and achieve a professional-looking installation. We'll cover essential tools, best practices for cable routing, and how to connect your camera to a Lorex NVR for seamless recording and monitoring.
Planning Your Turret Camera Installation
Before you start drilling holes or running cables, take time to plan your camera placement. Turret cameras offer a wide viewing angle, making them ideal for covering large areas like backyards, driveways, or parking lots. Consider the height and angle: mounting the camera 8-10 feet high with a slight downward tilt provides the best coverage while keeping the camera out of reach from tampering.
Also, identify the best path for your Ethernet cables. Since PoE cameras use a single cable for both power and data, you'll need to run Cat5e or Cat6 cable from each camera to your NVR or PoE switch. Plan the route to avoid interference from electrical wires and ensure the cable length doesn't exceed 100 meters (328 feet) for optimal signal quality.
- Choose a location with a clear view of the area you want to monitor.
- Ensure the mounting surface is sturdy enough to support the camera's weight.
- Measure the distance from the camera to the NVR to determine cable requirements.
Gathering Tools and Equipment
To install your Lorex PoE turret camera, you'll need a few basic tools: a drill with appropriate bits, a screwdriver, a cable stripper, and a crimping tool if you're making your own Ethernet cables. You'll also need the camera itself, mounting screws, and a PoE injector or switch if your NVR doesn't have built-in PoE ports.
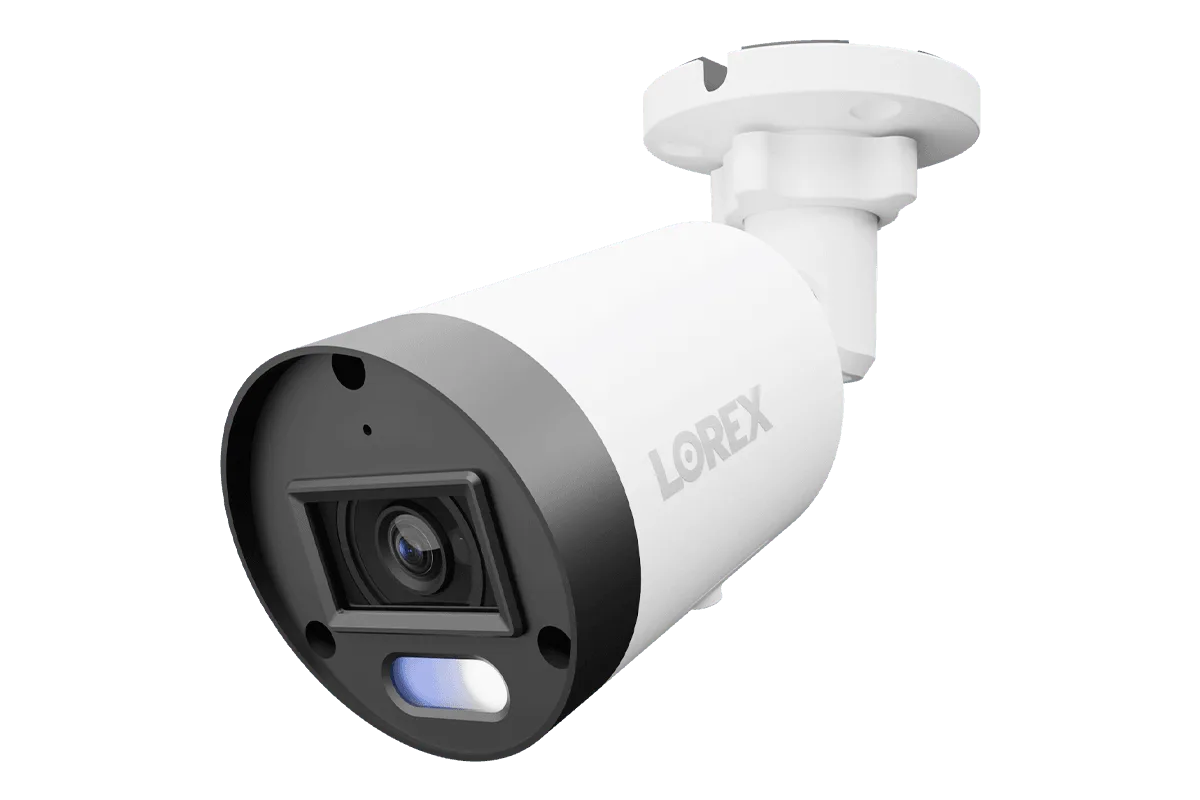
Lorex offers a range of turret cameras, such as the Lorex H12 4K IP Wired Turret Security Camera with Smart Security Lighting and Smart Motion Detection, which comes with all necessary mounting hardware. If you're installing multiple cameras, consider using a junction box like the Outdoor Square Junction Box with Cable Gland for Turret and Dome Camera (Metal) to protect connections and simplify mounting.
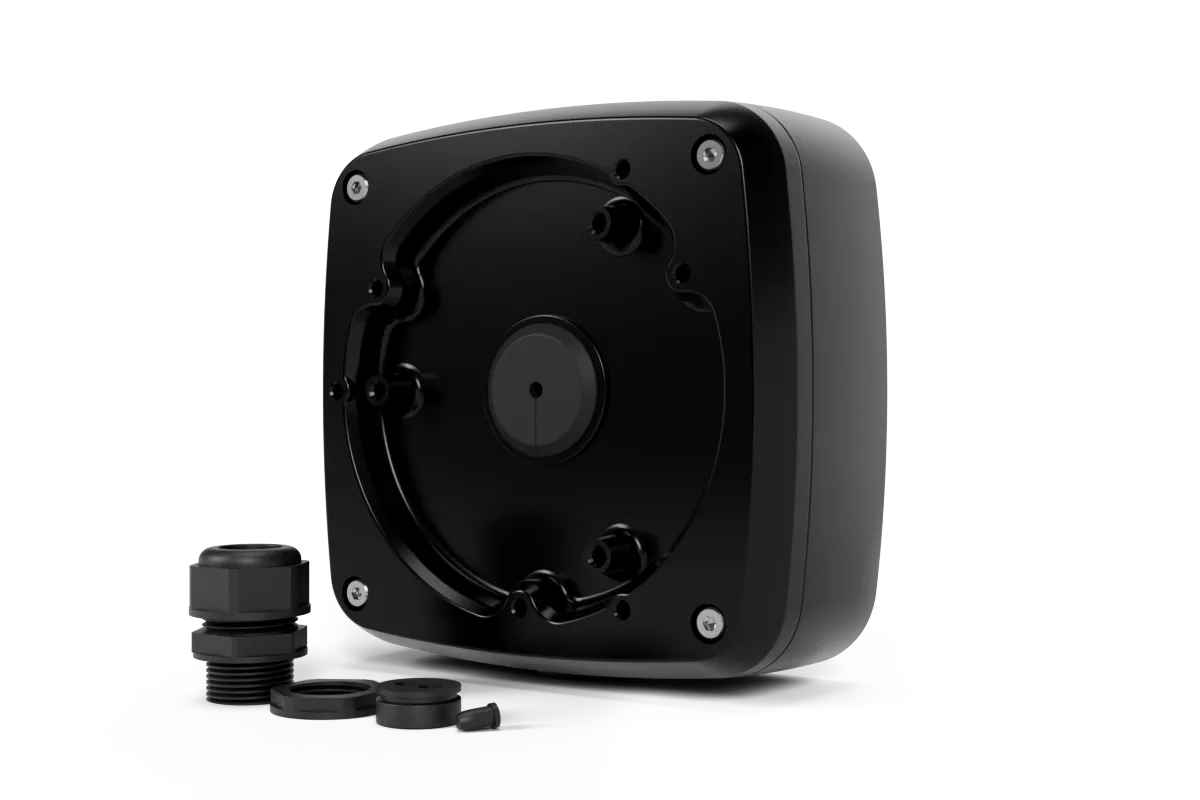
Outdoor Square Junction Box with Cable Gland for Turret and Dome Camera (Metal)
- Check the camera package for included mounting accessories.
- Use a PoE switch or NVR with PoE ports to simplify wiring.
- Have a weatherproof junction box if mounting on a flat surface.
Mounting the Turret Camera
Start by positioning the mounting bracket against the wall or ceiling and marking the screw holes. Use a level to ensure the bracket is straight. Drill pilot holes, insert wall anchors if needed, and secure the bracket with the provided screws. For a cleaner look, you can route the Ethernet cable through the surface before mounting the bracket.
Once the bracket is secure, attach the camera to the bracket. Turret cameras typically have a 3-axis adjustment, allowing you to pan, tilt, and rotate the lens after installation. This flexibility makes it easy to fine-tune the field of view without repositioning the entire camera.
- Use a bubble level to ensure the bracket is perfectly horizontal.
- If mounting on drywall, use anchors to provide extra support.
- Leave some slack in the cable to allow for adjustments.
Wiring and Connecting the PoE Cable
With the camera mounted, it's time to connect the Ethernet cable. If you haven't pre-terminated the cable, strip about an inch of the outer jacket and arrange the wires according to the T568B standard. Use a crimping tool to attach an RJ45 connector. Plug the cable into the camera's weatherproof connector and ensure it clicks securely.
Run the cable to your NVR or PoE switch. For outdoor installations, use a weatherproof junction box to protect the connection point. The Outdoor Square Junction Box with Cable Gland for Turret and Dome Camera (Metal) is an excellent choice for keeping moisture and pests out. Connect the other end of the cable to a PoE port on your NVR or switch, and the camera will power on automatically.
- Double-check that the cable is securely seated in the camera and NVR ports.
- Use cable clips or conduit to secure the cable along the wall.
- If you're not comfortable making your own cables, purchase pre-made Ethernet cables of the required length.
Configuring the Camera with Your NVR
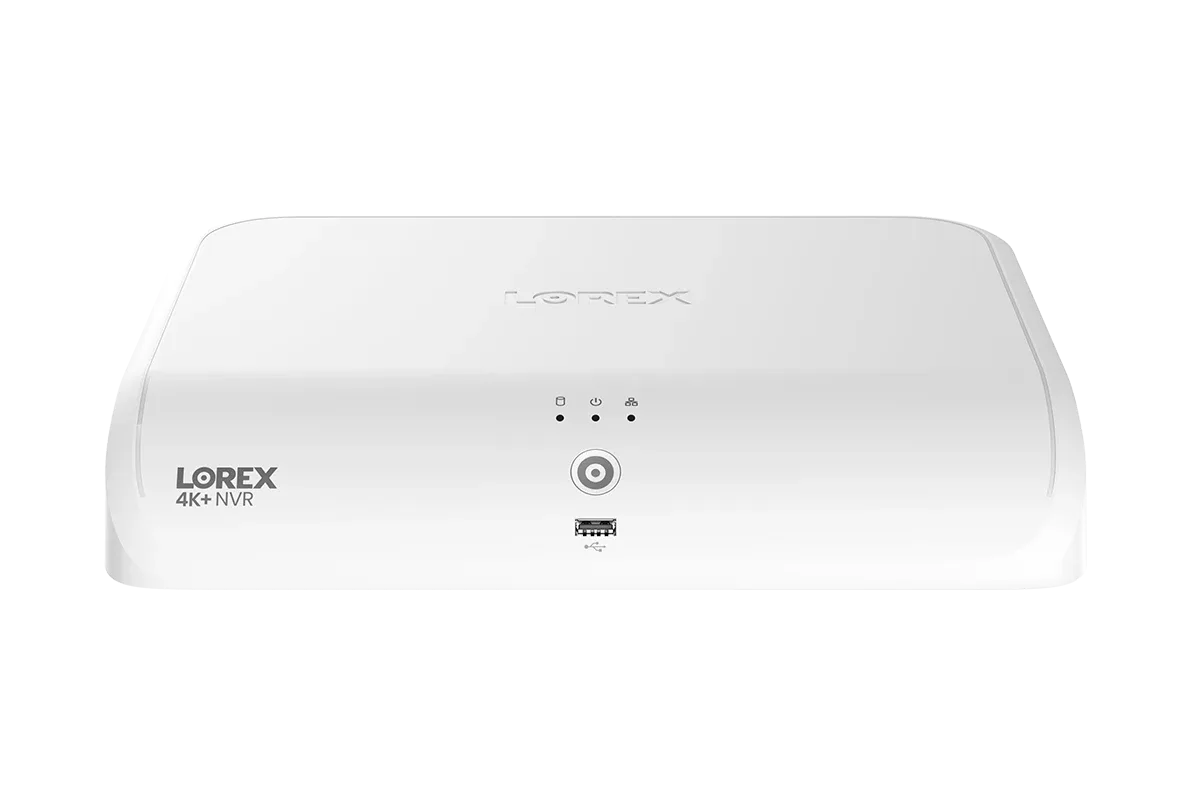
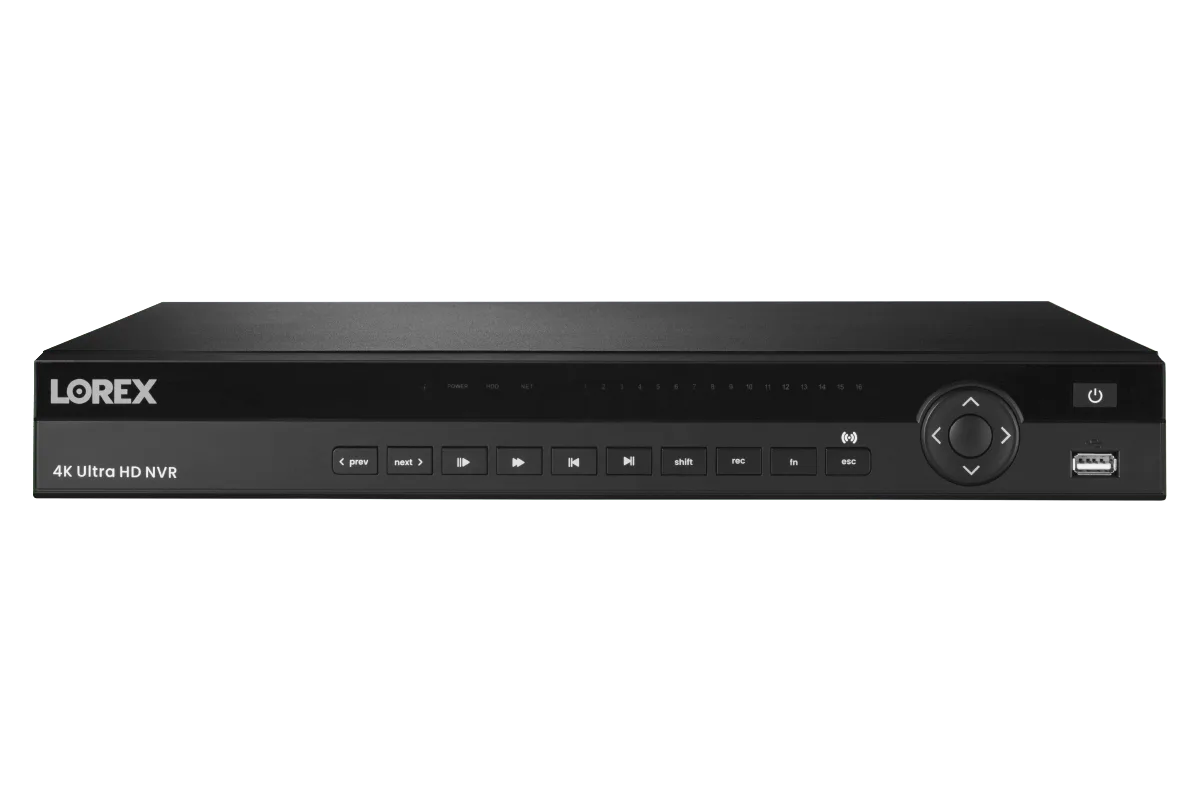
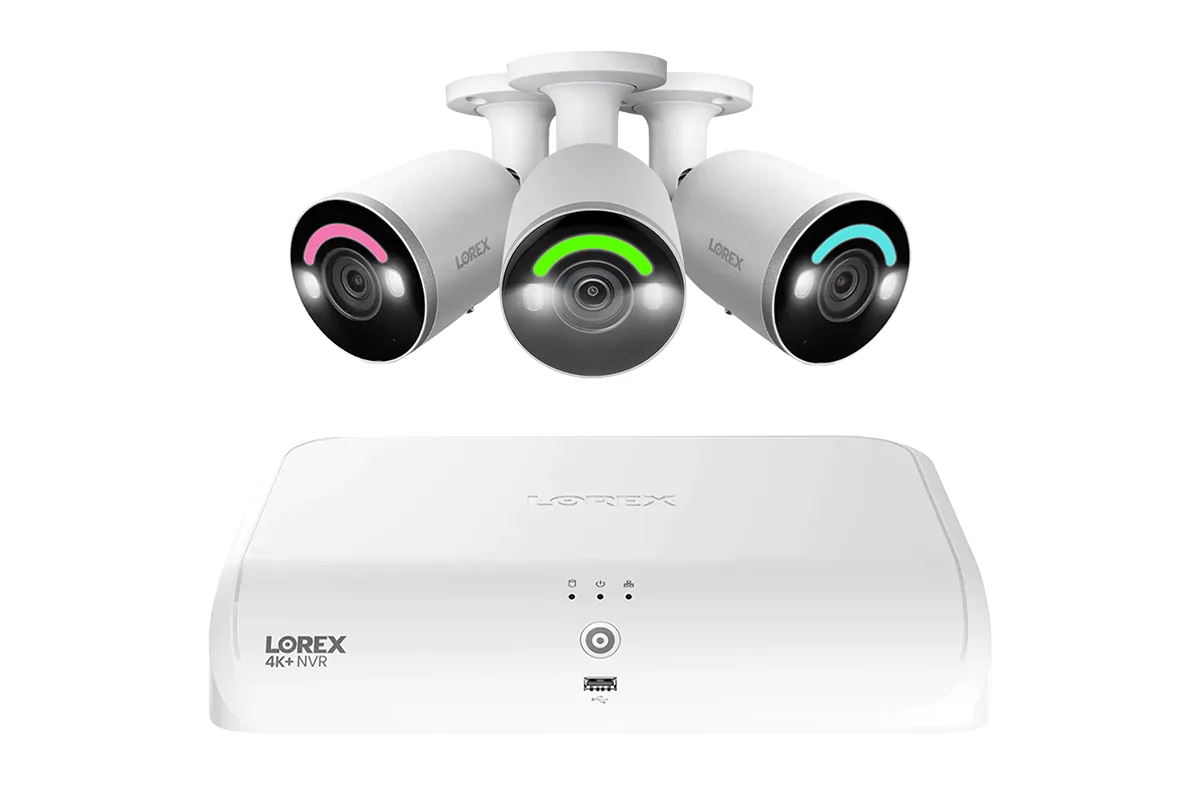
After connecting the camera, access your NVR's menu to detect and add the camera. Most Lorex NVRs automatically discover PoE cameras on the same network. Follow the on-screen prompts to set up the camera, including naming it, setting the resolution, and adjusting recording settings.
For advanced features like smart motion detection, you may need to adjust settings in the camera's web interface or the Lorex app. The Lorex H12 4K IP Wired Turret Security Camera offers smart motion detection and smart security lighting, which can be customized to reduce false alerts and enhance nighttime surveillance.
- Update the camera firmware to the latest version for optimal performance.
- Set up motion detection zones to focus on important areas.
- Configure recording schedules to save storage space.
Testing and Final Adjustments
Once the camera is connected and configured, test the video feed to ensure everything is working correctly. Check the image quality during the day and at night. Adjust the camera's angle and focus if needed. Use the live view on your NVR or mobile app to fine-tune the field of view.
If your camera has smart security lighting, test the motion-activated lights to ensure they illuminate the area when triggered. This not only deters intruders but also improves the clarity of nighttime footage. Make any final adjustments to the camera settings, and your installation is complete.
- Verify that the camera's infrared LEDs activate in low light.
- Walk through the detection zone to test motion alerts.
- Ensure the camera's view is not obstructed by tree branches or other objects.
Installing a Lorex PoE turret camera is a rewarding DIY project that significantly boosts your security. By following these steps, you'll have a professional-grade surveillance system in no time. For a reliable and feature-rich turret camera, consider the Lorex H12 4K IP Wired Turret Security Camera, which offers excellent image quality and smart features. Explore our full range of wired security cameras and systems to find the perfect solution for your needs.