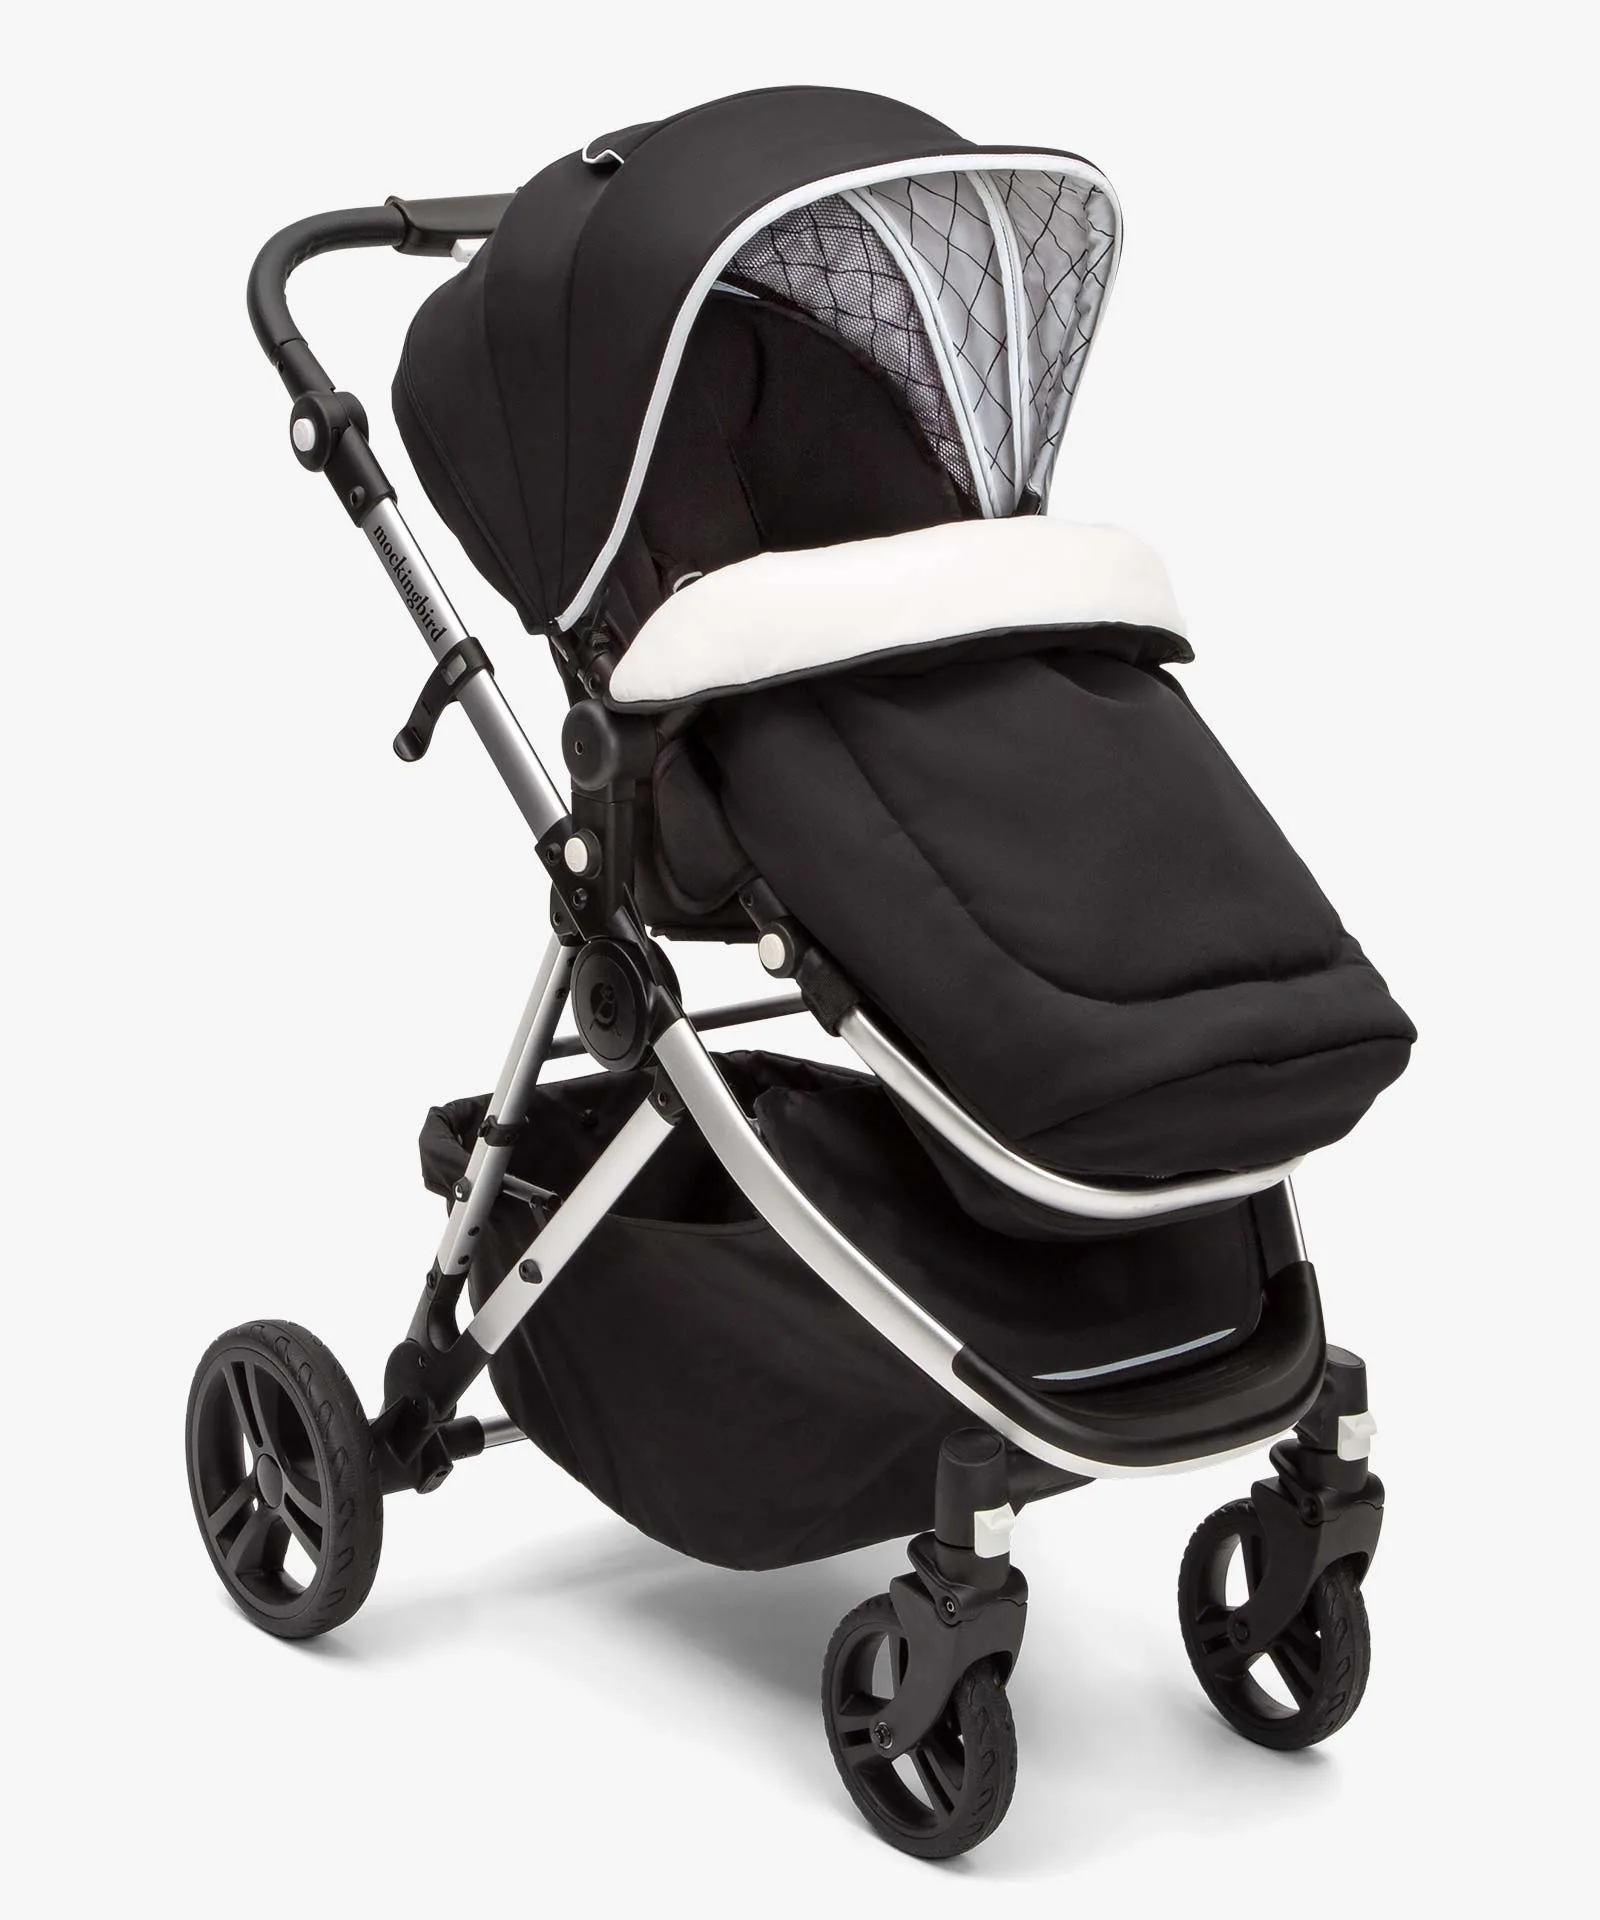
When the weather warms up, nothing beats a stroll in the park with your little one. But mosquitoes and other bugs can quickly ruin the experience. A mosquito net is an essential stroller accessory that provides a protective barrier without restricting airflow or visibility. If you've purchased a universal net or a brand-specific one, installing it correctly is key to ensuring your baby stays safe and comfortable.
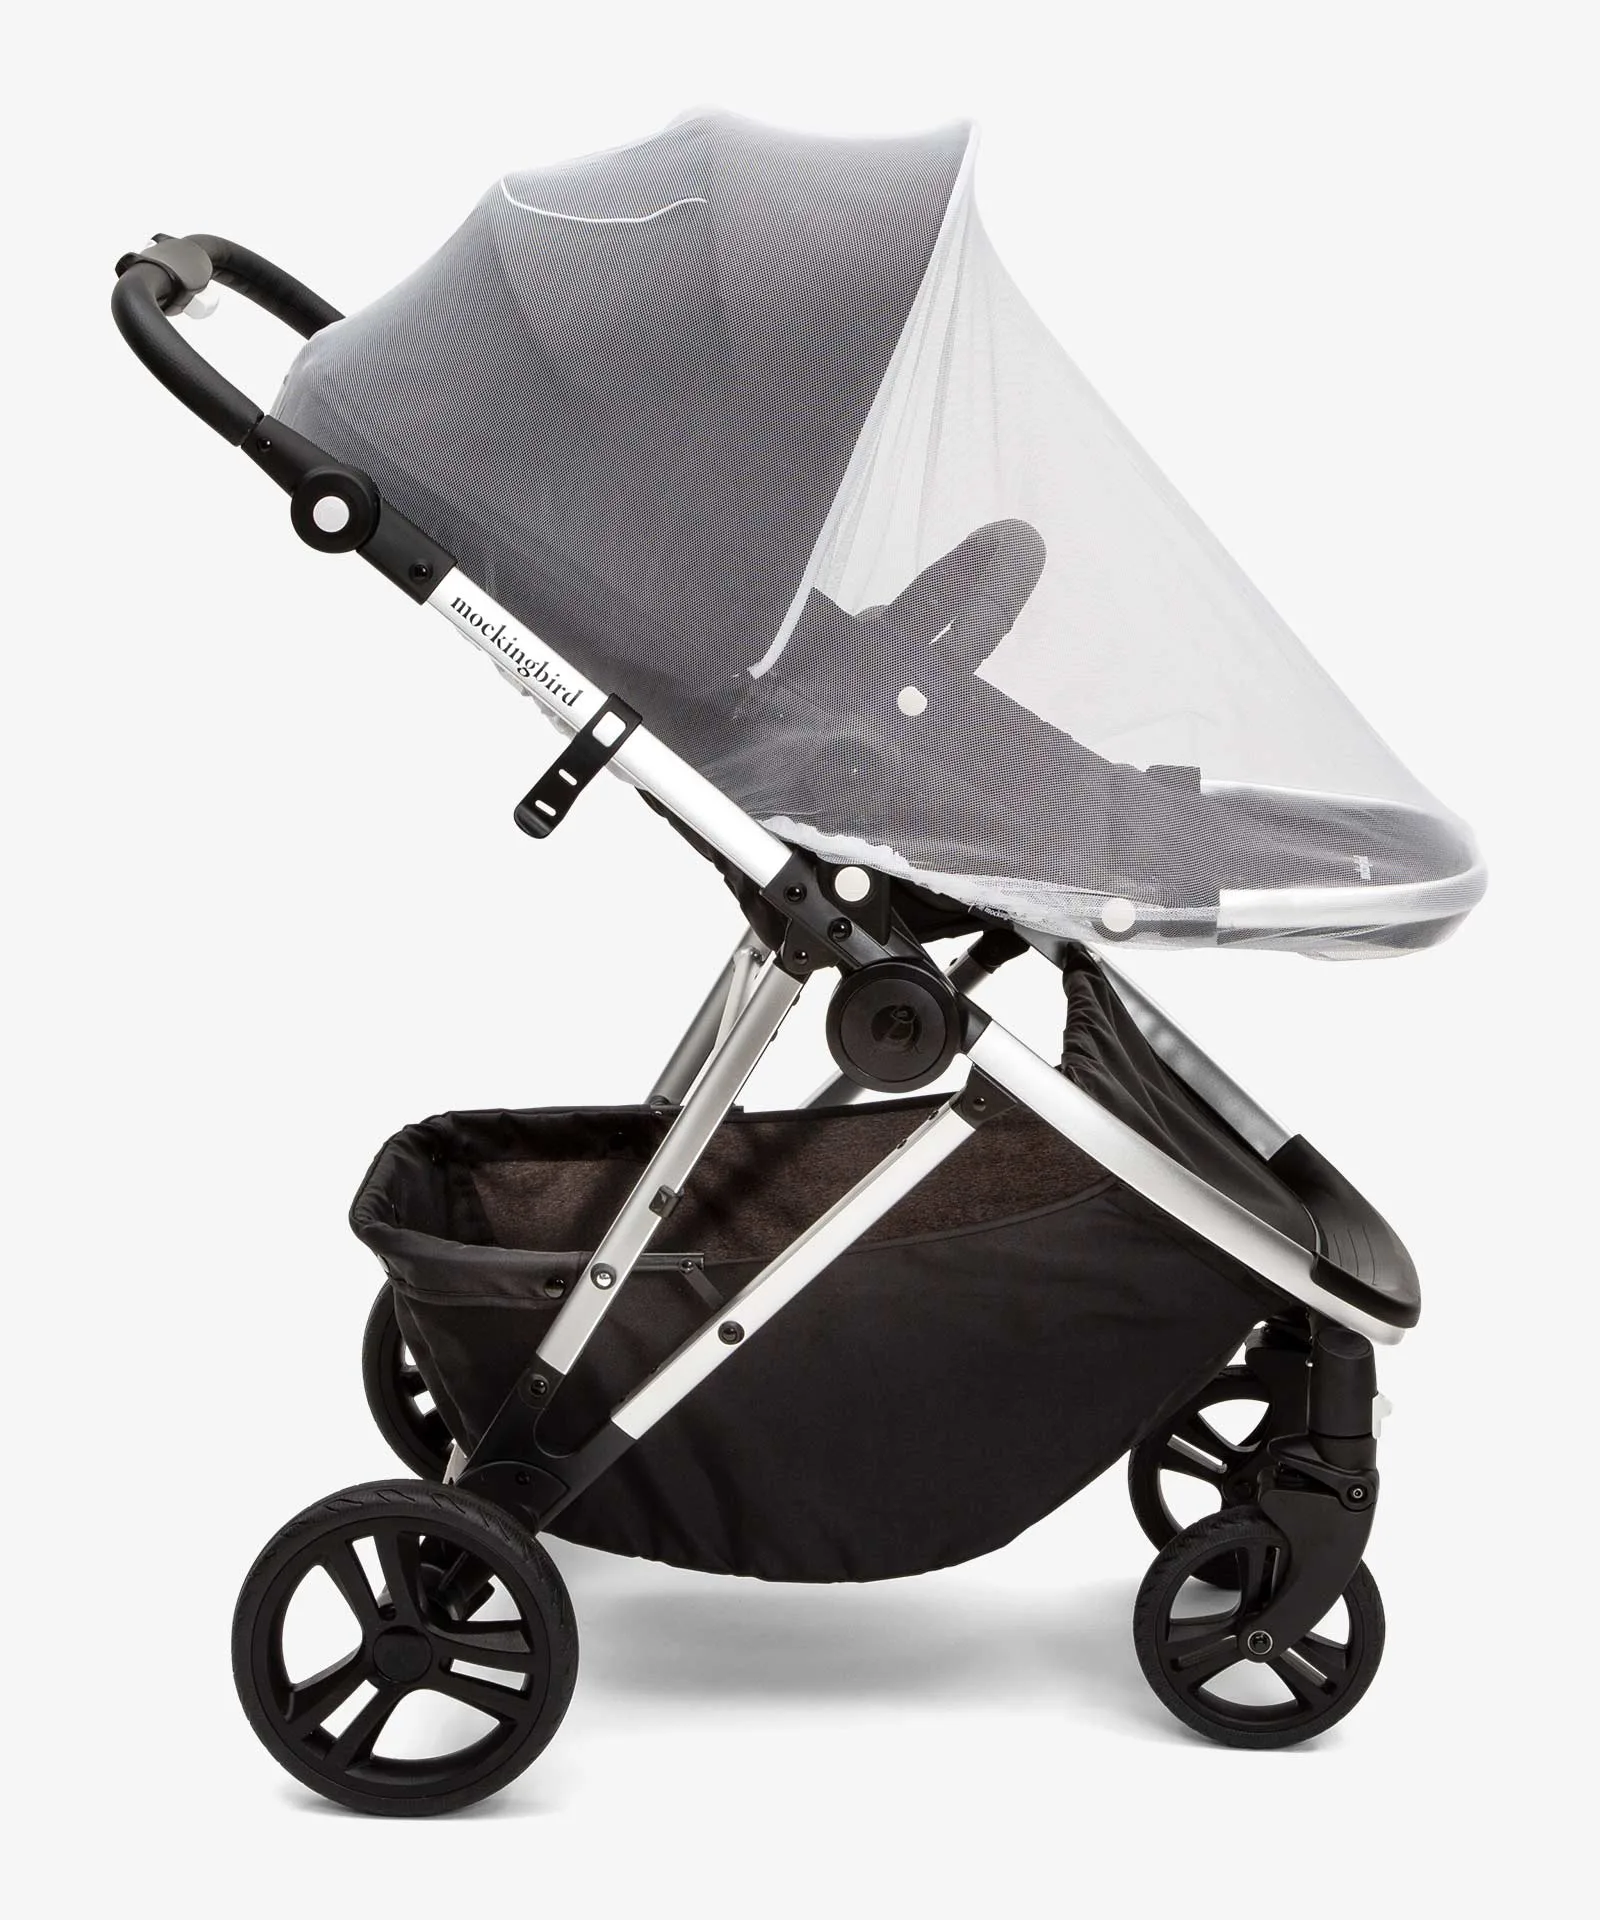
mosquito net
In this guide, we'll walk you through the process of installing a mosquito net on your stroller in just three easy steps. Whether you have a single stroller or a double, these steps will help you achieve a snug, secure fit. We'll also share some practical tips for adjusting the net and keeping it in place during breezy days.
What You'll Need Before You Start
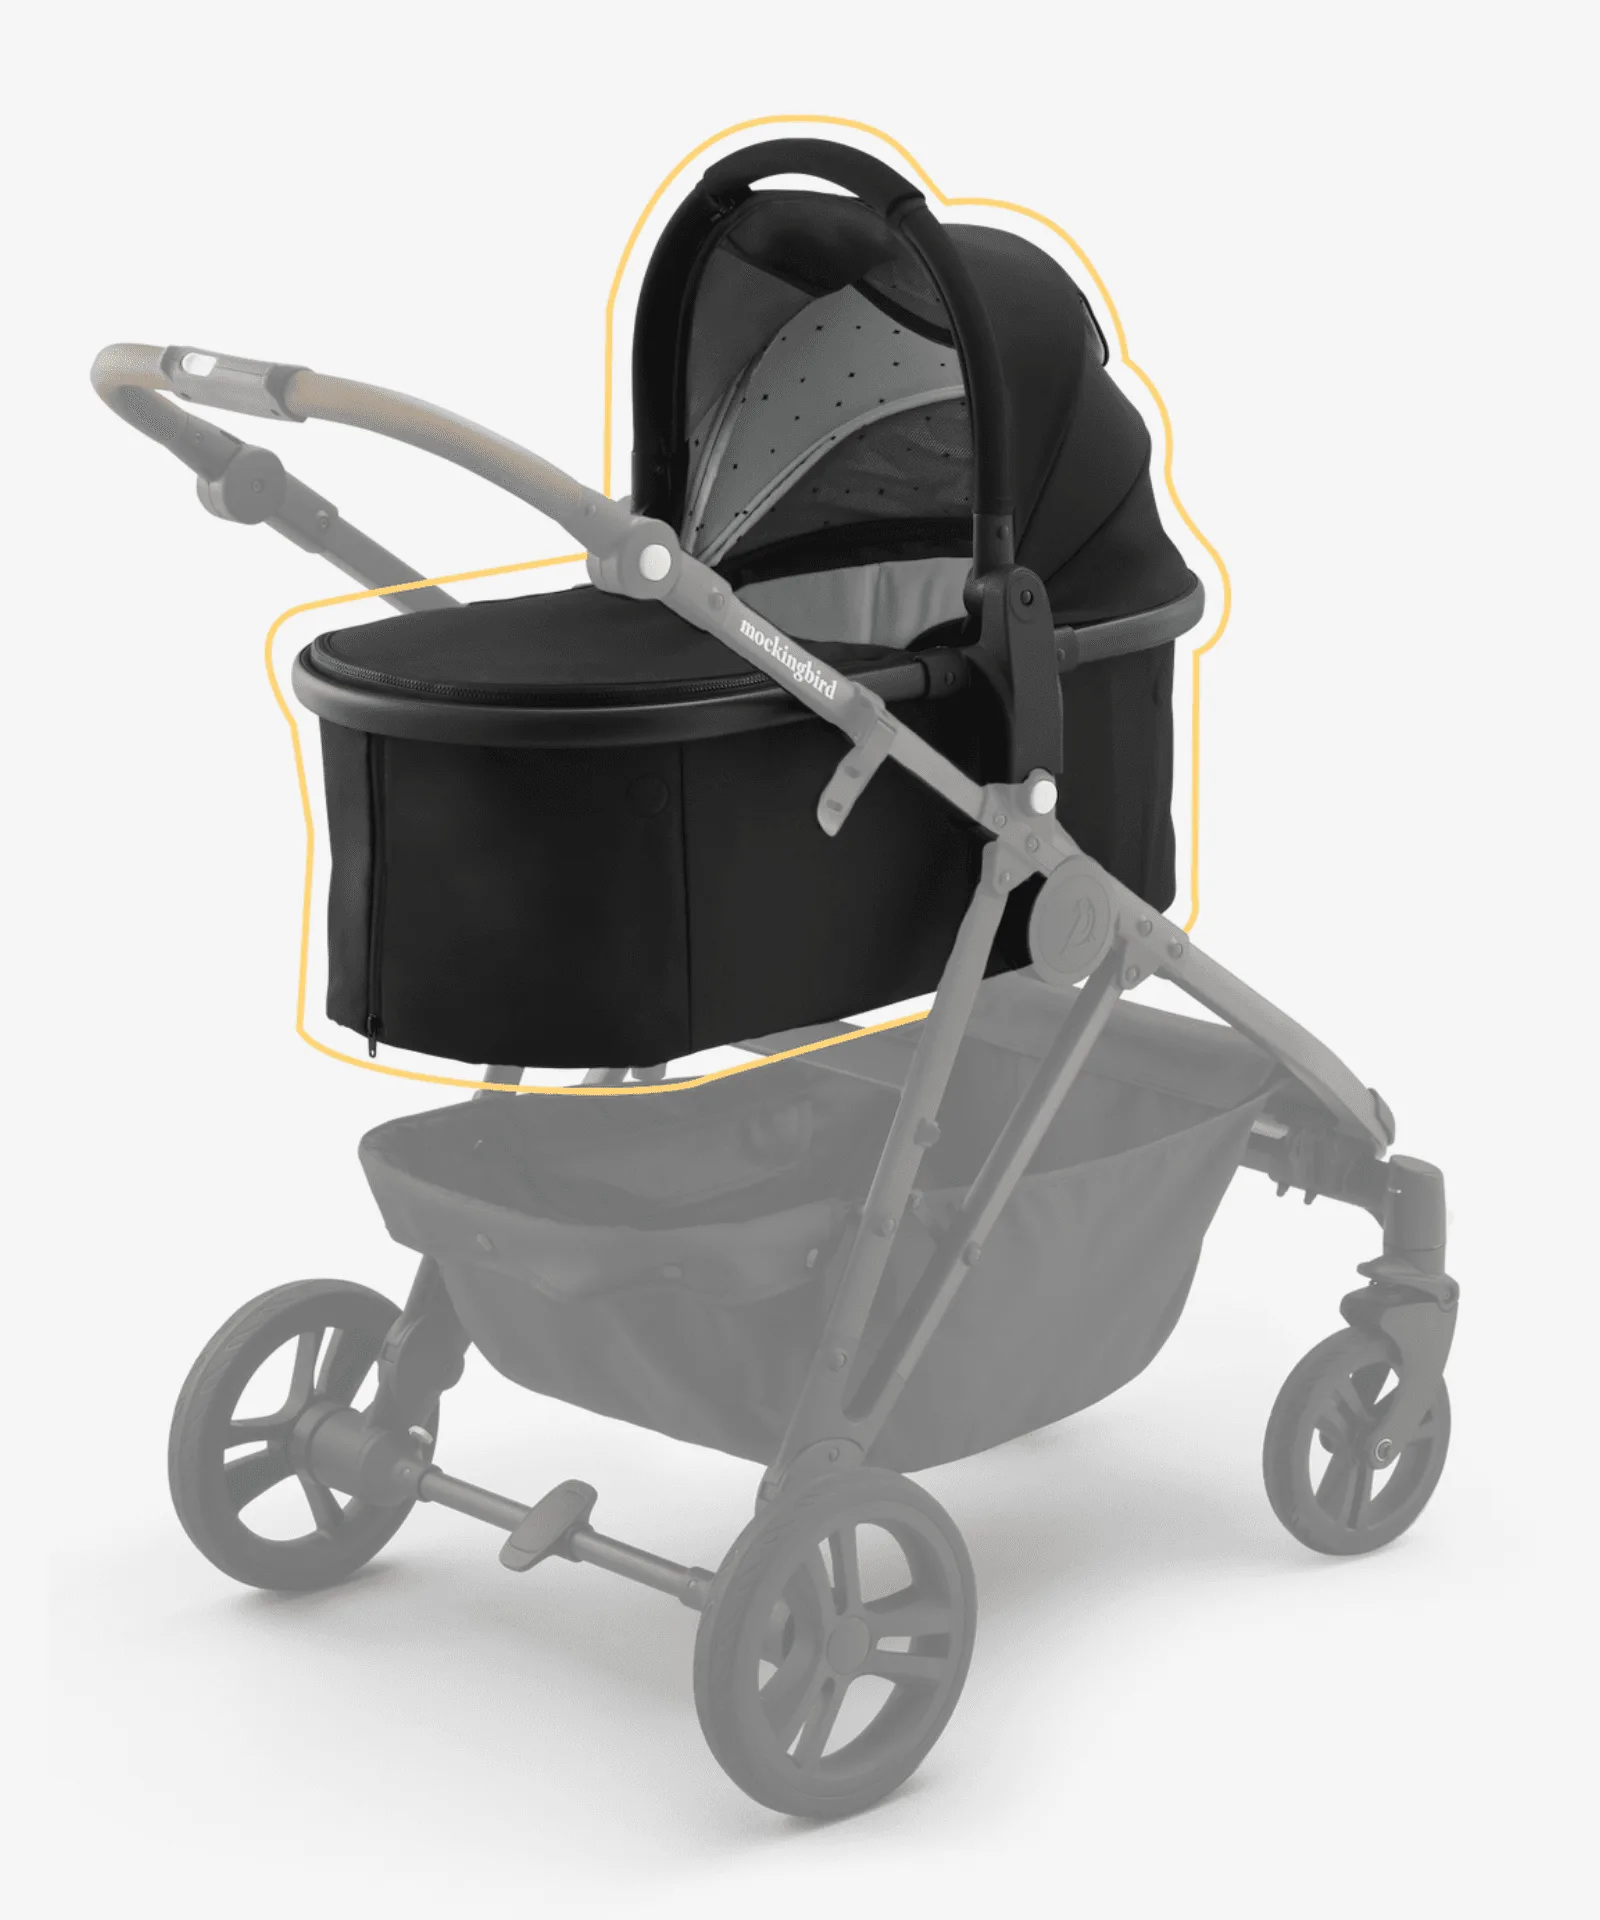
Before you begin, gather the necessary items. Most mosquito nets come with elastic edges, hooks, or straps that attach to the stroller frame. If you're using a universal net, ensure it's the right size for your stroller model. For Mockingbird strollers, you can also consider compatible accessories like the Car Seat Adapter if you plan to use the stroller with an infant car seat, but for the net, you'll just need the net itself.
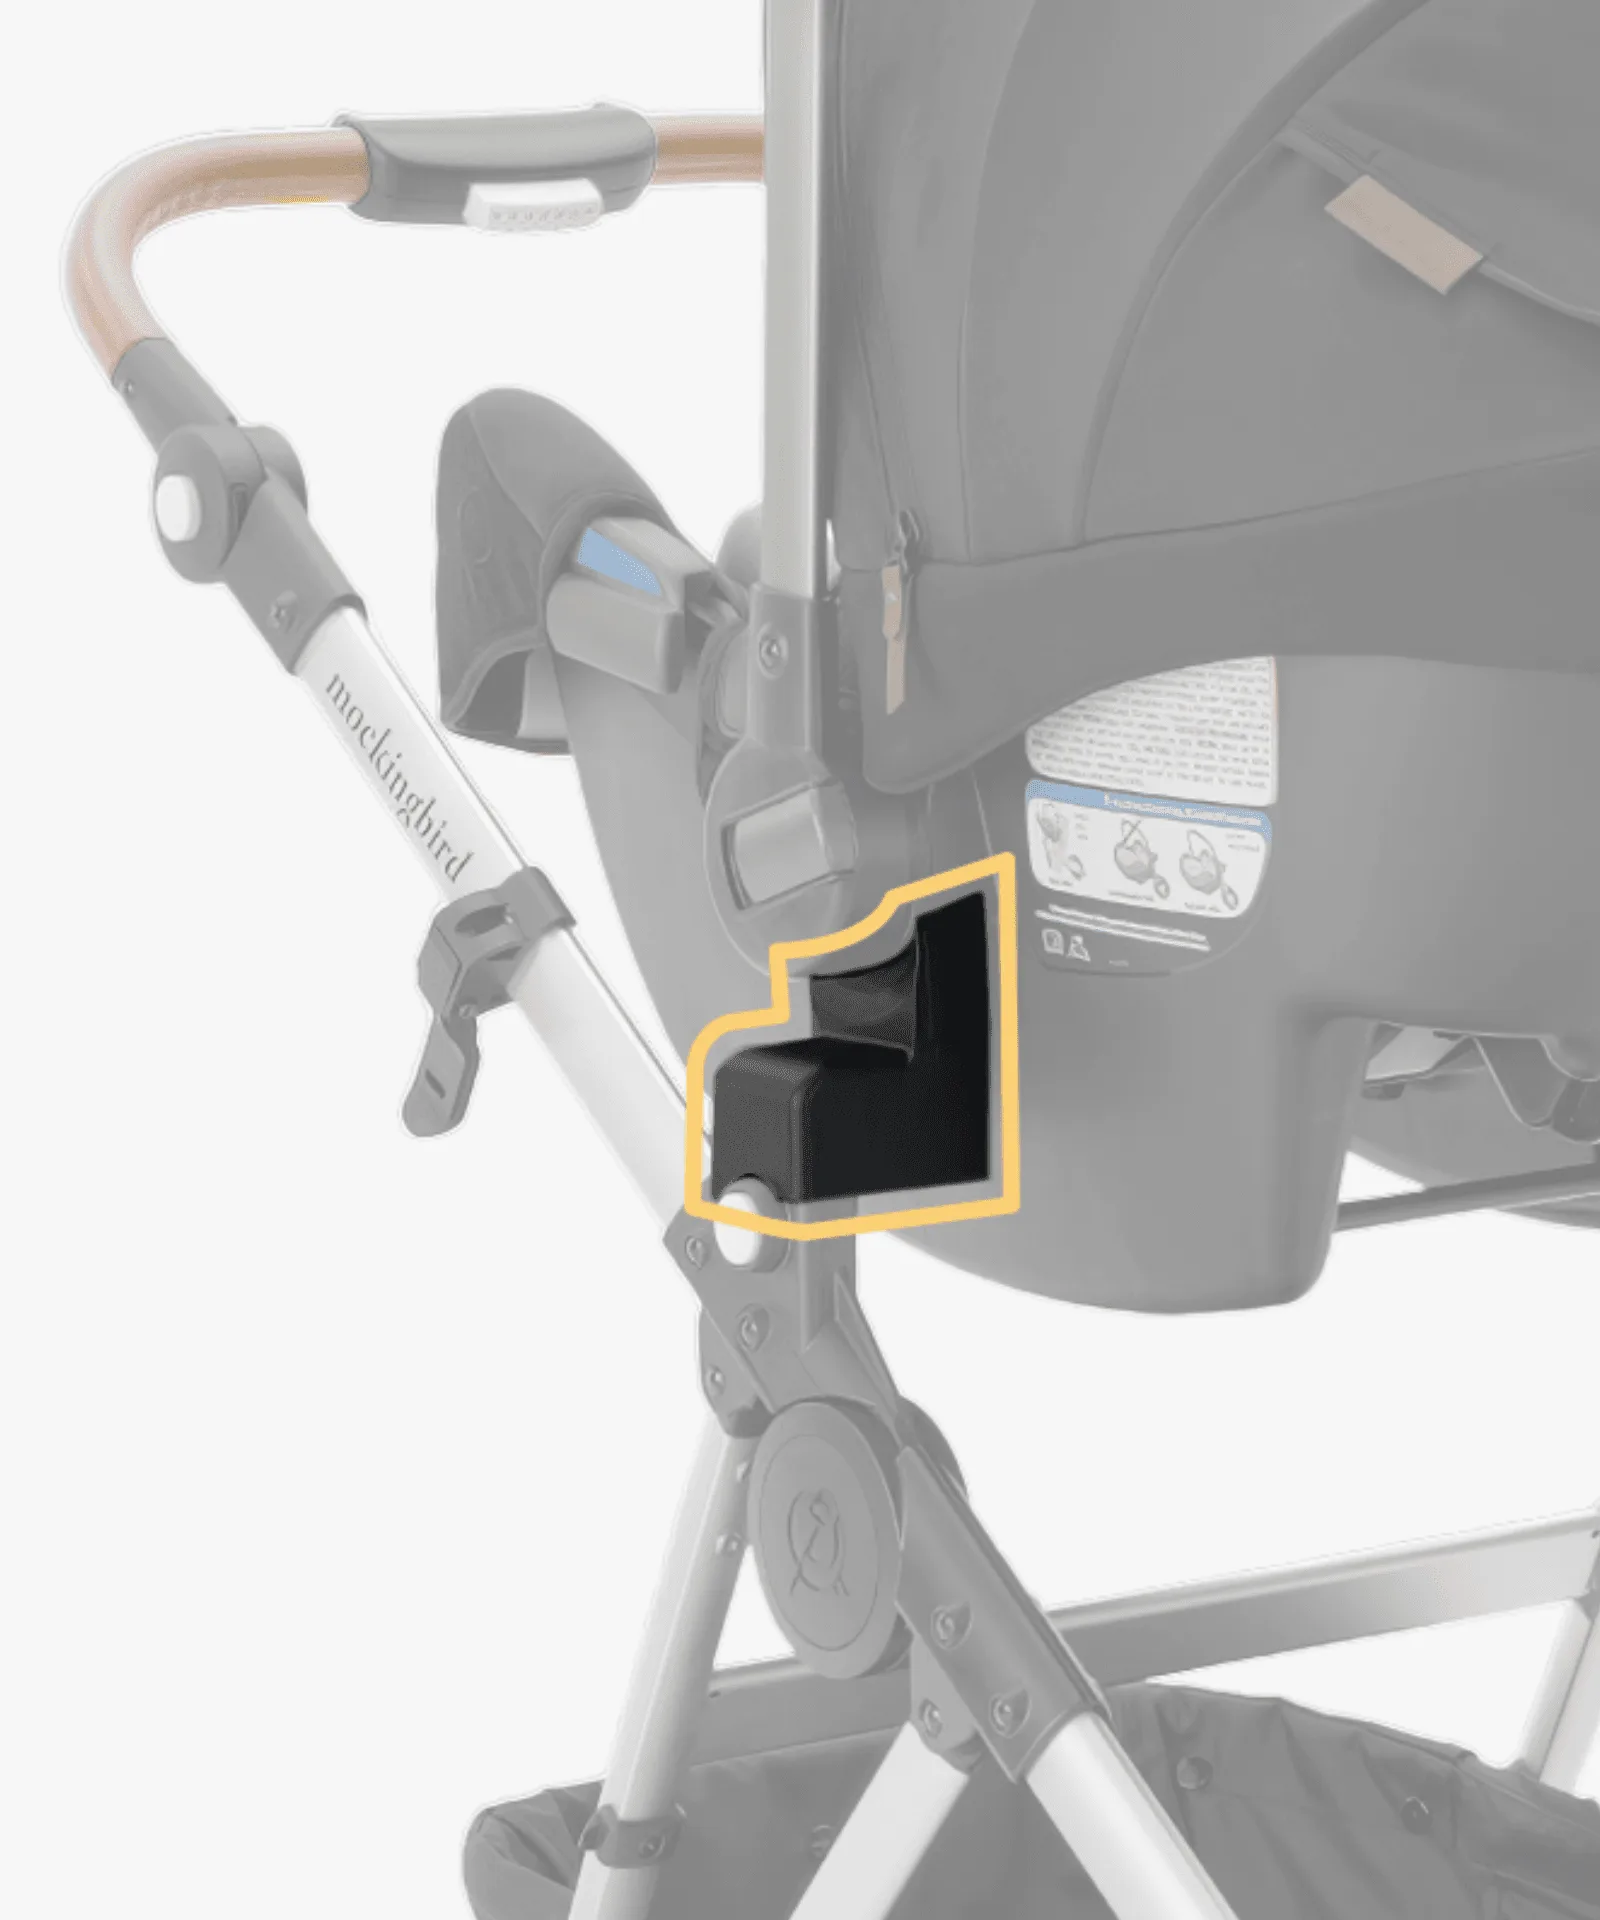
Car Seat Adapter
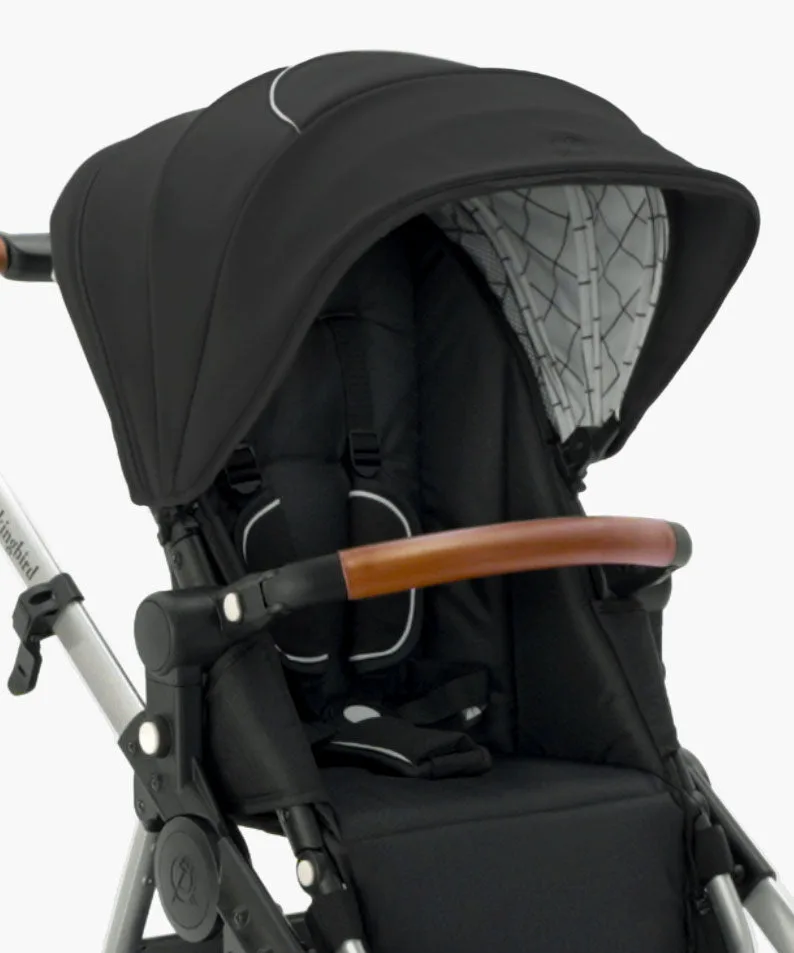
Check your stroller's canopy and handlebar. The net typically attaches to the canopy and the bumper bar or seat area. If your stroller has a parent organizer attached, you may want to temporarily remove it to make installation easier. For instance, the Parent Organizer can be detached and reattached after the net is in place.
- Mosquito net (universal or brand-specific)
- Your stroller (with canopy and bumper bar)
- Optional: zip ties or clips for extra security
Step 1: Prepare the Stroller and Net
Start by unfolding your stroller and making sure it's in the fully upright position. If your stroller has a reclining seat, set it to the most upright angle. This gives you better access to the attachment points. Next, unfold the mosquito net and inspect it for any tears or weak spots. Most nets have an elastic hem or loop that goes around the canopy and seat area.
If your net has hooks or clips, identify where they should attach. Typically, the top of the net attaches to the canopy's underside, and the bottom attaches to the bumper bar or the sides of the seat. Some nets also have a drawstring that can be tightened around the canopy. Take a moment to familiarize yourself with the net's design before proceeding.
- Ensure the stroller is on a flat surface and stable.
- If the net has a zipper, make sure it's open for easier attachment.
Step 2: Attach the Net to the Canopy
The canopy is the primary anchor point for the net. If your net has an elastic edge, stretch it over the canopy's front edge. For nets with hooks, hook them onto the canopy's frame or the stroller's frame near the canopy. Make sure the net is centered and covers the entire opening of the seat.
If you have a double stroller, you may need to install separate nets for each seat or use a larger net that covers both. The Single-to-Double Stroller 3.0 allows you to convert your stroller to a double, and you'll want to ensure the net fits properly over each seat. Some nets come with multiple attachment points to accommodate different configurations.
- Adjust the canopy to a slightly reclined position to make it easier to attach the net.
- If the net has a drawstring, tighten it after attaching to the canopy to create a snug fit.
Step 3: Secure the Bottom and Sides
Once the top is attached, move to the bottom. Most nets have an elastic hem that can be pulled around the bumper bar or the seat's sides. If your net has straps, tie them securely around the frame. Ensure the net is taut but not overly tight, as you want to maintain airflow and visibility.
For added security, especially on windy days, you can use clips or zip ties to fasten the net to the stroller frame. Be careful not to obstruct any moving parts, such as the folding mechanism. After installation, give the net a gentle tug to ensure it's secure. If you're using a stroller with a snack tray, like the Snack Tray, you may need to adjust the net to fit around it.
- Check that the net doesn't interfere with the stroller's fold or brake.
- If your stroller has a bumper bar, you can leave it in place or remove it temporarily for easier net attachment.
Installing a mosquito net on your stroller is a quick and straightforward process that ensures your baby stays protected from bugs during outdoor adventures. By following these three steps, you can achieve a secure fit that lasts all season. Remember to check the net regularly for any damage and adjust it as your stroller's configuration changes. For more stroller accessories to enhance your outings, explore our range of products designed to make parenting easier.