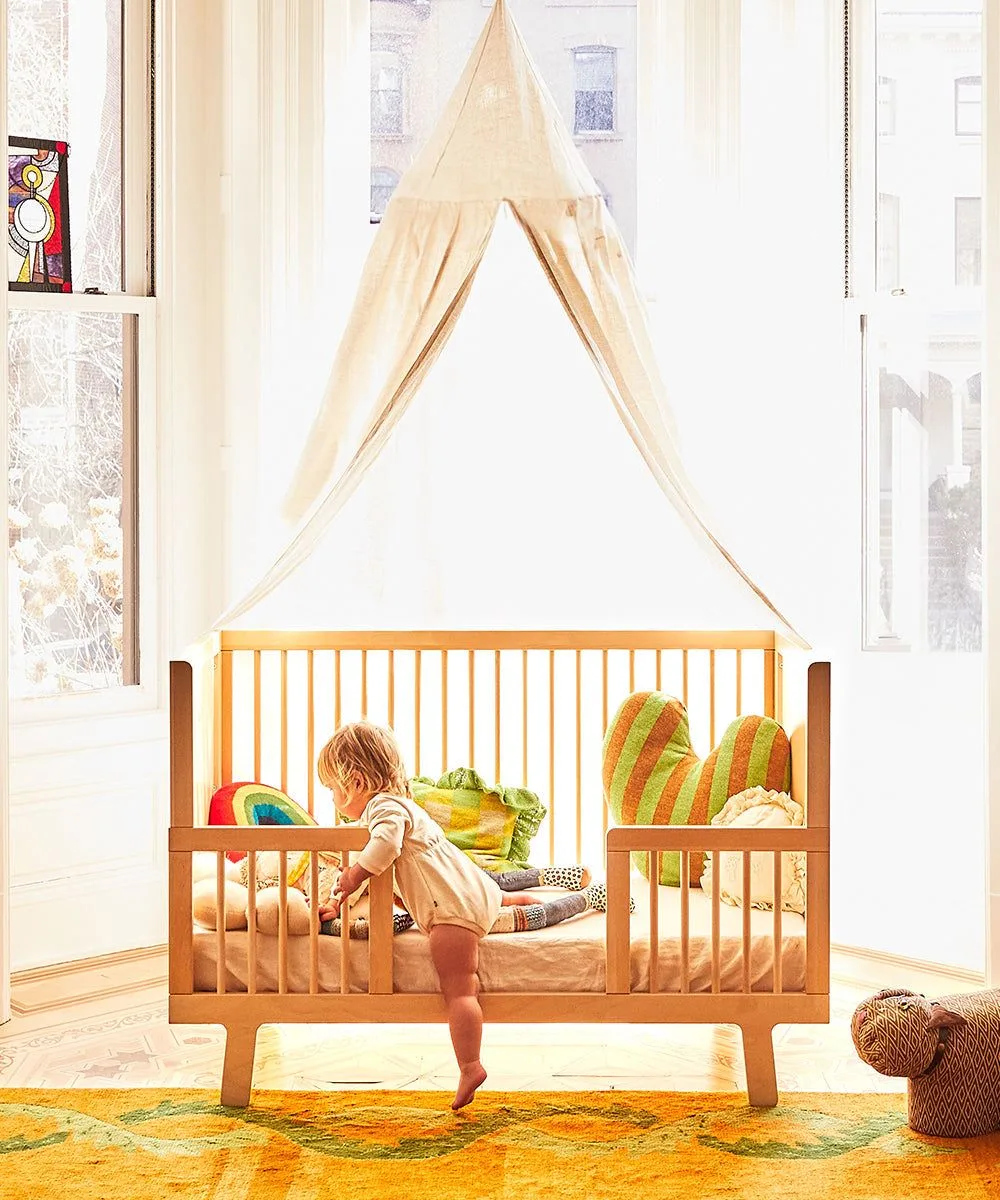
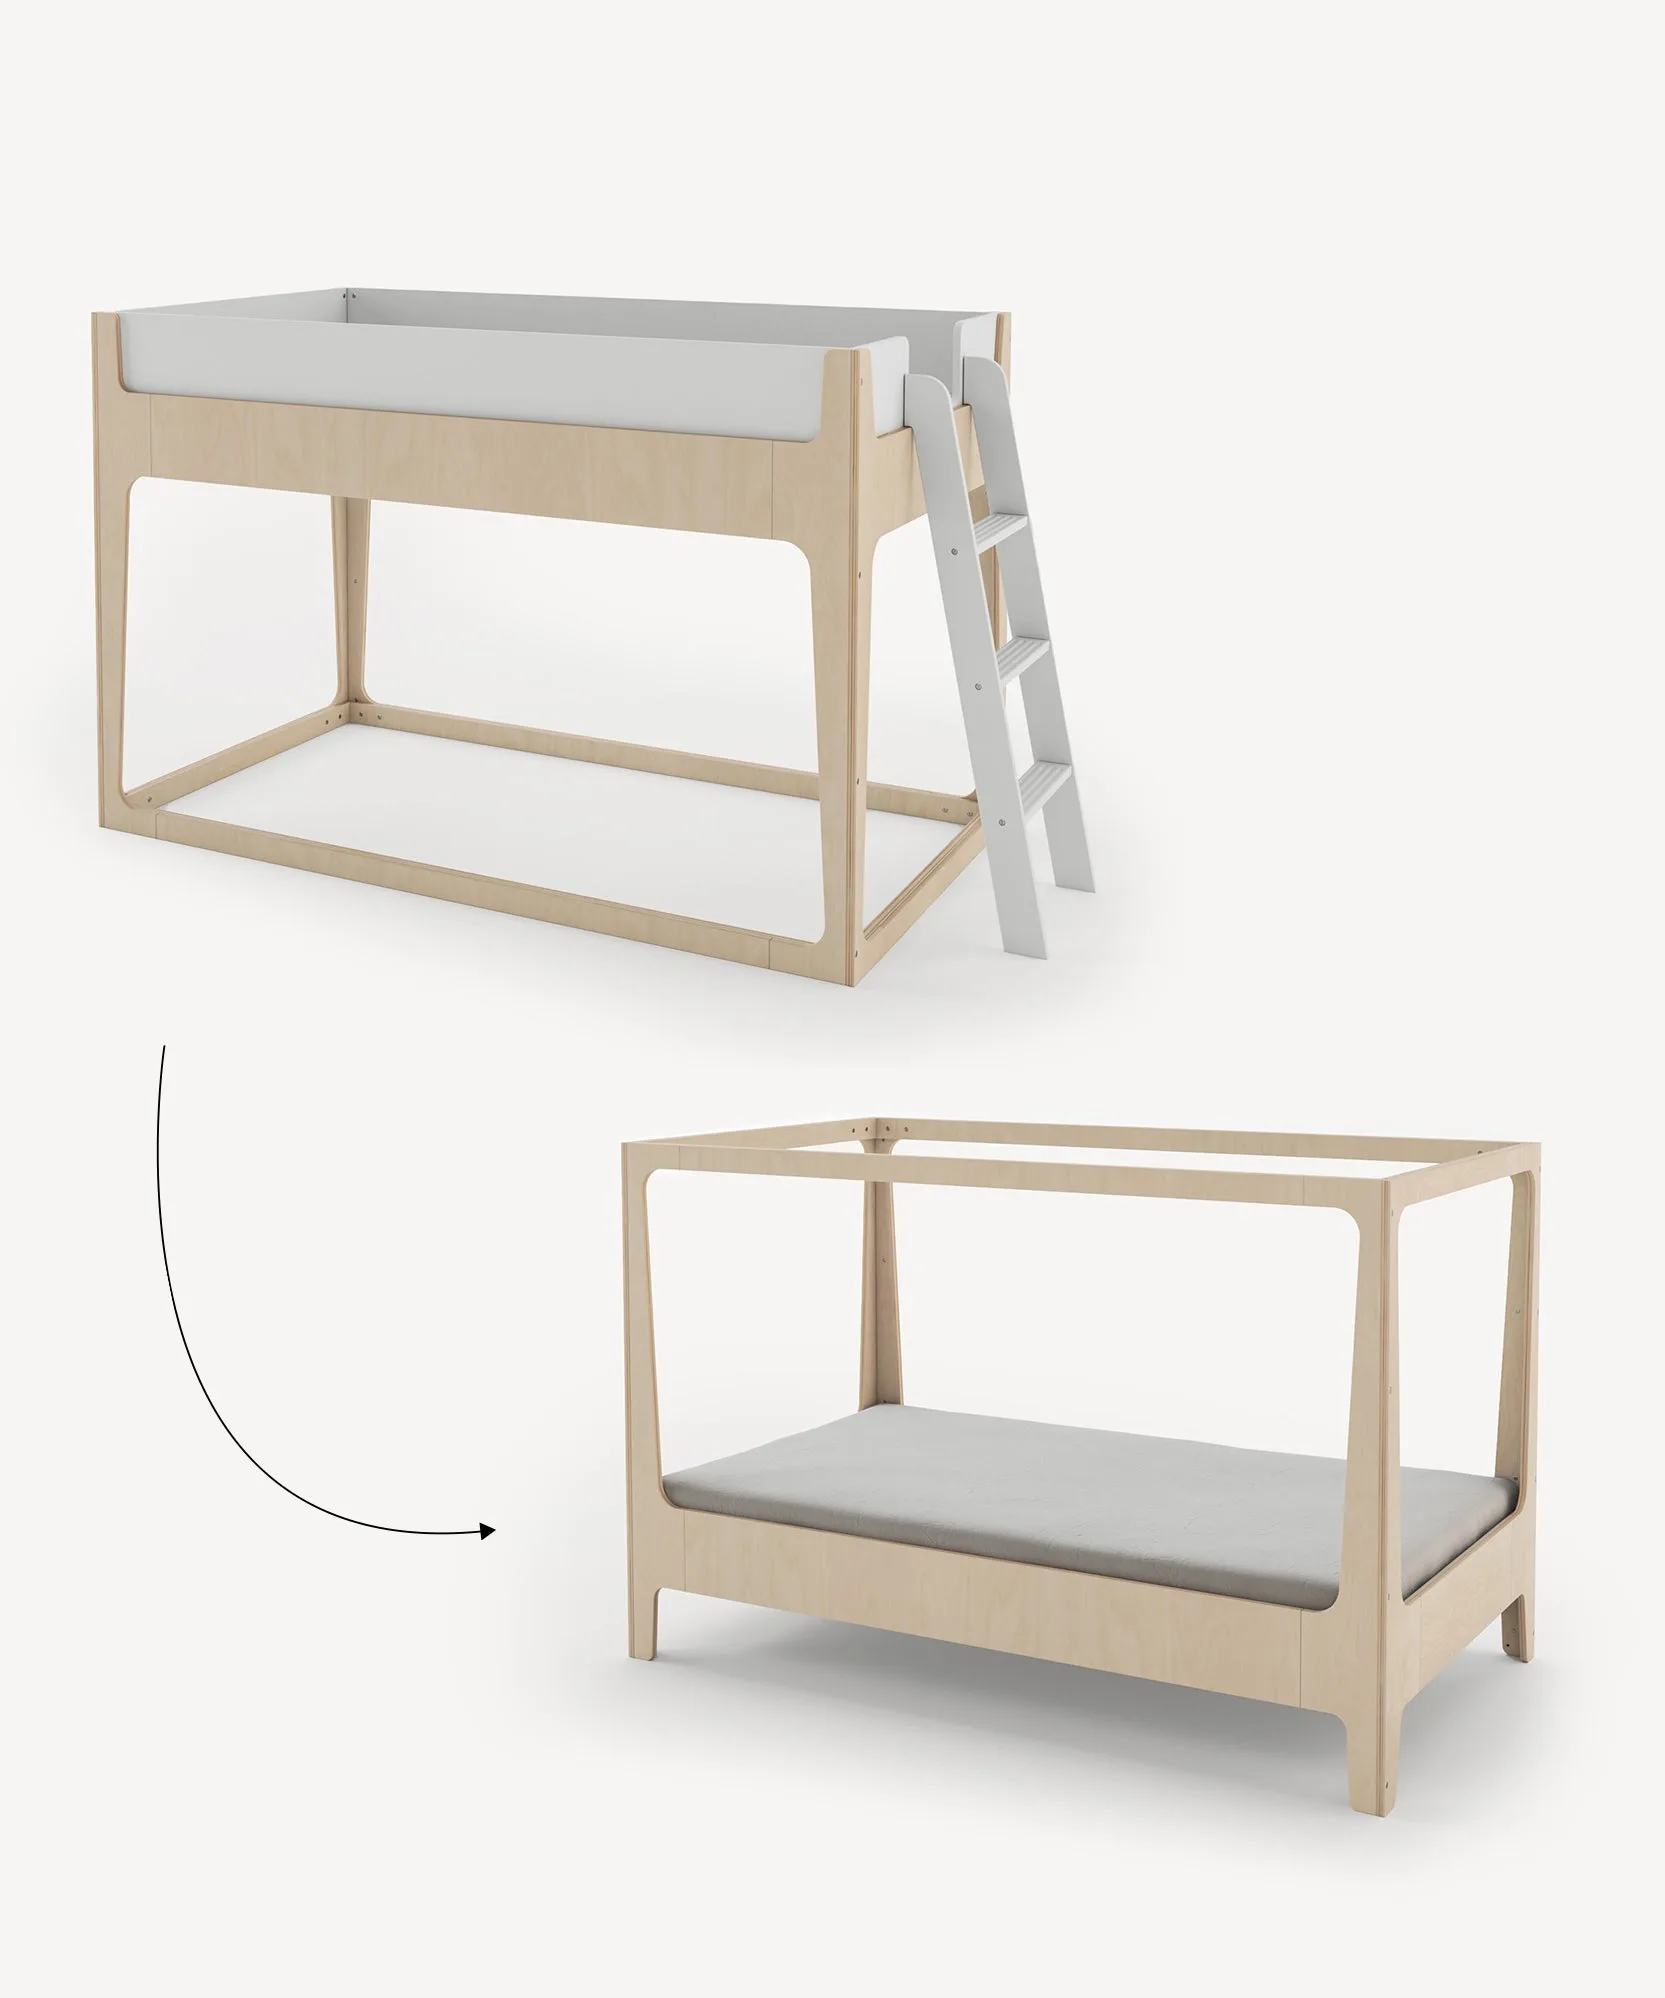
If you’ve been using your Oeuf crib since your baby’s first night home, you already know how solid and well-made it is. When your little one starts climbing—or just looks too big for the crib—it’s time to think about converting it into a toddler bed. The good news is that most Oeuf cribs, including the popular Moss Crib, are designed to transform easily with a conversion kit.
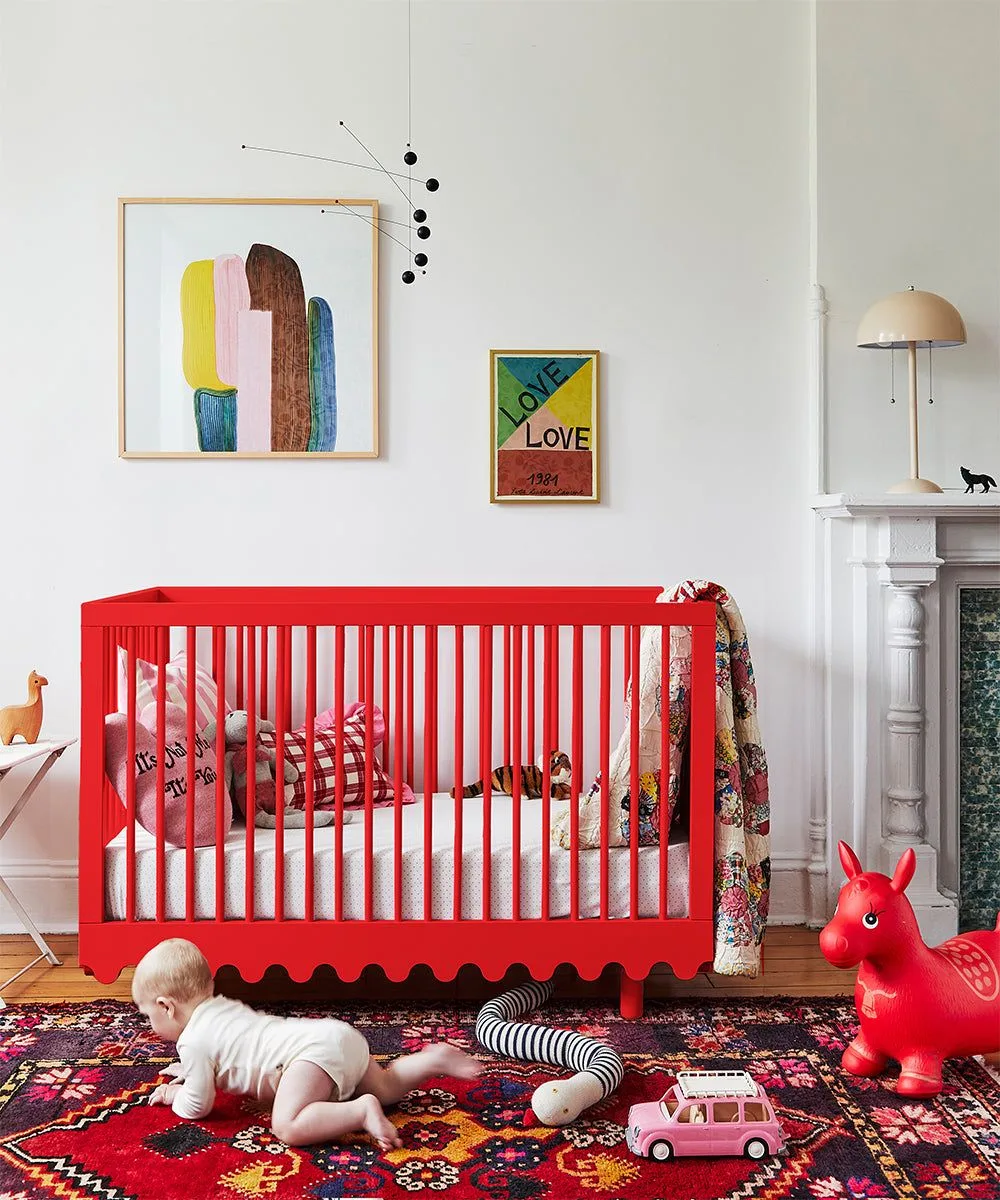
Moss Crib
This guide walks you through the entire process, from gathering tools to final safety checks. Whether you have a Rhea conversion kit or the specific toddler bed conversion set for your model, these steps will help you make the switch smoothly and safely. No power tools or carpentry skills required—just a bit of patience and a screwdriver.
What You’ll Need Before Starting
Before you open the box, take a few minutes to prepare your workspace. Clear the area around the crib so you have room to lay out parts. You’ll need a Phillips-head screwdriver (a power drill with a screwdriver bit works too), a soft cloth to protect the floor, and maybe a second pair of hands to hold the mattress platform steady.
Open your conversion kit and check that all hardware pieces are present. The kit typically includes two bed rails, a set of screws, and a small Allen wrench. If you’re working with a Moss Crib, the conversion kit will match its specific color and wood finish. For older models, you might need Sparrow Crib Hardware or https://homekids.shop/products/moss-nightstand-hardware-112328Moss Nightstand Hardware if you’re also updating other furniture—but for the crib conversion itself, the kit includes everything.
- Lay out all parts on a soft surface to avoid scratching the wood.
- Keep the original crib instructions handy—they often include conversion steps.
- If you’ve lost your manual, Oeuf’s website has PDFs for most models.
Step 1: Remove the Crib Front Panel
Start by taking off the front drop-side or fixed panel, depending on your crib model. For most Oeuf cribs, this means unscrewing the bolts that hold the front rail to the side panels. Keep these screws in a safe place—you might need them later if you convert back to a crib for a second child.
Once the front panel is off, set it aside carefully. You’ll notice that the side panels now have exposed holes where the front rail used to attach. Don’t worry—those holes are exactly where the new toddler bed rails will go. If your crib came with a mattress that’s still in good shape, you can reuse it for the toddler bed.
- Use a magnetic tray or small bowl to keep screws organized.
- If the front panel is stuck, gently wiggle it—don’t force it.
Step 2: Attach the Toddler Bed Rails
Take the two bed rails from your conversion kit. Each rail has a flat side and a rounded side. The flat side faces inward toward the mattress, while the rounded side faces outward. Align the holes on the rail with the holes on the side panel of the crib.
Insert the screws and tighten them by hand first, then use your screwdriver to secure them firmly—but don’t overtighten. You want the rail to be snug, not stressed. Repeat the same process on the other side. If you’re using a Rhea conversion kit, the rails will be slightly longer, so double-check that they’re level before tightening completely.
- Work on one side at a time to keep the rail aligned.
- Check that the rail sits flush against the side panel—no gaps.
Step 3: Lower the Mattress Platform
Most Oeuf cribs have an adjustable mattress height. For the toddler bed conversion, you’ll want the mattress platform at its lowest setting. This gives your child a low-to-the-ground bed that’s easy to climb into and reduces the risk of injury from rolling off.
To lower the platform, remove the four bolts that hold it in place, reposition it at the lowest set of holes, and reinsert the bolts. Tighten them securely. If your crib uses a different mechanism—like a hook-and-loop system—follow the manufacturer’s instructions. The goal is a stable, level surface that supports the mattress evenly.
- Measure the distance from the floor to the top of the mattress—it should be no more than 12 inches for safety.
- If your child is very young (under 18 months), consider waiting a bit longer before converting.
Step 4: Final Safety Checks and Adjustments
Before letting your child use the new bed, give everything a thorough inspection. Shake the bed rails gently to make sure they’re tight. Check that all screws are fully seated and that no sharp edges or splinters are present. If you notice any loose hardware, tighten it immediately.
Place the mattress inside and ensure it fits snugly against the rails. There should be no gaps larger than two fingers between the mattress and the bed frame. Finally, remove any pillows, stuffed animals, or loose bedding that could pose a suffocation risk for toddlers under two. The American Academy of Pediatrics recommends a bare sleeping surface until age two.
- Repeat safety checks weekly—kids will test the bed’s limits.
- If you’re using a Mini Library or other furniture nearby, anchor it to the wall to prevent tipping.
Converting your Oeuf crib to a toddler bed is a rewarding milestone that extends the life of a well-made piece of furniture. With just a screwdriver and this guide, you can give your child a safe, low bed that feels familiar and cozy. If you ever need replacement parts or want to convert back to a crib for a sibling, Oeuf’s hardware kits—like the Sparrow Crib Hardware—are available to keep everything running smoothly.