Quick Answer
To install a pressure mount gate without damaging door frames, choose the right width, position the gate at the correct height, and tighten the pressure spindles evenly. Use installation aids like the GY Spindle for banisters and the Gate Installation Kit for non-standard surfaces to avoid scratches and ensure a secure fit.
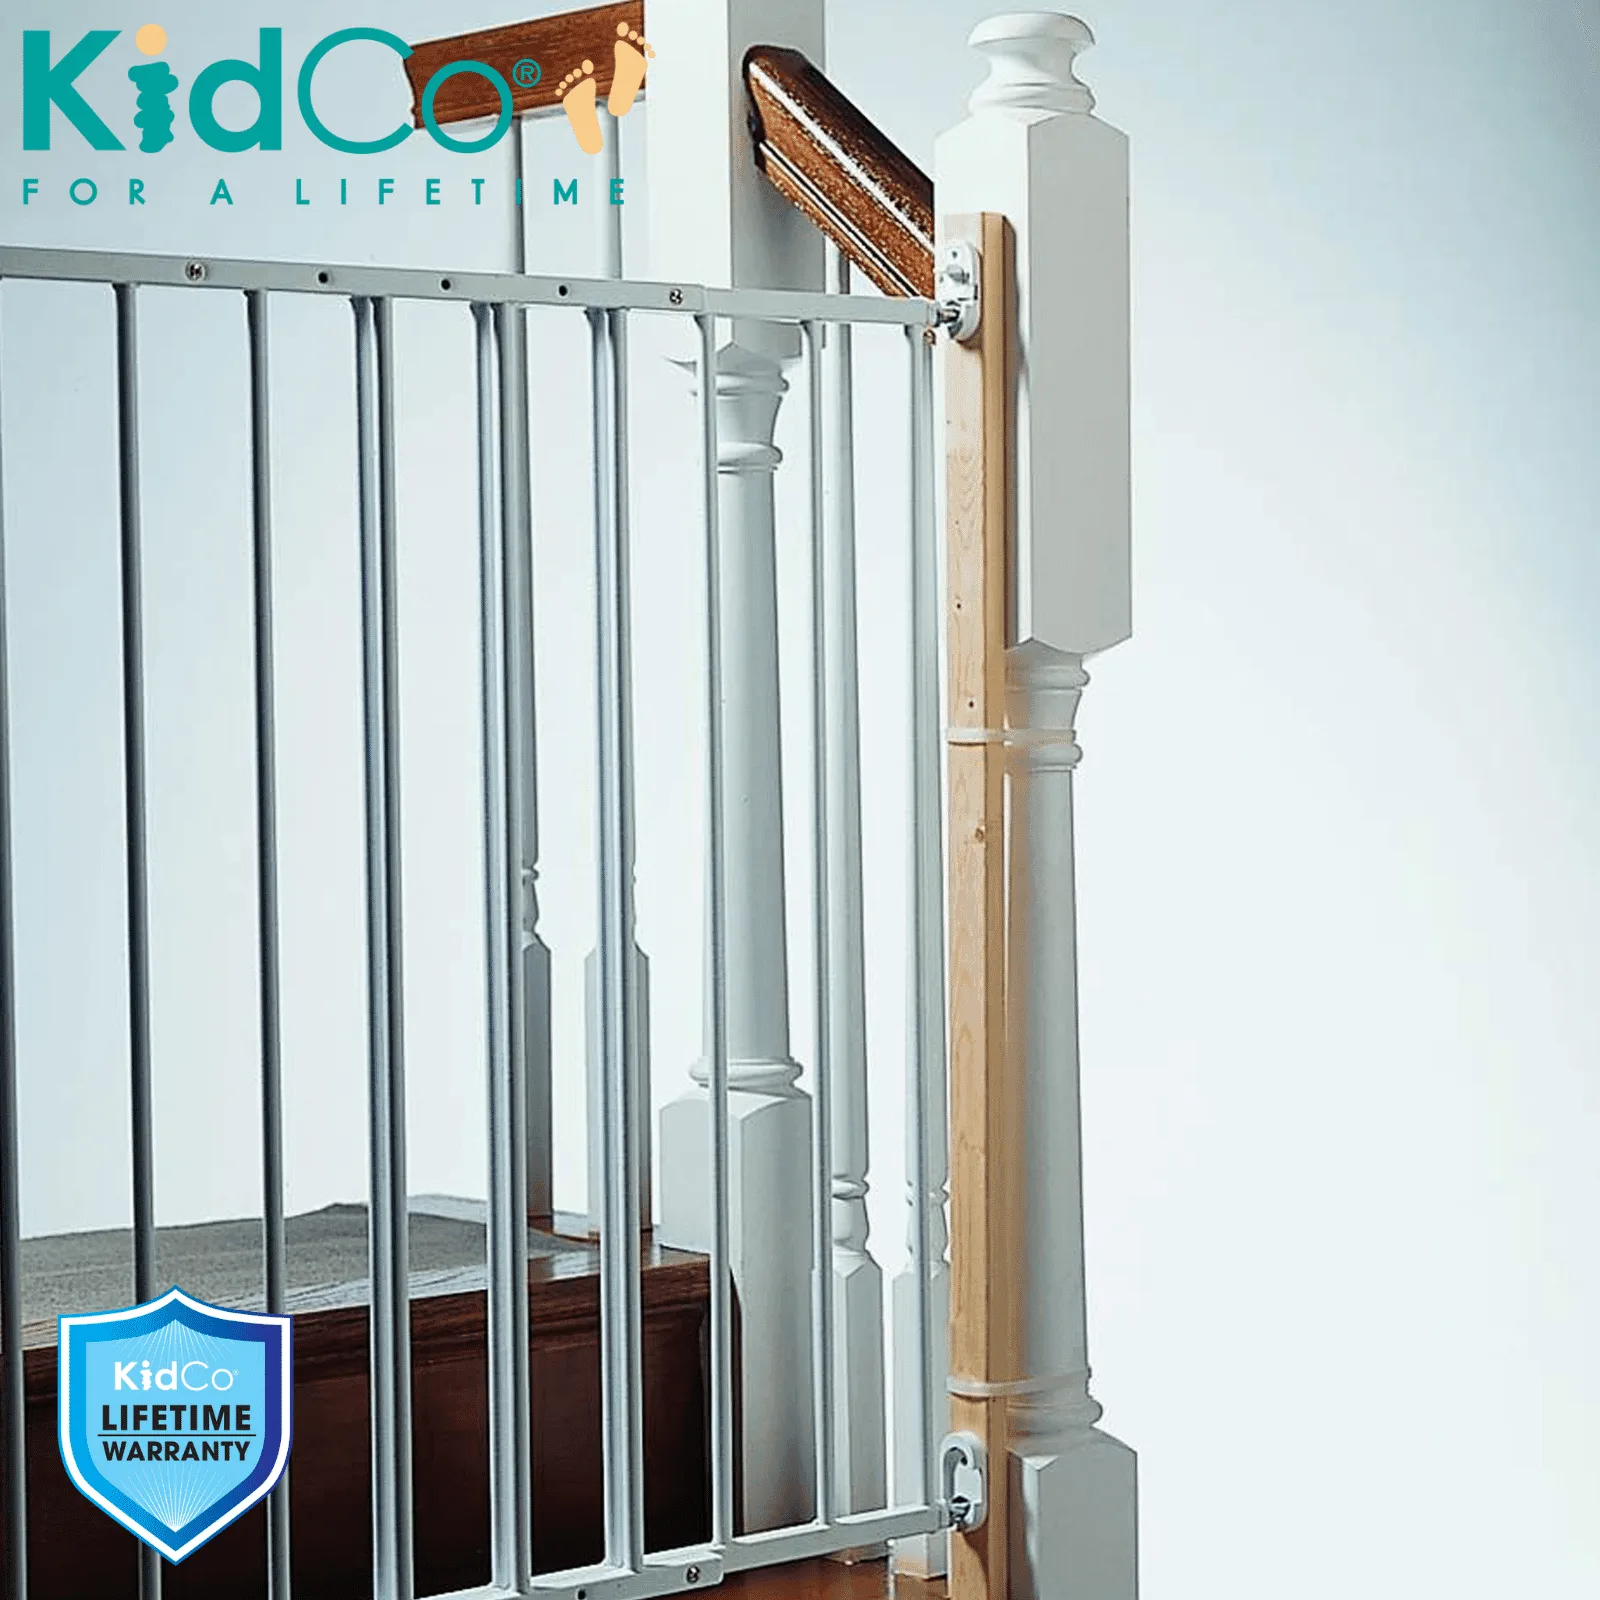
Gate Installation Kit
Pressure mount gates are a favorite for parents because they require no drilling or screws. But if you install them wrong, they can leave marks on your door frames or fail to keep your little one safe. The good news: with the right technique and a few simple tools, you can get a secure fit without any permanent damage.
In this guide, we’ll walk you through the steps to install a pressure mount gate correctly, highlight common mistakes to avoid, and show you how to use installation aids when your doorway isn’t a standard flat opening.
Measure Your Opening Accurately
Before you even unpack the gate, measure the width of your doorway at three points: top, middle, and bottom. Pressure mount gates rely on friction, so the gate must fit snugly. If the opening is too wide or too narrow, the gate won’t hold. Use a metal tape measure for accuracy and write down the widest measurement.
Most pressure gates have an adjustable width range. Check your gate’s specifications to ensure your opening falls within that range. If the gap is too large, you may need a gate extension. If it’s too small, consider a different gate model. Measuring correctly is the first step to a no-drill baby gate that stays put.
- Measure at the floor, middle, and top of the opening—doorways are often not perfectly square.
Choose the Right Mounting Hardware
Pressure mount gates come with rubber or foam pads that press against the door frame. These pads can leave marks or scuffs, especially on painted or wooden surfaces. To protect your frames, you can use the included pads as-is, or add a thin layer of felt or rubber between the pad and the frame. This simple step prevents scratches and makes the gate easier to remove later.
If your doorway has trim, molding, or banisters, the standard pads may not fit securely. In that case, use the GY Spindle for Pressure Mount Gates. This accessory wraps around balusters and provides a stable mounting point, so you can install the gate on staircases or openings without a flat wall surface.
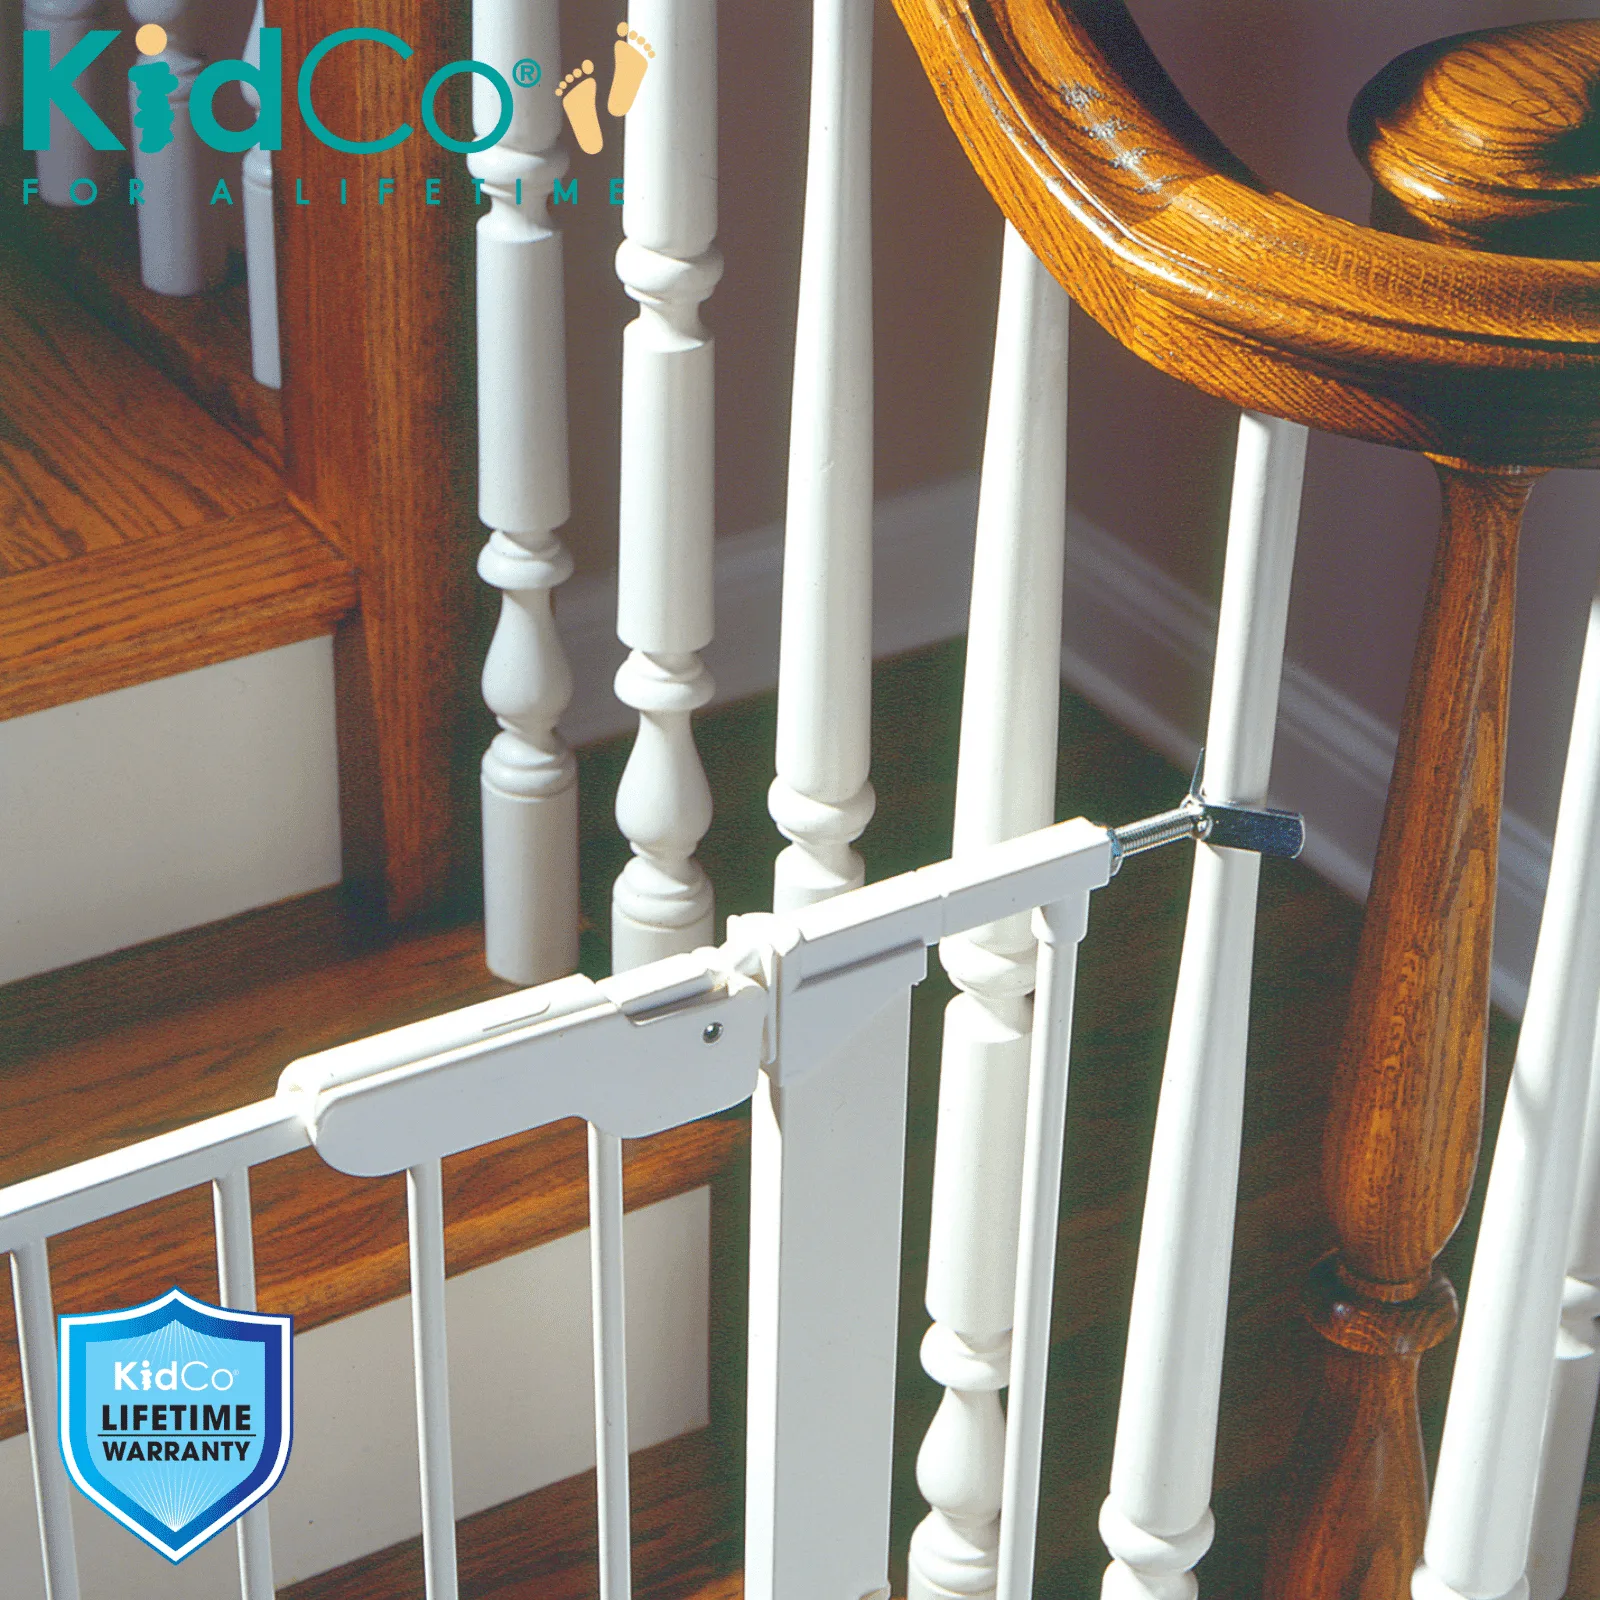
GY Spindle for Pressure Mount Gates
- For banisters, the GY Spindle is a must-have to avoid wobbly installations.
Position the Gate at the Right Height
For most pressure gates, the ideal height is at least 3 inches above the floor. This prevents the gate from dragging on the floor and makes it easier to open and close. It also reduces the risk of the gate becoming a trip hazard. Some gates have adjustable feet to help you set the height precisely.
Make sure the gate is level. Use a small spirit level to check. An uneven gate can cause uneven pressure on the frame, leading to gaps that a determined toddler might squeeze through. Adjust the feet or the pressure spindles until the gate is perfectly horizontal.
- A level gate distributes pressure evenly, reducing the risk of frame damage.
Tighten the Pressure Spindles Evenly
Pressure mount gates use spindles that you twist to expand the gate against the frame. Tighten them gradually, alternating between the left and right sides. This ensures even pressure and a secure fit. Over-tightening one side can cause the gate to sit crooked and may damage the frame.
The gate should be snug enough that you can’t easily push it out of place, but not so tight that the frame bows or cracks. A good test: try to wiggle the gate. If it moves, tighten the spindles a bit more. If the gate is difficult to close or the frame looks stressed, loosen the spindles slightly.
- Check the gate after a few days—temperature and humidity changes can loosen the fit.
Test the Gate Before Trusting It
Once the gate is installed, give it a firm push from both sides. A properly installed pressure gate should not move or pop out. Also, test the locking mechanism to ensure it engages and releases smoothly. If you have a pet or an older child, let them test it too—but always supervise.
Remember, pressure gates are not meant for the top of stairs in all cases. Check the manufacturer’s guidelines. Some pressure gates are not safe for stairways because they can be dislodged by a child leaning on them. For stairways, you may need a hardware-mounted gate, which requires drilling. If you want to avoid drilling, consider using a pressure gate only in doorways and use a hardware gate for stairs.
- Always read the gate’s manual for specific safety warnings and weight limits.
Step-by-Step Installation Checklist
- Measure the opening: Measure the width at the top, middle, and bottom. Use the widest measurement to select the correct gate size. Checkpoint: The gate’s width range must cover your opening.
- Protect the frame: Add felt pads or use the included rubber pads to prevent scuffs. For banisters, use the GY Spindle. Checkpoint: No bare metal or hard plastic should touch the frame.
- Set the height and level: Position the gate at least 3 inches off the floor and use a level to ensure it’s horizontal. Checkpoint: The gate should not drag on the floor.
- Tighten spindles evenly: Turn the pressure spindles alternately, left and right, until the gate is snug. Checkpoint: The gate should not move when pushed.
- Test the gate: Push firmly from both sides and test the lock. Re-tighten after a few days. Checkpoint: The gate must not pop out or shift.
Installation Aids That Make the Job Easier
- GY Spindle for Pressure Mount Gates: Many homes have staircases that aren’t bordered by a wall. In this situation the Y Spindle aids installation of the pressure mounted gates to these types of staircases. The Y Spindle wraps around the baluster to provide a secure installation. If you’re mounting a pressure gate at the bottom or top of stairs with banisters, this spindle gives you a stable anchor point without damaging the wood.
- Gate Installation Kit: KidCo has assembled the materials and fasteners necessary to properly install any child safety gate to wood banisters... When you do need to secure a gate to a banister or non-standard surface, this kit provides the right hardware to do it safely, even if that means drilling in a less visible spot.
Installing a pressure mount gate without damaging door frames is all about preparation and even pressure. Measure carefully, protect the surfaces, and use the right installation aids for tricky spots. With these steps, you’ll have a secure, no-drill baby gate that keeps your child safe and your home looking great.