Quick Answer
To install a privacy screen protector on your iPhone 16e without bubbles, work in a dust-free area, align the protector using the camera and speaker cutouts, and press from the center outward with a squeegee. Use the included dust-removal stickers to eliminate any lint before the glass touches the screen.
A privacy screen protector keeps your messages and passwords hidden from prying eyes, but a sloppy installation can leave bubbles that ruin both the look and the touch response. If you are using a tempered glass privacy protector on your iPhone 16e, the good news is that the process is straightforward when you follow the right order.
This guide walks you through each step, from preparing your workspace to pressing out the last air pocket. You will also learn what to do if dust sneaks in and how to fix a misaligned protector before it is too late.
Prepare Your Workspace and Tools
Start in a room with minimal air movement. Bathrooms with a running shower or a room with a closed door and no fans are ideal because steam or still air helps settle dust particles. Lay a clean, lint-free cloth on a flat surface and gather your iPhone 16e, the privacy screen protector, the included alcohol wipe, microfiber cloth, dust-removal stickers, and a squeegee or credit card.
Wash your hands with soap and dry them thoroughly. Oils from your fingers can leave smudges that attract dust. If you have a case on your phone, remove it temporarily so the protector can align edge-to-edge without interference.
A common mistake is skipping the alcohol wipe because the screen looks clean. The wipe removes invisible oils that cause the glass to slide, leading to misalignment. Always use it, then follow with the microfiber cloth to dry the screen completely.
- Use a bright light to inspect the screen for dust before you start.
- Keep the privacy protector in its packaging until you are ready to apply it.
Align the Privacy Protector Before You Peel
Hold the protector over your iPhone 16e without removing the backing. Line up the speaker cutout at the top and the home indicator area at the bottom. Most privacy protectors have a tab or a sticker that you peel off, but you should also check the edges to see if the glass is centered.
If your protector comes with an alignment frame, use it. Place the frame over the phone and snap the protector into place. This eliminates guesswork and is the simplest way to avoid a crooked install.
A common mistake is peeling the entire backing at once, which lets the adhesive pick up dust. Instead, peel only one side, align it, then slowly lower the glass while peeling the rest. This keeps the adhesive covered until the last moment.
- If the protector has a cutout for the earpiece, use it as a reference point.
- Do not press the glass down until you are sure it is straight.
Press from the Center Outward
Once the protector is aligned, let the glass touch the screen at the center. It will start to adhere on its own. Use your thumb or a squeegee to press gently from the center toward the edges, pushing air out as you go. Work in straight lines, like you are squeegeeing water off a window.
If you see a bubble, do not lift the glass immediately. Press again from the center toward the bubble. If it does not move, you may need to lift the nearest corner slightly and re-press. Tempered glass is forgiving, but you only have a few minutes before the adhesive sets.
A common mistake is pressing too hard, which can crack the glass or leave stress marks. Use light, even pressure. If the protector feels stuck, stop and reposition rather than forcing it.
- Use the provided squeegee or a clean credit card wrapped in a microfiber cloth.
- Do not use your fingernail, which can scratch the glass.
Deal with Dust Bubbles
If a bubble remains and you suspect dust, lift the nearest edge of the protector with a piece of tape or your fingernail. Use a dust-removal sticker to pick the particle off the screen. Do not touch the adhesive side of the protector with your fingers; the oil will create a new problem.
Once the dust is gone, lower the glass back down and press from the center again. If you cannot remove the dust, consider peeling the protector completely and starting over with a new one. Most kits include two protectors for this reason.
A common mistake is using a needle or pin to poke the bubble, which damages the adhesive and leaves a permanent mark. Always lift the glass instead.
- Keep the dust-removal stickers within reach during installation.
- If the bubble is near the edge, you may be able to press it out with your thumb.
Check the Edges and Finish
After the protector is on, run your thumb along all four edges to ensure they are fully adhered. If an edge lifts, press it down firmly for a few seconds. Some protectors have a slight curve that takes a minute to settle.
Wait at least 10 minutes before putting your case back on. This gives the adhesive time to bond. If you use a case immediately, it may push the edges up and create bubbles.
A common mistake is touching the screen during installation to test the privacy feature. The protector's adhesive needs time to cure, and fingerprints will attract dust. Wait until the next day to clean the screen normally.
- Use the microfiber cloth to wipe the surface after installation.
- If you see a small bubble after 24 hours, it is unlikely to disappear on its own; consider replacing the protector.
Step-by-Step Installation Checklist
- Clean the screen: Use the alcohol wipe to remove oils, then dry with a microfiber cloth. Inspect under bright light for dust. Checkpoint: No visible dust or smudges before you peel the protector.
- Align the protector: Hold the protector over the phone without removing the backing. Line up the speaker cutout and edges. Use an alignment frame if included. Checkpoint: The protector is centered and straight before peeling.
- Peel and apply: Peel one side of the backing, position the glass, then slowly lower it while peeling the rest. Press from the center outward with a squeegee. Checkpoint: No large air pockets remain; press gently to push bubbles to the edges.
- Remove dust bubbles: If a bubble persists, lift the nearest edge with tape, use a dust-removal sticker to pick the particle, then lower the glass and press again. Checkpoint: The screen is bubble-free and the edges are sealed.
- Let it set: Wait at least 10 minutes before reattaching your case. Avoid touching the screen during this time. Checkpoint: After 24 hours, the protector should be fully adhered.
Product Facts
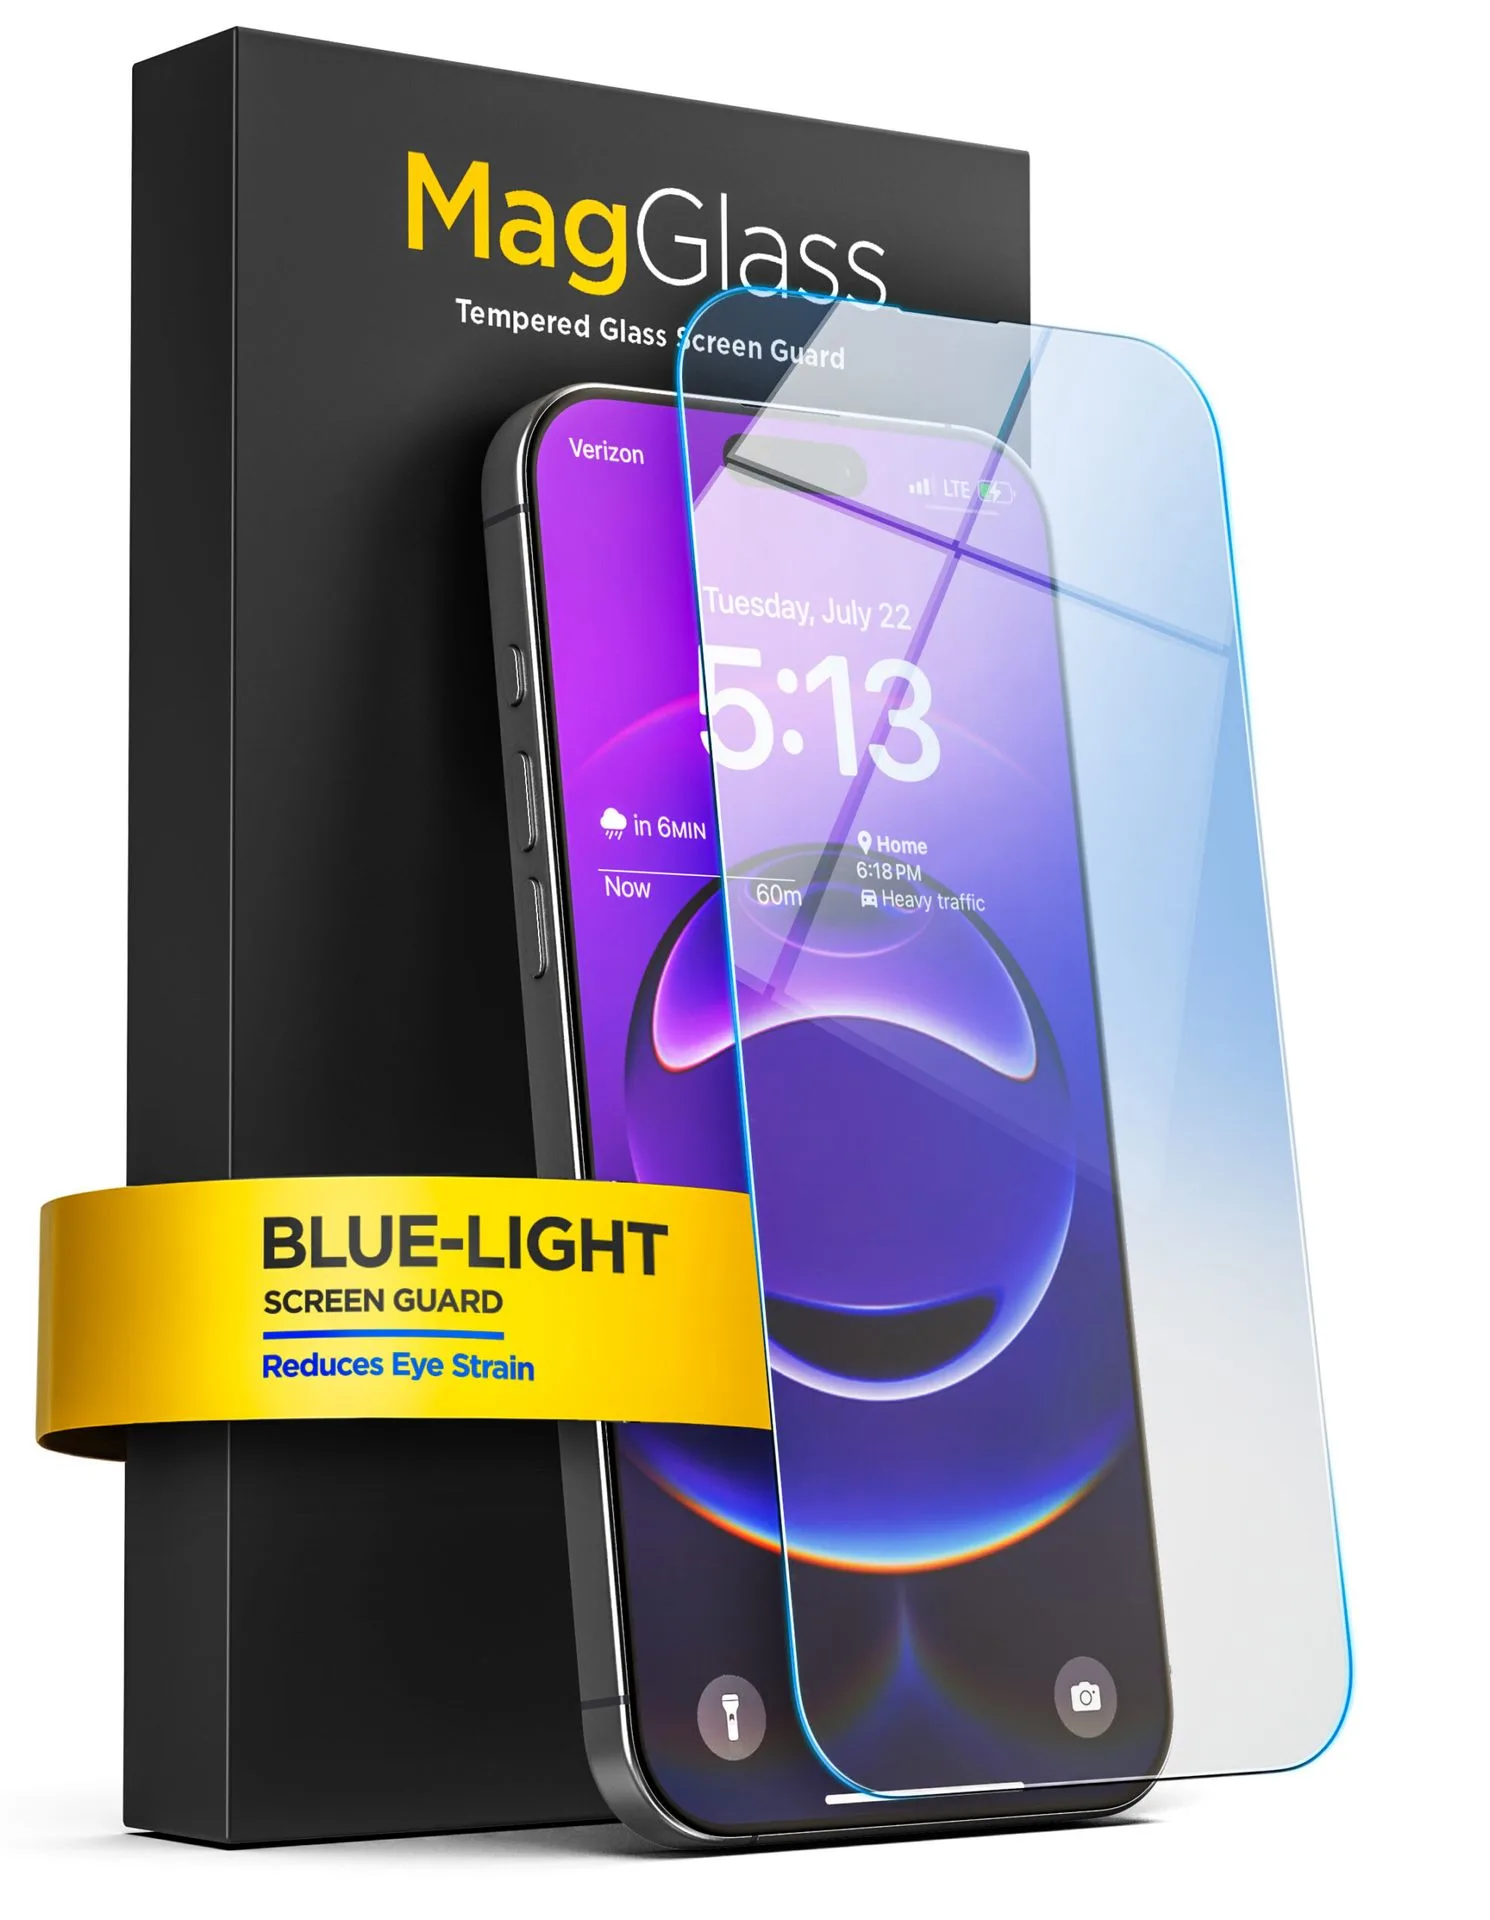
- iPhone 16e UHD Screen Protector - Encased: MagGlass Tempered Glass Screen Protector for iPhone 16e. Engineered and tested on impact rating, ensuring the protector endures impacts without chipping or cracking. A privacy screen protector must be durable to survive daily drops. The MagGlass impact rating means your screen remains protected even after a fall, so you do not have to worry about the protector failing when you need it.
Installing a privacy screen protector on your iPhone 16e does not have to be stressful. By preparing your workspace, aligning carefully, and pressing from the center, you can achieve a bubble-free finish that keeps your screen private and protected. If you do hit a snag, remember that dust can be removed with a sticker, and a fresh start is always an option.