Quick answer
Installing rails on your Pilates reformer restores smooth carriage movement. The process involves removing the old rails, cleaning the frame, aligning the new rails precisely, and securing them with the correct hardware.
Why rail alignment matters
Proper rail alignment is critical for a smooth, controlled glide. Even a slight misalignment can cause the carriage to bind, create uneven wear on rollers or bearings, and affect the quality of your Pilates exercises. Take your time during installation to ensure the rails are parallel and level.
If you notice the carriage wobbles or feels sticky after installation, recheck the alignment before tightening everything fully.
Installation steps
- Step 1: Remove the old rails: Unbolt the existing rails from the frame using the appropriate hex key or screwdriver. Keep the hardware organized; you may reuse it if it's in good condition. Common mistake: stripping the bolt heads by using the wrong tool size. Use a hex key that fits snugly.
- Step 2: Clean the frame surface: Wipe down the mounting surface on the frame with a clean, dry cloth to remove dust, old adhesive, or debris. Any residue can prevent the new rails from sitting flush. Common mistake: skipping this step leads to uneven mounting and eventual loosening. A clean surface is essential for a secure fit.
- Step 3: Position and align the new rails: Place the new rails onto the frame, aligning them with the pre-drilled holes. Use a straightedge or a long level to ensure the rails are parallel to each other and to the frame's centerline. Common mistake: assuming the rails are self-aligning; always verify with a straightedge. Double-check alignment at both ends before tightening.
- Step 4: Secure the rails: Insert the bolts and hand-tighten them in a crisscross pattern to evenly distribute pressure. Then use a torque wrench or hex key to fully tighten each bolt, but do not overtighten—this can warp the rail. Common mistake: overtightening can cause the rail to bow, ruining the glide. Tighten evenly and stop when snug; overtightening is worse than undertightening.
- Step 5: Test the carriage movement: Slide the carriage back and forth along the new rails. It should move smoothly with no binding, wobble, or excessive noise. If it feels rough, recheck alignment and bolt tightness. Common mistake: not testing before reassembling the reformer fully. Perform a full-range test to confirm the installation is successful.
Product facts
-
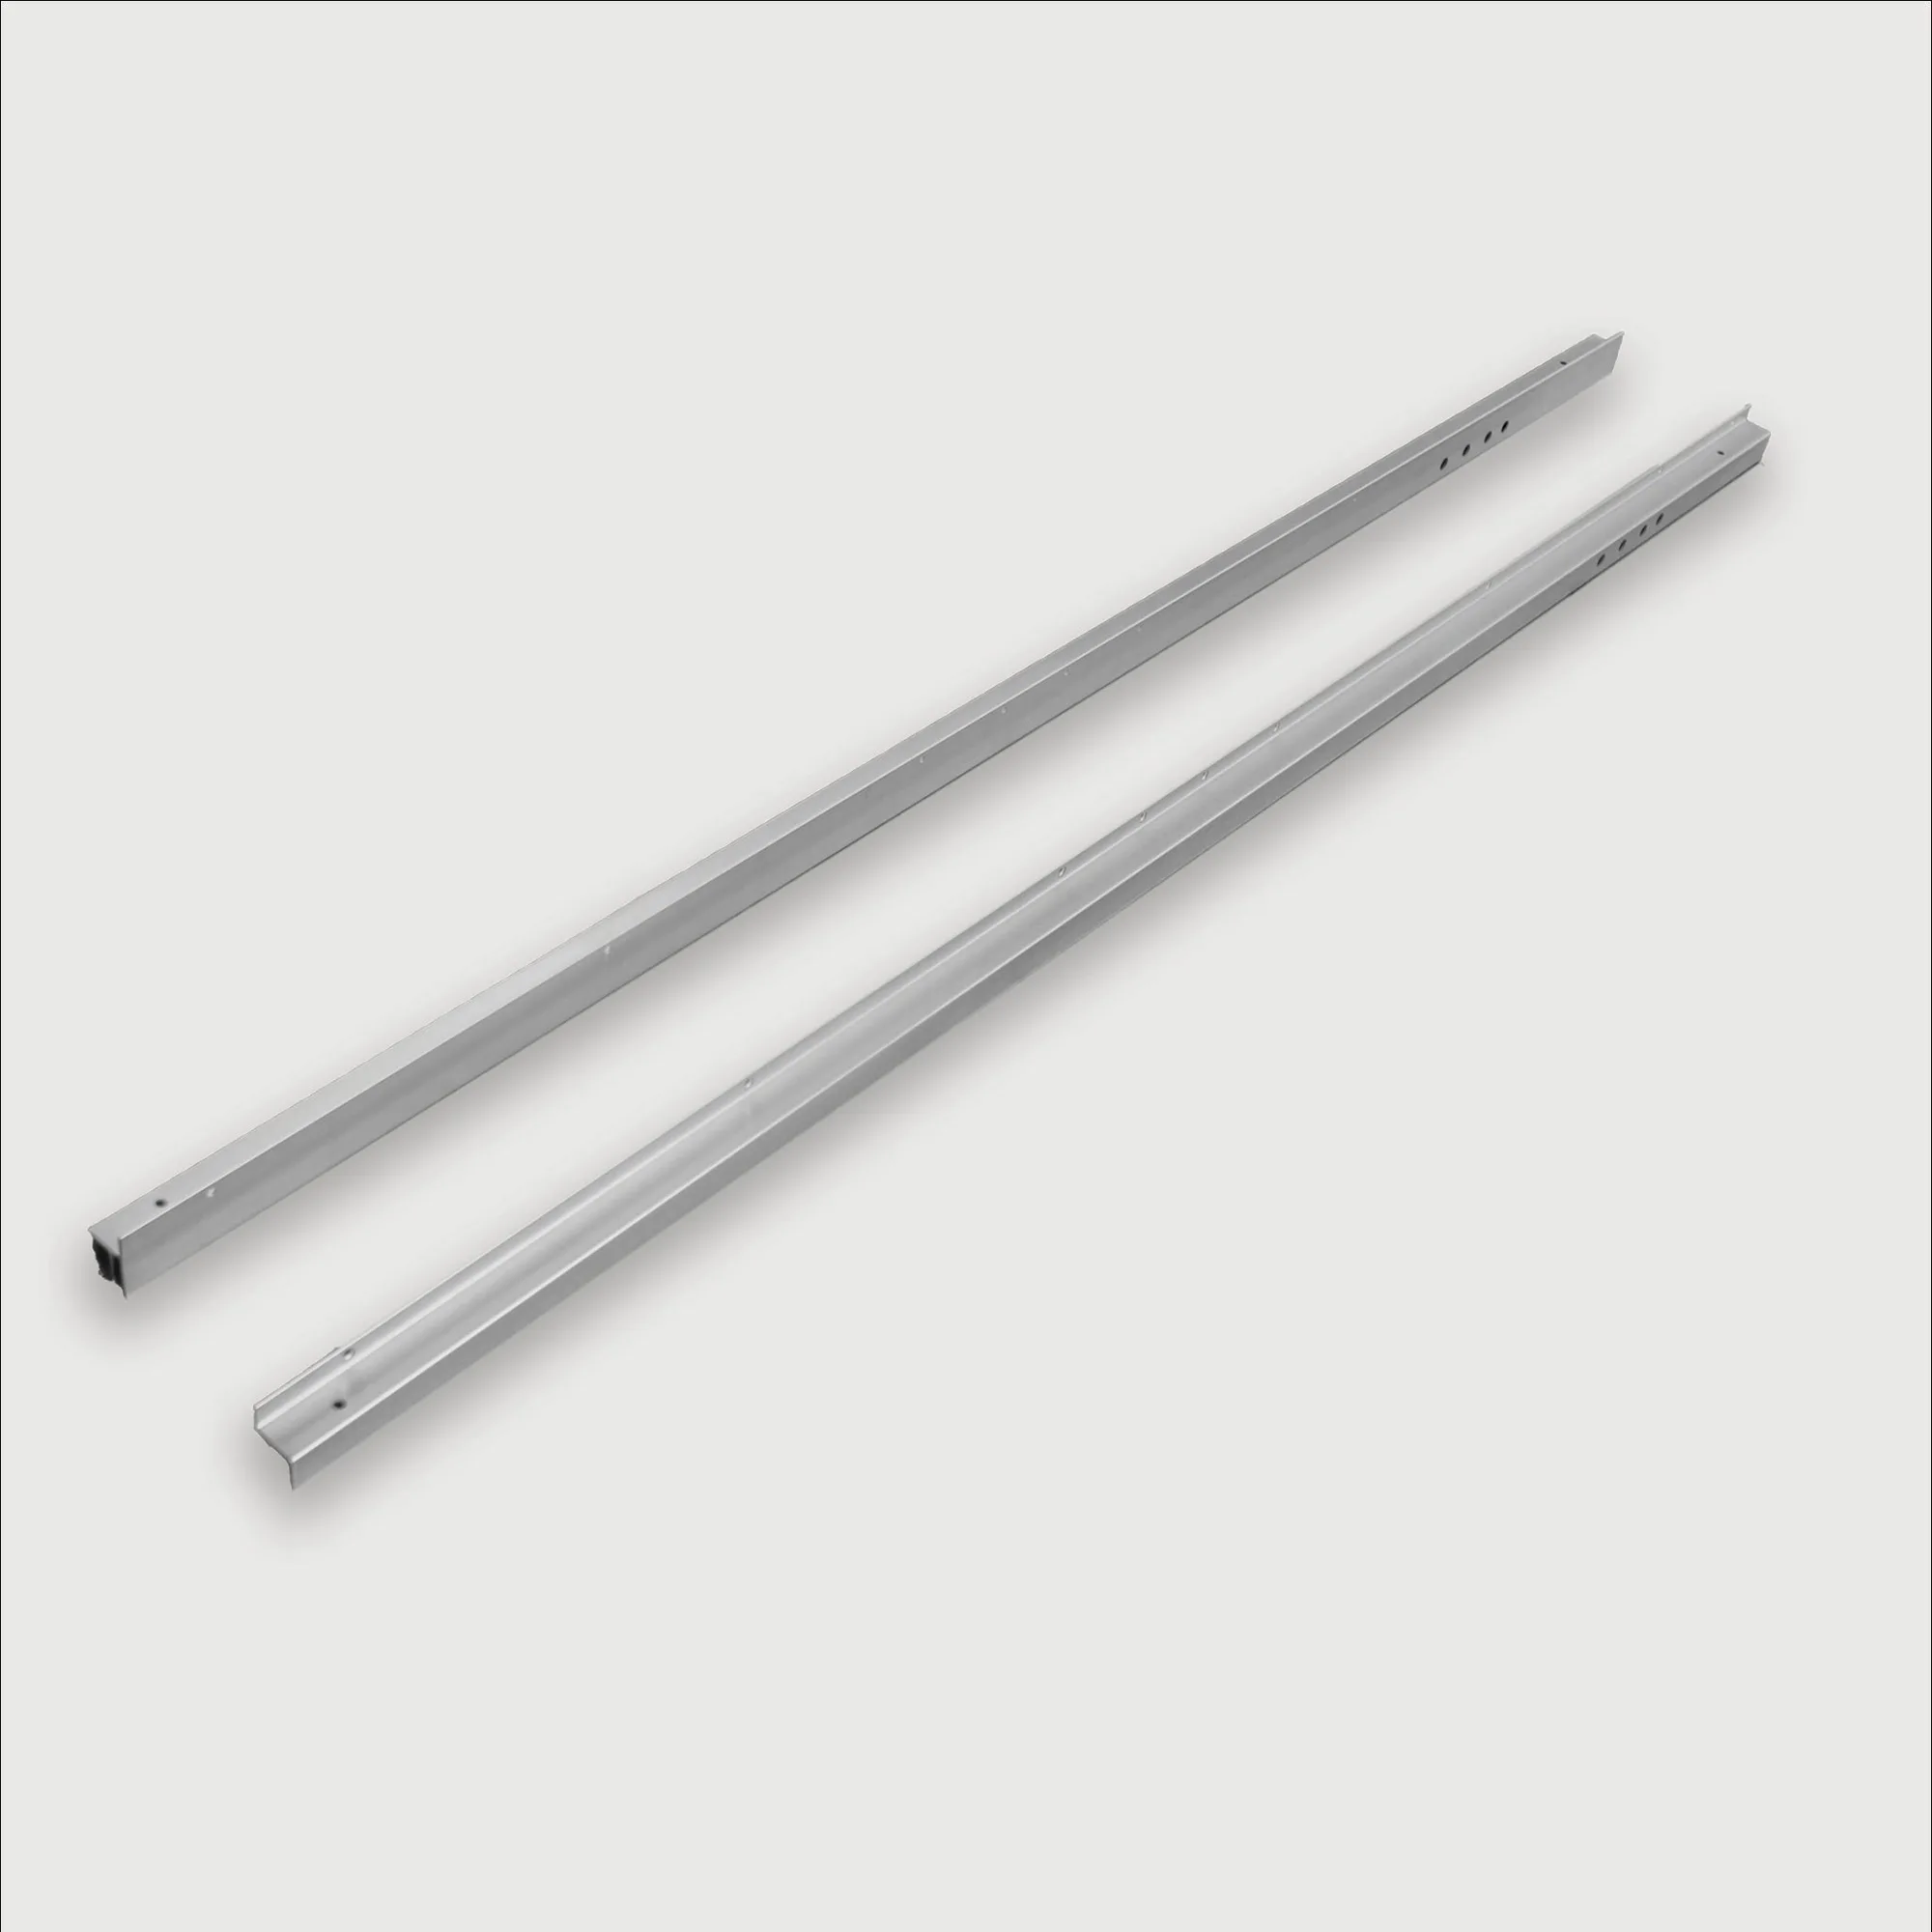
Rails: Your reformer's rails are the structural backbone of every session. When they wear, the carriage loses its smooth, controlled glide. These are the genuine replacement rails for Your Reformer USA equipment, precision-matched to the original spec. Using genuine rails ensures a perfect fit and restores the original performance, avoiding the guesswork of aftermarket alternatives.
Rails