Quick answer
To install a swivel clip cleanly, cut your strap to length, finish the end with a folded and stitched edge, then slide the clip onto the strap and secure it with a rivet or bar tack. Use a swivel clip sized for your strap width, such as a 1/2" swivel clip for 1/2" straps, and always test the clip's movement before final assembly.
Choose the right swivel clip for your strap
Swivel clips come in sizes matched to strap width. A 1/2" swivel clip fits 1/2" straps, so measure your finished strap width before ordering. If your strap is thicker than 1/8" after folding, you may need to skive the ends or choose a slightly larger clip to avoid a bulky look. For detachable leather straps, a brass swivel clip like the 1/2" Swivel Clip can clip into a zipper slider hole or onto a metal D-ring, giving you flexibility in how you carry your bag.
Finish the strap end before attaching hardware
A clean strap end makes the hardware look intentional. Fold the raw edge under by about 1/2" and stitch across, or fold and rivet if your material is leather. For fabric straps, press the fold first. For leather, skive the folded area to reduce bulk. This step prevents fraying and gives the clip a flat surface to sit against. If you skip finishing, the clip may slide and the strap end will look messy.
Attach the clip securely
Slide the finished strap end through the swivel clip's loop, then fold the strap back on itself. Secure with a rivet placed at least 1/4" from the strap edge, or use a bar tack with heavy-duty thread. For a detachable leather strap, you can also clip the swivel clip into a zipper slider hole or onto a metal D-ring. Always test the clip's swivel action before final assembly; it should rotate freely without twisting the strap.
Step-by-step installation
- Cut and finish the strap end: Cut your strap to the desired length. Fold the raw edge under by 1/2" and stitch or rivet to secure. For leather, skive the fold to reduce bulk. Checkpoint: The folded edge should be flat and even, with no fraying.
- Slide the swivel clip onto the strap: Open the swivel clip's loop and slide the finished strap end through. Fold the strap back on itself so the clip is captured. Common mistake: Forcing a too-thick strap through the clip, which can distort the hardware.
- Secure with a rivet or bar tack: Place a rivet at least 1/4" from the strap edge, or sew a bar tack with heavy-duty thread. If using a rivet, set it firmly with a rivet setter. Checkpoint: The strap should not shift or pull out when you tug on the clip.
- Test the swivel action: Rotate the clip to ensure it swivels freely without twisting the strap. If it binds, check that the strap is not too thick or the rivet is too tight. Next step: Attach the clip to your bag's D-ring or zipper slider and adjust strap length as needed.
Hardware that works
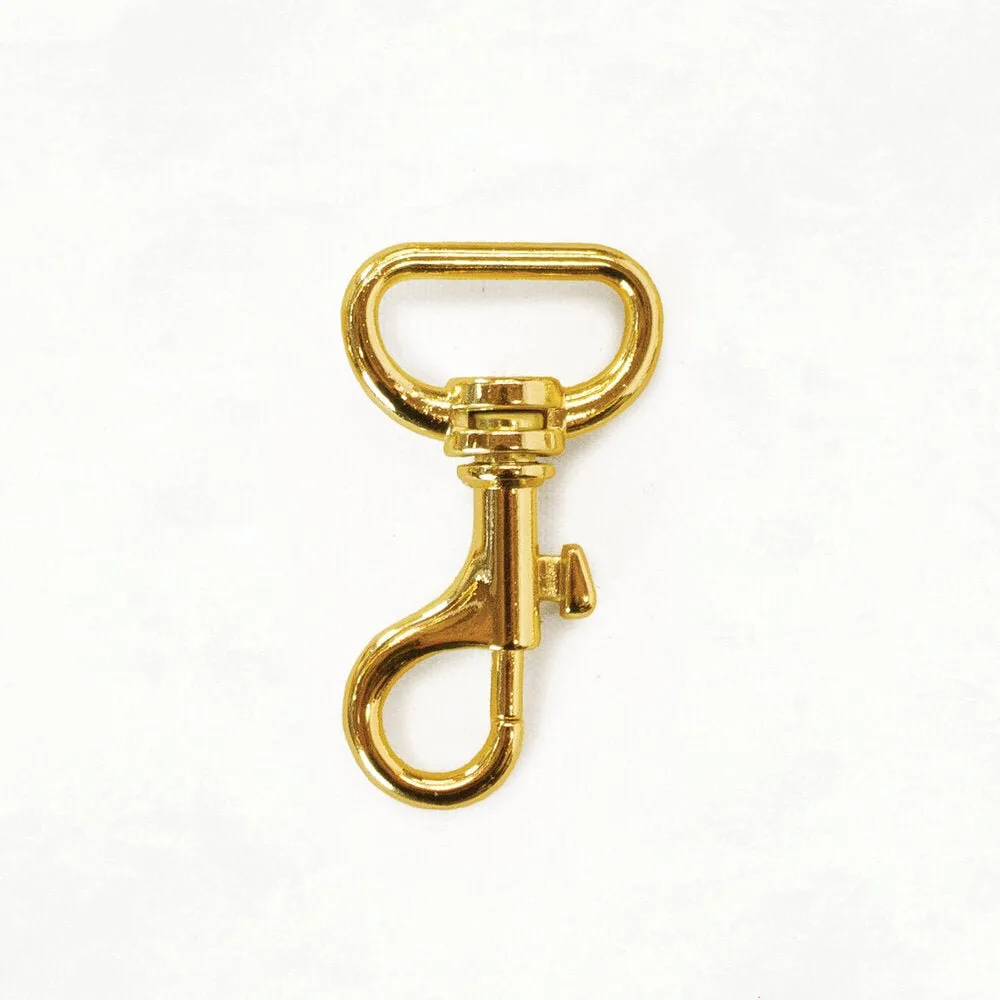
- ¹⁄₂" Swivel Clip: This brass swivel clip can be used to make detachable leather straps, like wristlets and crossbody straps. You can clip it into a zipper slider hole or onto a metal D-ring. Fits 1/2" straps. A 1/2" swivel clip is ideal for 1/2" straps, and its brass finish adds a polished look. The ability to clip into a zipper slider or D-ring makes it versatile for detachable straps.
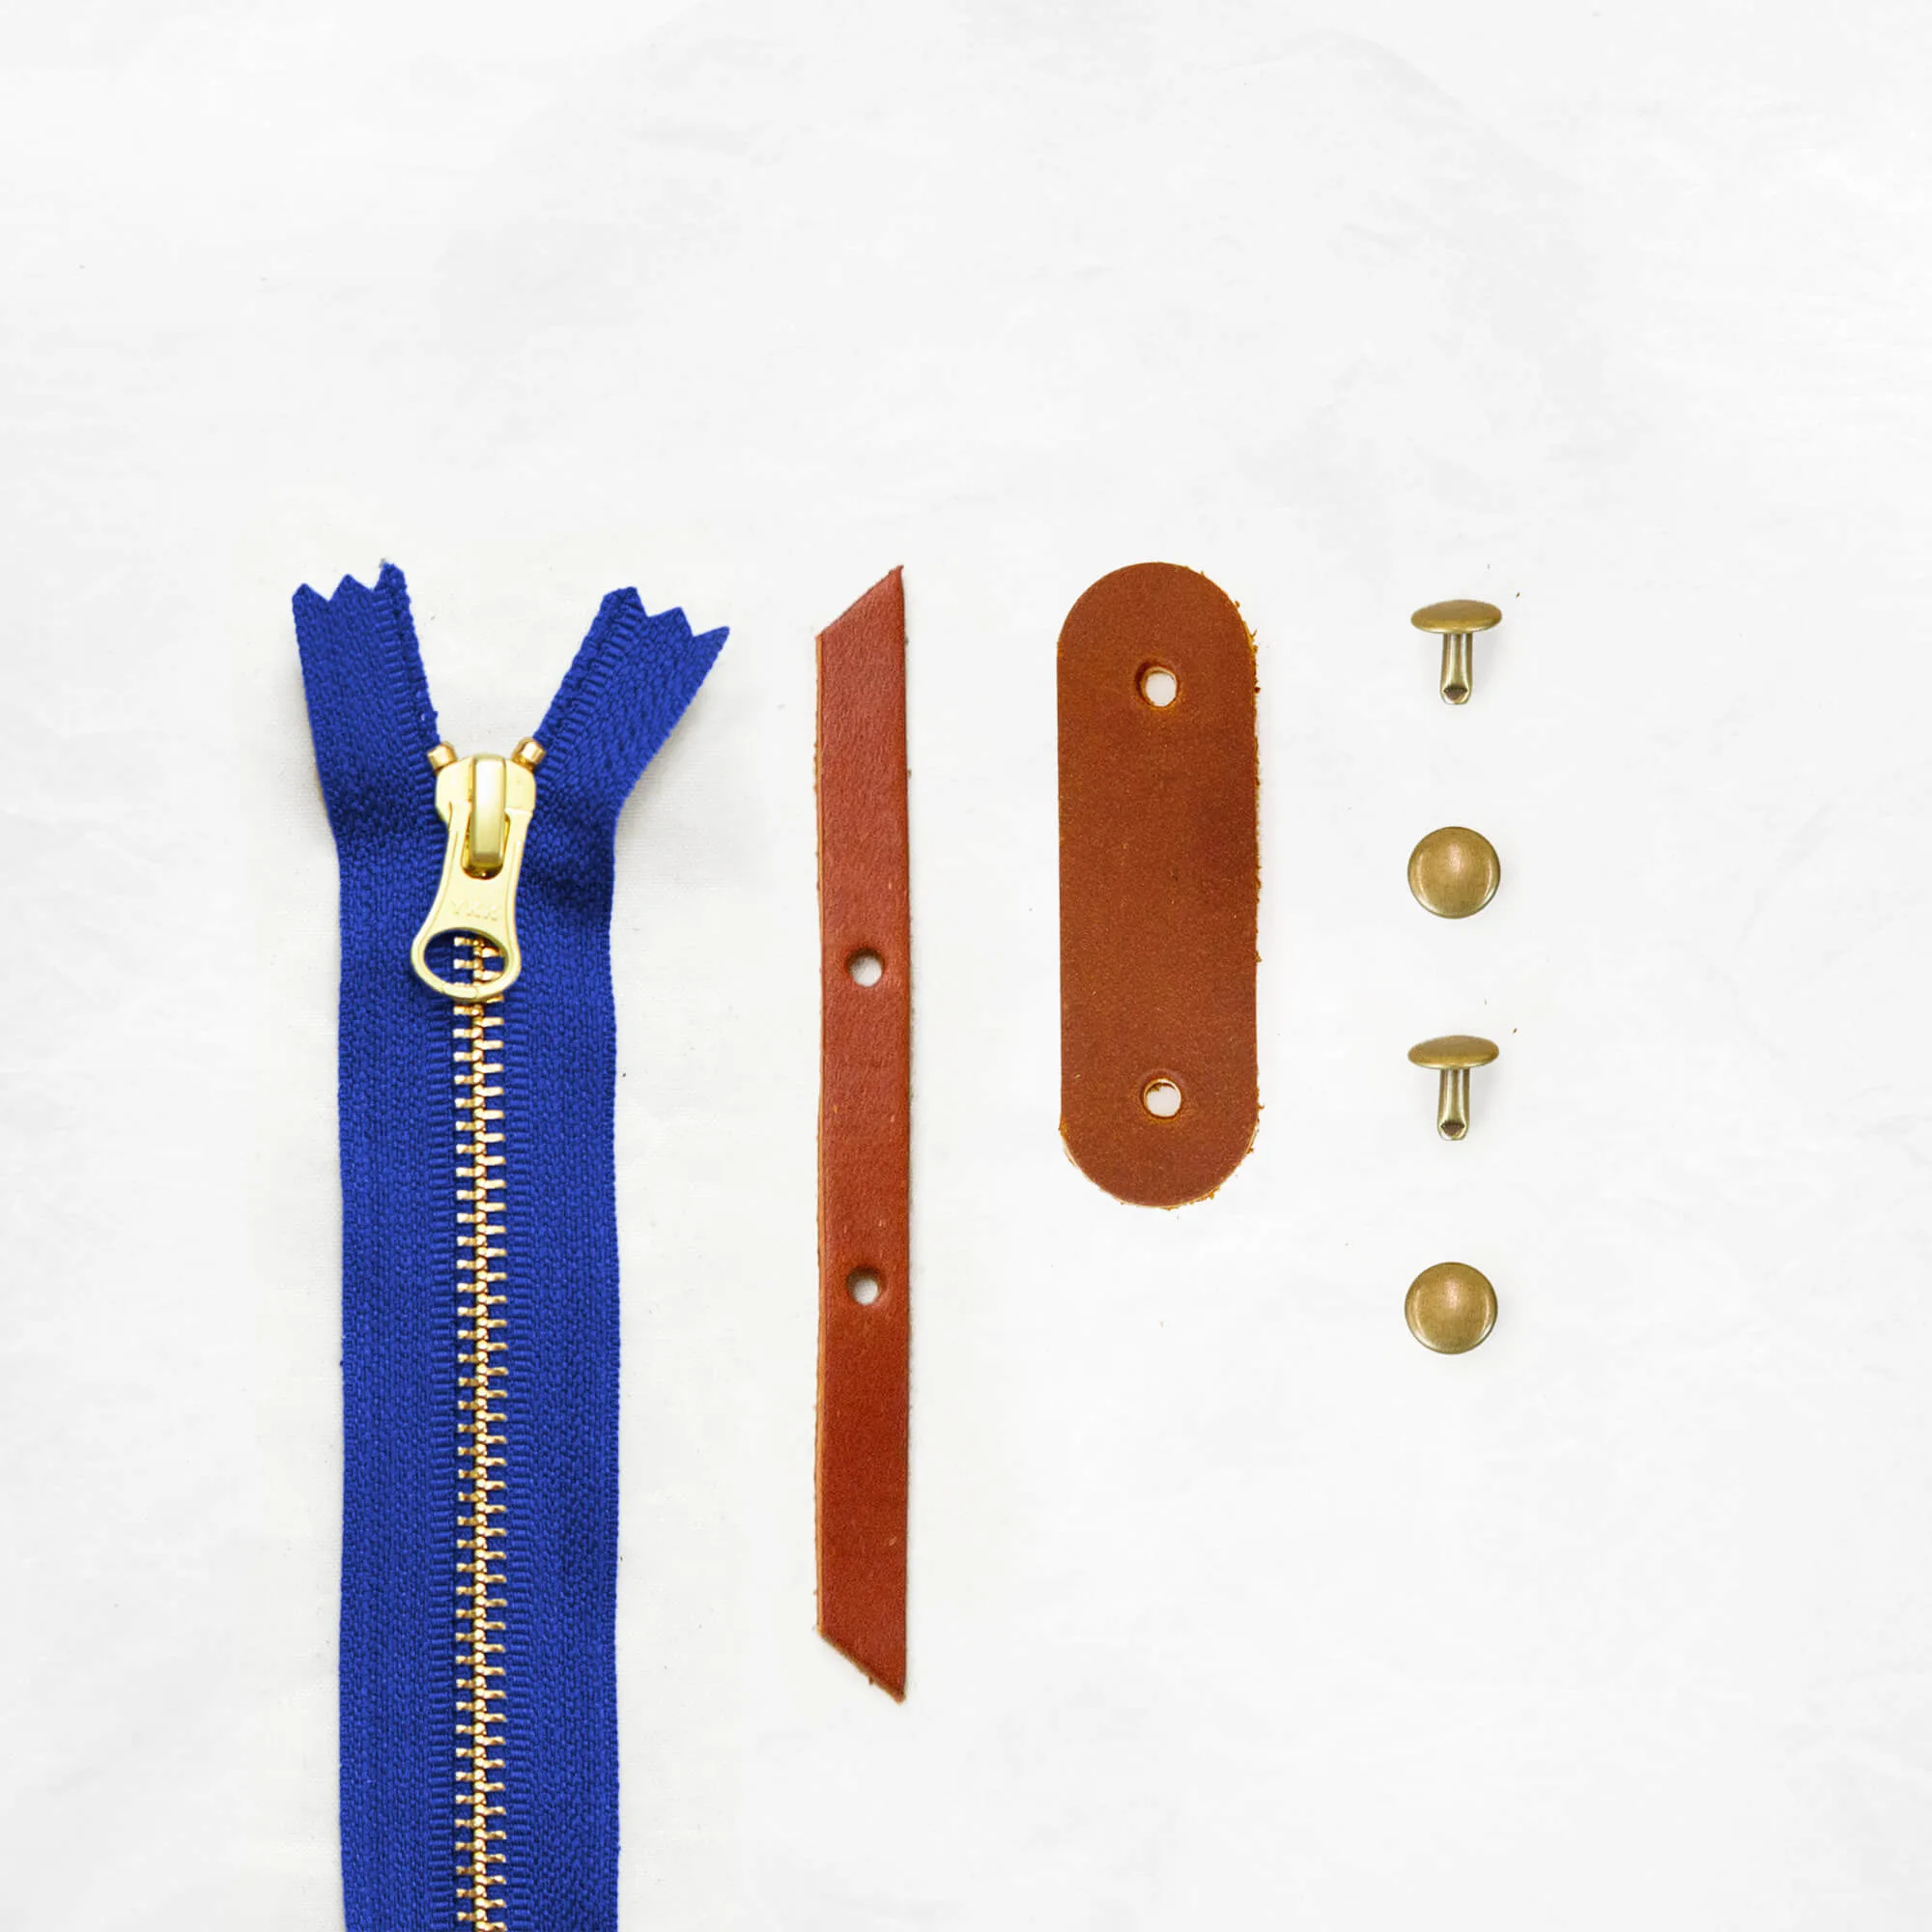
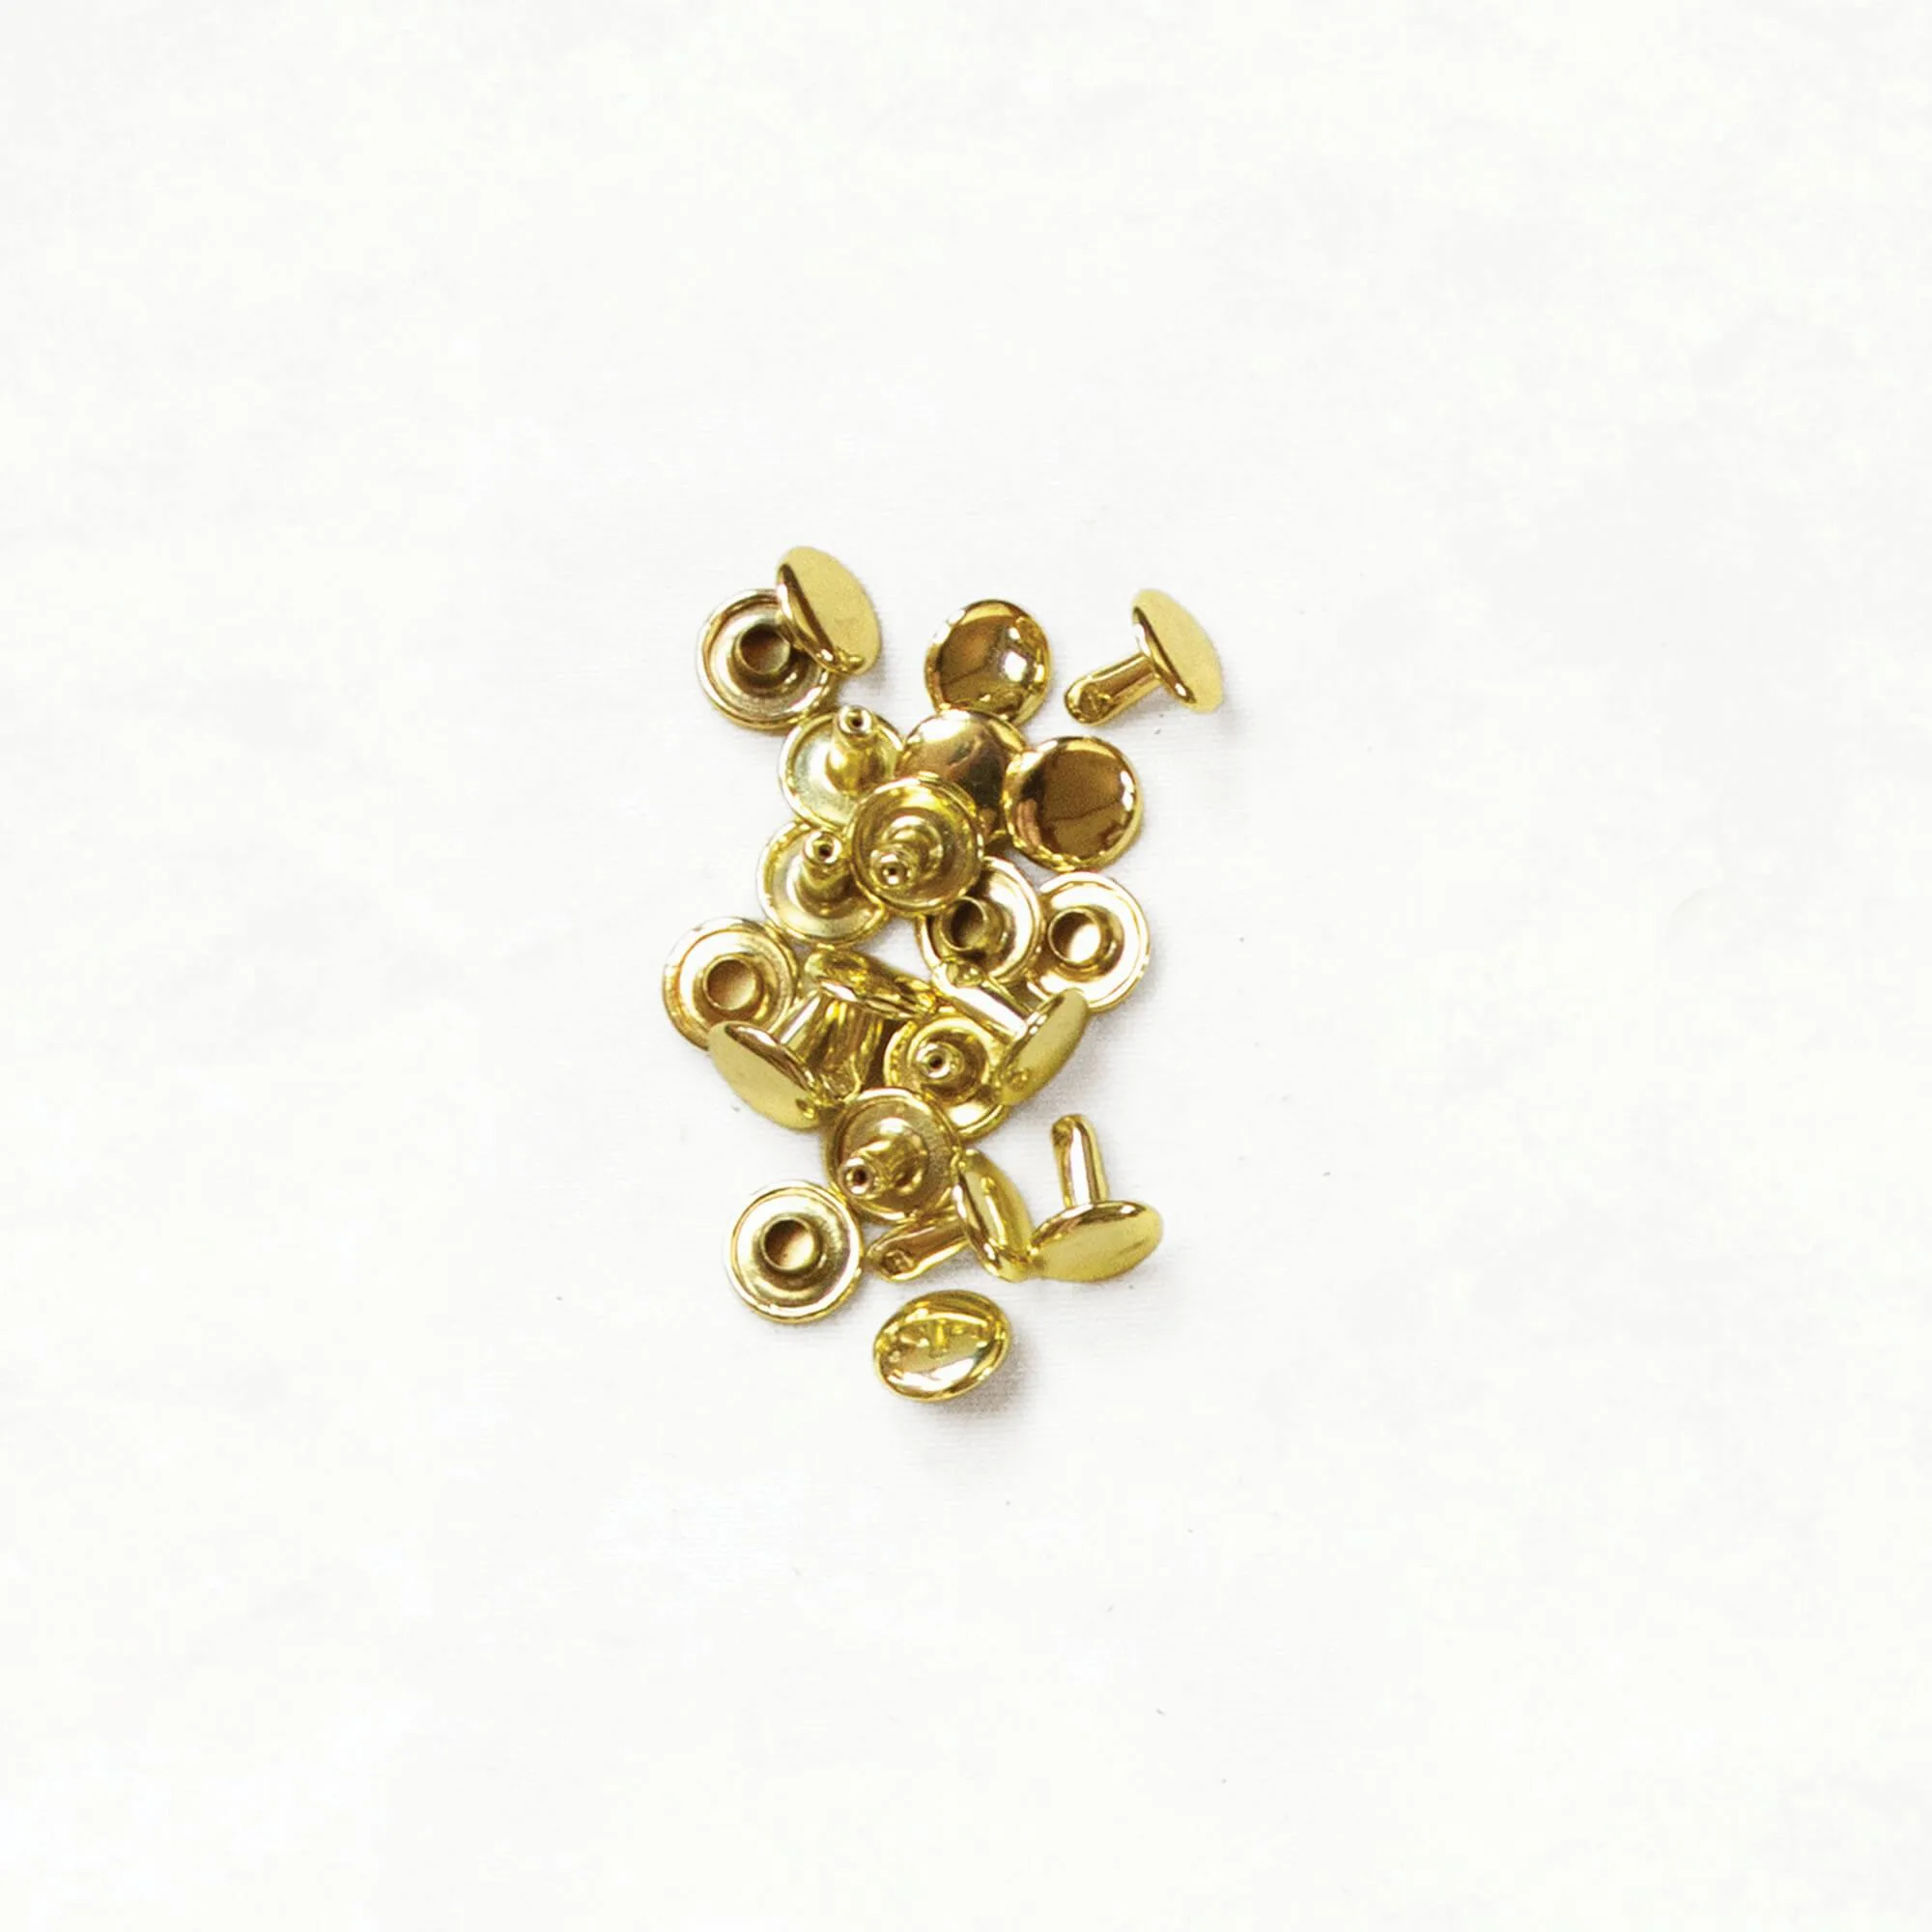
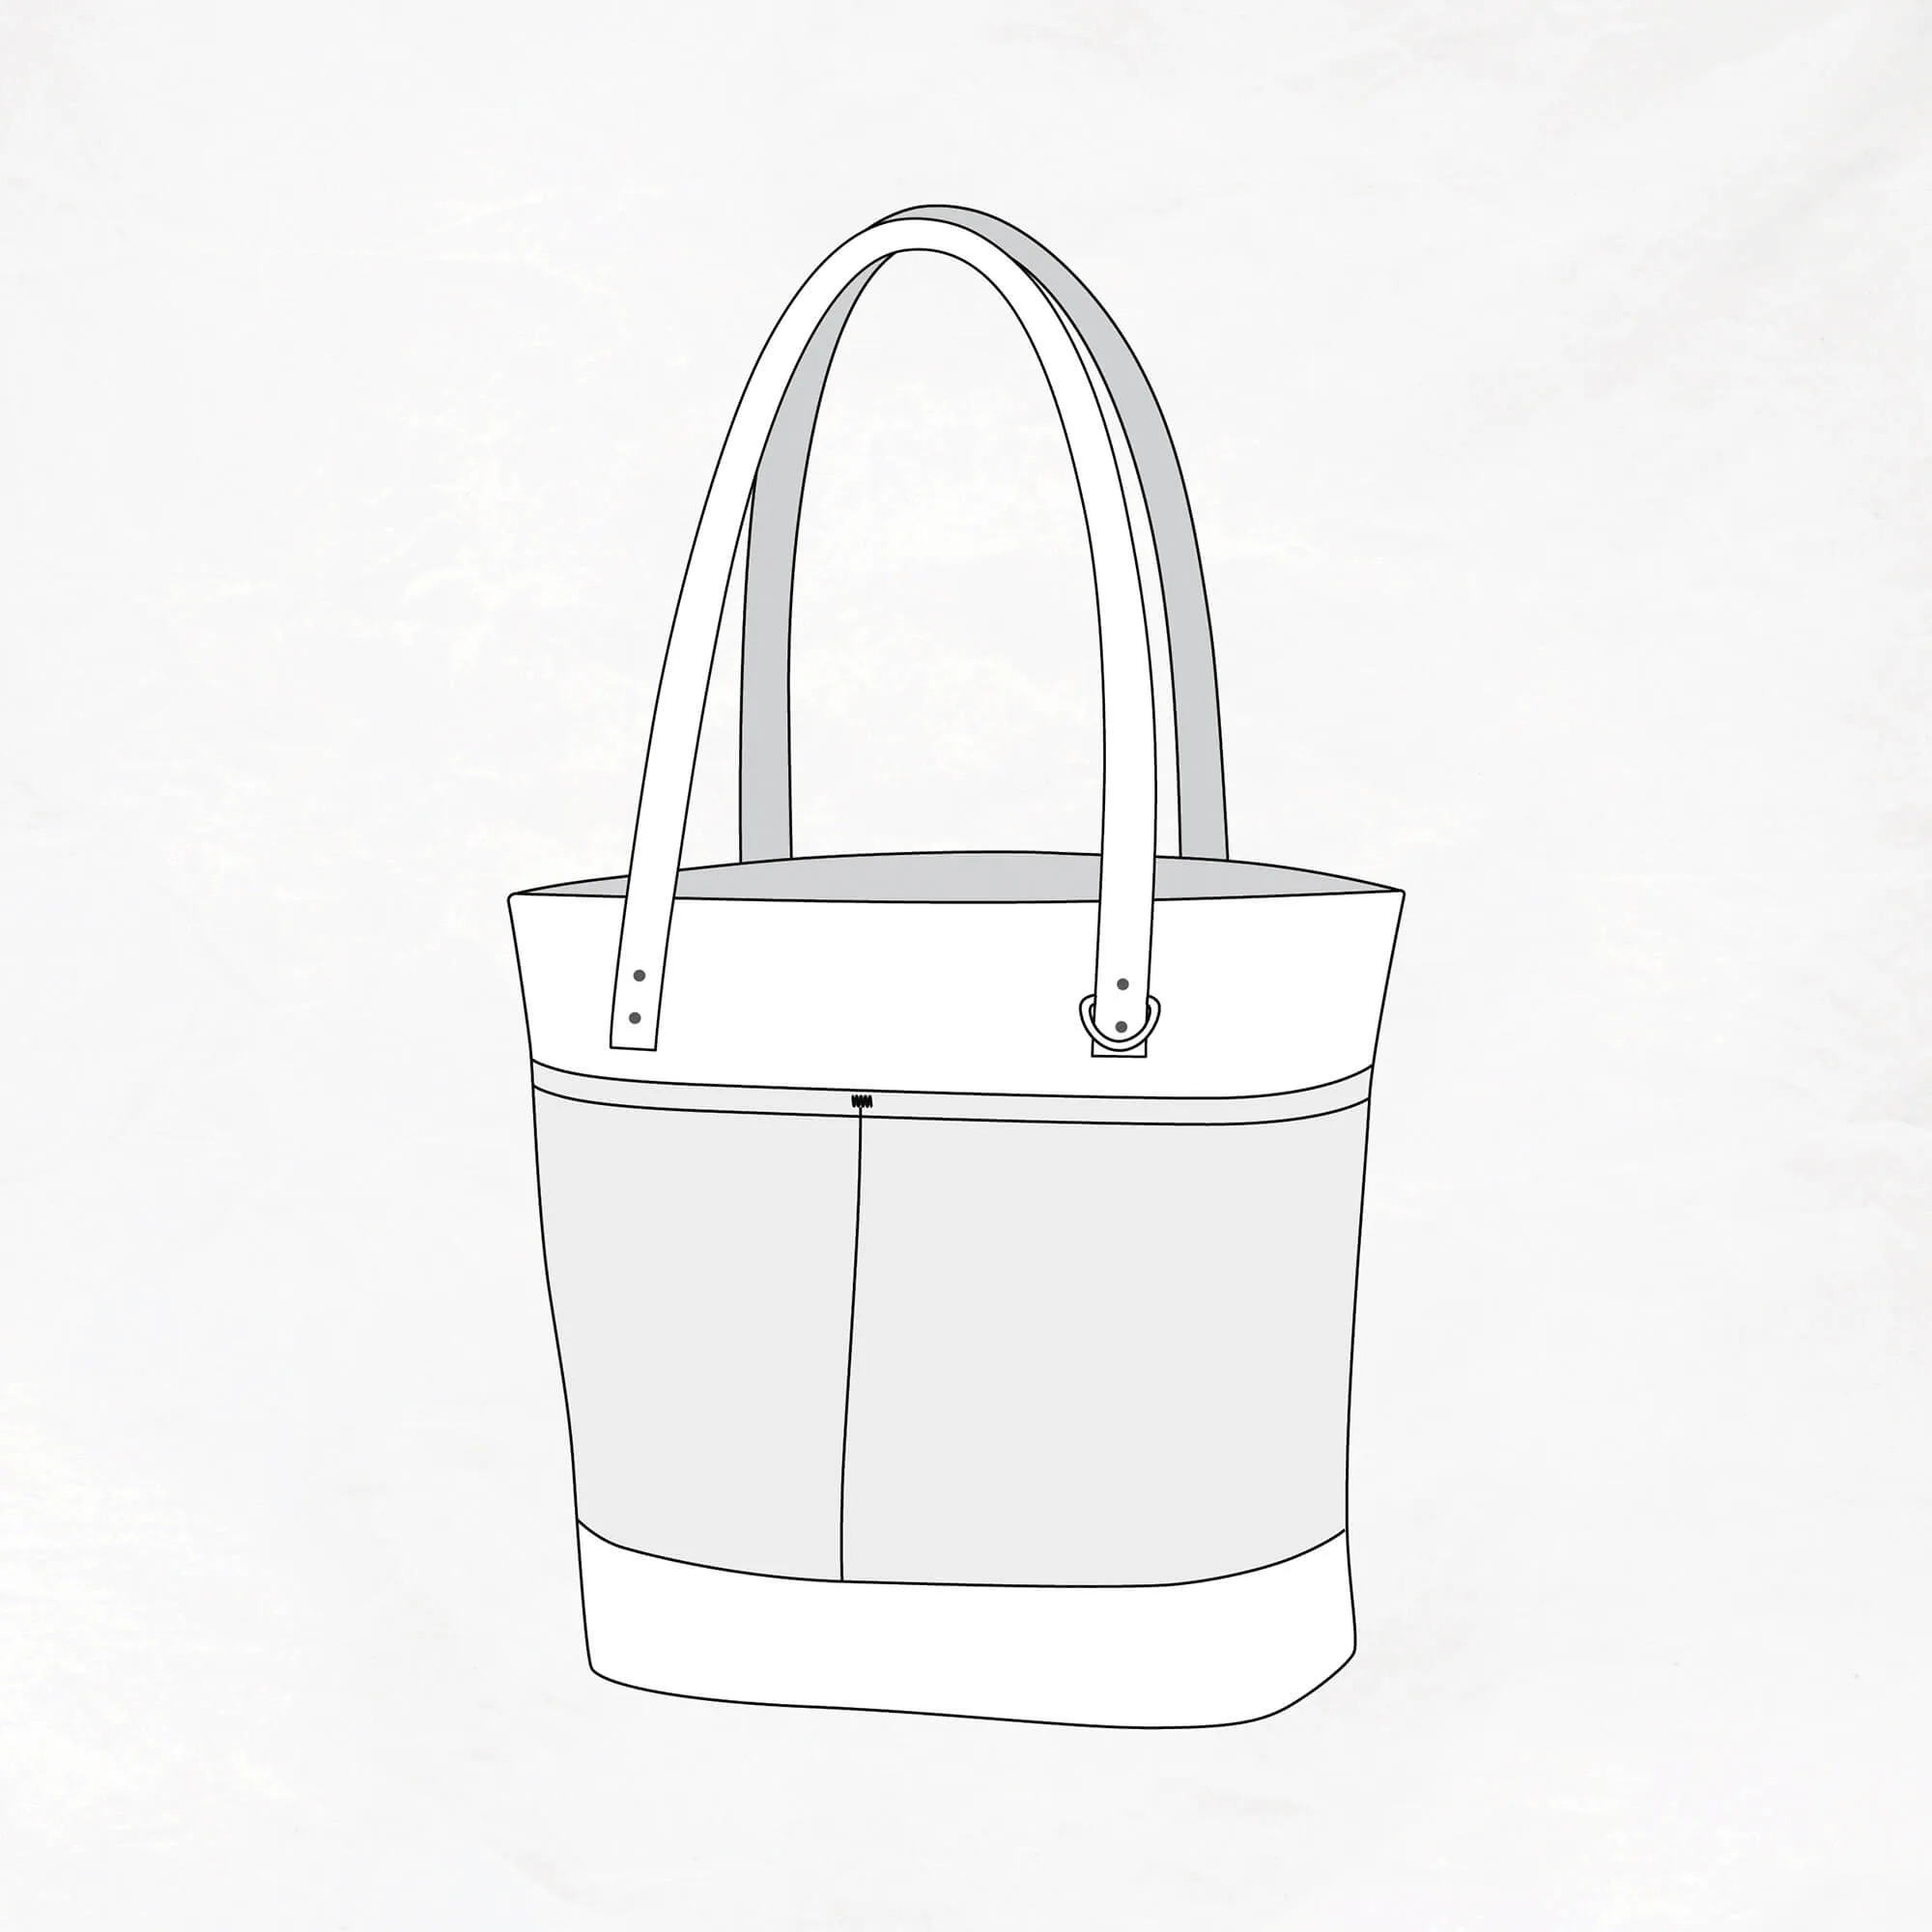
- Portsmith - Chestnut Zipper Closure Kit: All of the leather + hardware you need to add a zipper closure to your Portsmith Tote. This expansion is designed to be used in tandem with our Portsmith pattern. Elevate the look of your bag and keep your belongings secure! (PDF pattern sold separately, unless you add it onto your kit.) KIT CONTENTS (1) 14" brass zipper (1) Leather zipper pull (1) Leather zipper end tab (2) Double-cap rivets If your bag has a zipper, this kit provides the hardware and leather to add a secure closure. The double-cap rivets can also be used to reinforce strap attachments.