Quick answer
Attach the canopy by sliding its connectors onto the bassinet frame until they click, then adjust the angle for full coverage. Ensure the fabric is taut and the peekaboo window faces your child.
Why proper installation matters
A securely attached canopy keeps the UPF 50+ shade where it should be—over your baby. If it’s loose, wind can shift it, leaving your little one exposed. The integrated mesh panels and peekaboo window also work best when the canopy is aligned correctly.
Common mistakes to avoid
One frequent error is forcing the canopy onto the wrong side of the bassinet. The connectors are shaped to fit one orientation only. Another is leaving the canopy partially open, which reduces sun protection and lets rain sneak in. Always check that both sides are clicked in place before use.
Step-by-step installation
- Identify the correct orientation: Hold the canopy so the peekaboo window is positioned toward the bassinet’s foot end. The connectors should align with the frame’s attachment points. Forcing it the wrong way can damage the clips. Check the canopy’s curvature matches the bassinet’s side before pushing.
- Slide the connectors onto the frame: Align each side connector with the corresponding frame rail and slide it on until you hear a click. Apply even pressure on both sides to avoid bending the frame. If you don’t hear a click, the connector may not be fully seated—try again.
- Adjust the canopy angle: Tilt the canopy forward or backward to cover your baby fully. The fabric should be taut, with no sagging that could block airflow. Ensure the peekaboo window is visible and accessible. Test the adjustment by gently shaking the bassinet—the canopy should stay in place.
Product spotlight
-
Ultimate 2 Bassinet Canopy: The Ultimate 2 bassinet canopy offers UPF 50+ protection and shields from sun, wind, and rain. This means proper installation is key to maintaining that protection—any gap or loose attachment can compromise the coverage.
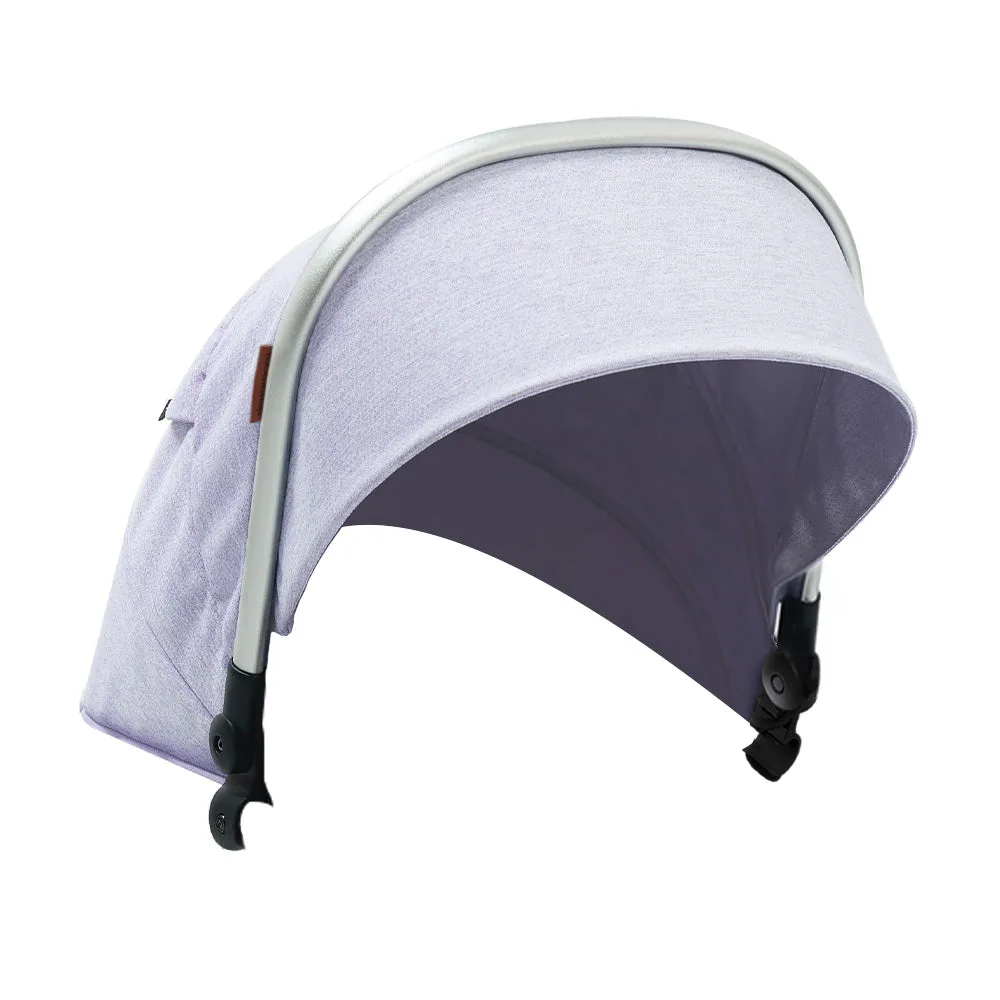
Ultimate 2 Bassinet Canopy