Quick Answer
To install the Velo stroller seat, align the seat's mounting brackets with the frame's attachment points, press until you hear a click, and always double-check that both sides are locked before use.
Why Proper Installation Matters
A correctly installed seat is essential for your child's safety and comfort. The Velo Stroller Seat features an adjustable drawstring design and can recline fully to 170 degrees, but these benefits only work if the seat is securely attached to the frame.
If the seat isn't locked in place, it could shift during use, causing discomfort or even a safety hazard. Taking a few extra minutes to verify the installation can prevent issues down the road.
Compatibility and Replacement Considerations
The Velo Stroller Seat is specifically compatible with the Mompush Velo stroller. If you have a different model, this seat may not fit properly, so always check compatibility before purchasing a replacement.
When replacing an old seat, inspect the frame's attachment points for any wear or damage. A worn frame may not hold the new seat securely, even if the installation steps are followed correctly.
Installation Steps
- Prepare the frame: Place the stroller frame on a flat surface and ensure it is fully open and locked into position. Check that the attachment points are clean and free of debris. A stable frame makes installation easier and safer.
- Align the seat brackets: Hold the seat so the mounting brackets on each side align with the frame's attachment points. The seat should face forward, matching the stroller's direction. Misaligned brackets are a common mistake; take your time to get them even.
- Press and lock the seat: Press down firmly on both sides of the seat until you hear a click. Pull gently on the seat to confirm it is securely attached. If you don't hear a click, the seat isn't locked—try again before use.
- Adjust the drawstring and recline: Use the adjustable drawstring to set the seat's recline angle, from upright to a full 170-degree lie-flat position. Ensure the drawstring is tied securely to prevent slipping. Test the recline adjustment while the seat is attached to the frame to ensure smooth operation.
- Final safety check: Before placing your child in the seat, give the entire seat a firm shake to verify it doesn't move. Check that the harness straps are untangled and the buckles are functional. A quick shake test can reveal an insecure installation that might otherwise go unnoticed.
Product Facts
-
Velo Stroller Seat: The Velo Stroller Seat is compatible with the Mompush Velo and features an adjustable drawstring design with a 170-degree recline. This means you can customize the seat's position for your child's comfort, but you must ensure the drawstring is adjusted properly and the seat is locked onto the frame to enjoy these features safely.
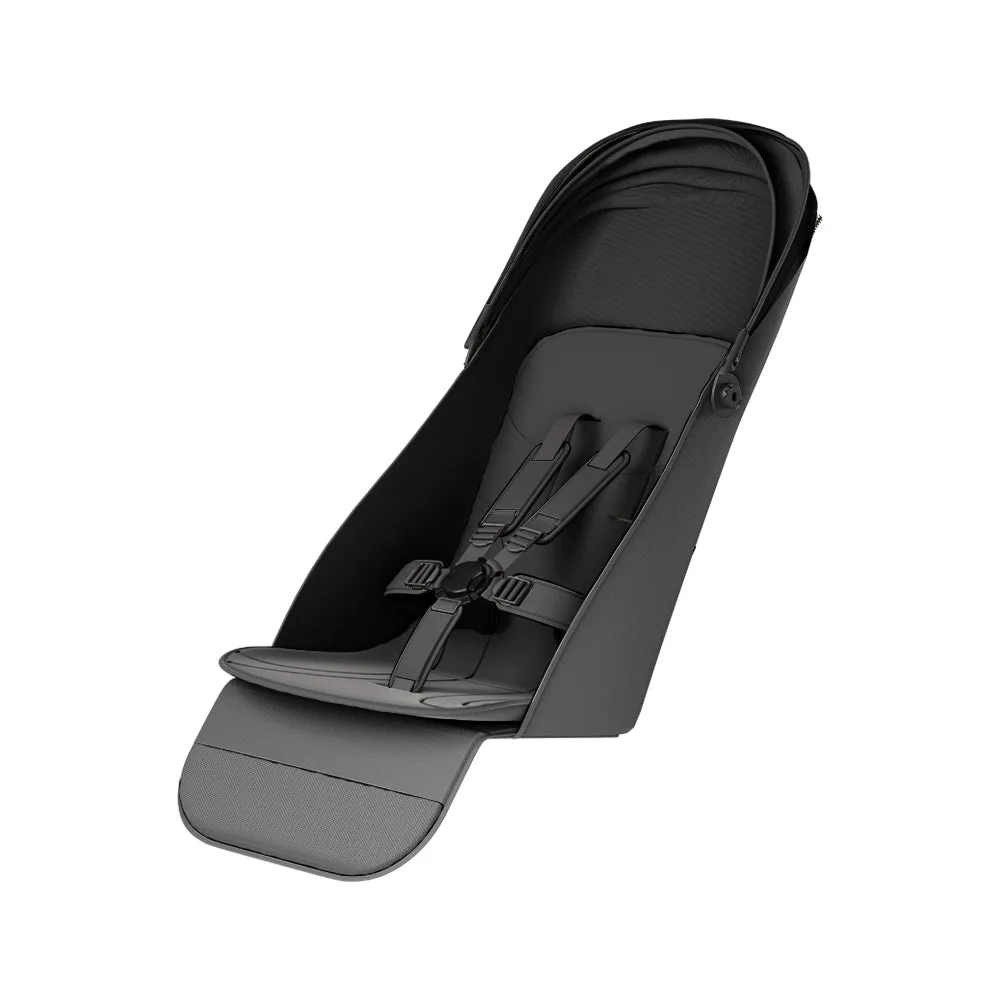
Velo Stroller Seat