Quick Answer
To install the Zendure solarflow-4000-mix-ac-307306">SolarFlow 4000 Mix AC+ on your balcony, first check local regulations and balcony weight capacity, then mount the solar panels securely, connect the battery and hub, and finally plug into a standard outlet. Always follow the included manual and use certified components to ensure safety and warranty coverage.
Balcony solar systems are a practical way to generate your own electricity without a full rooftop installation. The Zendure SolarFlow 4000 Mix AC+ is part of the SolarFlow Mix Series, designed to store solar energy and power your home appliances with minimal fuss. This guide walks you through the installation process, highlighting key checkpoints and common mistakes so you can set up your system confidently.
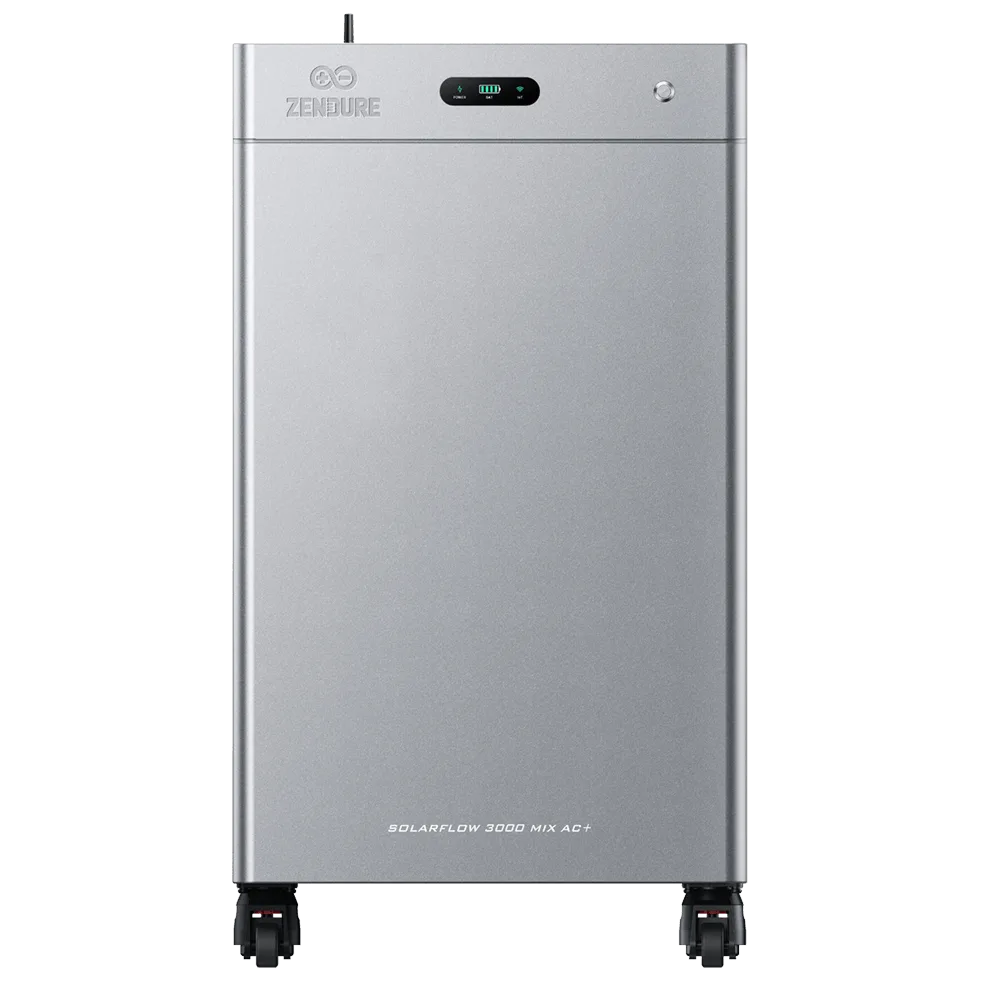
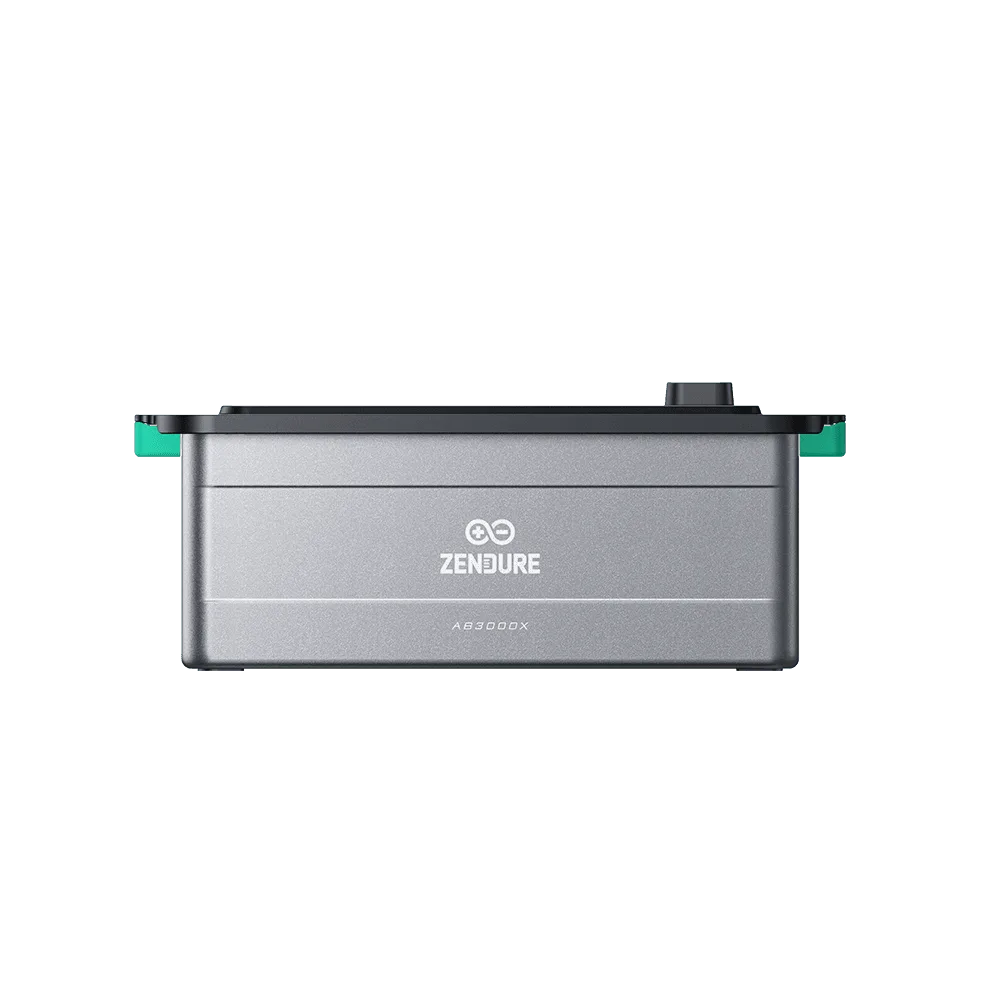
SolarFlow Mix Series
Before you begin, note that the SolarFlow 4000 Mix AC+ is a plug-and-play system, but proper placement and connection are still essential. You'll need basic tools, a suitable balcony space, and access to a standard household outlet. Let's get started.
Before You Start: Permits and Safety Check
Check with your local building authority or homeowners' association about balcony solar regulations. Some areas require permits or have restrictions on what you can mount on railings. Also, confirm that your balcony can support the weight of the panels and battery. The SolarFlow 4000 Mix AC+ is part of a modular series, so the exact weight depends on your configuration.
Safety first: Ensure all components are rated for outdoor use and that your outlet is grounded. The SolarFlow series is IP65 waterproof, but that doesn't mean you can ignore electrical safety. Turn off the circuit breaker for the outlet you'll use before connecting anything.
- Verify local rules and balcony load capacity before mounting.
- Keep the battery away from direct rain and extreme temperatures if possible, even though it's weather-resistant.
Mounting the Solar Panels Securely
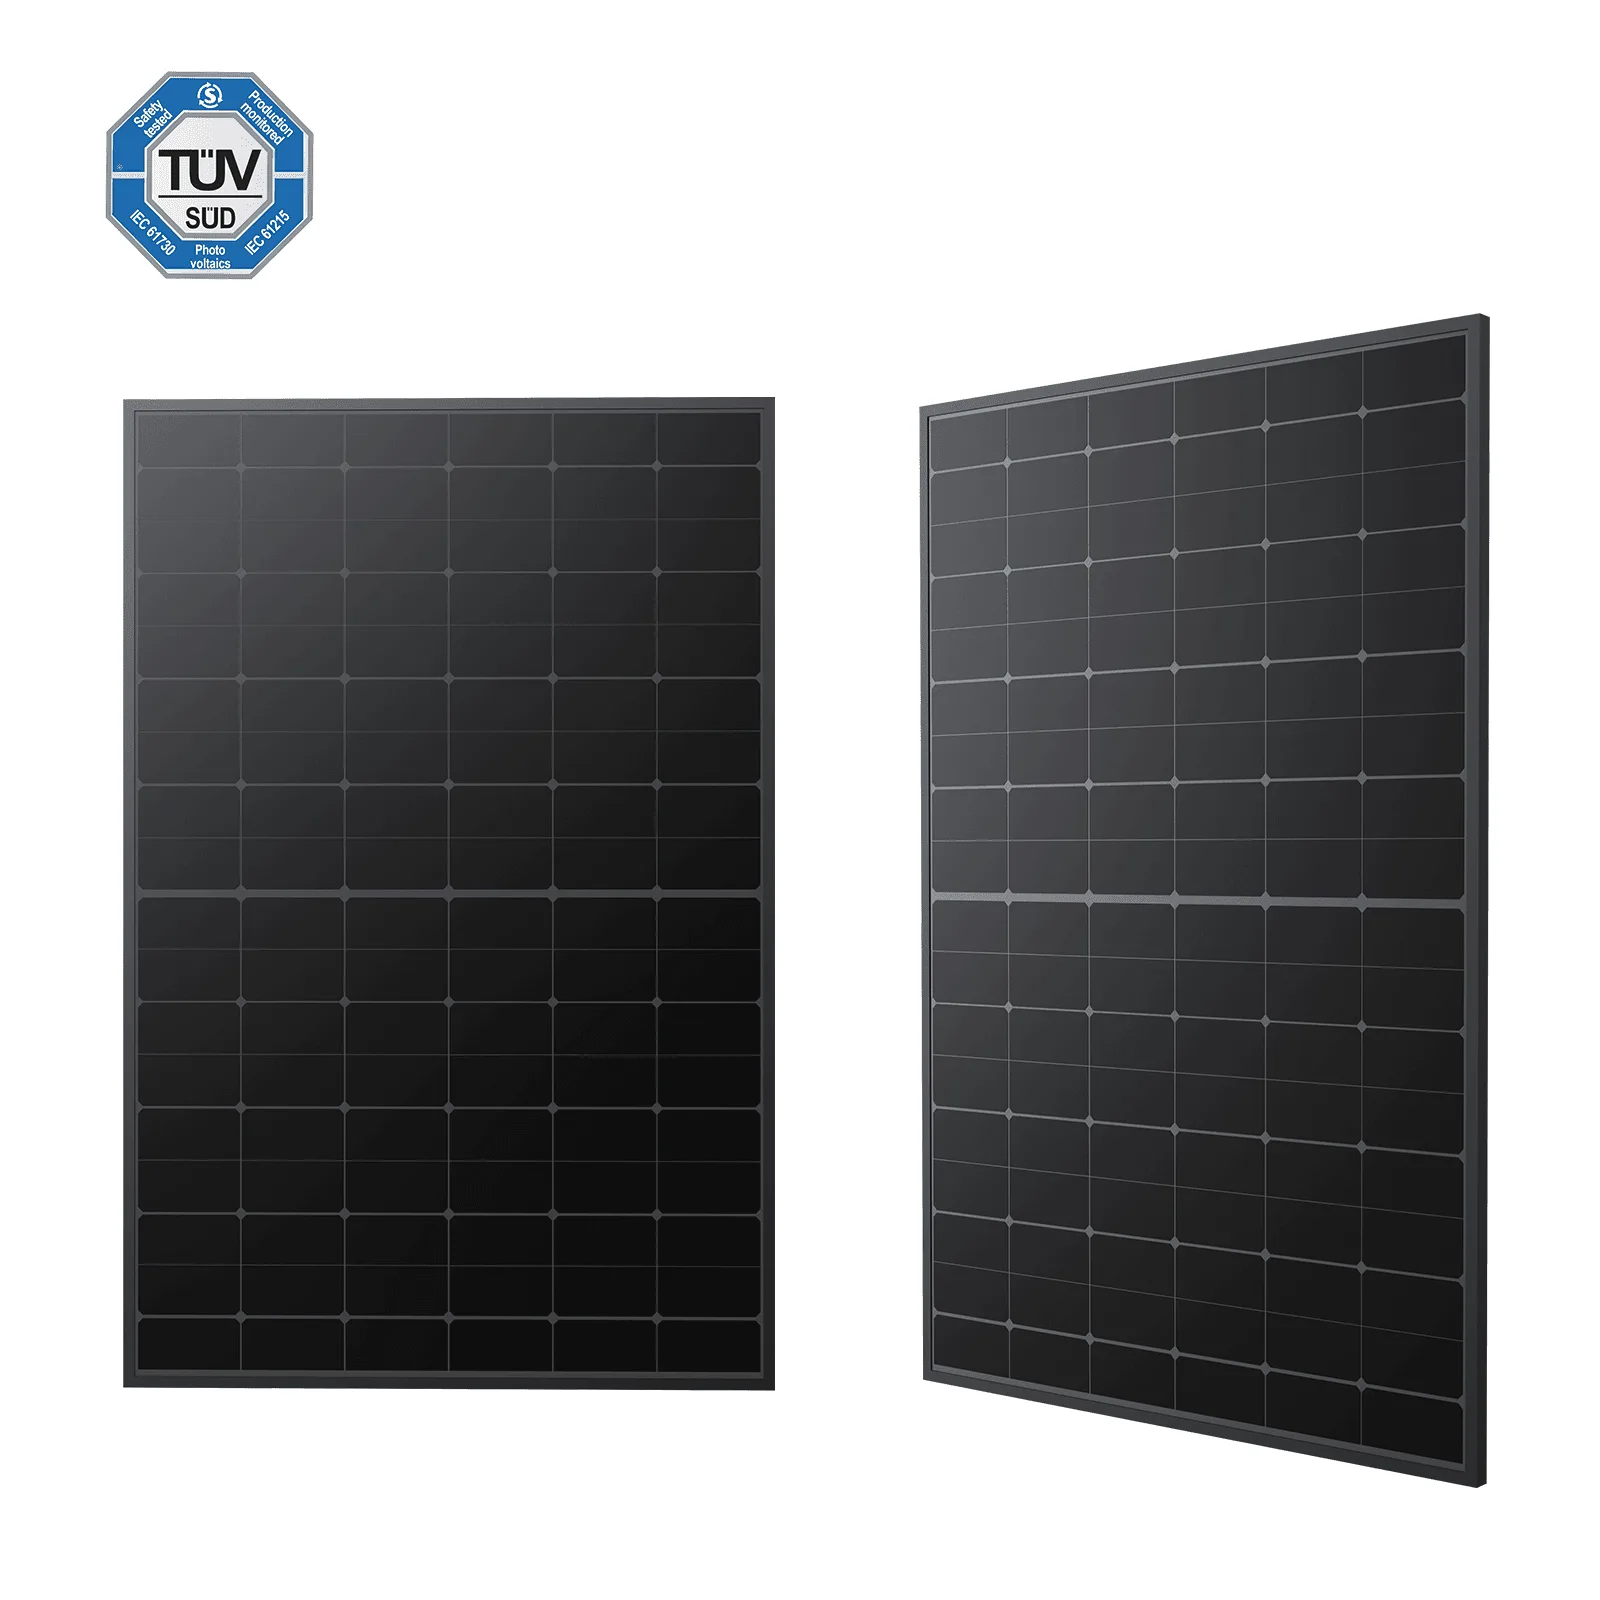
The SolarFlow 4000 Mix AC+ can be paired with rigid or flexible solar panels, depending on your setup. If you're using rigid panels, mount them at an angle that maximizes sun exposure, typically facing south in the northern hemisphere. Use the included brackets or compatible mounting hardware to secure them to your balcony railing or floor. For flexible panels, follow the manufacturer's instructions for surface attachment.
A common mistake is overtightening brackets, which can damage the panel frame. Use a torque wrench if specified. Also, leave a small gap behind the panels for airflow to prevent overheating, which can reduce efficiency.
- Angle panels to avoid shading from your own building or nearby structures.
- Check all fasteners after a few days to ensure they haven't loosened.
Connecting the Battery and Hub
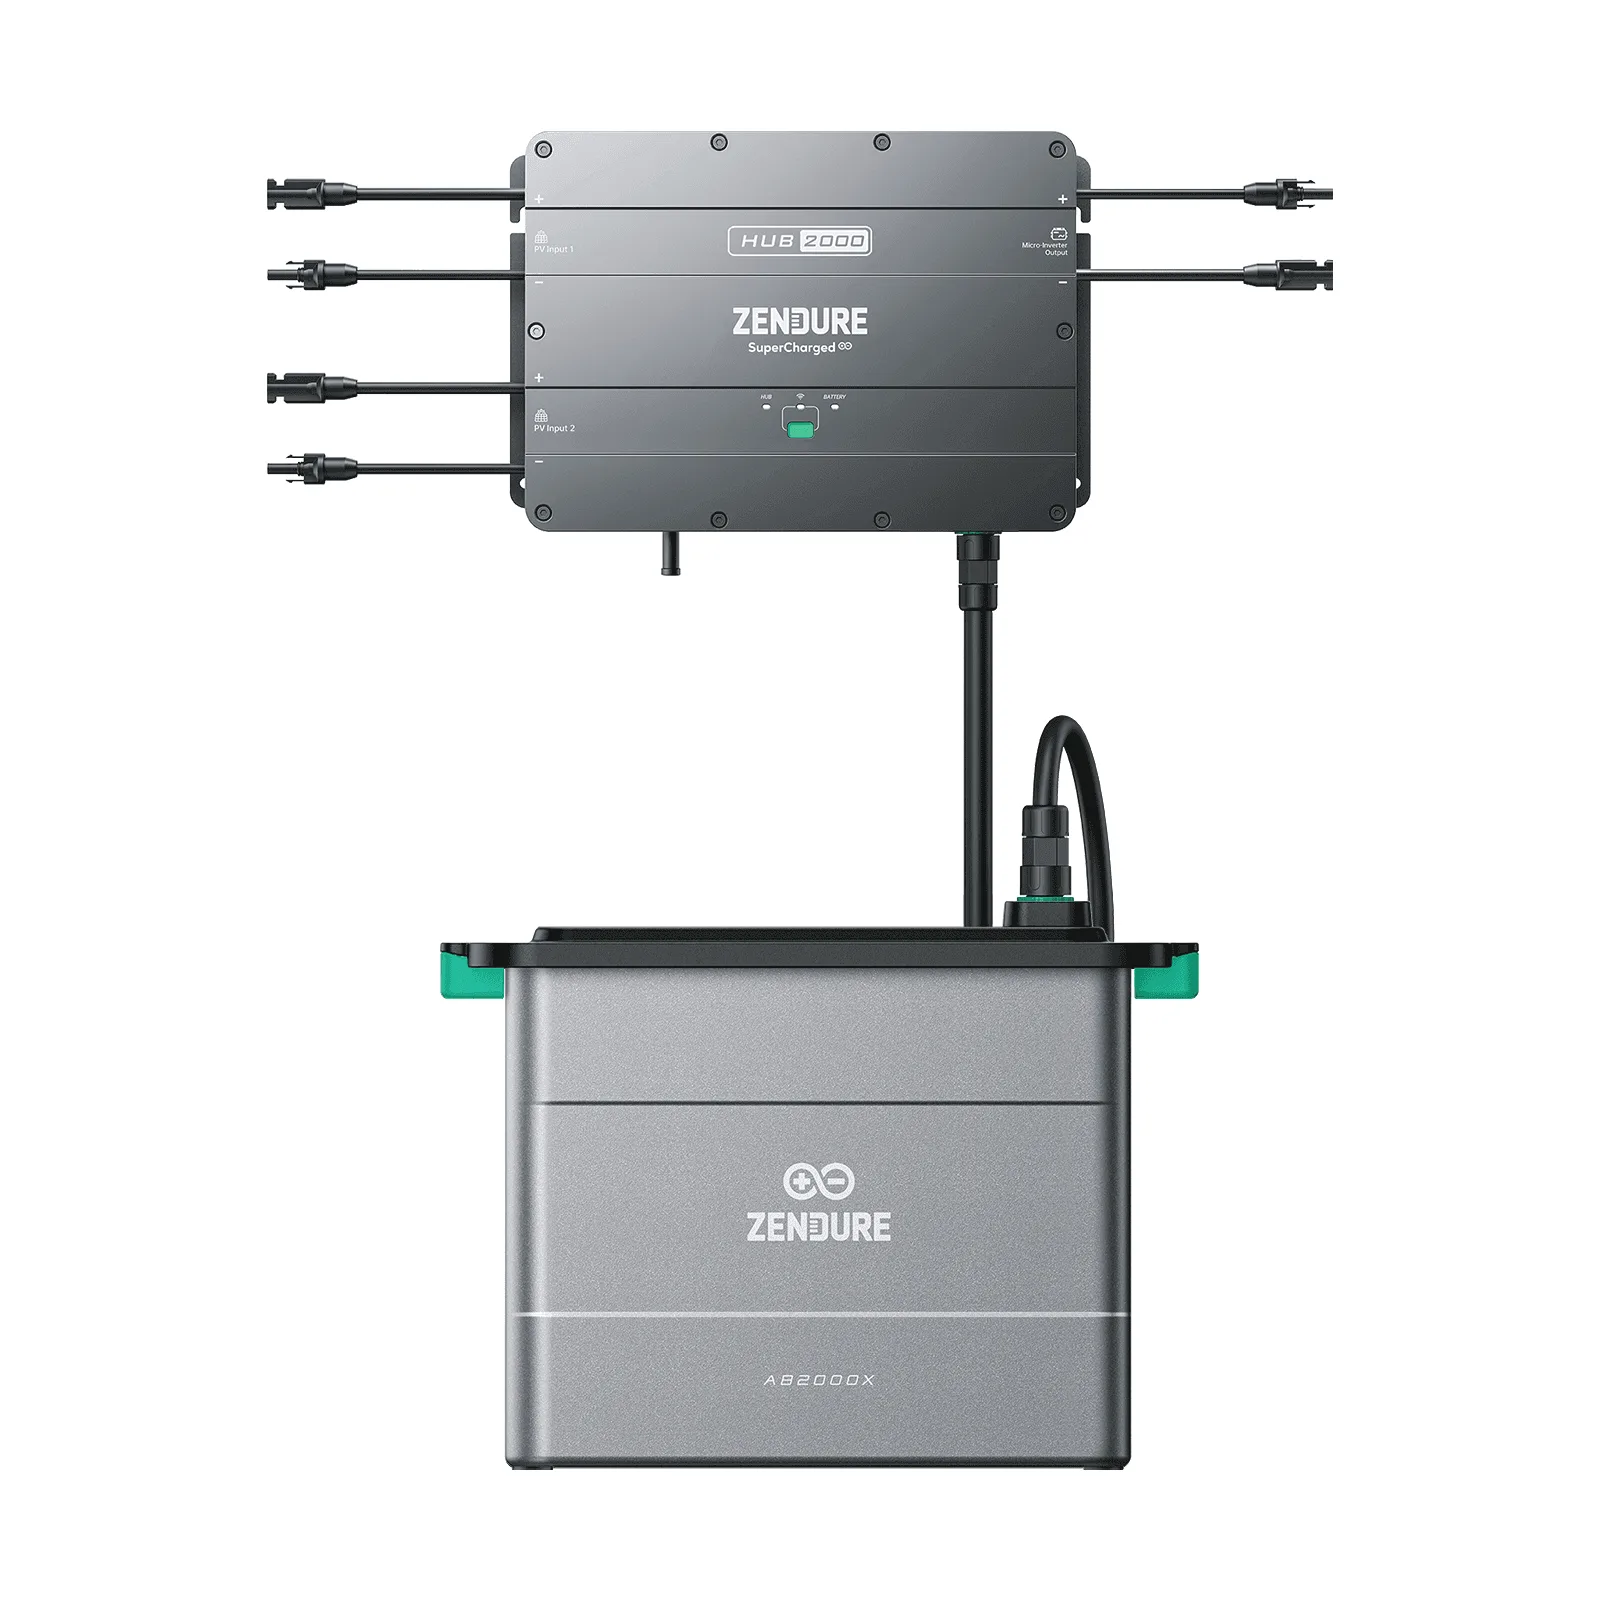
The SolarFlow 4000 Mix AC+ includes a battery and a hub that manages power flow. Connect the solar panels to the hub using the provided cables, ensuring the connectors are clean and fully seated. Then, connect the hub to the battery. The hub's microinverter converts DC from the panels to AC for your home, while excess energy charges the battery.
One common mistake is connecting the battery before the panels, which can cause an error. Always follow the sequence in the manual: panels to hub, then hub to battery. Also, make sure the battery is placed on a stable, level surface and not in a walkway where it could be knocked over.
- Use only the cables included with the system to avoid compatibility issues.
- Double-check that all connectors click into place securely.
Plugging In and Testing the System
Once everything is connected, plug the hub's AC cable into a standard wall outlet. The system should power on automatically. Check the display or app (if applicable) to confirm that solar input and battery status are reading correctly. If you have a smart meter, you can monitor energy flow in real time.
A common mistake is plugging into an extension cord or power strip, which may not handle the load. Use a dedicated outlet. Also, if the system doesn't start, check the breaker and all connections. If issues persist, consult the troubleshooting section of your manual or contact Zendure support.
- Test the system during peak sunlight hours to verify solar generation.
- If you notice unusual noises or error codes, disconnect and review the manual.
Step-by-Step Installation Checklist
- Step 1: Verify permits and balcony capacity: Check local regulations and confirm your balcony can support the weight of the solar system. Ensure you have permission to install if you rent. Checkpoint: If you're unsure, consult your landlord or building manager before proceeding.
- Step 2: Mount the solar panels: Secure the panels using the provided brackets or compatible hardware. Position them to maximize sun exposure and avoid shading. Common mistake: Over-tightening brackets can crack the frame. Use a torque wrench if specified.
- Step 3: Connect panels to the hub: Plug the solar panel cables into the hub's input ports. Ensure connectors are clean and fully seated. Checkpoint: Listen for a click to confirm a secure connection.
- Step 4: Connect the hub to the battery: Attach the battery cable to the hub. Place the battery on a stable surface nearby. Common mistake: Connecting the battery before the panels can cause an error. Follow the manual's sequence.
- Step 5: Plug into a wall outlet and test: Connect the hub's AC cable to a dedicated wall outlet. Power on and check the display or app for proper operation. Checkpoint: If the system doesn't start, check the breaker and all connections. Consult support if needed.
Product Facts and Why They Matter
- SolarFlow Mix Series: The SolarFlow Mix Series offers flexible energy storage solutions for your home. Available in multiple configurations to suit different power needs, this series is designed to integrate seamlessly with your existing solar setup. Multiple models available: SolarFlow 4000 Mix Pro, SolarFlow 4000 Mix AC+, and SolarFlow 3000 Mix AC+. The Mix AC+ is part of a family, so you can choose the model that matches your energy goals. Knowing the lineup helps you confirm you have the right model for your balcony setup.
- SolarFlow Hub 2000: During the day, power generated from solar panels flows through Hub 2000. Some of the power is converted into AC through a microinverter to run your home appliances. Excess power is routed to batteries so the stored energy can be used at night. Hub 2000 can handle up to 1,800 W of solar power, and the microinverter output can be set between 0 and 1,200 W. Even if you're installing a Mix system, understanding how the hub works helps you troubleshoot and optimize energy usage. The adjustable microinverter output lets you control how much power goes to your home versus the battery.
Installing the Zendure SolarFlow 4000 Mix AC+ on your balcony is a straightforward process when you follow the correct sequence and safety checks. By taking the time to mount panels securely, connect components properly, and test the system, you'll enjoy reliable solar energy for years to come. For more details, refer to the official manual or contact Zendure support.