Quick Answer
Start by letting your dog sniff and investigate the tool while it's off. Pair every interaction with high-value treats, then progress to touching the tool to their body before turning it on. Go slowly, one step at a time, and stop if your dog shows stress.
Why a Slow Introduction Matters
Dogs are sensitive to new objects, especially ones that make noise or touch sensitive areas like paws, ears, and face. Rushing the introduction can create long-lasting fear, making future grooming harder. A gradual, positive approach builds trust and helps your dog stay calm during grooming sessions.
What You'll Need Before Starting
Gather high-value treats (small, soft, and smelly), a quiet space with minimal distractions, and the new tool itself. Have treats ready in a bowl or pouch so you can reward quickly. If the tool has moving parts or a motor, ensure it's fully charged or has fresh batteries before you begin.
Step-by-Step Introduction Process
- Step 1: Let Your Dog Investigate the Tool (Off): Place the tool on the floor or hold it out in an open palm. Let your dog sniff and look at it. Reward any calm interest with a treat. Do not force the tool toward your dog. Common mistake: moving the tool toward your dog too fast. Let them approach at their own pace.
- Step 2: Pair the Tool with Treats: Hold the tool in one hand and give a treat with the other. Repeat until your dog looks at the tool and then at you, expecting a reward. This builds a positive association. Checkpoint: if your dog avoids the tool or backs away, go back to Step 1 and take more time.
- Step 3: Touch the Tool to Your Dog's Body: Gently touch the back of the tool to a neutral area like your dog's shoulder or back. Reward immediately. Gradually move to more sensitive areas like legs, paws, and face over multiple sessions. Common mistake: moving to sensitive areas too quickly. Spend extra sessions on the back and sides first.
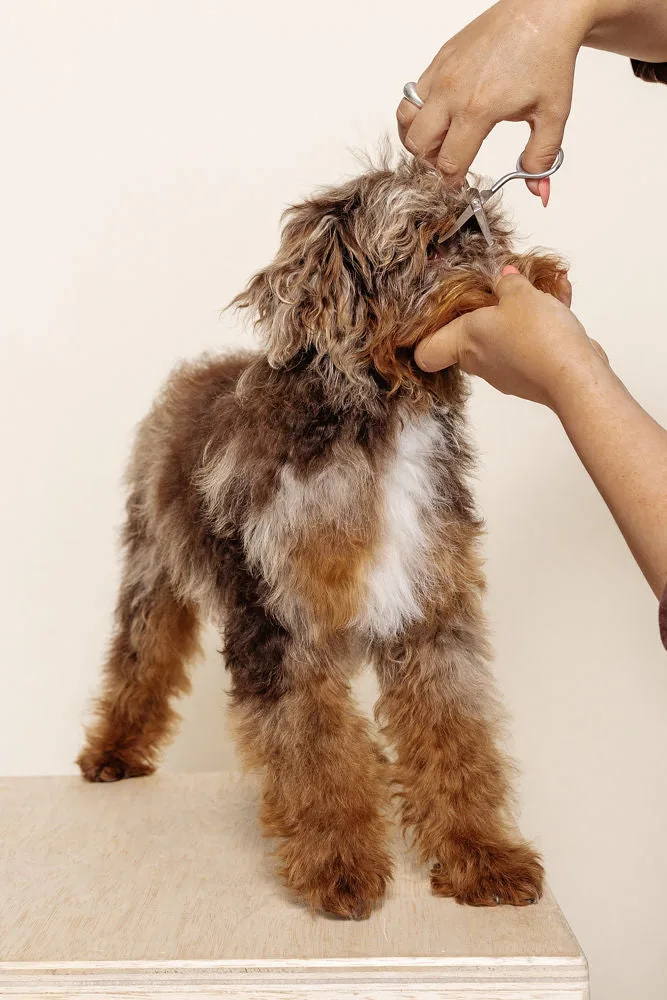
- Step 4: Introduce Sound and Movement (If Applicable): Turn the tool on in a separate room first, then bring it closer while rewarding calm behavior. For clippers or scissors, let your dog hear the sound from a distance before moving closer. Reward any relaxed response. Checkpoint: if your dog startles or tries to leave, turn the tool off and move farther away. Build distance before proximity.
- Step 5: Combine All Elements Briefly: With the tool on and touching a neutral area, give treats continuously for just a few seconds. Then stop. Gradually increase duration in future sessions. Always end on a positive note with a treat and praise. Common mistake: trying to do a full groom on the first session. Keep early sessions under 30 seconds.
Tools That Make Introduction Easier
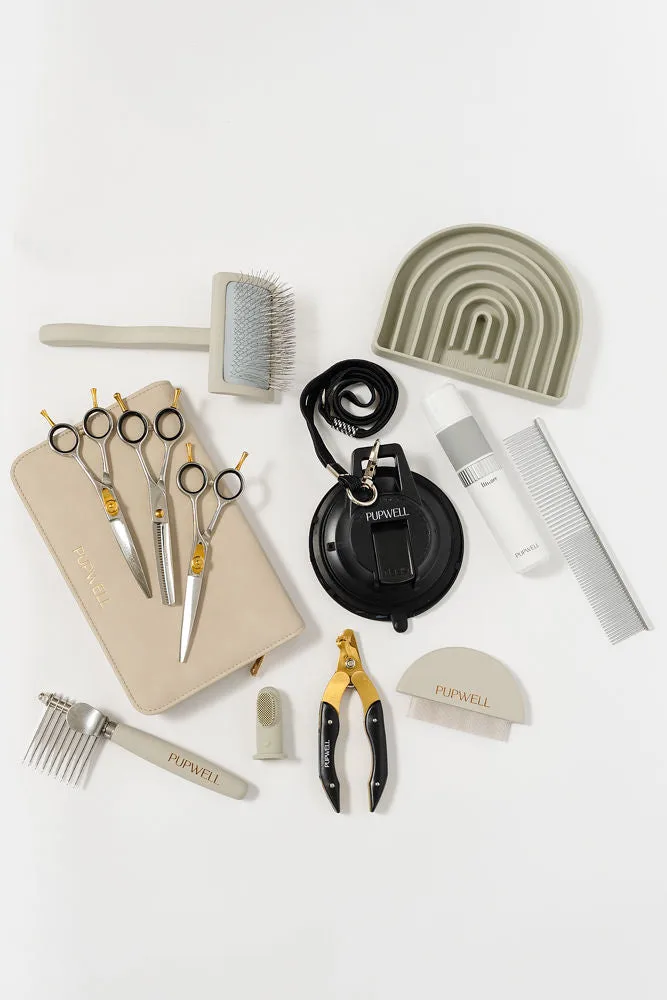
- Ultimate Dog Grooming Kit: The only one with professional tools and the only one with education. A kit that includes both quality tools and step-by-step guidance helps you learn proper techniques while your dog gets used to professional-grade equipment in a controlled way.
- Puppy Grooming Kit (wholesale): Designed for the new puppy parent, walking them through step-by-step: what are their pup's grooming needs, which grooming tools their pup needs, how to use the grooming tools, how to socialize and prevent fear/stress in the future. This kit includes a grooming school component that teaches you how to socialize your puppy to tools, directly addressing fear prevention from the start.