Quick answer
Start with one Safariology life cycle set and let your child handle the figures before you explain anything. Ask what they notice, then sequence the stages together. Add one new science word per session and connect it to something you can observe outside. Keep sessions short and repeat the same set until your child can tell the story themselves.
Science learning sticks when kids can touch it. Safariology figures are small, accurate models of real animals and life stages, which makes them a natural bridge between play and explanation. You do not need a curriculum or a lab coat. You need one set, a few good questions, and a habit of letting your child lead.
This guide walks through a simple process you can repeat with any Safariology set, from the Life Cycle of a Worm to a Blue Spotted Ray. Each step includes a common mistake to avoid so the learning stays hands-on instead of turning into a lecture.
Life Cycle of a Worm
Why Safariology figures work for early science
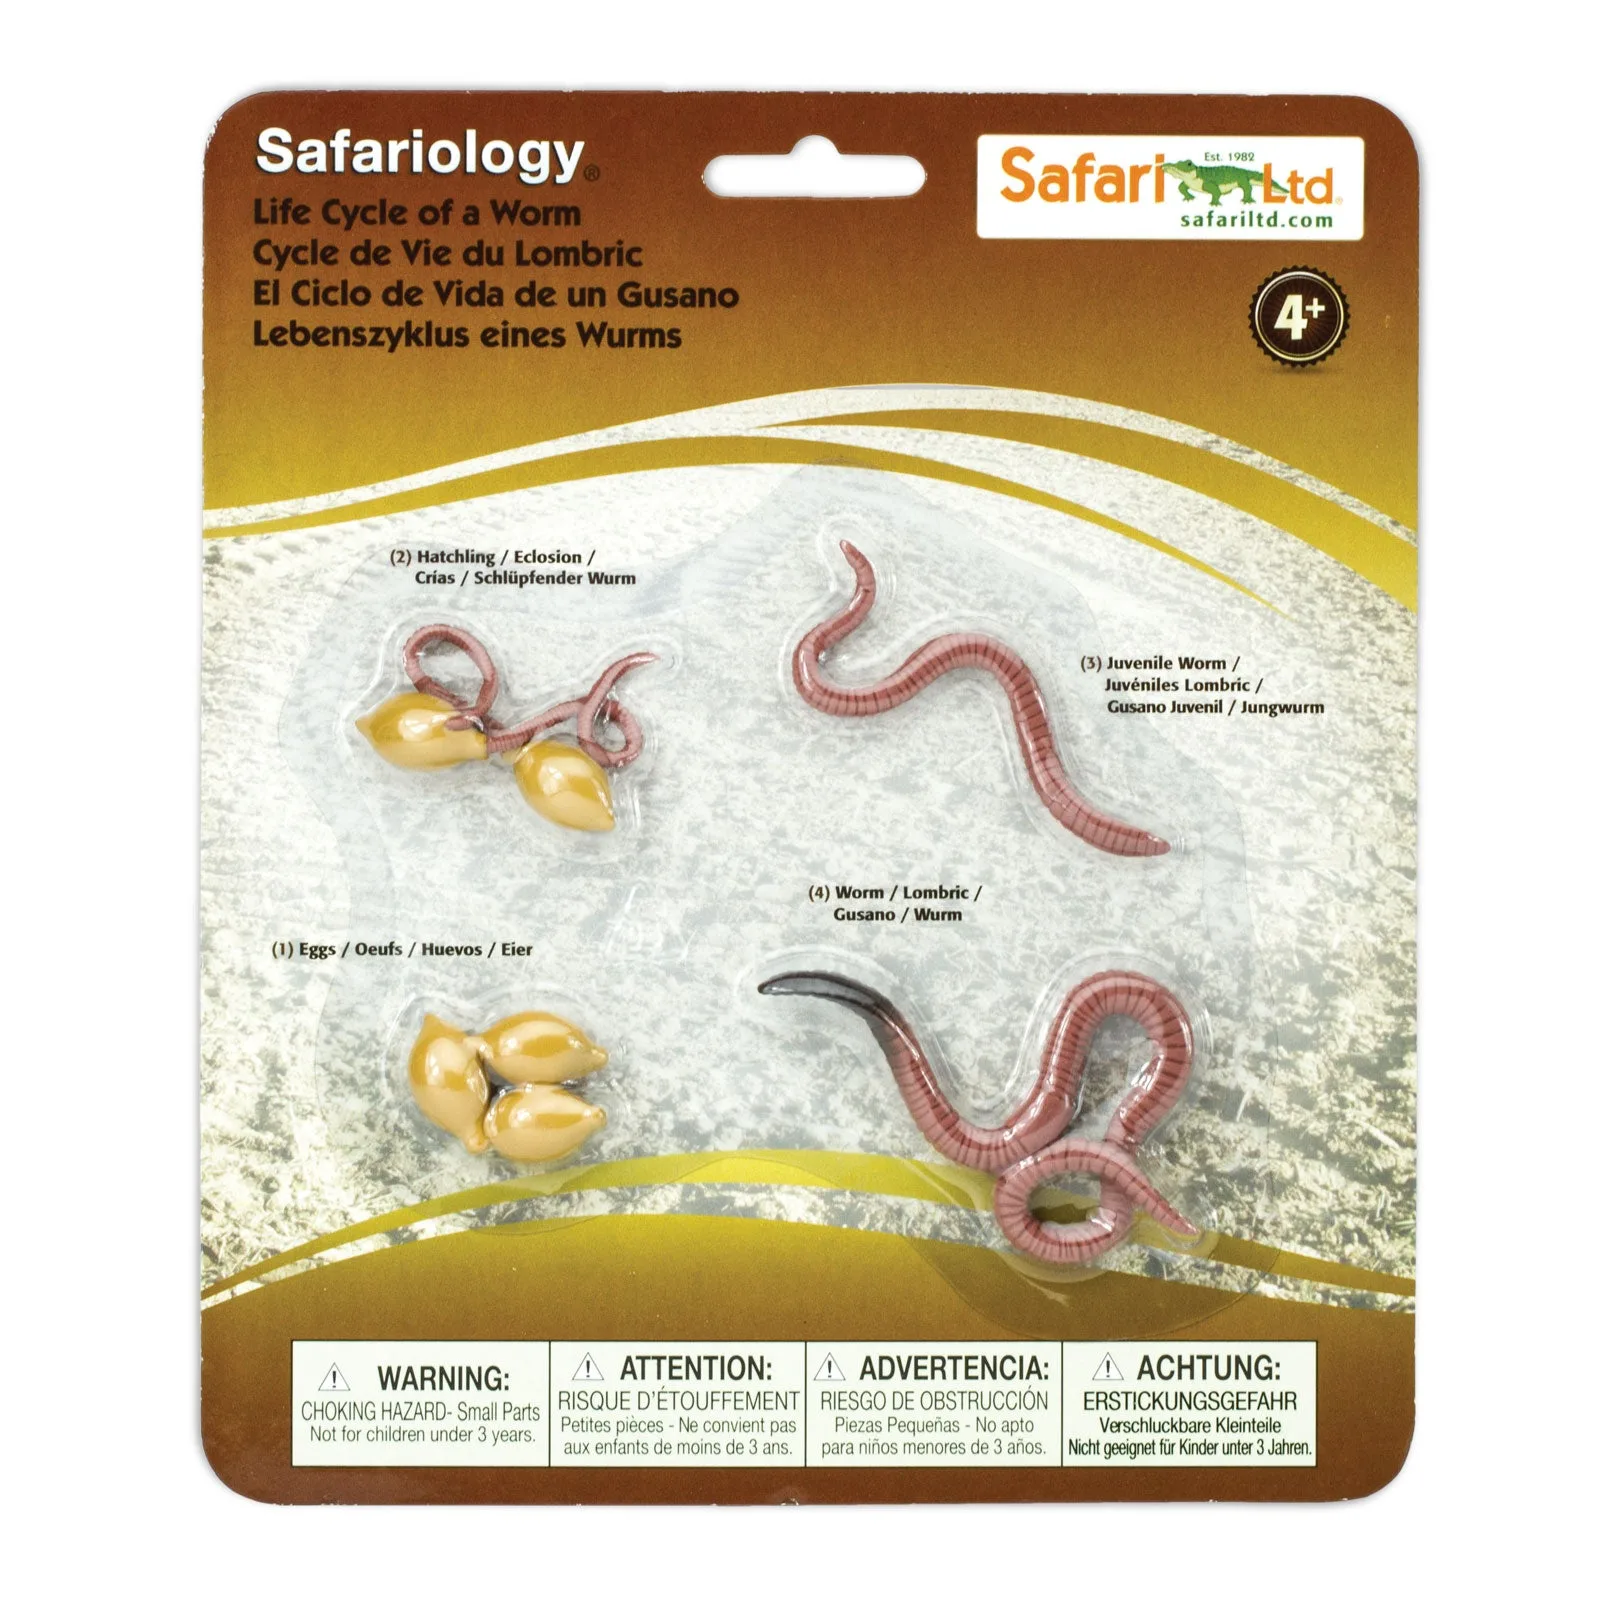
Safariology models are designed to show real scientific detail at a size a child can hold. The Life Cycle of a Worm set, for example, shows four stages: lemon-shaped eggs, hatchlings, juveniles, and adult worms. That is a full life cycle in four objects, which is much easier for a young child to grasp than a diagram or a video.
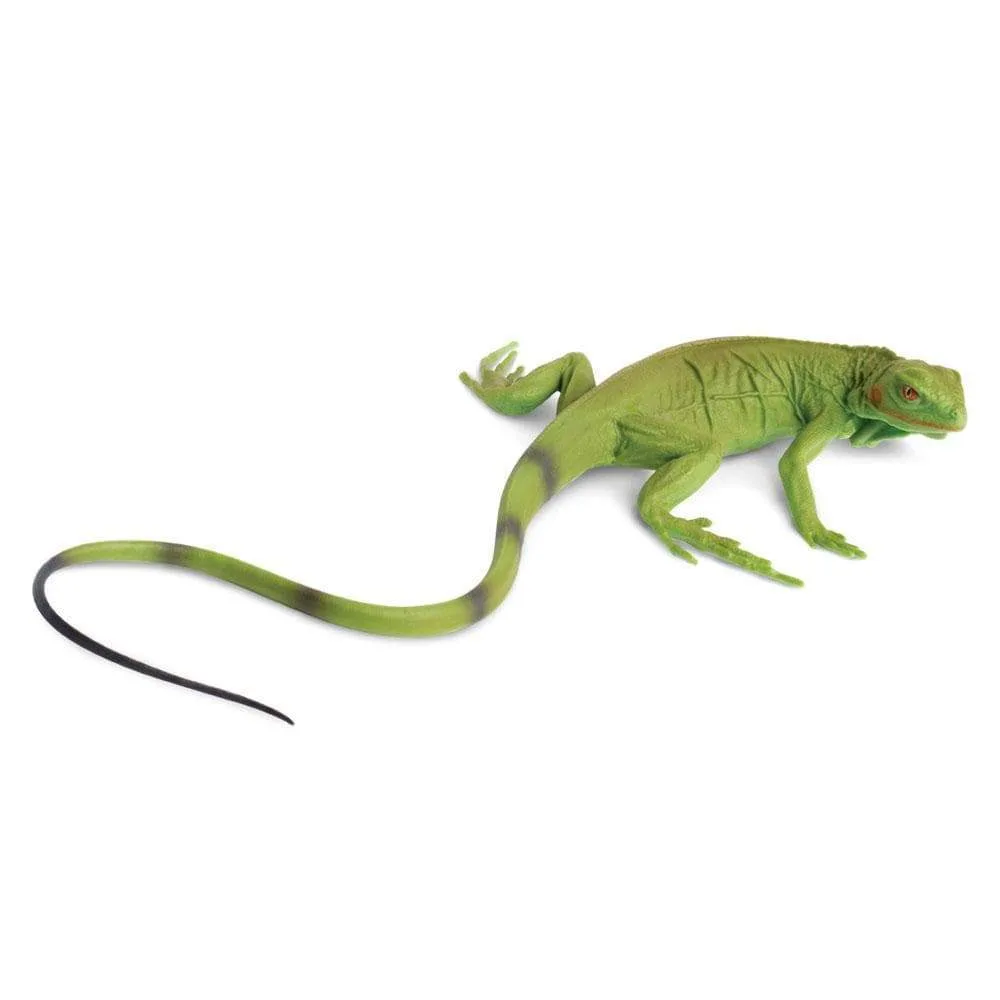
The figures also invite comparison. A child can line up the worm stages next to an Iguana Baby Toy or a Bengal Tiger Cub Toy and start asking why some animals look like mini adults while others change completely. That question is real science, and it comes from the child, not from a worksheet.
- Choose one set that matches something your child already notices, such as worms after rain or lizards in a garden.
- Keep the figures accessible on a low shelf so your child can return to them without asking.
Set up a simple observation station
Pick a flat surface with good light and no screens nearby. Place only the figures from one set on the surface, plus a magnifying glass if you have one. Resist the urge to add books, printables, or extra toys at the same time. A single set gives your child something specific to look at.
Let your child pick up each figure and turn it over. Stay quiet for the first minute. When they say something, repeat it back as a question: "You noticed the hatchling is smaller. What else is different?" This keeps the focus on their observation rather than your explanation.
- Common mistake: starting with a definition. Let the objects come first, vocabulary second.
- Checkpoint: your child should handle every figure in the set before you say a single fact.
Sequence the stages together
Once your child has explored the figures, ask them to put the stages in order. For the Life Cycle of a Worm, that means eggs, hatchling, juvenile, adult. Do not correct a wrong order immediately. Ask, "What would happen if the juvenile came first?" Let them reason it out.
Sequencing is where the science concept lives. A life cycle is a loop, not a line, so once the order is correct, ask what comes after the adult. When your child says "eggs again," they have understood the core idea. That is the moment to name it: a life cycle.
- Common mistake: treating the sequence as a puzzle with one right answer. The reasoning matters more than the order.
- Checkpoint: your child can explain why the adult comes before the eggs in the loop.
Add one science word at a time
Young children do not need a glossary. They need one word they can use. After sequencing, introduce a single term: egg, hatchling, juvenile, adult, life cycle, or metamorphosis. Use the word every time you handle that figure for the rest of the week.
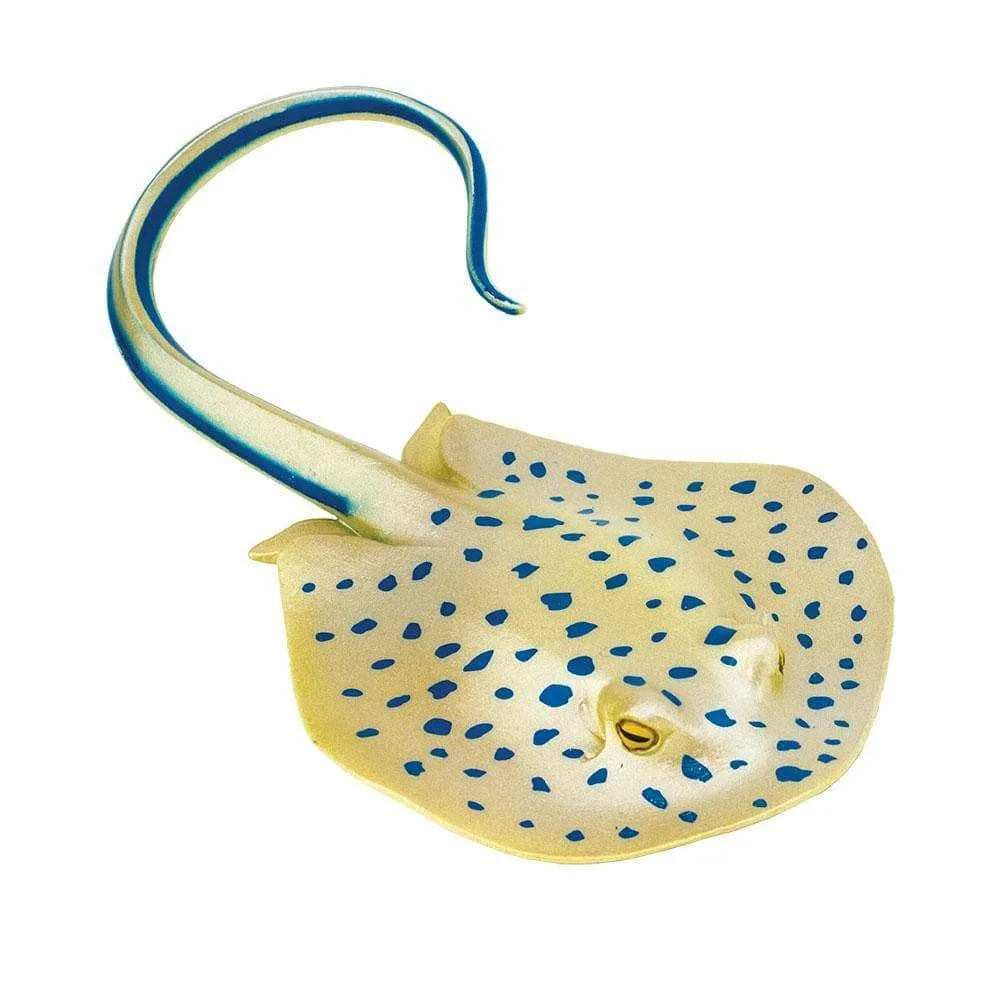
If you are using the Blue Spotted Ray Toy, you might introduce the word "venomous" because the catalog notes its tail has venomous spines. That is a real fact your child can attach to a real object. One word per session is plenty. Two words compete for attention.
- Common mistake: introducing five new words in one sitting. Pick one and repeat it across days.
- Checkpoint: your child uses the new word without prompting before you add another.
Connect the figures to the real world
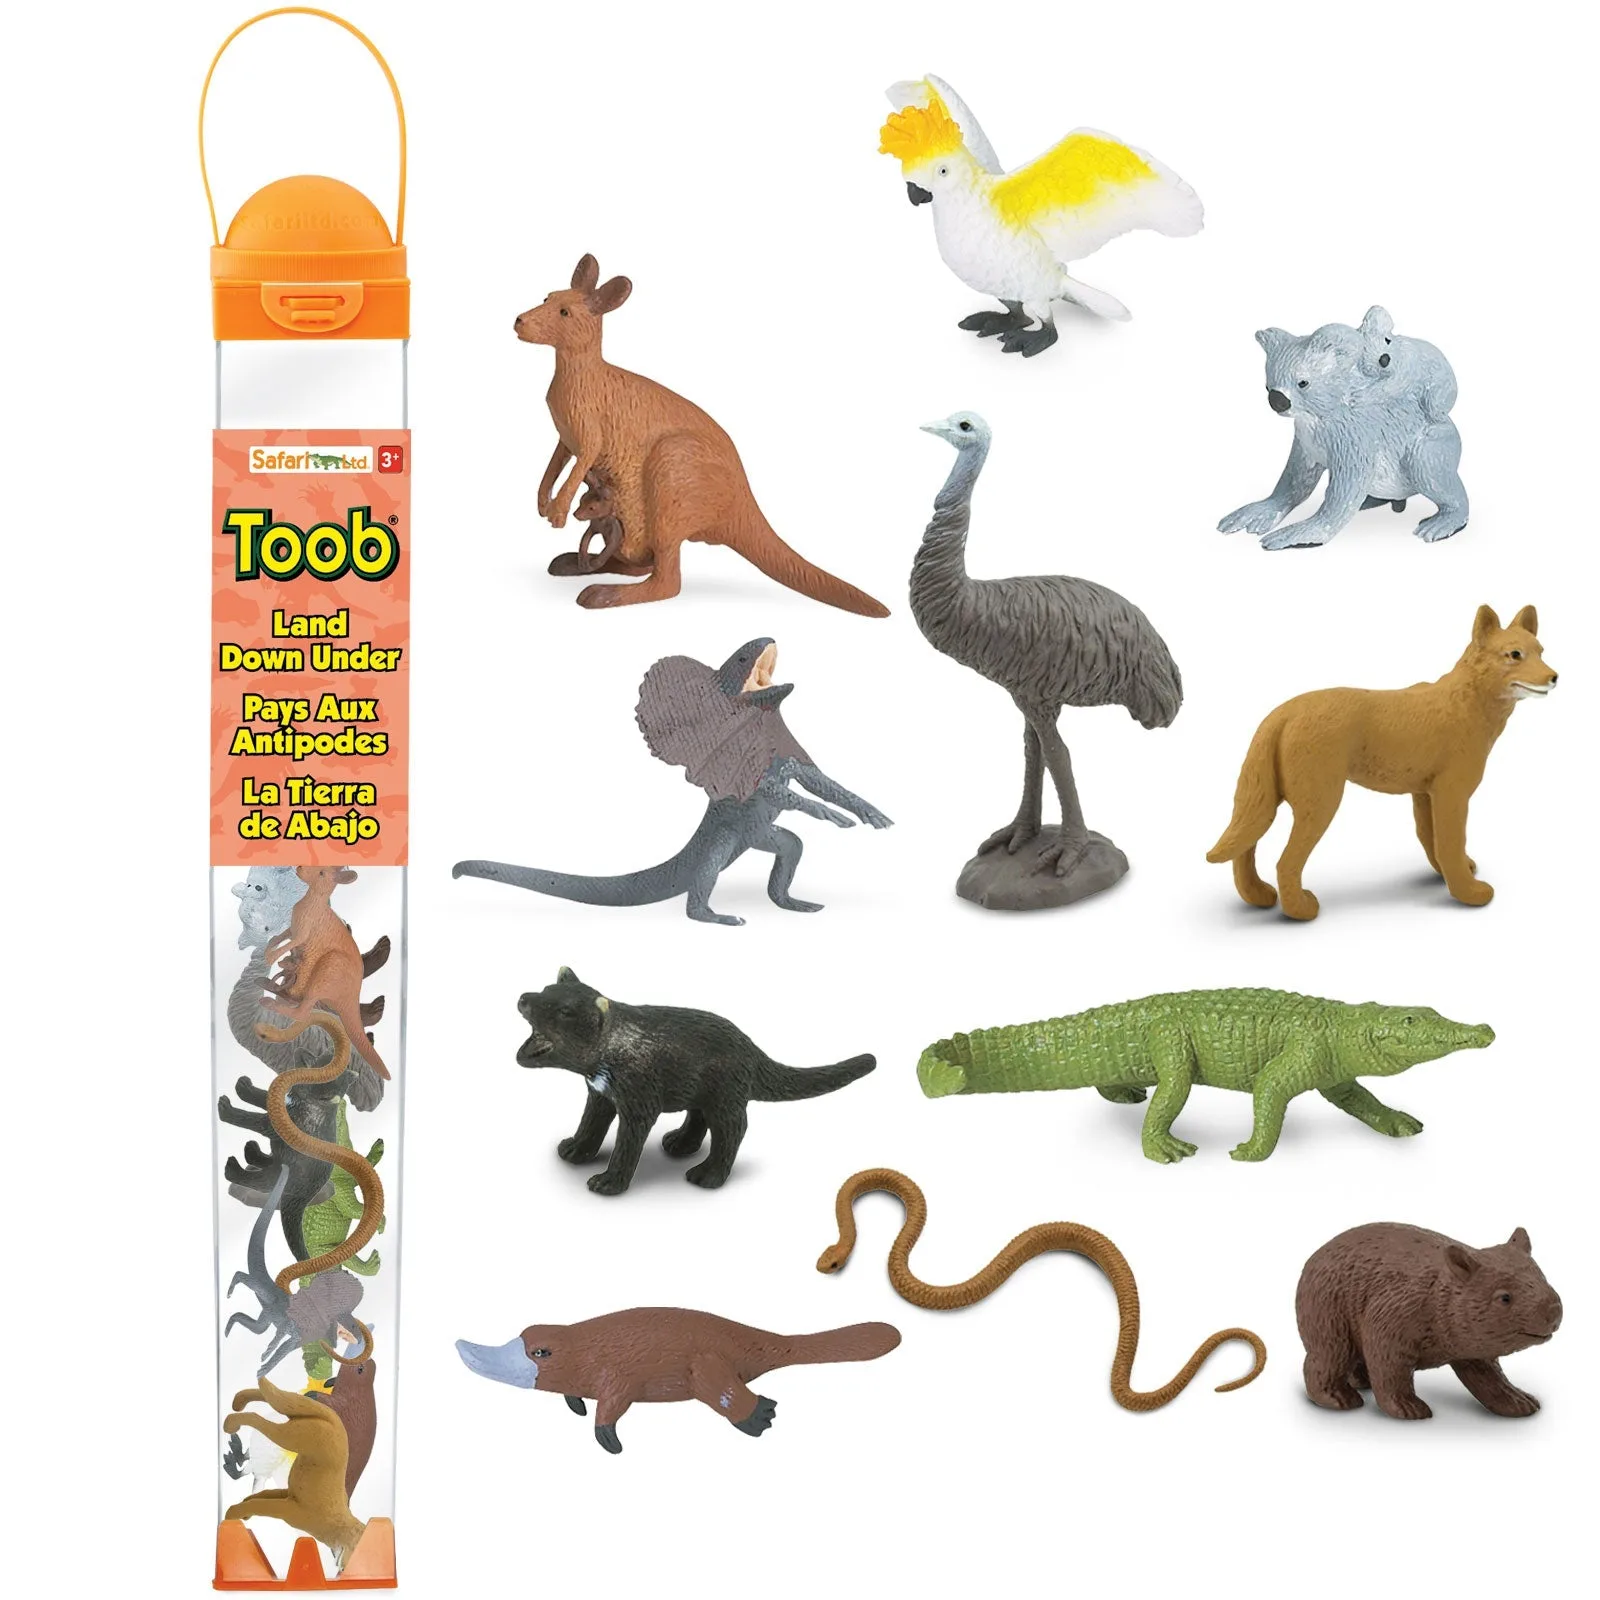
A model becomes science when it points to something outside. After working with the Life Cycle of a Worm, go outside after rain and look for worms. After working with the Land Down Under TOOB®, find Australia on a map and name one animal from the set. The TOOB includes an emu, kangaroo, koala, and platypus, so there is plenty to choose from.
Real-world connection does not need to be a field trip. It can be a two-minute look out the window, a page in a book, or a question at dinner. The goal is for your child to see that the figure stands for something that actually exists.
- Common mistake: skipping the connection because it feels too small. A two-minute observation counts.
- Checkpoint: your child volunteers a connection between the figure and something they saw.
Repeat with a new set when interest fades
Children often return to the same set for weeks. That repetition is useful. When interest genuinely fades, add one new set rather than replacing the old one. The Life Cycle of a Worm and the Blue Spotted Ray Toy cover very different animals, so comparing them keeps the older set in play.
If you are building a small collection, the Blue Sharks - 192 pcs - Good Luck Minis® set works differently. It is a bulk set of one animal rather than a life cycle, so it is better for sorting, counting, and habitat play than for sequencing stages. Match the set to the skill you want to practice.
- Common mistake: buying many sets at once. One new set at a time keeps attention focused.
- Checkpoint: your child can compare two sets and say one way they are different.
Your step-by-step science session
- Choose one set: Pick a Safariology set that connects to something your child has already seen, such as worms, lizards, or ocean animals. Checkpoint: your child can name the animal before you start.
- Let them explore first: Place the figures on a clear surface and stay quiet for one minute while your child handles them. Checkpoint: every figure has been touched before you explain anything.
- Ask before telling: Use open questions like "What do you notice?" and "What is different about this one?" instead of stating facts. Checkpoint: your child offers at least one observation without prompting.
- Sequence the stages: Ask your child to put the life cycle figures in order, then ask what comes after the adult. Checkpoint: your child says the cycle starts again with eggs.
- Add one word: Introduce a single science term such as hatchling, juvenile, or life cycle and use it for the rest of the week. Checkpoint: your child uses the word correctly before you add another.
- Connect to the real world: Step outside, open a book, or find the animal's home on a map within a day of the session. Checkpoint: your child links the figure to something real without being asked.
- Repeat, then extend: Keep the same set in rotation until interest fades, then add one new set rather than replacing the old one. Checkpoint: your child compares the old and new sets in their own words.
Safariology figures that support science learning
- Life Cycle of a Worm: Features four stages: lemon-shaped eggs, hatchlings, juveniles, and adult worms. Scientific name: Lumbricus terrestris. Four physical stages make the abstract idea of a life cycle concrete and easy to sequence.
- Blue Spotted Ray Toy: Also called the Bluespotted Ribbontail ray, found in the Indian and western Pacific Oceans. Its blue spots warn of venomous spines on its tail. Scientific name: Taeniura lymma. Gives you a real reason to introduce the word venomous and the idea that color can be a warning.
- Land Down Under TOOB®: Includes an emu, Tasmanian devil, kangaroo, dingo, frilled lizard, cockatoo, platypus, taipan, wombat, crocodile, and a koala with a baby. A single set covers a whole continent's wildlife, which makes map and habitat activities easy to set up.
You do not need a formal lesson to introduce science concepts. One Safariology set, a few good questions, and a habit of letting your child handle the figures first will do more than any worksheet. Start with the Life Cycle of a Worm, follow the steps above, and let your child's own observations lead the way.