Quick answer
Chill the cup first, fill it nearly to the top with ice, pour cold coffee over the ice, and keep the lid on between sips. An insulated iced coffee cup slows heat transfer, but it cannot rescue a room-temperature cup, too little ice, or a lid left off. Follow the steps below in order and your drink stays cold for hours.
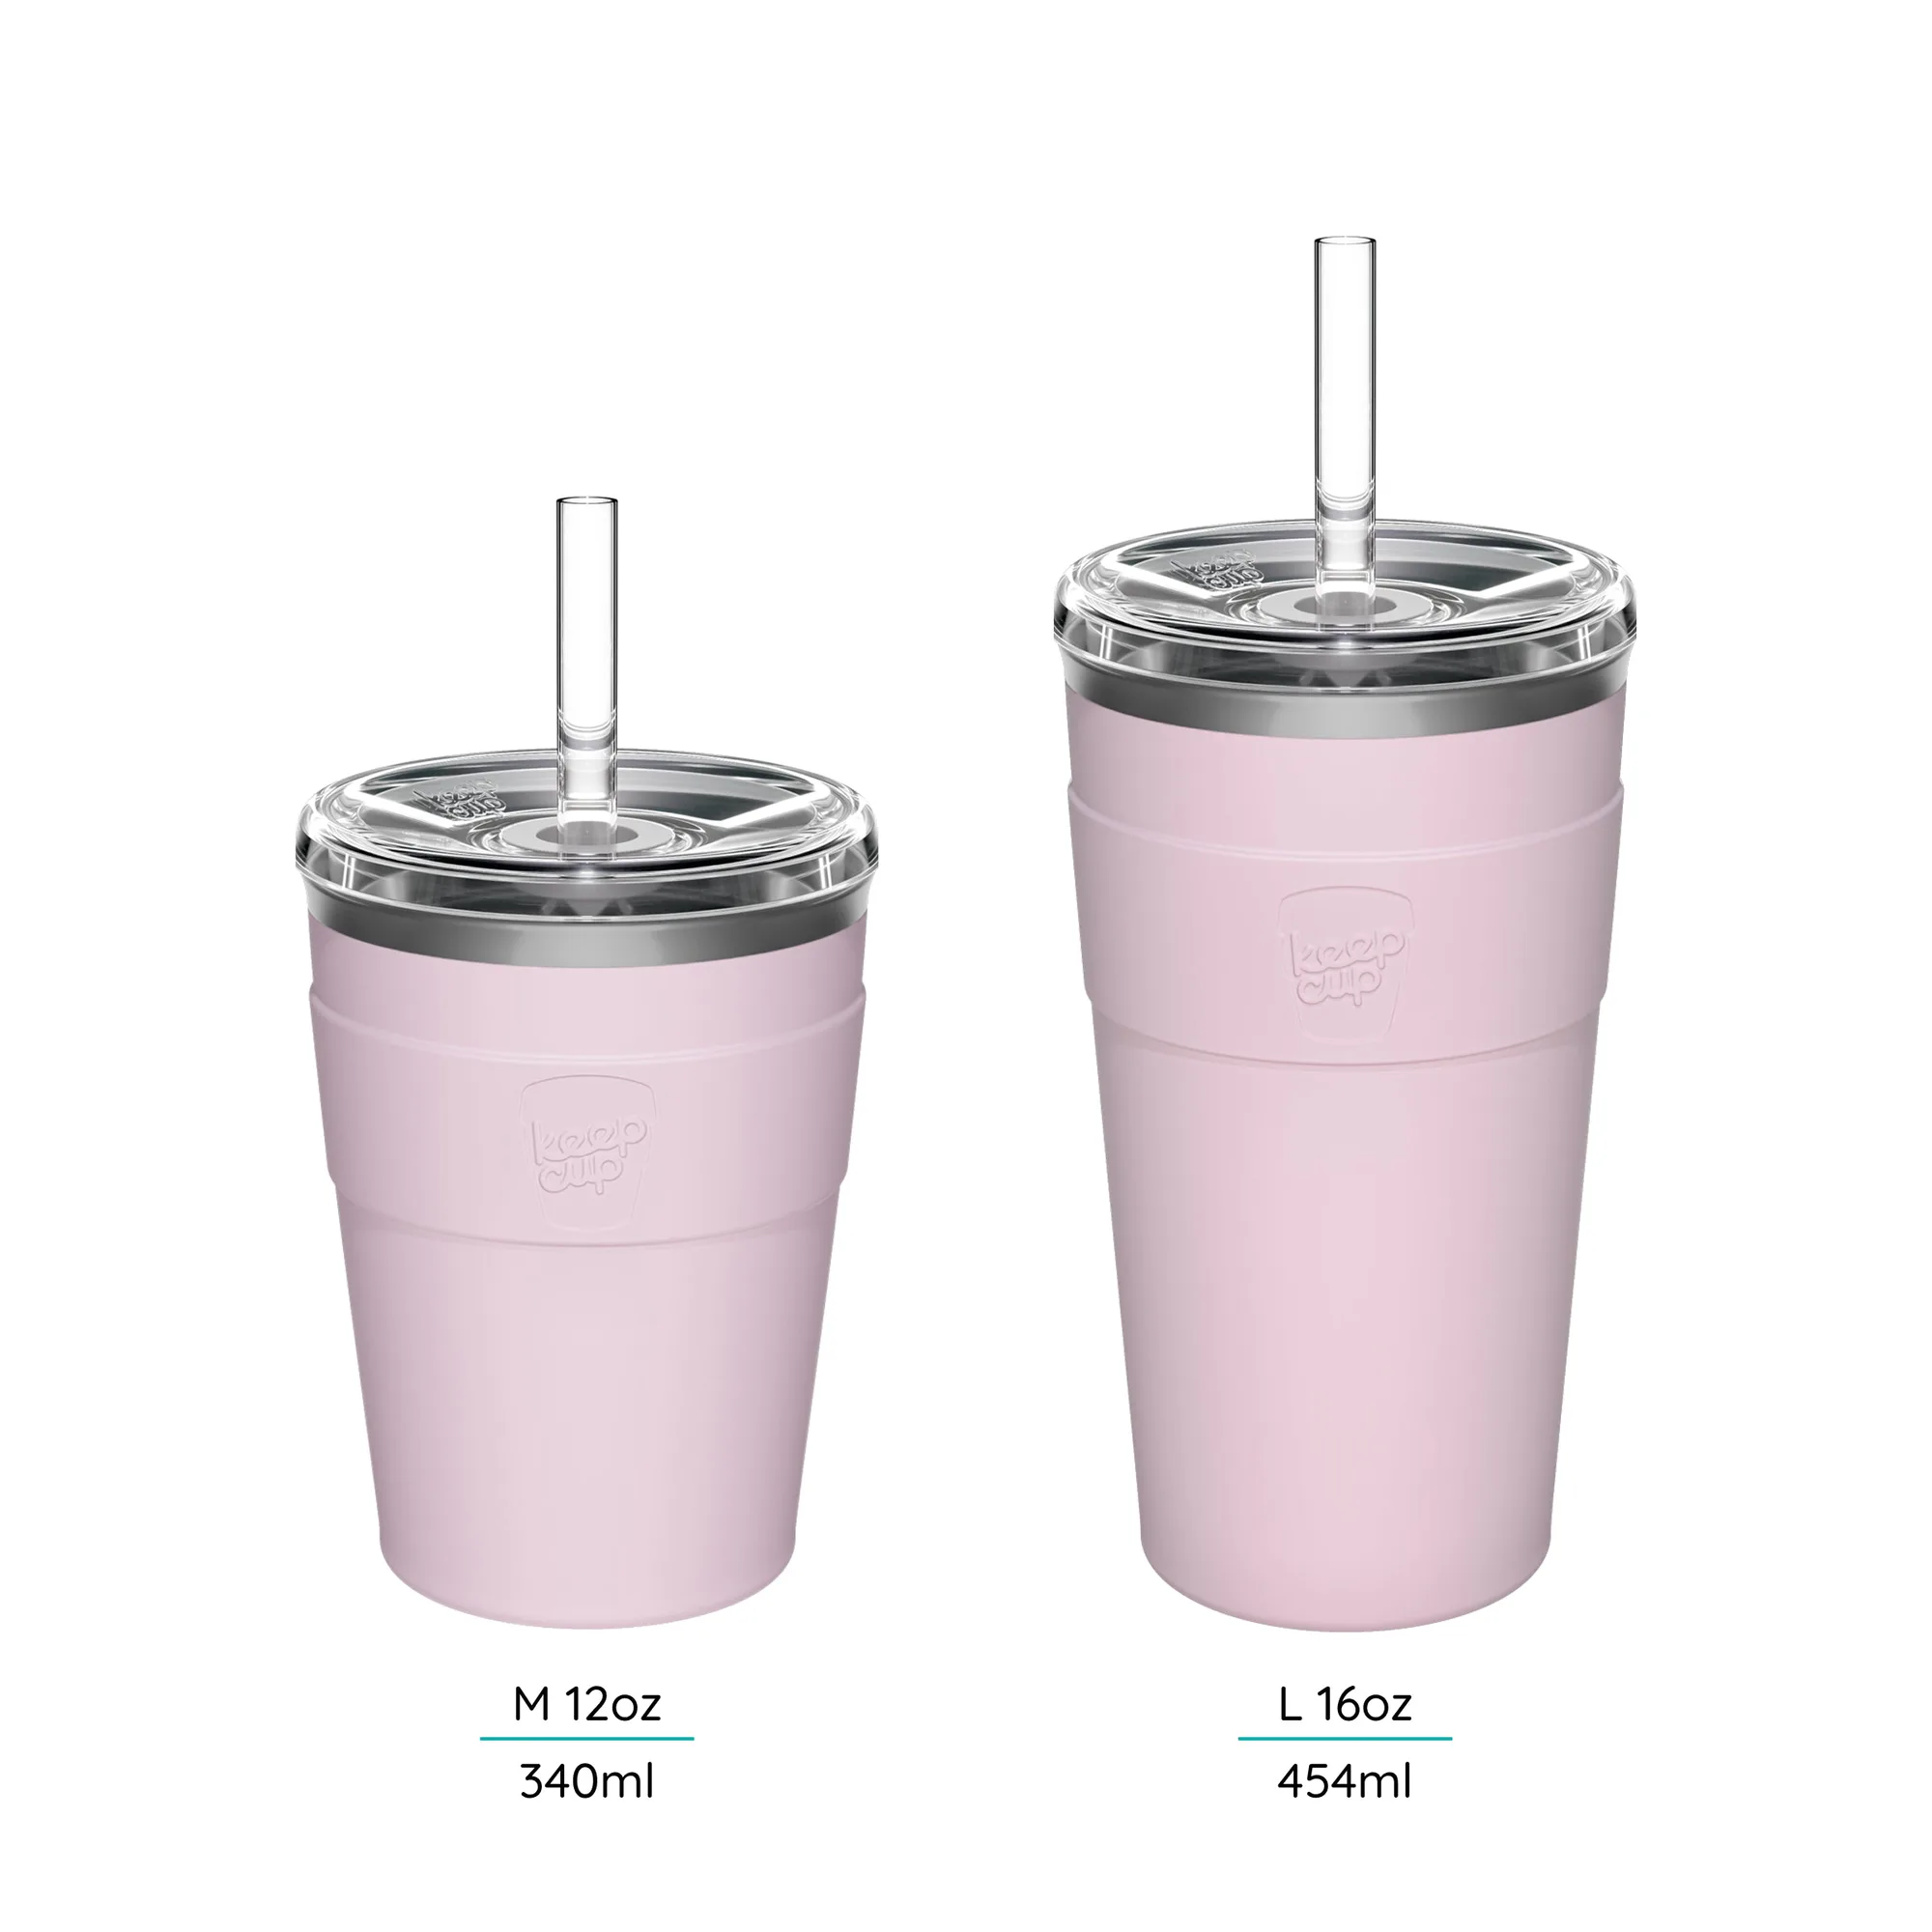
insulated iced coffee cup
Why ice melts faster than most people expect
Ice does not melt because the cup is bad. It melts because heat has somewhere to go: from your hand, from the air around the cup, and from the drink itself. An insulated cup reduces that heat flow, but only if you start with a cold cup and enough ice. If you pour hot or room-temperature coffee onto three cubes, the ice works overtime and disappears before lunch.
The order of operations matters more than any single trick. Pre-chilling removes stored heat from the cup walls. A full ice load gives the drink a reserve of cold. A sealed lid stops warm air from cycling over the surface. Skip any one of these and the others have to work harder.
What to check before you blame the cup
If your iced coffee still goes warm quickly, check three things before replacing anything. First, is the lid fully seated and closed? A partially open drinking hole lets warm air in with every sip. Second, did you pre-chill, or did you pour into a cup that had been sitting in a warm car? Third, is the coffee itself cold before it goes in? Brewing hot and adding ice means the ice is cooling the coffee, not keeping it cold.
KeepCup designs its reusable products for repair, with easy replacement of lost or damaged parts, so a worn lid or seal can often be fixed rather than replaced entirely. That matters for cold drinks because the lid is the part doing the insulation work at the top.
Your ordered routine for cold coffee that lasts
- 1. Pre-chill the cup: Fill the cup with cold water or a few ice cubes and let it sit for two to three minutes while you prepare the coffee. Pour the water out before you build the drink. Common mistake: skipping this and pouring straight into a room-temperature cup, which wastes your first layer of ice on cooling the walls.
- 2. Start with cold coffee: Chill your brewed coffee in the fridge first, or use cold brew, which is already cold. If you must cool hot coffee quickly, pour it over ice in a separate pitcher before it goes into the cup. Checkpoint: the coffee should feel cold to the touch before it meets your drinking ice.
- 3. Fill the cup nearly to the top with ice: Use more ice than feels reasonable. A full load of ice keeps the drink cold; a light load melts fast and dilutes the coffee. Leave just enough room for the liquid to surround the ice. Common mistake: treating ice as a garnish. In an insulated cup, ice is the cooling engine.
- 4. Pour the cold coffee over the ice and leave headspace: Fill to about a centimetre below the rim so the lid seals cleanly. Overfilling forces liquid into the lid threads, which can leak and lets warm air sit against the surface. Checkpoint: the lid should screw or press on without resistance or overflow.
- 5. Seal the lid and keep it sealed: Close the drinking hole between sips. Every minute the lid is open, warm air replaces the cold air sitting above the drink. If you are carrying the cup in a bag, confirm the seal is fully seated first. Common mistake: leaving the sipper open on a desk, which undoes the insulation at the top of the cup.
- 6. Keep the cup out of direct sun and away from heat: An insulated cup slows heat transfer, but it is not a cooler. A cup on a sunny dashboard or next to a radiator will lose cold faster than one in the shade or in a bag. Checkpoint: if the outside of the cup feels warm, the heat is already working through.
- 7. Clean and dry the lid and seal after every use: Rinse the lid and seal promptly, wash them thoroughly, and let them dry fully before reassembling. Residue and moisture trapped in the seal are what cause odours and reduce how well the lid sits. Common mistake: storing the cup with the lid screwed on while still damp, which is how reusable cups develop unwanted smells.
Products that fit this routine
- Insulated Iced Coffee Cup: The Insulated Iced Coffee Cup is described in customer feedback as the best version tried after all-glass and all-plastic cups were smashed or took on unwanted, unwashable odours. If odour retention or breakage pushed you away from earlier reusable cups, this is the version built for cold drinks that you will actually keep using.
- Brew Cork Glass Cup: The 6oz https://keepcupecj.com/products/brew-cork-glass-cup-305368https://keepcupecj.com/products/brew-cork-glass-cup-305369https://keepcupecj.com/products/brew-cork-glass-cup-305404Brew Cork Glass Cup is praised as an excellent size for a small flat white or other beverages, with customers noting they waited a long time to own a 6oz KeepCup. Smaller volumes chill faster and stay cold more easily, so a 6oz cup suits a short iced coffee you will finish before the ice has a chance to melt.
- Brew Cork Glass Cup: KeepCup states its mission is to inspire reuse, designing premium reusable products for repeated use and easy replacement of lost or damaged parts. A cup you can maintain and repair is a cup that keeps its cold-holding performance over years, not just the first summer.