Quick answer
Wipe leather sandals after each wear, clean them weekly with a barely damp cloth and mild soap, and condition every four to six weeks. Apply a water-repellent spray before the first wear and reapply monthly. Store sandals stuffed, paired, and away from direct sun. This routine takes about five minutes a week and prevents most cracking, salt stains, and strap stretching.
Why leather sandals age faster than closed shoes
Sandals expose more leather to sweat, sunscreen, dust, and direct sun than any other shoe in your closet. The T-strap and ankle straps flex with every step, and the insole soaks up perspiration that never fully dries between wears. That combination dries out the leather, dulls the finish, and loosens the shape faster than a covered shoe would age.
The fix is not a deep clean once a season. It is a short, repeatable routine that removes grit before it grinds into the grain and replaces oils before the leather starts to crack. Once you see fine lines at the flex points, conditioning can slow the damage but cannot reverse it.
What you actually need
You do not need a full cobbler kit. A soft horsehair brush or clean microfiber cloth, a pH-neutral leather soap or a drop of mild dish soap, a leather conditioner, a water-repellent spray, and a pair of shoe trees or rolled socks will cover every step below. Avoid saddle soap on light-colored sandals; it can darken pale leather.
For buckles, a dry soft brush is enough. Skip metal polishes and oils near the leather, since they can stain the edges or loosen the finish around the hardware.
How often to do each step
Wipe after every wear. Clean weekly during heavy summer use, or every two weeks if you rotate sandals. Condition every four to six weeks in summer and every eight to ten weeks in cooler months. Reapply water repellent monthly during beach or pool season, and store properly whenever sandals will sit unworn for more than a week.
If you wear the same pair daily, shorten each interval. Leather recovers best with at least 24 hours of rest between wears, so alternating two pairs roughly doubles the life of both.
The six-step leather sandal care routine
- 1. Knock off dry dirt before anything wet touches the leather: Tap the sandals together and brush the uppers, straps, and sole edges with a dry soft brush. Common mistake: wetting sandy leather first, which pushes grit into the grain and scratches it. Checkpoint: the surface should feel smooth, not gritty, before you move on.
- 2. Wipe the straps and insole with a barely damp cloth: Use a microfiber cloth wrung out until it is almost dry. Wipe the T-strap, ankle strap, and insole, then let the sandals air-dry away from heat for at least an hour. Common mistake: soaking the leather or drying it on a radiator or in direct sun, which stiffens and cracks it. Checkpoint: no dark wet patches should remain when you finish.
- 3. Clean stubborn spots with mild soap, then wipe again: Put one drop of pH-neutral leather soap or mild dish soap on a damp cloth and work it into sunscreen residue or salt lines with small circles. Wipe with a clean damp cloth and air-dry fully. Common mistake: scrubbing hard at one spot, which lifts the finish and leaves a lighter patch. Checkpoint: if the stain does not lift with light pressure, stop and repeat after the sandals are dry.
- 4. Condition while the leather is clean and dry: Apply a small amount of leather conditioner with a cloth or your fingertips, focusing on flex points like the T-strap junction and strap edges. Let it absorb for 15 to 20 minutes, then buff off any excess. Common mistake: over-conditioning, which leaves a greasy film that attracts dust and can darken the leather. Checkpoint: the leather should look supple, not shiny or slick.
- 5. Protect leather sandals from water with a repellent spray: Spray an even, light coat over the whole upper from about 8 to 10 inches away, then let it dry completely before wearing. Reapply monthly in beach or pool season. Common mistake: spraying too close or too heavily, which can spot the leather and leave a sticky residue. Checkpoint: test on a hidden area first if the leather is light-colored or new.
- 6. Store sandals stuffed, paired, and out of direct sun: Insert shoe trees or rolled socks to hold the strap shape, buckle the straps so they do not crease, and place the pair in a breathable cotton bag or on a shelf away from sunlight and damp floors. Common mistake: tossing loose sandals into a bin, which bends straps and lets one sandal press creases into the other. Checkpoint: before storing for the season, clean, condition, and spray first so they come out ready to wear.
Product facts that affect sandal care
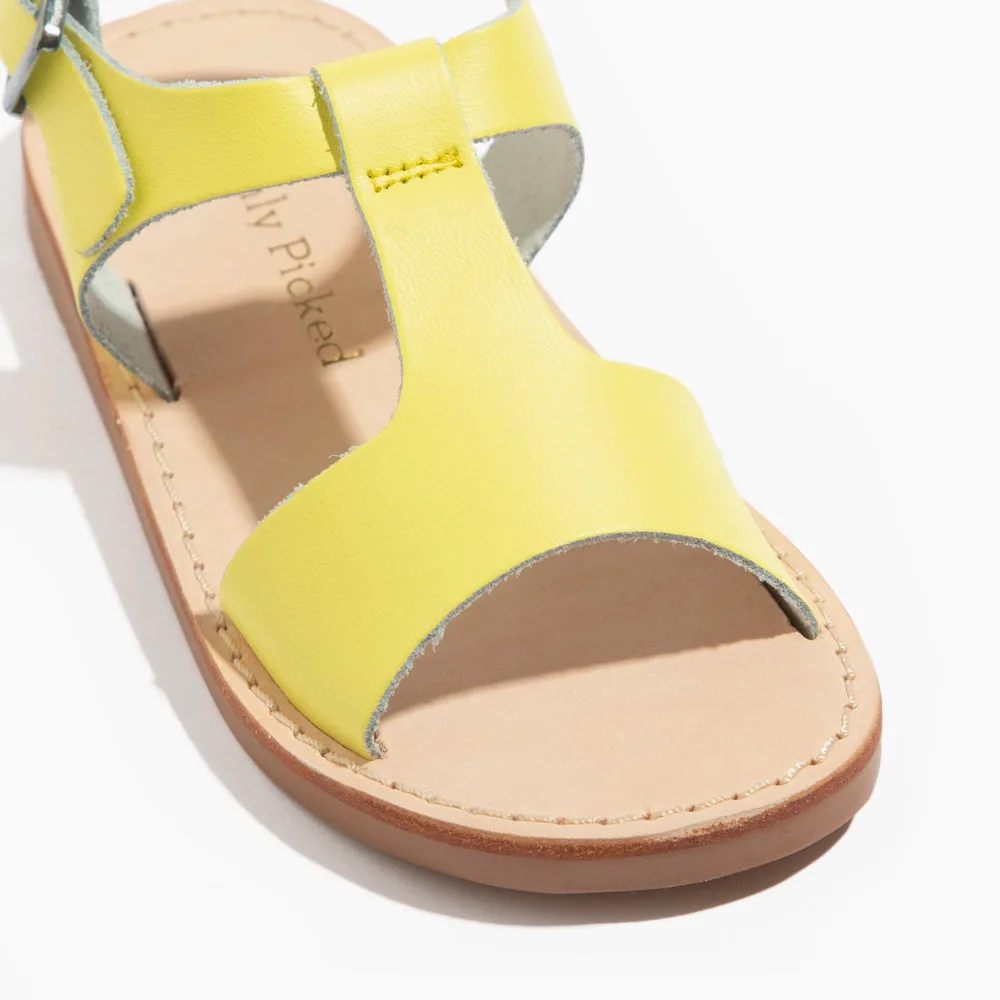
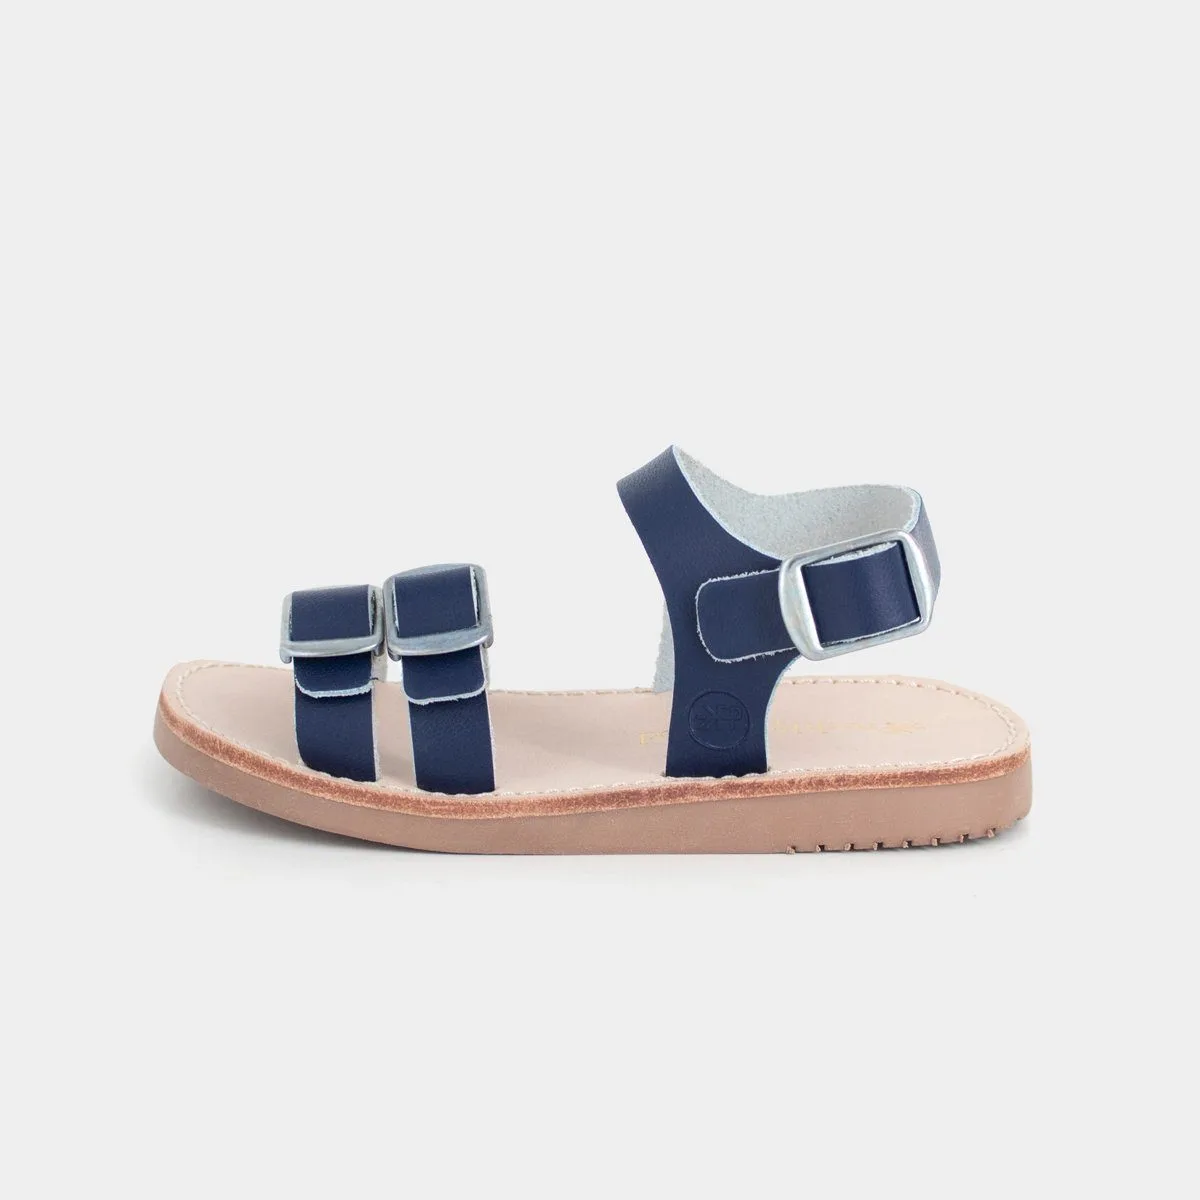
- Citron Sanibel: The Citron Sanibel has a soft leather insole and a cushioned rubber sole, with prong-free Italian buckles. The leather insole absorbs sweat and needs air-drying between wears, while the prong-free buckles are easier to wipe clean without snagging a cloth.
- Olive Malibu Sandal: The Olive Malibu Sandal has an olive leather T-strap upper, prong-free Italian buckles, a soft leather insole, and a cushioned rubber sole. The T-strap flexes at one narrow point, so that is the first spot to check for dryness and the area to condition most carefully.