Quick answer
Keep a needleminder strong by cleaning only the smooth face with a dry or barely damp cloth, never soaking it, and by storing it snapped together away from other magnets and metal tools. If it stops holding, check for lint, fuzz, or a scratched face before assuming the magnet has failed.
What actually weakens a needleminder
Most needleminders lose grip because of what sits between the magnet and the canvas, not because the magnet itself wears out. Lint, thread fuzz, and fine canvas dust create a gap that reduces contact. Heat and moisture can also affect the decorative face over time, especially on acrylic pieces. The magnets themselves are usually the last thing to fail, so clean and store first before replacing.
A weekly two-minute cleaning routine
Wipe the top face with a dry microfiber cloth after each project session. For a deeper clean, dampen the cloth slightly, wipe the face, then dry it immediately. Never run a needleminder through water or leave it soaking, because moisture can reach the magnet and the adhesive or coating that holds the face together. If your needleminder has a printed guide like The Stitch Re-Minder, clean gently around the markings so they stay readable.
Storage that protects the magnet and the face
Store needleminders snapped together or on a dedicated metal strip, not loose in a notions pouch with scissors, pins, and other magnets. Loose metal scratches the face and stray magnets can reorient or weaken the field over time. Keep them out of hot cars and away from direct sun. If you rotate several minders, a small magnetic board or a labeled tin keeps them separated and easy to find.
When the hold drops: a quick diagnostic
If your needleminder is not holding, test it on a clean metal surface first. If it grips there but not on canvas, the problem is debris or a warped canvas, not the minder. If it grips weakly everywhere, inspect for a cracked face, a lifted edge, or a magnet that has shifted. A minder with a damaged face can still be used on a magnetic board at home, but it should not travel in a project bag where it can scratch canvas.
Step-by-step needleminder care
- Separate the minder from the canvas: Slide the two halves apart rather than pulling them straight off, so you do not flex or scratch the decorative face. Checkpoint: if the face feels rough or has a lifted edge, stop and inspect before reattaching.
- Dry-wipe the face after every session: Use a dry microfiber cloth to remove lint and thread fuzz from the top face and the magnet surface. Mistake to avoid: rubbing hard with a paper towel, which can leave fibers behind.
- Spot-clean only when needed: Dampen a cloth very slightly, wipe the face, and dry it immediately. Never soak the minder or put it in a washing machine. Checkpoint: if moisture reaches the edge, let it air dry fully before storing.
- Store snapped together and away from metal: Keep minders paired in a small tin or on a magnetic strip, separate from scissors, pins, and other magnets. Mistake to avoid: tossing them loose into a notions pouch where they can scratch and attract metal filings.
- Test the hold monthly: Press the minder onto a clean metal surface and feel the pull. If it is weak there but strong on canvas, clean the canvas area instead. Next step: if the hold is weak on metal too, retire the minder to a magnetic board and replace it for travel.
Products that fit this routine
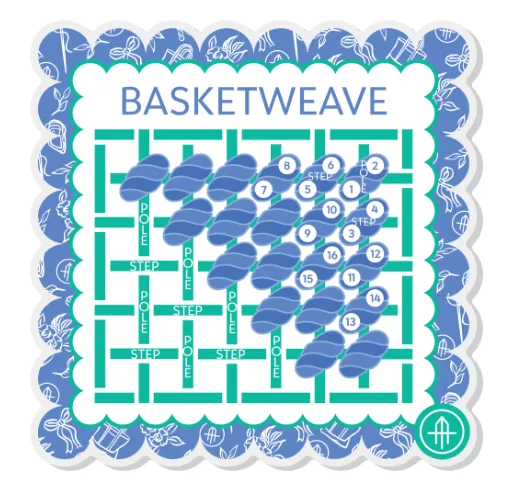
- The Stitch Re-Minder™: The Stitch Re-Minder is a lightweight, durable 2.25 x 2.25 acrylic needle minder that guides you step-by-step so you never miss a stitch, with a left-handed option available. The printed guide makes it a good candidate for the gentle dry-wipe routine, since you want the markings to stay legible.
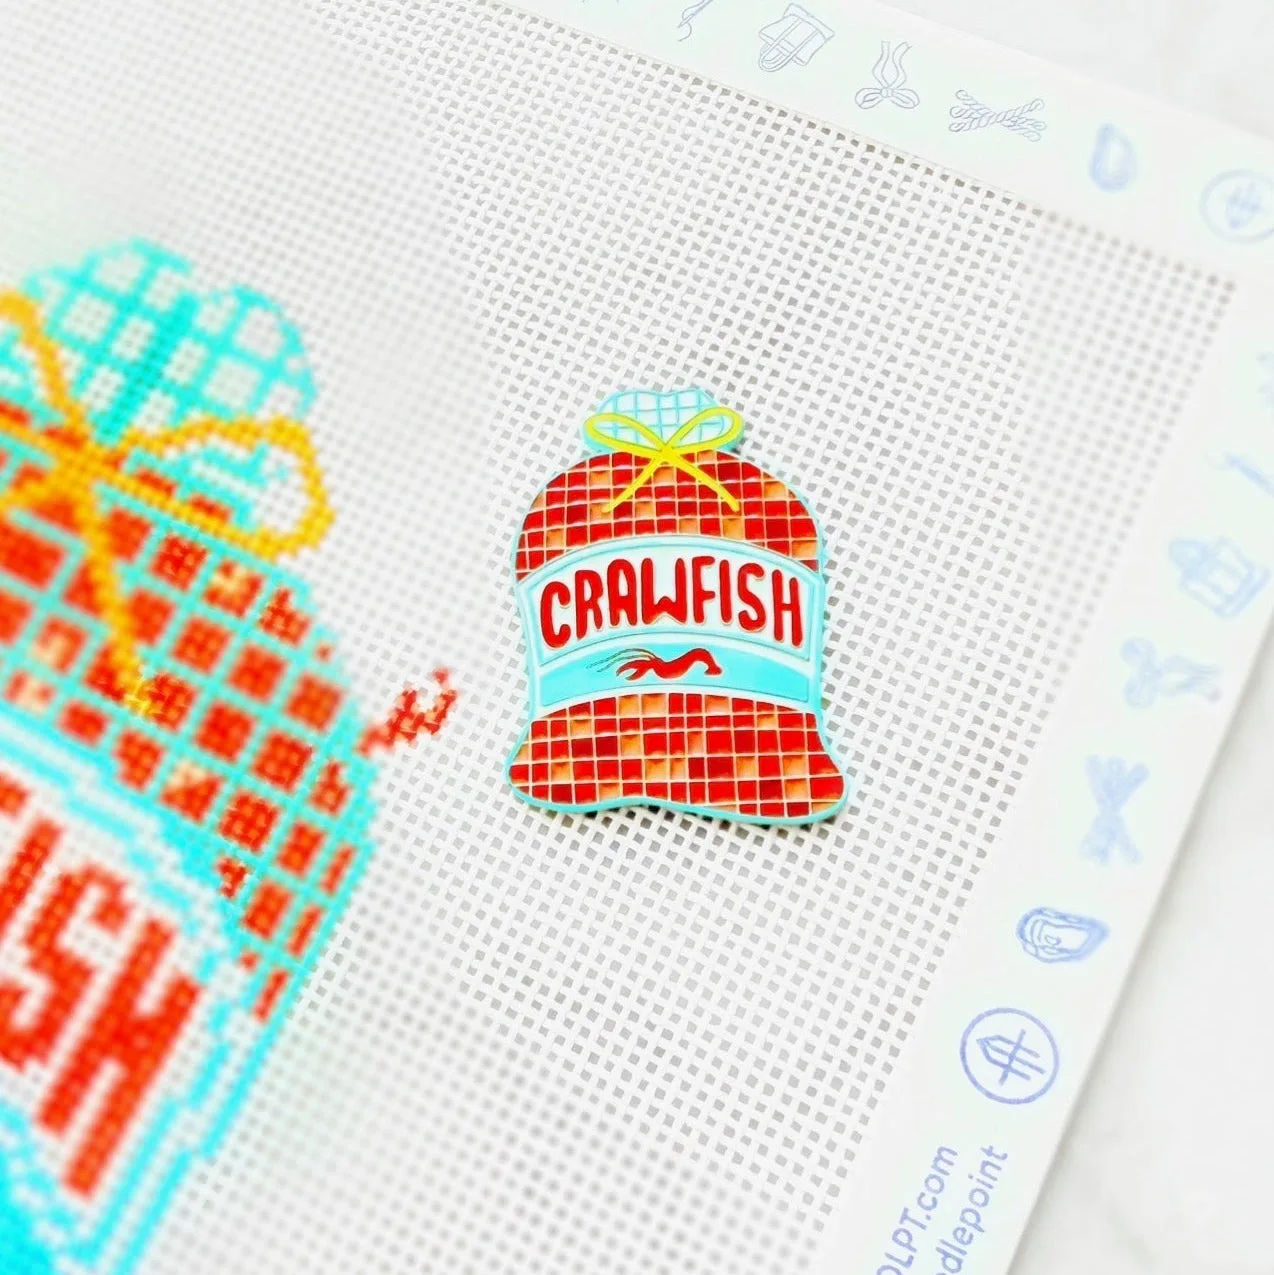
- Crawfish Boil Needle Minder: The Crawfish Boil Needle Minder is a 1.5 x 1.5 accessory; canvas, threads, and finishing are not included. Its small size means it fits in a project baggy without pressing against other tools, which reduces the chance of face scratches during storage.