Quick answer
Tape or bind the raw edges before you stitch. Painter's tape or masking tape works for a quick start, while sewn binding or zigzag stitching holds up best on a project you will handle for weeks. If the canvas has already frayed past the design line, trim only the loose threads and re-seal the edge.
A frayed edge is easier to prevent than to repair. The moment a cut canvas starts shedding threads, you lose working margin, your thread catches on loose tails, and the design can sit too close to the edge for blocking or framing.
The fix depends on how far the unraveling has gone. Below, separate what you are seeing from what usually caused it, then match the action to the stage your canvas is in.
Symptom: threads are shedding from a cut edge
Freshly cut needlepoint canvas almost always loses a few threads along the raw edge. That is normal. The trouble starts when the shedding continues after handling, when the edge feels soft and fuzzy, or when threads pull away in visible strands every time you move the canvas.
Check whether the loose threads are outside the painted or printed design area. If they are, you still have room to work. If the unraveling has reached the design line, stop pulling at it and treat the edge before you stitch another row.
- Lay the canvas flat and look at the edge against a light surface so loose threads are easy to see.
- Do not tug a loose thread to test it. Pulling accelerates the unravel.
Likely cause: raw edges plus repeated handling
Needlepoint canvas is a woven grid. Once cut, the outer threads have nothing holding them in place, and every time you pick up the canvas, roll it, or slide it into a bag, friction works those edge threads loose. Small canvases with narrow margins fray faster because there is less weave to grip.
Storage and travel make it worse. A canvas carried loose in a tote rubs against everything it touches, and a canvas stored without an edge treatment keeps shedding in the drawer. The cause is mechanical, not a defect in the canvas.
- Handle the canvas by the center or by a taped edge, not by the raw border.
- Keep unfinished projects in a bag or folder rather than loose in a basket.
Corrective action: seal the edge before you stitch
For a quick start, fold painter's tape or masking tape over the raw edge so it covers the outermost half inch on both sides. Press it flat, and replace it if it curls or leaves sticky residue. This is the fastest option and it is removable, which matters if you plan to block the finished piece.
For a project you will handle for weeks, bind the edge with a whip stitch or a zigzag machine stitch using a needle sized for canvas. Sewn binding adds a little bulk but survives repeated handling and travel far better than tape. Whichever you choose, treat all four edges before the first stitch.
- Trim stray threads first so tape or stitching sits flat.
- Re-tape if the adhesive stops gripping. A loose tape edge catches thread.
Frayed needlepoint canvas fix: what to do after the fact
If the edge has already frayed but the design area is intact, trim the fuzzy threads back to a clean line with sharp scissors, then seal the new edge with tape or binding. Work over a tray so loose fibers do not migrate into your stitching area.
If the unraveling has eaten into the design area or left the canvas too small for framing, that is your stopping point. Re-sealing will not restore missing weave, and continuing to stitch on a compromised edge usually means the finished piece will not block square. Replace the canvas rather than fight it.
- Trim in small passes. Cutting too aggressively can remove usable margin.
- If more than a thin border of threads is gone, treat the canvas as a loss.
Needlepoint canvas care that prevents the next fray
Store finished and unfinished canvas flat or rolled, never folded. Folds stress the weave and create weak points that fray later. Keep edges sealed until the piece is blocked and framed, because blocking and stretching put tension on the border.
When you travel with a project, use a project bag and keep the canvas inside a folder or sleeve. Small accessories help too: a needle minder keeps your needle off the canvas surface so it does not snag edge threads while you work.
- Re-check taped edges every few stitching sessions.
- Roll, do not fold, a canvas you are storing long term.
Fray diagnosis: match the symptom to the fix
- A few loose threads on a fresh cut: Normal for raw canvas. Trim the strays and seal the edge with tape or binding before stitching. Prevention, not repair.
- Edge feels fuzzy and keeps shedding: Repeated handling is working the outer threads loose. Re-tape or bind all four edges and stop carrying the canvas loose. Seal it again and change how you store it.
- Unraveling has reached the design line: Trim carefully, re-seal, and check whether enough margin remains for blocking and framing. If the design area is compromised, replace the canvas.
Canvas and tool notes that affect edge wear
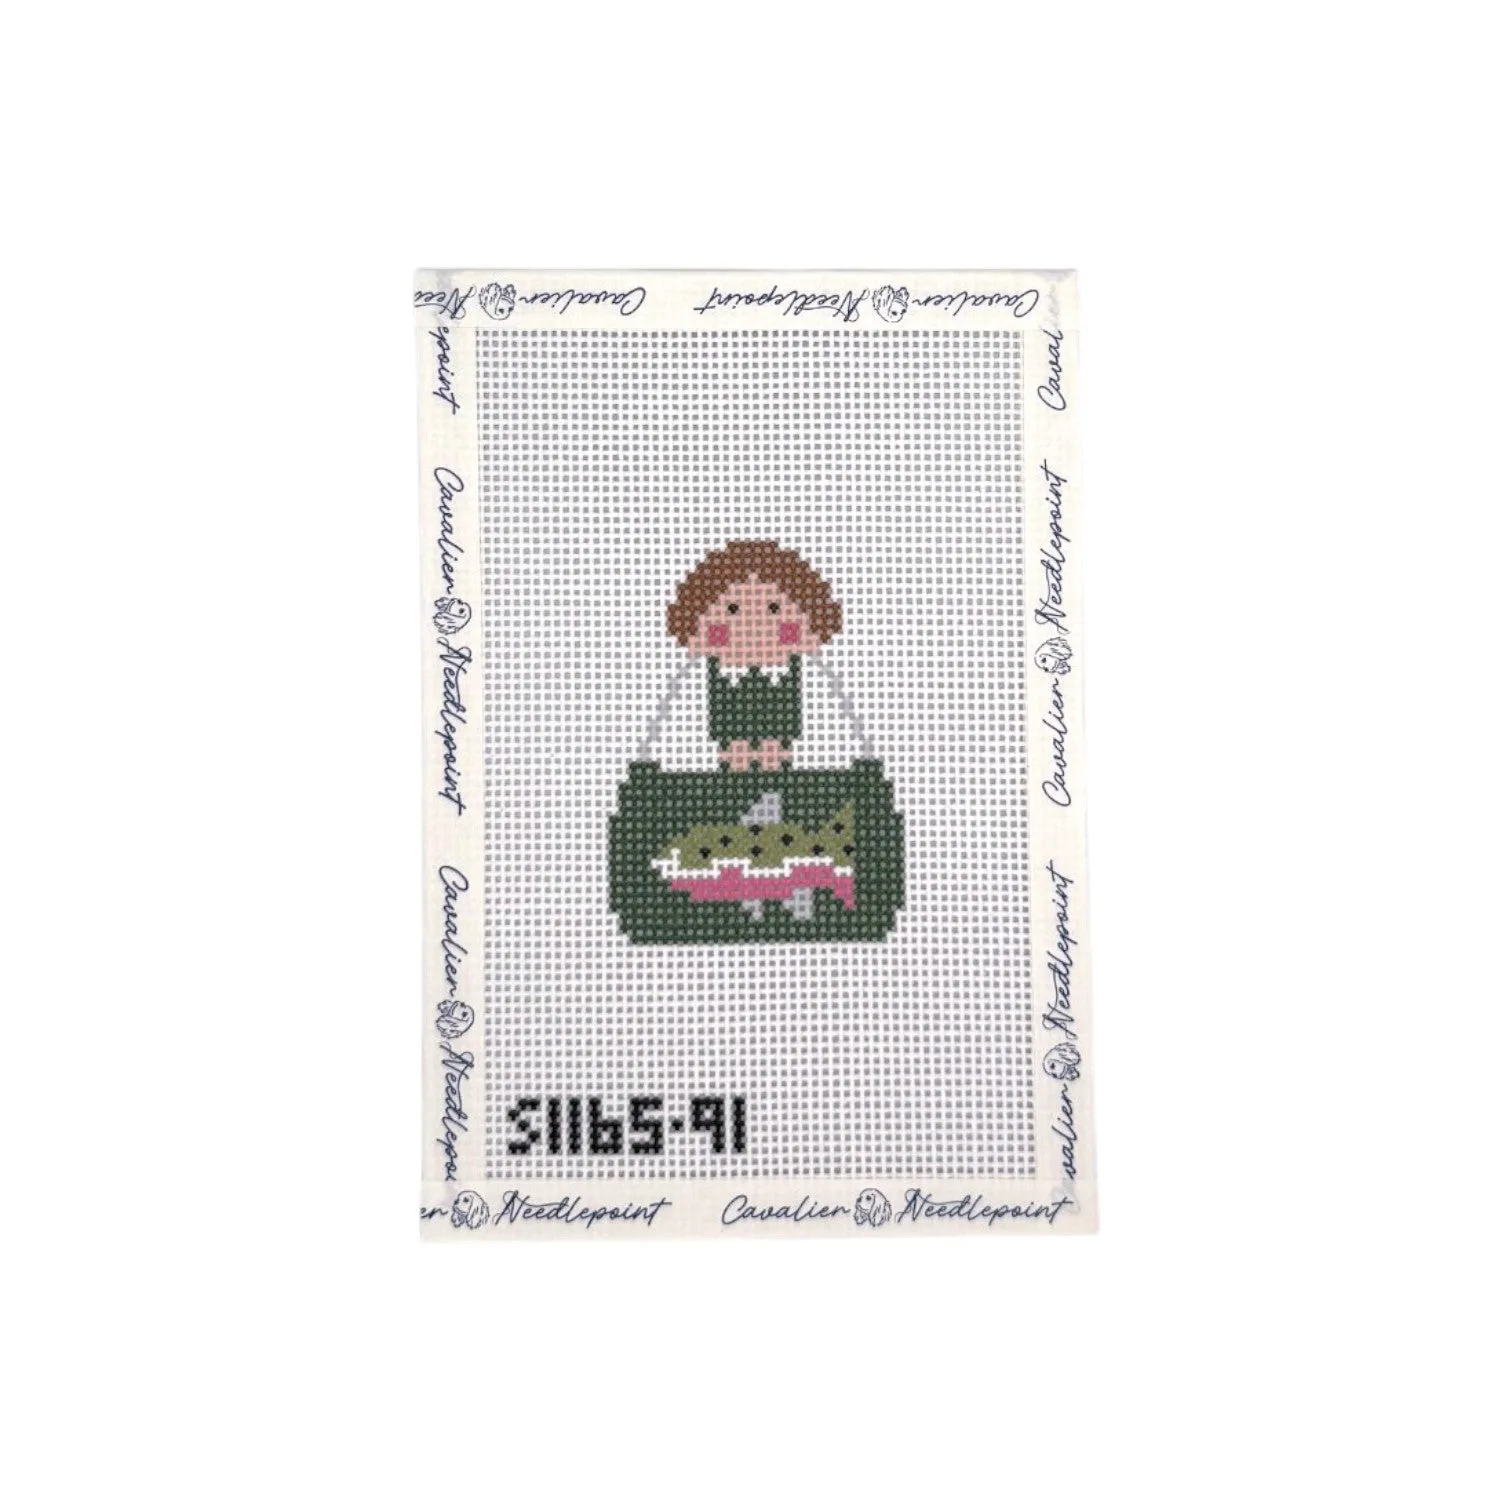
- Fishing Angel: 13 mesh, design size 2" x 2.75", canvas only; threads are not included. A canvas this small leaves very little margin, so seal all four edges before the first stitch or the working border will disappear fast.
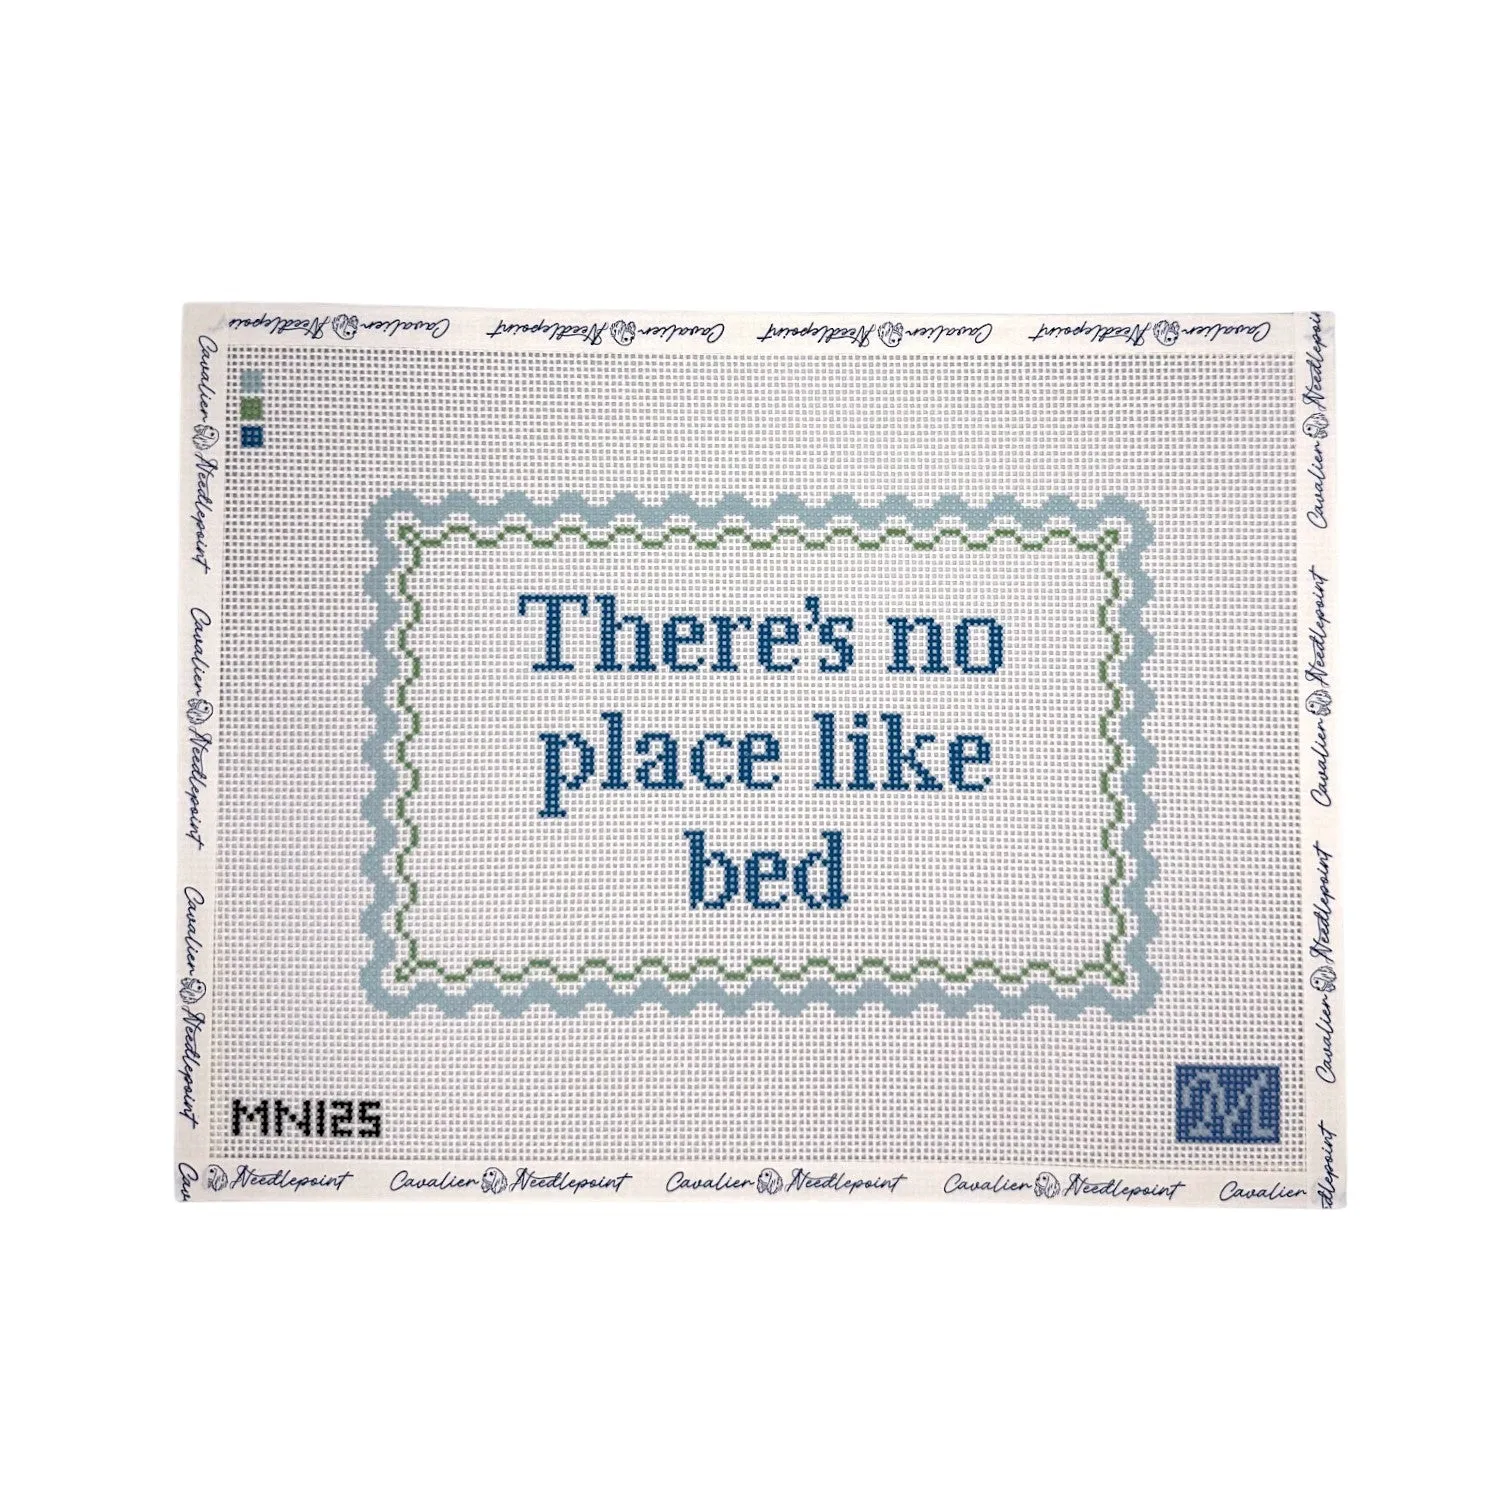
- No Place Like Bed: 13 mesh, design size 8.5" x 5.75", canvas only. A larger canvas gives you more border to tape or bind, but it also gets handled more, so sewn binding is the sturdier choice.
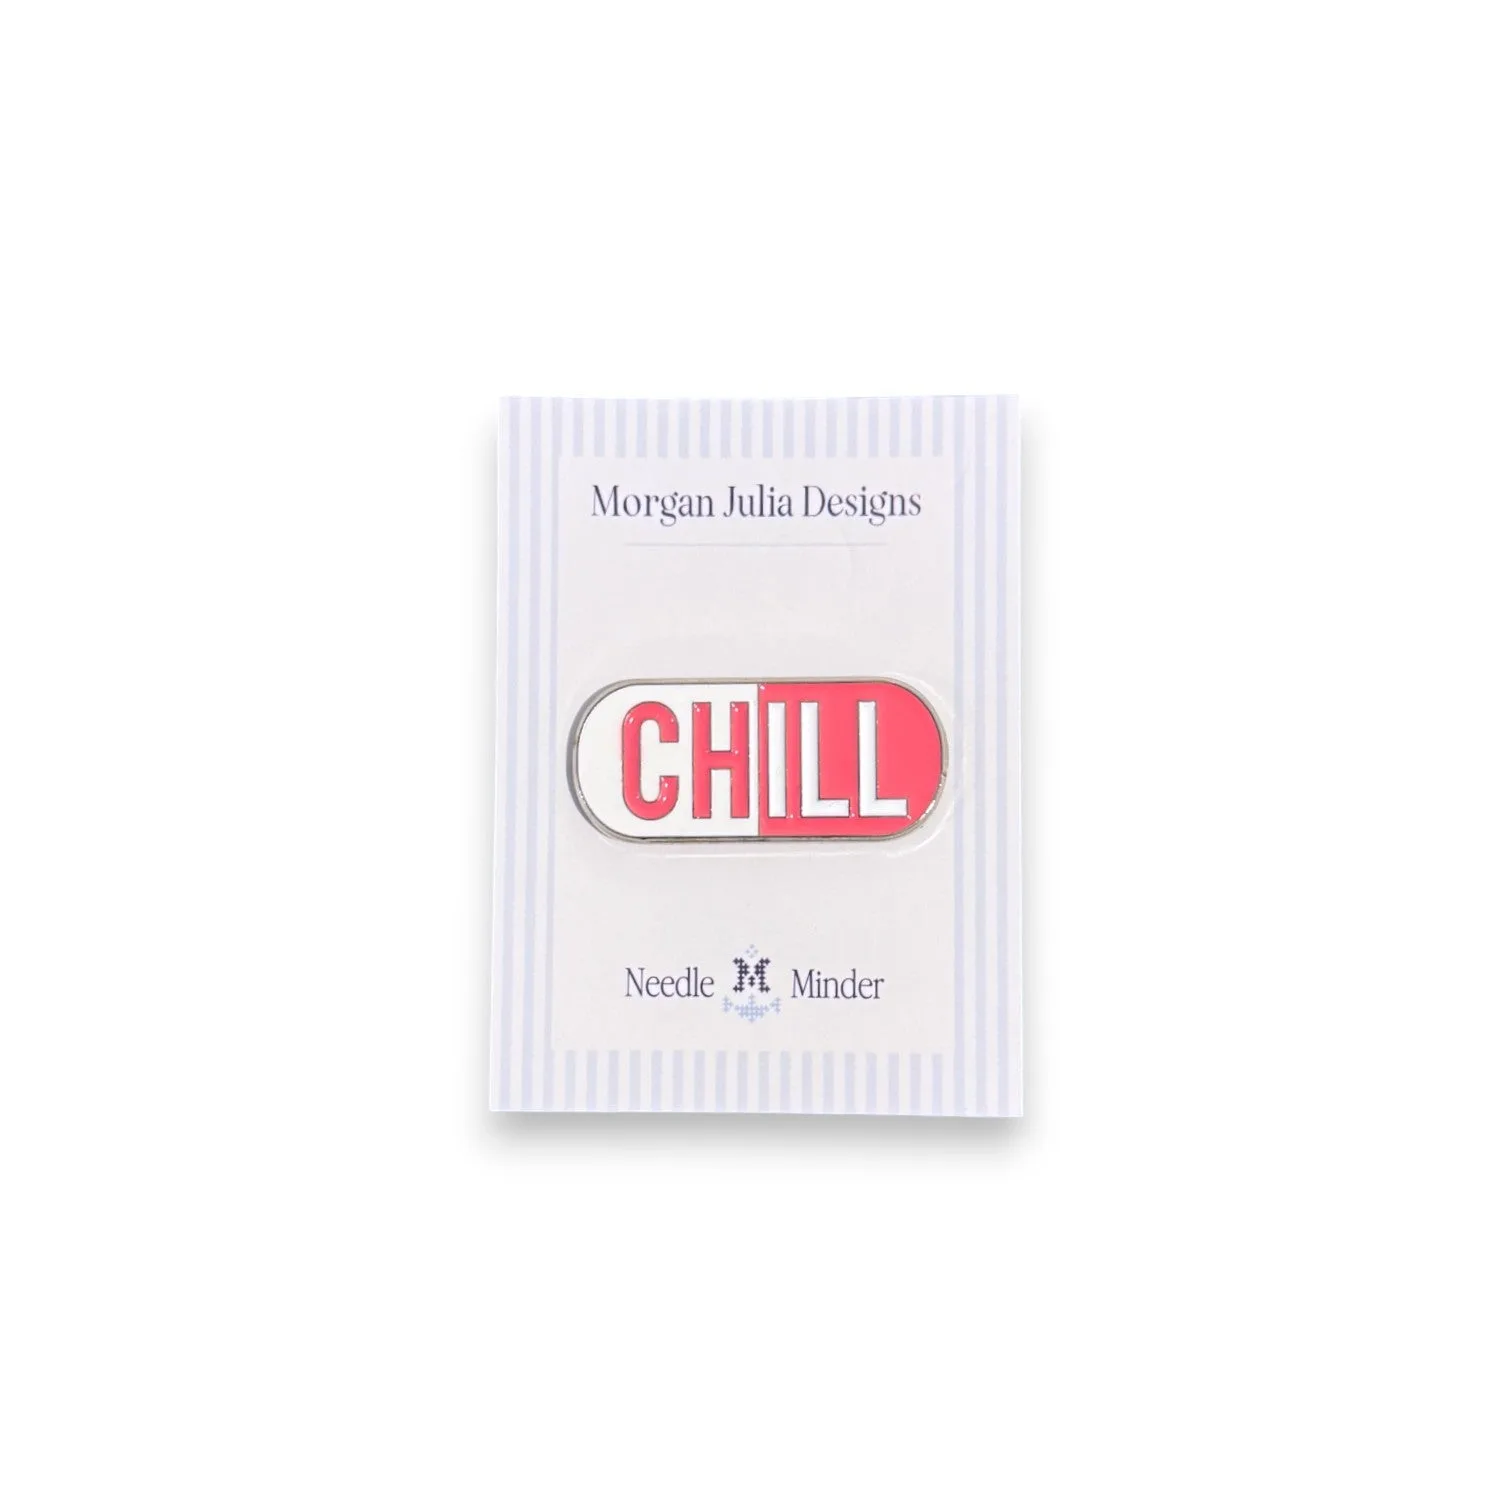
- Pink Chill Pill Needle Minder: Approximately 1.5" wide and 0.6" tall at its peak; keeps your needle where you left it between stitches. Parking the needle on a minder instead of the canvas keeps it from snagging edge threads while you stitch.
Seal the edges before you stitch, re-seal when the treatment wears, and replace a canvas once the weave is gone. A few minutes of edge care protects the margin you need for blocking and framing.