Quick answer
Most needlepoint thread tangling comes from strands that are too long, twist building up as you stitch, or a needle that is too small for the thread. Cut working strands to about 18 inches, let the needle dangle every few stitches to release twist, and strip strands one at a time instead of pulling them together. If tangles continue, switch to a shorter strand, a larger needle, or a thread conditioner.
You sit down to stitch, pull your thread through the canvas, and within a few stitches it knots itself into a tiny, stubborn tangle. It happens to every needlepointer, and it is rarely a mystery. Thread tangling is usually a symptom of one of a few fixable habits.
This guide separates the symptom from the cause so you can correct the problem instead of fighting it. You will find concrete adjustments for strand length, twist, needle size, and storage, plus the point where you should stop troubleshooting and choose a different thread or tool.
Symptom: thread twists and knots right below the canvas
If your thread forms a loop or knot within an inch or two of the canvas, the problem is almost always twist. Every time you pull a strand through the canvas, you add a small amount of twist. Over a dozen stitches, that twist travels down the strand and doubles back on itself. The fix is to let the thread untwist before it becomes a knot.
Let your needle hang freely from the canvas every five to ten stitches. The weight of the needle pulls the twist out of the strand. You can also run your fingers down the thread from canvas to needle tip, which smooths the strand and removes the loop before it tightens.
- Let the needle dangle every few stitches to release built-up twist.
- Strip strands one at a time from the skein rather than pulling multiple strands together.
- If a knot forms, stop and untwist it with a needle tip instead of pulling it tight.
Cause: working strands that are too long
Long strands are the most common cause of needlepoint thread tangling. A strand longer than about 18 inches has more surface area to catch on itself and more opportunity to twist. It also passes through the canvas more times before you rethread, which adds more wear and more tangles. Shorter strands mean more rethreading, but far fewer knots.
Cut your working thread to a comfortable arm's length, roughly 18 inches for most wool and silk threads. If you are using a slippery silk or a metallic, go even shorter, around 12 to 14 inches. The few extra seconds spent rethreading are almost always faster than untangling a knot.
- Measure your strand against your forearm rather than guessing.
- Shorten to 12 to 14 inches for slippery or metallic threads.
- Keep a small pair of scissors handy so you can trim and restart quickly.
Cause: the wrong needle size or type
A needle that is too small for your thread forces the strand to squeeze through the eye, which roughens the thread and encourages tangles. A needle that is too large can leave a visible hole in the canvas and let the thread slip, also causing loops. Tapestry needles are the standard for needlepoint because they have a blunt tip that passes between canvas threads instead of piercing them.
Match the needle to both your canvas mesh and your thread weight. For 18 mesh canvas, a size 22 or 24 tapestry needle is common. For 13 mesh, a size 20 or 22 is often easier. If your thread squeaks or frays as you pull it through the eye, try the next size up.
- Use a tapestry needle with a blunt tip for needlepoint canvas.
- If the thread frays at the eye, move up one needle size.
- Keep a few needle sizes on hand to test before committing to a long stitching session.
Corrective action: thread conditioner and how to use it
Thread conditioner is a waxy or silicone-based product that coats the strand and reduces friction. It can help with stubborn tangles, especially with wool and metallic threads. The key is to use a very small amount. Too much conditioner attracts dust and can leave a residue on your canvas.
Run the conditioner lightly along the strand, then smooth it with your fingers before threading your needle. Reapply only when the thread starts to feel dry or tangle again. If you are stitching a piece that will be framed or washed, test the conditioner on a scrap of canvas first to make sure it does not stain.
- Apply conditioner sparingly, not as a thick coating.
- Test on a scrap of canvas if the finished piece will be washed or framed.
- Skip conditioner on threads that are already smooth, such as some silks.
Thread management needlepoint habits that prevent tangles
Good thread management needlepoint is mostly about consistency. Store each thread separately so strands do not wrap around each other in a bag. Use a thread ring or a project card to keep colors organized and to hold your working strand when you pause. When you stop stitching, lay the needle down rather than leaving it dangling, so the thread does not twist overnight.
If you are working from a thread kit, keep the unused fibers in their bag or on a ring until you need them. Tangled storage is a common source of tangles at the needle. A few seconds of organization at the start of a project saves minutes of untangling later.
- Store each color separately to prevent strands from wrapping together.
- Use a thread ring or project card to hold your working strand between sessions.
- Lay the needle down when you pause instead of letting it hang.
Tangle diagnosis: symptom, cause, fix, and when to stop
- Symptom: knot forms within a few stitches of the canvas: Cause is almost always twist buildup. Let the needle dangle every five to ten stitches and smooth the strand with your fingers. If the knot still forms, shorten your strand to 12 inches and try again.
- Symptom: thread frays or squeaks at the needle eye: Cause is a needle that is too small for the thread. Move up one tapestry needle size and check that the thread passes easily through the eye. If fraying continues, the thread may be too thick for your canvas mesh; consider a finer thread.
- Symptom: tangles happen only with one specific thread: Cause is likely the thread itself, especially metallics or loosely twisted wool. Try a light application of thread conditioner or switch to a smoother silk or cotton. If the thread still tangles after conditioner and a shorter strand, stop using it for this project and save it for a different canvas.
Products that support tidy stitching
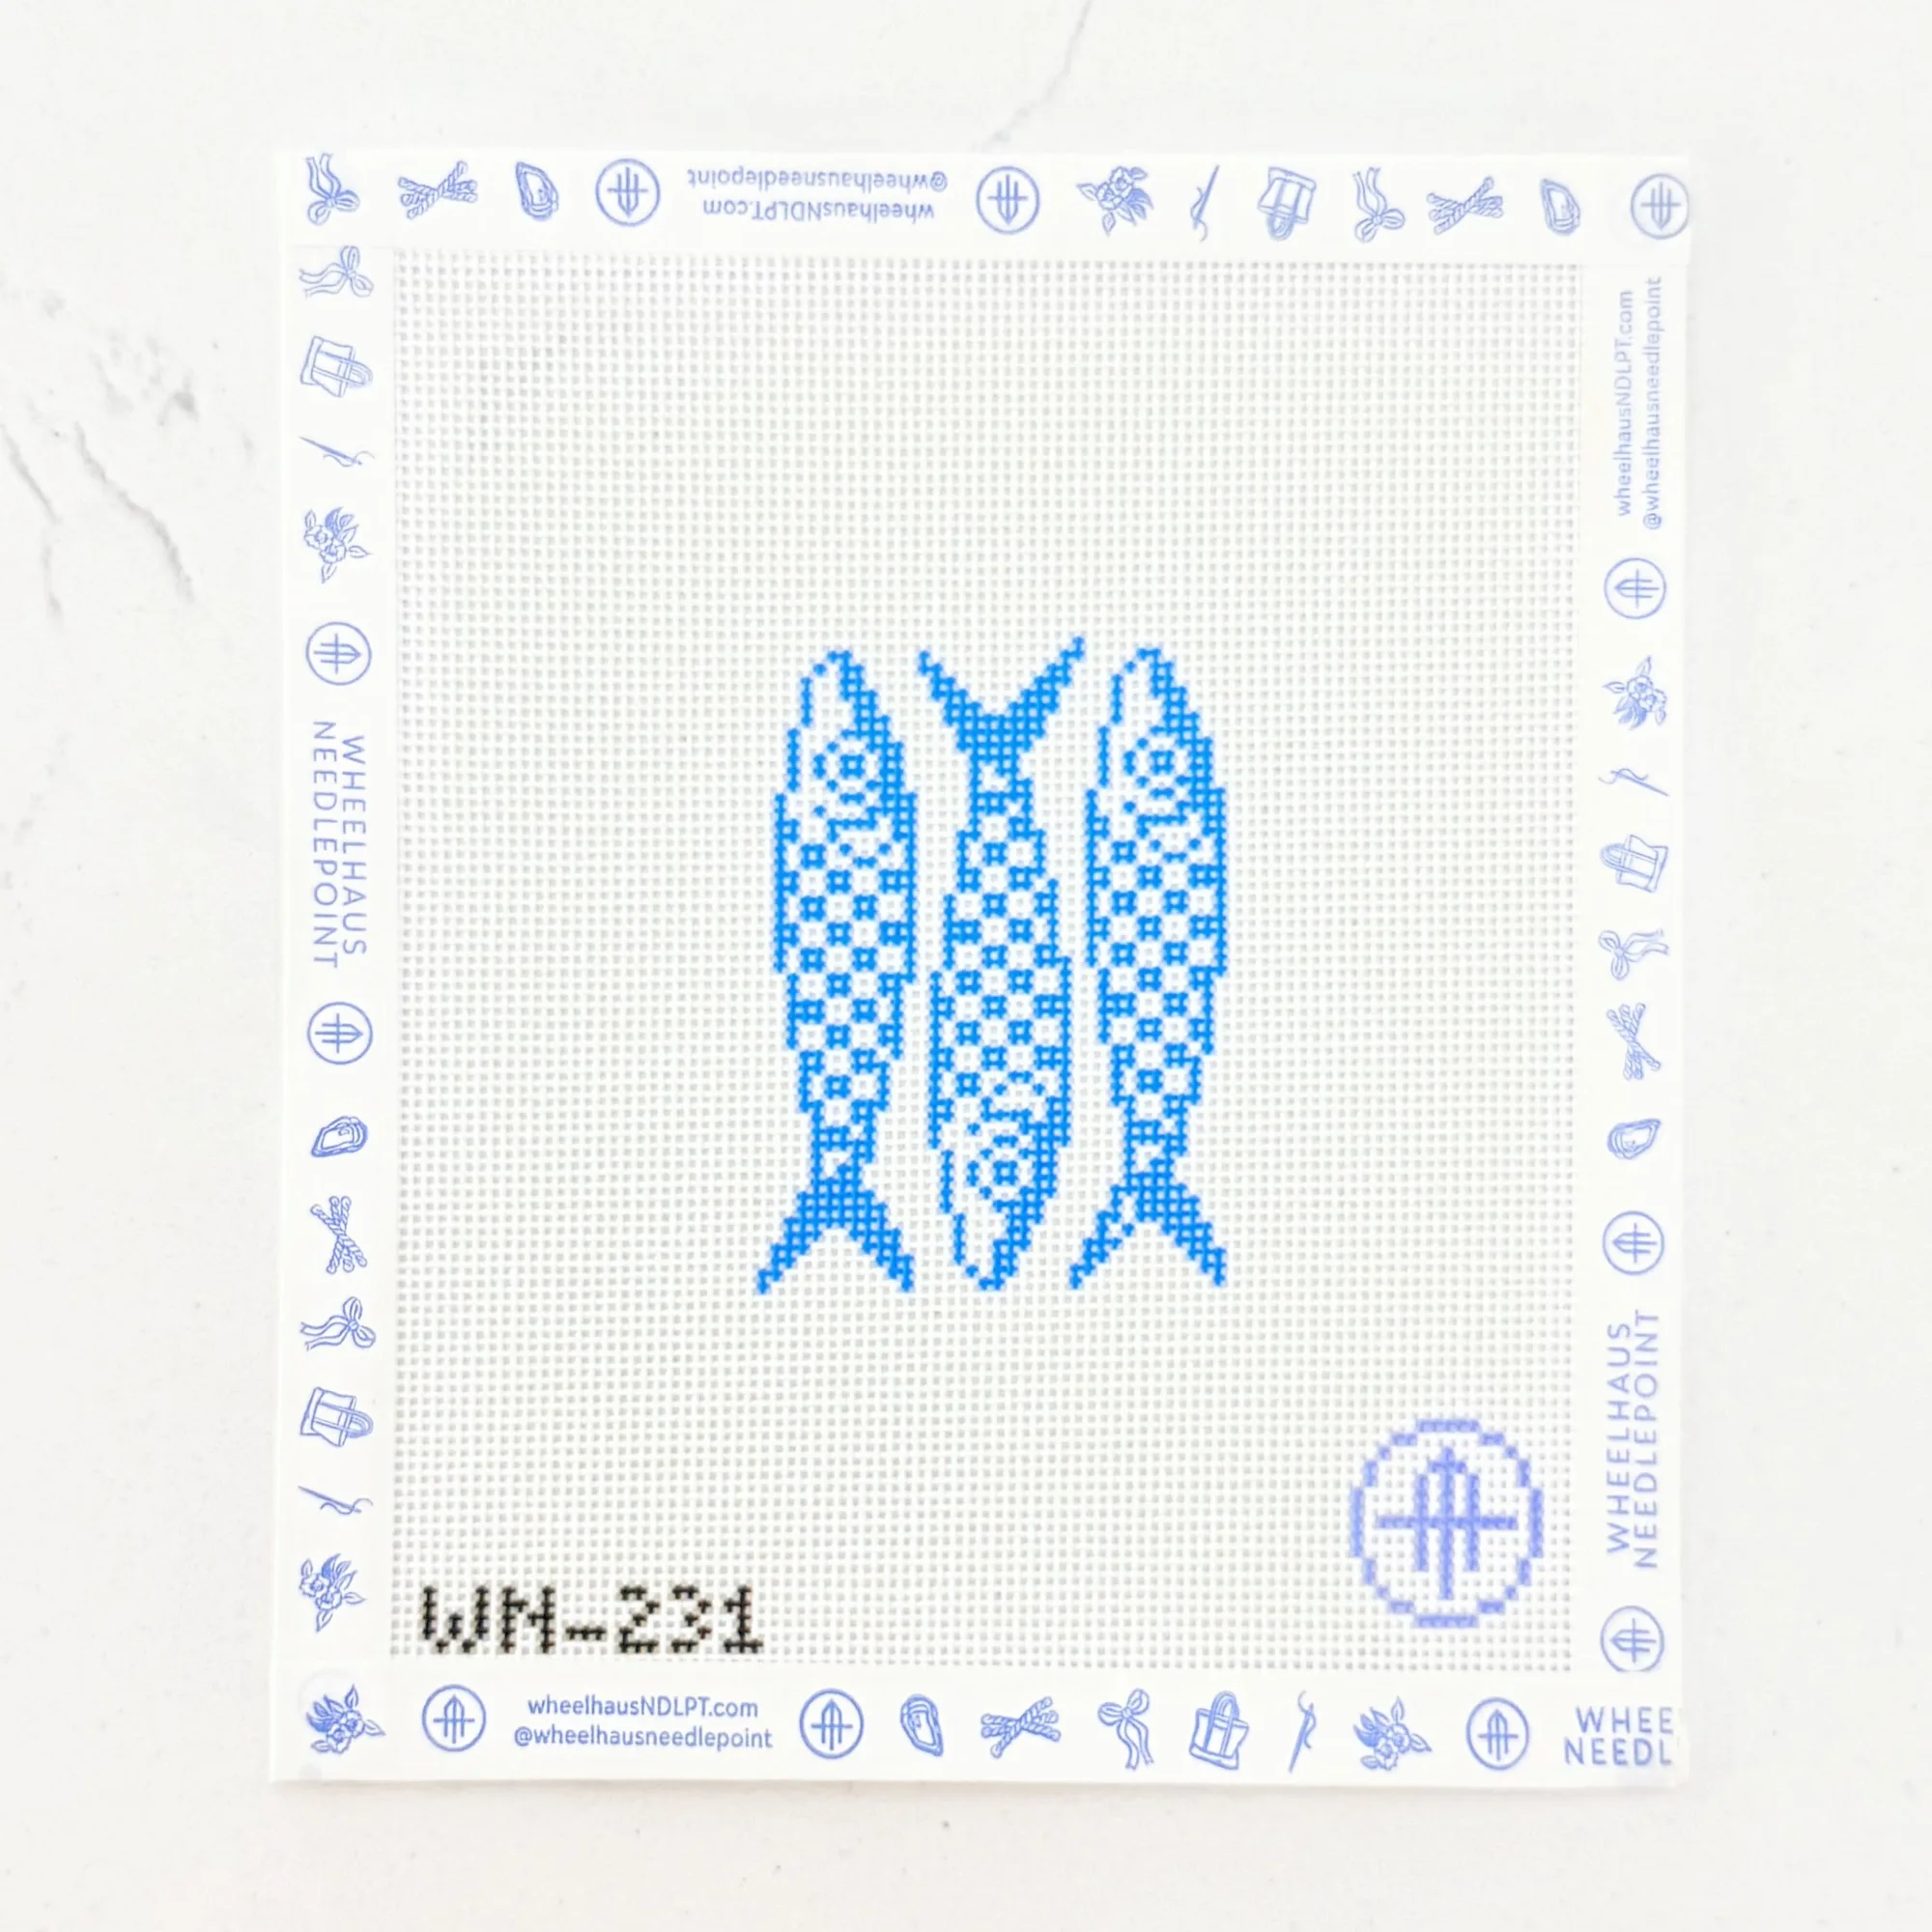
- Euro Summer Mini - Checkered Sardines: 18 mesh, design 2.5x3, StitchPerfect painted, and includes one of seven stitch pamphlets, a WIP Project Card, and a reusable PVC protective project baggy. A small 18 mesh canvas is a low-commitment way to practice thread management on a project that finishes quickly. The included project card and baggy help keep your working thread organized and tangle-free between sessions.
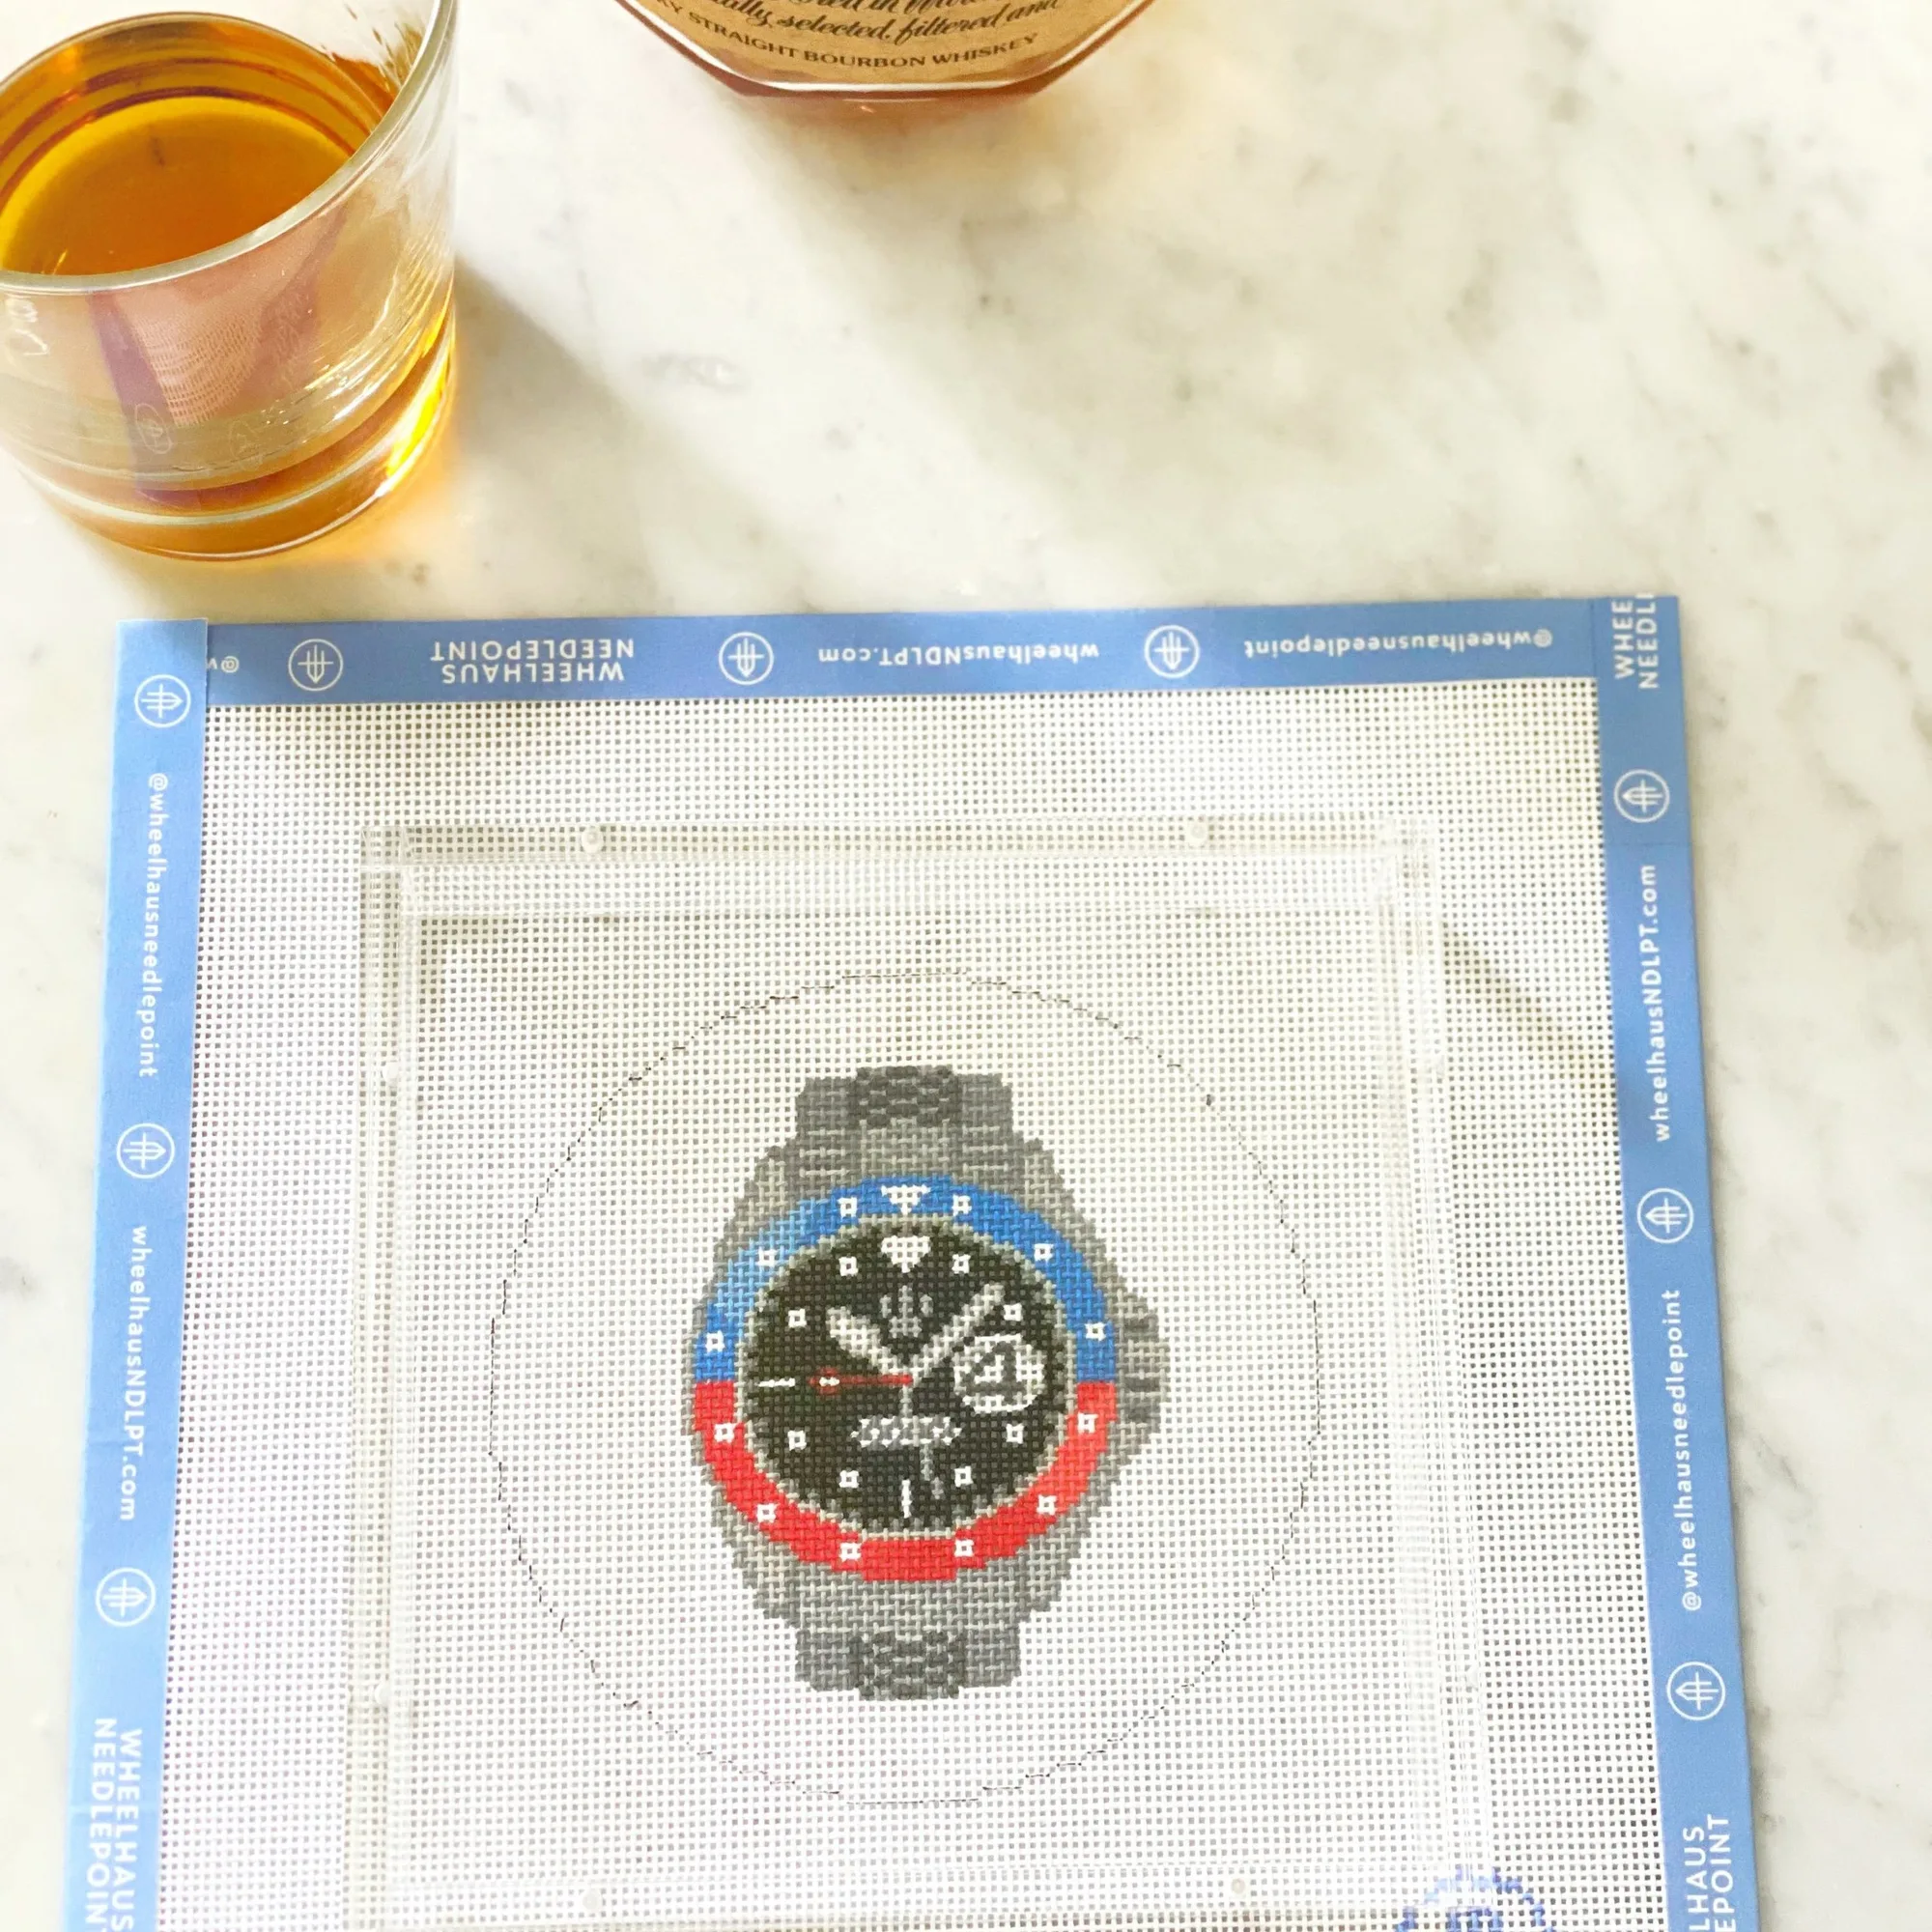
- Blue and Red Watch: 18 mesh, stitch painted, design 4 inch round, recommended stretcher bar size 8 x 8, and includes a stitch pamphlet, WIP Project Card, and reusable PVC protective project baggy. Keeping the canvas taut on stretcher bars reduces the need to tug your thread, which is a common cause of tangles. The round design gives you a defined area to work without wrestling a large piece of canvas.
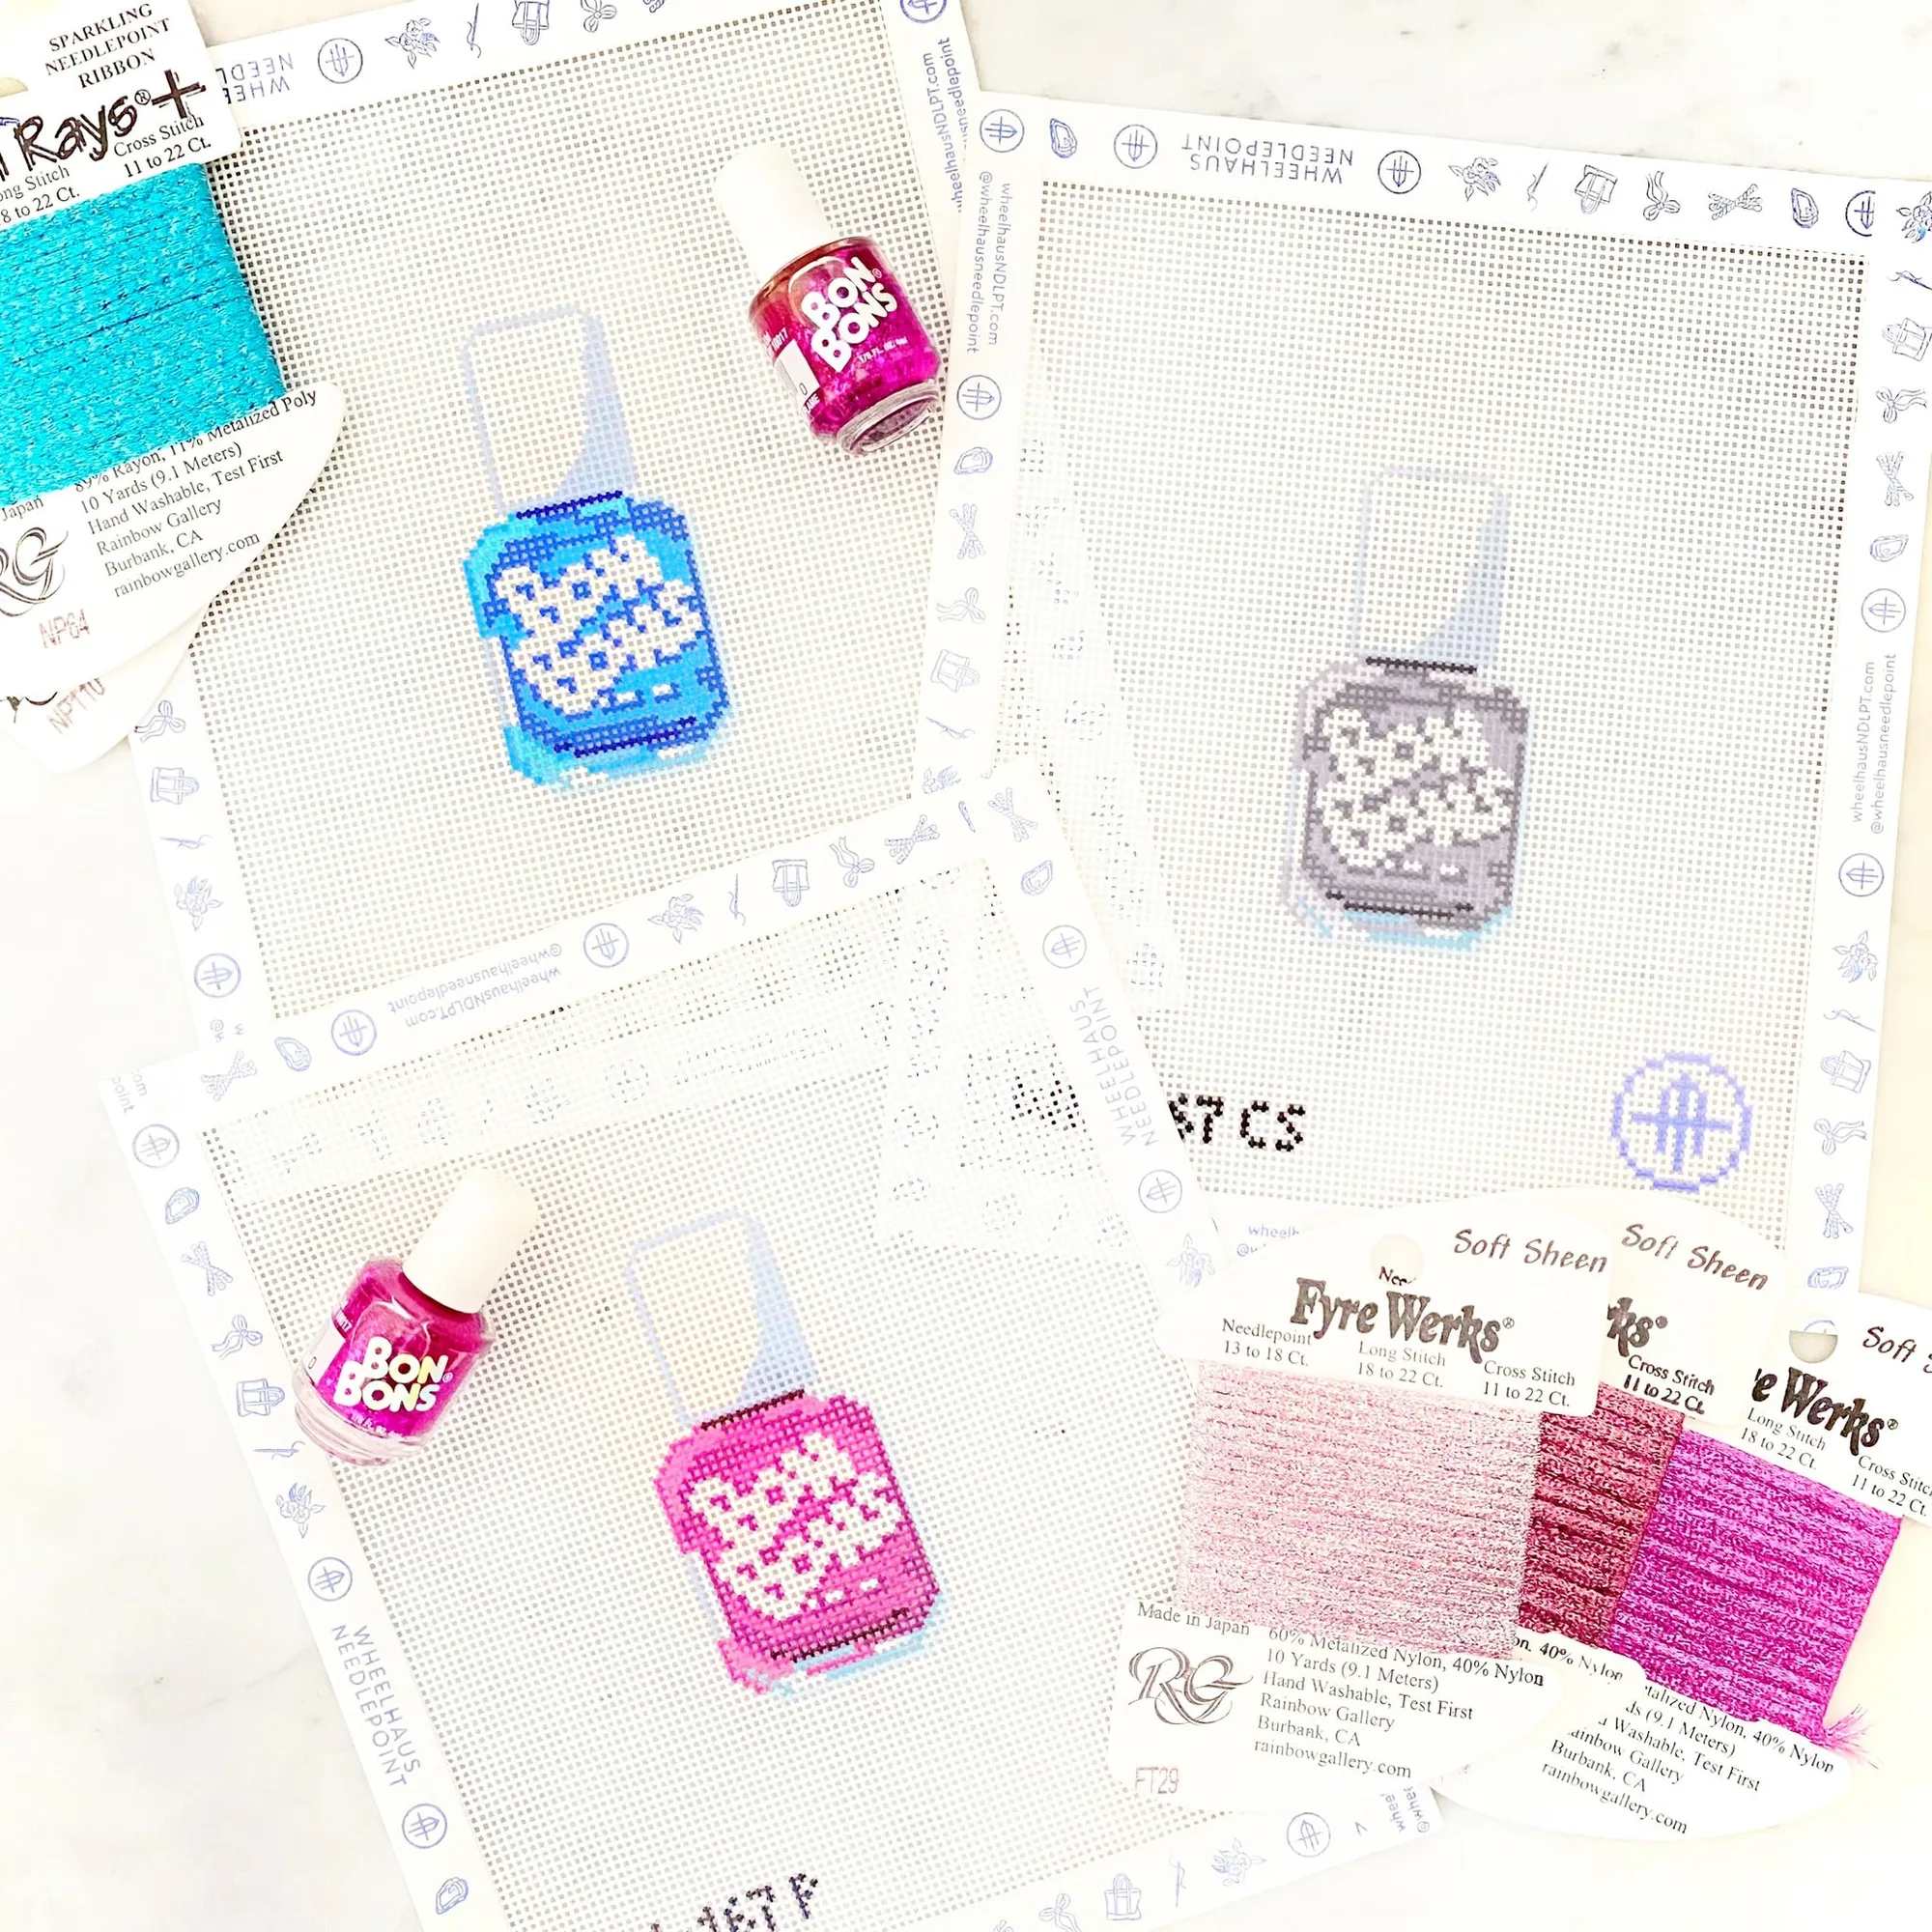
- Bon Bons Nail Polish: 18 mesh, design 1.25W x 3H, described as a perfect gift for those 90s babies, and includes a stitch pamphlet, WIP Project Card, and reusable PVC protective project baggy. A very small canvas like this is ideal for testing a new thread conditioner or a shorter strand length. If a tangle happens, you lose only a few stitches, not a whole evening's work.
Thread tangles are a signal, not a failure. Shorten your strand, release the twist, match your needle to the thread, and keep your supplies organized. When a thread still fights you after those fixes, set it aside and choose a smoother option. Your stitching time is better spent making progress than untangling knots.