Quick answer
The most reliable way to keep needlepoint thread organized is to wind each thread onto a labeled bobbin and store it in a dedicated project bag or box, sorted by project and color family. This prevents tangles, makes threads easy to find, and protects them from light and dust. Start with bobbins, add labels, then build a simple rotation so you always know what you have.
Needlepoint thread organization is less about having a perfect craft room and more about a repeatable routine. If you have ever spent twenty minutes untangling a strand or bought a second skein because you could not find the first, you already know why a system matters. The good news is that you do not need expensive storage—just a few consistent habits.
This guide walks through a practical process you can set up in an afternoon. It covers thread bobbins for needlepoint, labeling, project bags, and how to store needlepoint thread so it stays smooth and ready. You will also find checkpoints for common mistakes, like winding too tightly or mixing projects. The goal is simple: spend more time stitching and less time searching.
Why thread organization pays off
Threads that are loose in a drawer tangle, pick up lint, and fade when exposed to light. When you organize them, you protect the thread's finish and your patience. You also gain a clear inventory, which stops you from overbuying or starting a project without the right colors. For needlepoint, where single strands of silk or metallic can be expensive, that matters.
A good system also makes your stitching portable. If threads live in a labeled bag with the canvas, you can grab it and go. That is especially useful for small projects like ornaments, where you might stitch in short sessions. The system does not need to be fancy—just consistent.
- Keep threads out of direct sunlight, which can fade dyes over time.
- Store metallic threads separately to avoid snagging on other fibers.
Step 1: Choose your bobbins and wind correctly
Thread bobbins for needlepoint come in plastic, cardboard, or foam. Plastic bobbins are durable and easy to label; cardboard is lightweight but can bend. Foam bobbins are gentle on delicate fibers but may not hold as much yardage. Whichever you choose, wind slowly and without stretching. Overwinding can crimp silk and make it stitch unevenly.
Wind in a figure-eight or flat layer rather than a tight spiral. Leave a short tail free so you can grab the end without unwinding the whole bobbin. If you are using Pepperpot Silks or other single-ply threads, keep the tension relaxed—you want the thread to relax when you stitch, not stay coiled.
- Mistake to avoid: winding so tightly that the thread kinks when you pull it off.
- Checkpoint: after winding, the bobbin should feel firm but not hard.
Step 2: Label everything immediately
A bobbin without a label is a mystery. Use a fine-tip permanent marker on plastic bobbins, or write on a small sticker for others. Include the brand, color number, and fiber type if you know it. For kits, you can note the project name instead. This takes seconds but saves you from guessing later.
If you store threads in bags, label the bag too. A clear label like 'Mahjong Tile Kit – silks and metallics' tells you what is inside without opening it. This is especially helpful when you have several works in progress. Consistent labeling is the backbone of needlepoint thread management.
- Use a pencil on cardboard bobbins if you plan to reuse them; ink can bleed.
- For dark threads, use a white or silver marker so the label is readable.
Step 3: Store by project, then by color
The easiest way to store needlepoint thread is to group it by active project first. Put all threads for one canvas in a resealable bag or small box, along with the needles and stitch guide. Then, within that project, sort by color family or stitch order. This prevents you from pulling threads from three different projects at once.
For long-term storage, keep unused threads in a closed container away from light and pets. Clear plastic bins or craft boxes work well because you can see what is inside. If you have a large stash, divide by fiber type—silk, cotton, metallic, wool—so you can find a substitute quickly.
- Mistake to avoid: storing threads in open baskets where dust and sunlight reach them.
- Checkpoint: every active project should have its own labeled bag or box.
Step 4: Build a simple rotation and inventory
Once a project is finished, do not just toss the leftover threads back into the stash. Take five minutes to wind any loose lengths onto bobbins, label them, and file them by color. If a thread is too short to use, discard it. This rotation keeps your stash from becoming a pile of unknowns.
A quick inventory list—paper or digital—helps you avoid buying duplicates. You do not need to track every inch, just note the color numbers you own. When you start a new kit, check the list first. This habit is the difference between a tidy stash and a tangled one.
- Set a monthly reminder to review active projects and return unused threads.
- Keep a small 'short ends' bag for threads you might use in small areas or test stitches.
Step 5: Protect threads during and after stitching
While stitching, keep your working threads on a needle minder or in a small tray so they do not drift onto the floor. Avoid leaving long tails dangling where they can catch on furniture. When you pause, park your needle and cover the canvas if you have pets or children.
After a session, return threads to their project bag. If you are using metallic threads, store them separately to prevent them from snagging on silk. A little care here extends the life of your threads and keeps your next session smooth.
- Mistake to avoid: leaving threads in a hot car or near a radiator; heat can damage fibers.
- Checkpoint: threads should be smooth and untwisted when you pick them up again.
Your 5-step thread organization routine
- Wind onto bobbins: Transfer each thread to a bobbin using a loose, even tension. Avoid tight spirals that stretch or crimp the fiber. Checkpoint: the bobbin should feel firm but give slightly when pressed.
- Label immediately: Write the brand, color number, and fiber type on the bobbin or a sticker. For kits, note the project name instead. Mistake to avoid: skipping labels, which leads to mystery threads and duplicate purchases.
- Store by project: Place all threads for one canvas in a labeled bag or box, along with needles and the stitch guide. Keep active projects separate. Checkpoint: each project has its own container, and nothing is loose in a drawer.
- Rotate leftovers: After finishing a project, wind any loose lengths onto bobbins, label them, and file by color. Discard unusable short ends. Mistake to avoid: dumping leftovers back into the stash without sorting.
- Protect and review: Store threads away from light, heat, and dust. Do a quick monthly review to return stray threads and update your inventory. Next step: keep a small notepad or app list of colors you own to avoid buying duplicates.
Thread organization in practice: what kits include
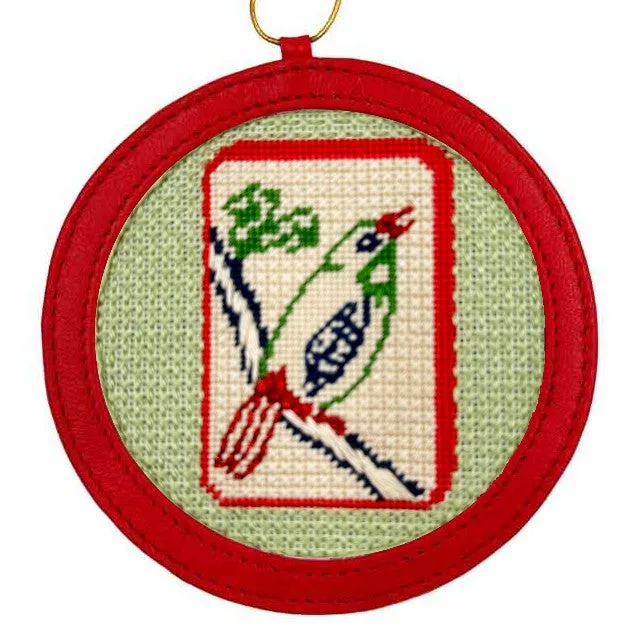
- Mahjong Tile Needlepoint Kit: Includes Pepperpot Silks, DMC cotton, and Caron Snow threads for sparkle, plus a full-color stitch guide and two Bohin stainless steel needles. Having multiple fiber types in one kit means you need separate bobbins or bags for silk, cotton, and metallic to prevent snagging and keep each thread easy to find.
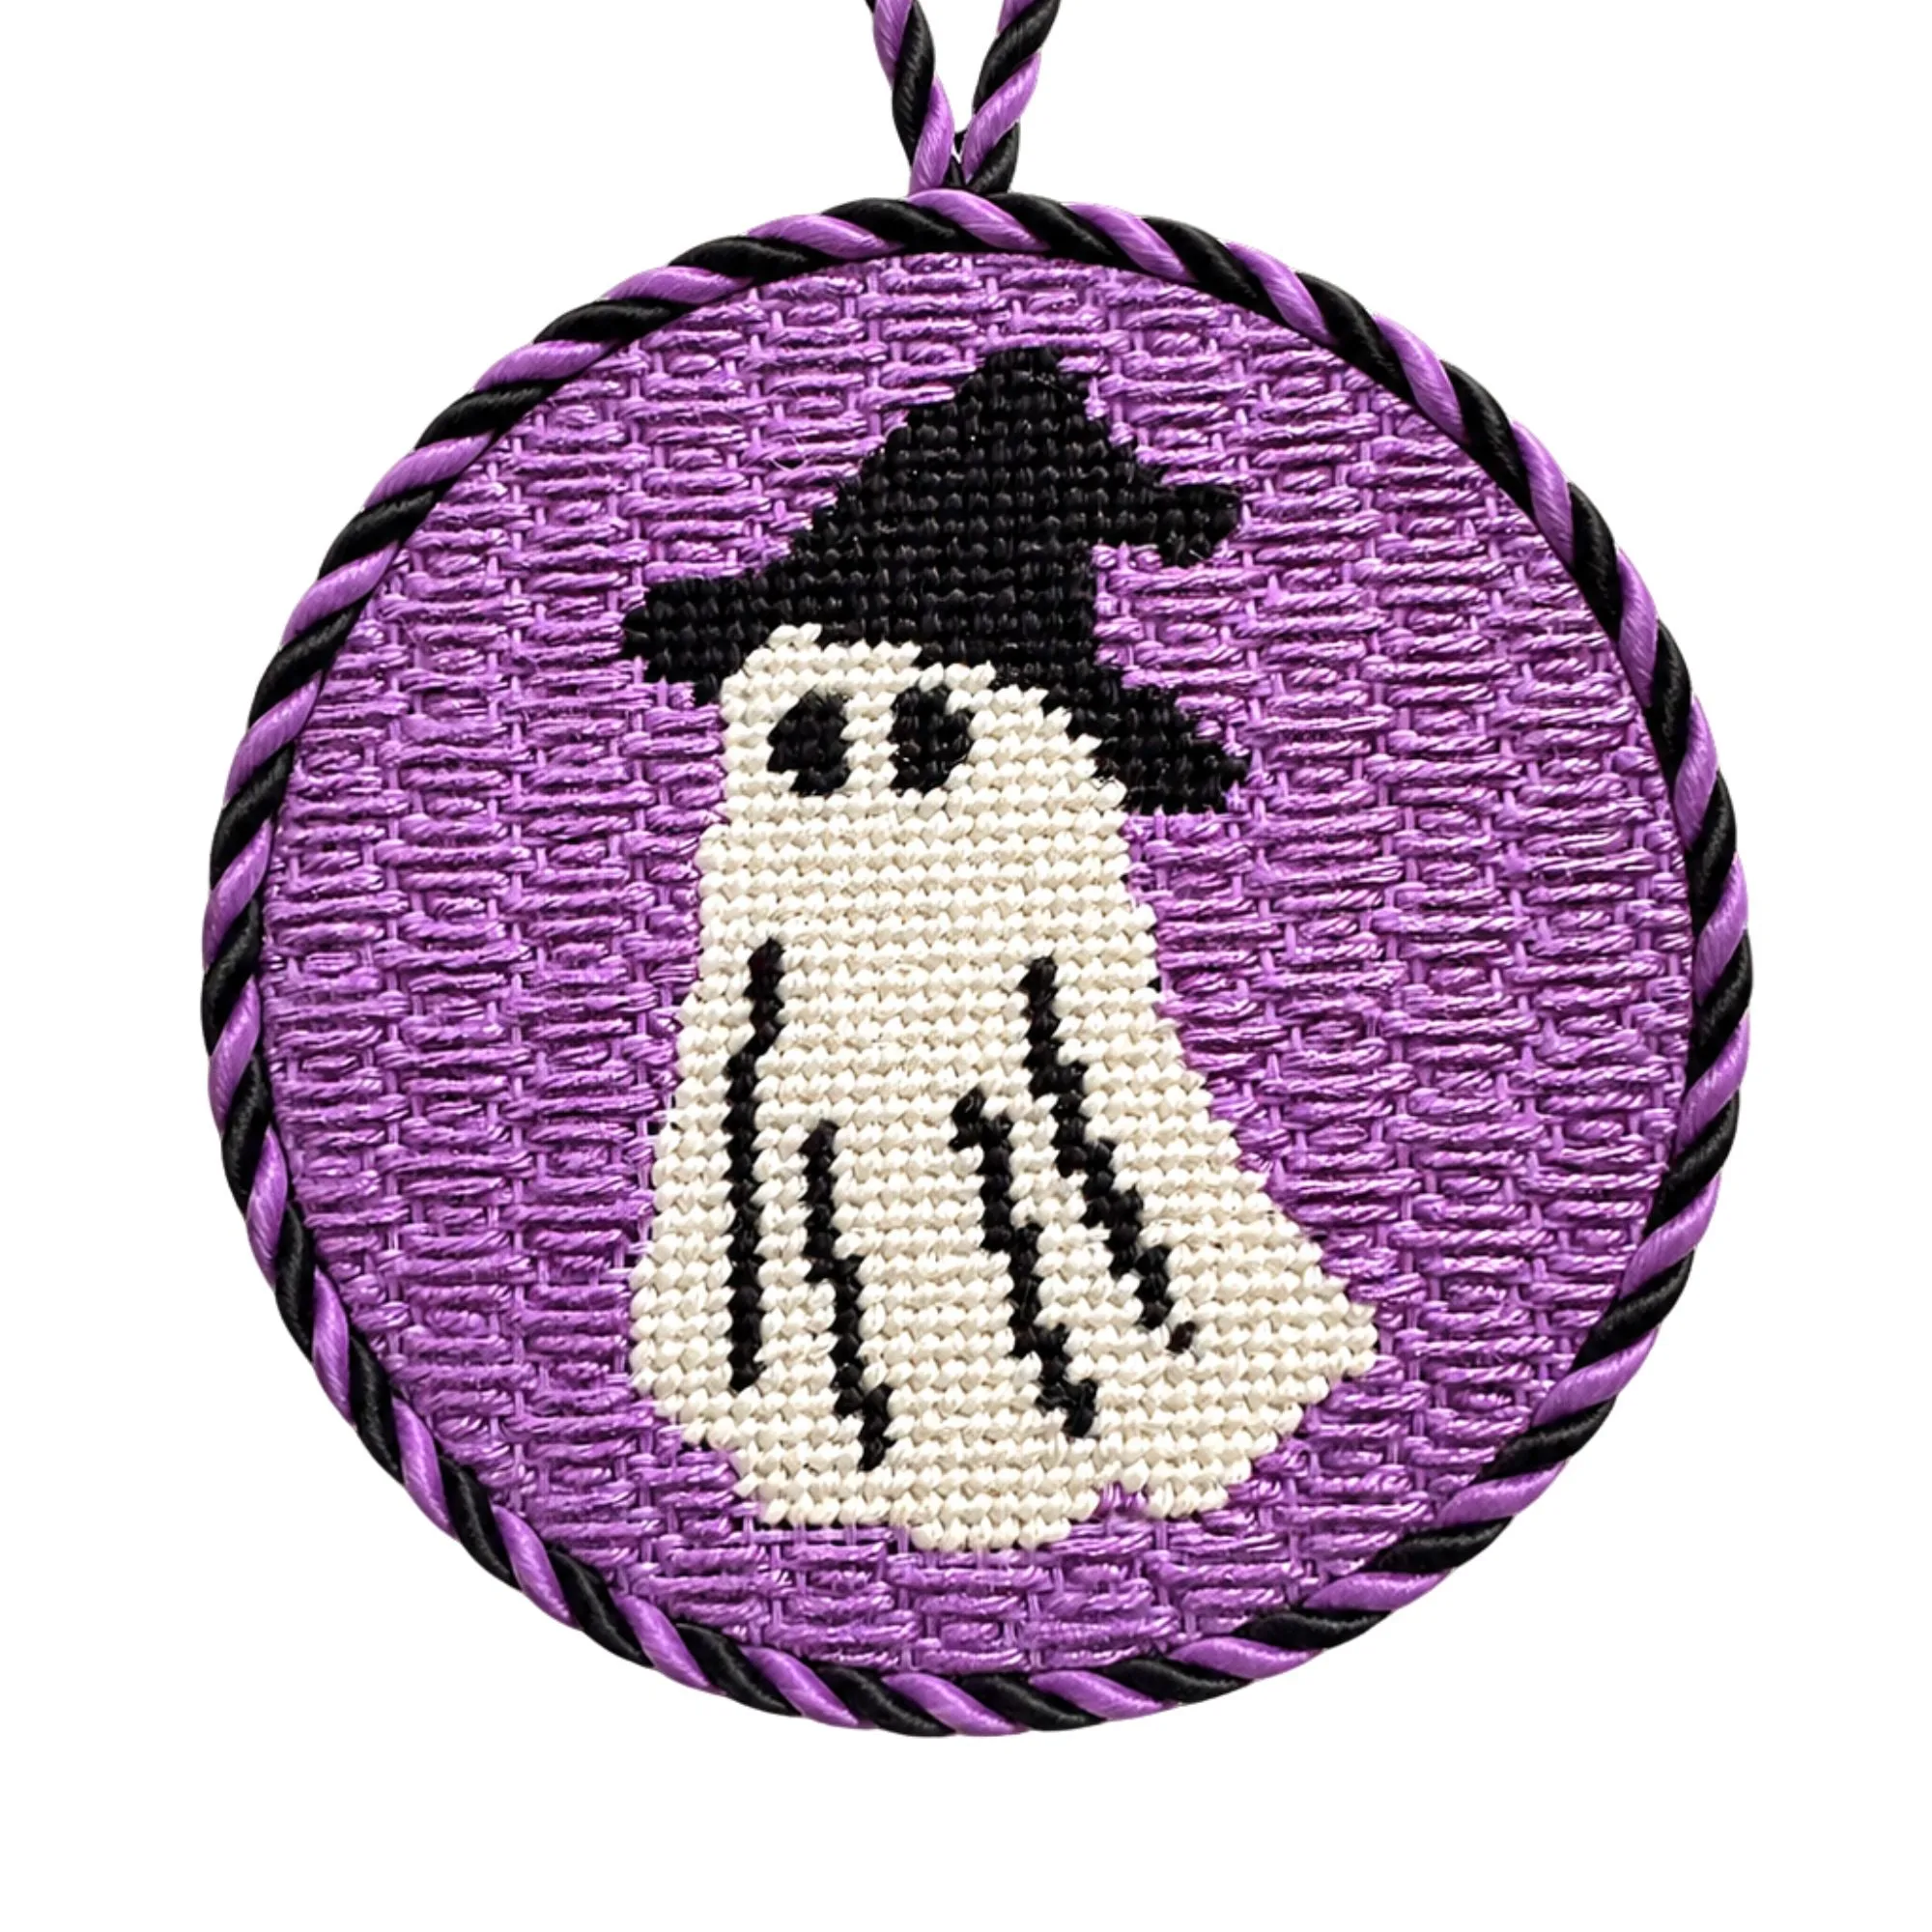
- Ghost In A Witch Costume Halloween Needlepoint Kit: Uses single-ply Pepperpot Silk threads in Halloween colors, used as a single strand, with a 4-inch design on 14-mesh mono canvas. Single-ply silk is delicate; winding it loosely on bobbins and storing it flat keeps it from crimping, so it stitches smoothly.
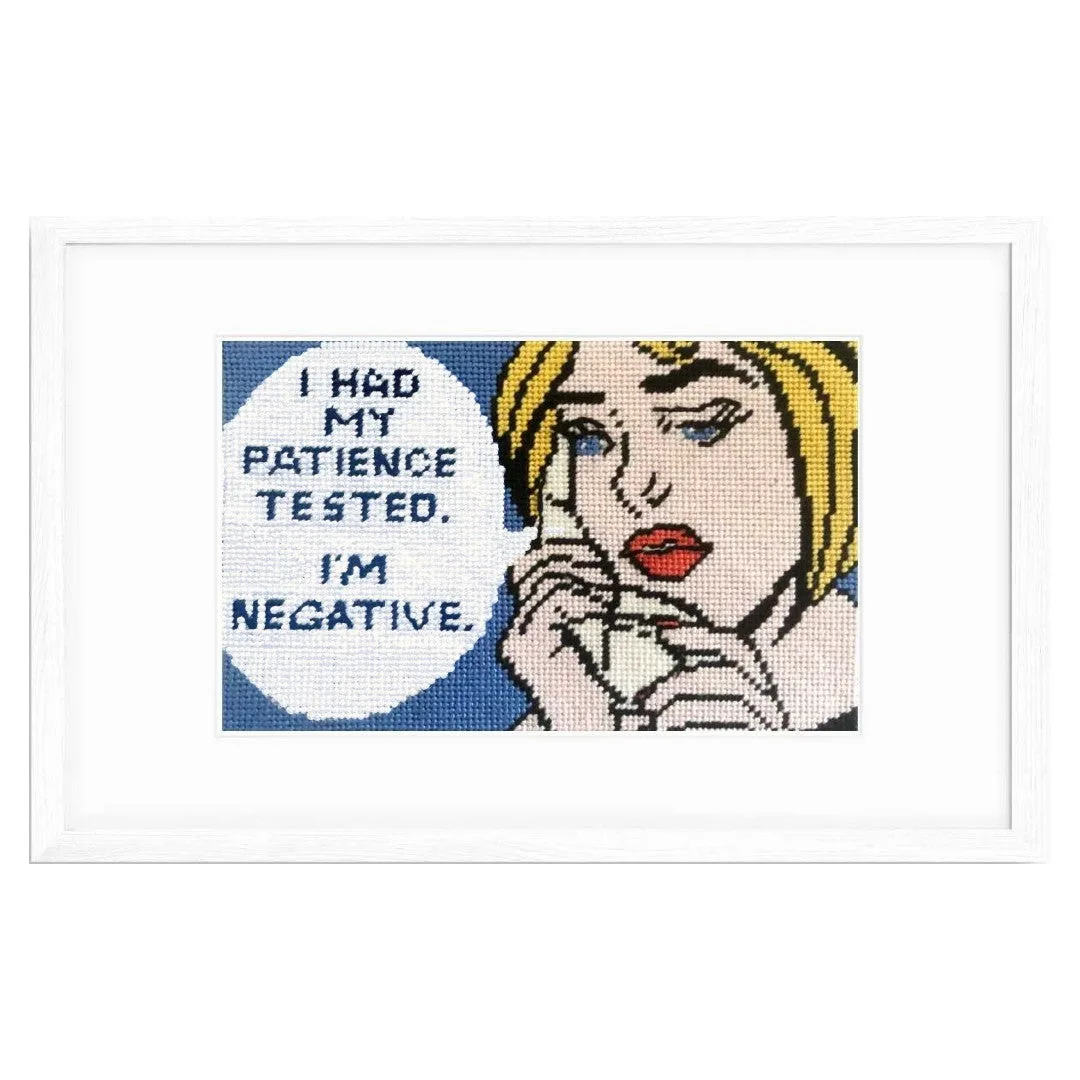
- Patience Tested Funny Needlepoint Kit: Comes with super-smooth Pepperpot silk threads and a color card of the stitched design, on an 18-mesh canvas with taped edges. The color card doubles as a reference for sorting threads; you can label bobbins to match the card's order for faster stitching.
A simple thread organization system—bobbins, labels, project bags, and a monthly rotation—keeps your needlepoint supplies tidy and your stitching stress-free. Start with one project today, and the habit will carry into every canvas you stitch.