Quick answer
To keep a cooler cold longer, start with a cold cooler, not a warm one. Pre-chill it with a sacrificial bag of ice, pack food cold and in blocks, fill empty space, and open the lid as little as possible. Drain meltwater at the right time, and keep the cooler shaded.
Ice always loses. Your job is to slow the loss. On a camping trip, your cooler is a battery: the ice is stored energy, and every time you open the lid, you spend some. The good news is that most of the difference between a cooler that lasts two days and one that lasts four is not the cooler itself. It is how you load it, where you put it, and how you use it.
This guide walks through a step-by-step cooler routine, from the night before you leave to the last morning at camp. It applies to soft coolers and hard coolers alike, because the physics are the same. Along the way, we will look at a couple of DOD products that fit neatly into this routine.
Before you leave: chill everything, including the cooler
The single biggest mistake is putting warm food and warm drinks into a warm cooler. That first load of heat has to be removed by your ice, and it can eat a full day of ice retention before you even arrive. The night before, move drinks and any food that can tolerate it into the fridge. If you cannot refrigerate everything, at least chill the drinks, because they take up the most volume and carry the most heat.
Pre-chill the cooler itself. Put a bag of ice or a few frozen water bottles inside, close the lid, and leave it for an hour. Dump the meltwater and reload with your cold items and fresh ice. A cooler that starts cold does not have to fight its own walls. If you have a soft cooler, put it in the freezer for 30 minutes before packing, since soft walls have less insulation and benefit more from a head start.
- Chill drinks and food overnight, not on the way.
- Pre-chill the cooler, then dump the meltwater before loading.
- Keep the cooler in the shade or inside the car with AC on the drive.
Pack in layers: cold at the bottom, ice on top
Cold air sinks, so pack the items you want coldest at the bottom. Meat and dairy go down first, then drinks and snacks above. Ice goes on top, where it can melt downward and keep everything below it cold. If you use ice blocks or frozen water bottles, place them against the walls and in the corners, because that is where heat enters first. A mix of block ice and cubed ice works well: blocks last longer, cubes fill gaps and chill fast.
Fill empty space. Air is the enemy of ice retention because it moves heat around inside the cooler. If you have a half-empty cooler, add a towel, a spare shirt, or extra ice to take up the volume. For soft coolers, do not overstuff to the point where the zipper strains, but do not leave big air pockets either.
- Layer: cold food at the bottom, ice on top.
- Use block ice for duration and cubed ice for gaps.
- Fill empty space with a towel or extra ice.
Manage the cooler at camp: open less, drain later
Every time you open the lid, cold air spills out and warm air moves in. Plan your meals and drinks so you open the cooler once per meal, not five times. If you are camping with a group, consider a small drink cooler for the day and keep the main cooler closed. Soft coolers are especially good for this: they are light, easy to carry to the picnic table, and you can leave the big cooler sealed.
Do not drain the meltwater too early. Cold water is still cold, and it helps keep the remaining ice from melting as fast. Drain only when the water level is high enough to soak your food or when the ice is nearly gone. When you do drain, do it quickly and close the lid again.
- Open the cooler once per meal, not once per drink.
- Use a separate small cooler for drinks.
- Drain meltwater only when it threatens your food or the ice is nearly gone.
Choose the right cooler for the trip
Hard coolers generally hold ice longer because they have thicker insulation and a tighter lid seal. Soft coolers are lighter, easier to carry, and better for day trips or short overnights. If you are camping for three or more days, a hard cooler is the safer choice. If you are hiking in or space is tight, a soft cooler like the DOD Kura Soft Cooler is a practical option, but plan to resupply ice more often.
No cooler is a refrigerator. Even a high-end cooler will eventually lose ice, so bring a little more than you think you need. A good rule of thumb is one bag of ice per day for a medium cooler in summer, plus one extra bag for safety. If you are using a soft cooler, add another half bag per day.
- Hard cooler for 3+ day trips; soft cooler for day trips and short overnights.
- Bring more ice than you think you need.
- In summer, plan on one bag per day for a medium cooler, plus one spare.
Keep the cooler out of the sun and off the hot ground
Direct sun and hot ground are the two fastest ways to lose ice. Put the cooler in the shade of a tree, under a tarp, or inside the car with the windows cracked. If you must leave it outside, raise it off the ground on a piece of wood or a folded blanket. The ground can be surprisingly warm, and it pulls cold out of the cooler through the bottom.
A simple shade solution is a tarp. The DOD Kama Tarp can be pitched as a sun shade over your camp kitchen, which keeps both you and the cooler out of direct sun. If you already own a tarp, use it. If not, even a light-colored towel draped over the cooler helps, as long as it does not block the vents (most coolers do not have vents, but check yours).
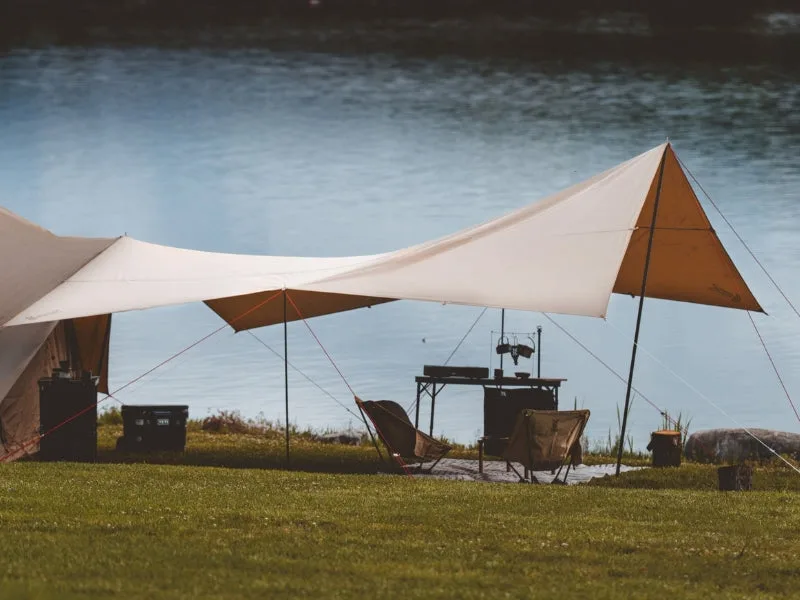
Kama Tarp
- Shade the cooler with a tarp, tree, or car.
- Raise it off hot ground with a board or blanket.
- Never leave a cooler in a closed car in direct sun.
Your step-by-step cooler routine
- Step 1: Pre-chill the cooler: The night before your trip, put a bag of ice or frozen water bottles inside the cooler and close the lid for at least an hour. Dump the meltwater before packing. Checkpoint: the cooler walls should feel cold to the touch before you load food.
- Step 2: Chill your food and drinks: Refrigerate everything that can be refrigerated. If space is tight, prioritize drinks, because they take up the most volume and carry the most heat. Checkpoint: nothing goes into the cooler at room temperature unless it is shelf-stable.
- Step 3: Pack in layers with ice on top: Place meat and dairy at the bottom, then drinks and snacks, then ice on top. Use block ice for duration and cubed ice to fill gaps. Fill empty space with a towel. Checkpoint: the cooler should be full, with no large air pockets.
- Step 4: Keep the cooler shaded and off the ground: At camp, put the cooler in the shade or under a tarp. Raise it off the ground with a piece of wood or a folded blanket. If it is in the car, crack a window. Checkpoint: the cooler should not be in direct sun at any point during the day.
- Step 5: Open once per meal, drain later: Plan your meals so you open the main cooler as little as possible. Use a separate small cooler for drinks. Drain meltwater only when it threatens your food or the ice is nearly gone. Checkpoint: if you are opening the cooler more than three times a day, you are losing ice fast.
DOD gear that helps with cooler management
- Kama Tarp: The Kama Tarp is available in multiple sizes and colors and can be pitched in different configurations. Use it as a sun shade over your camp kitchen and cooler to reduce heat gain during the hottest part of the day.
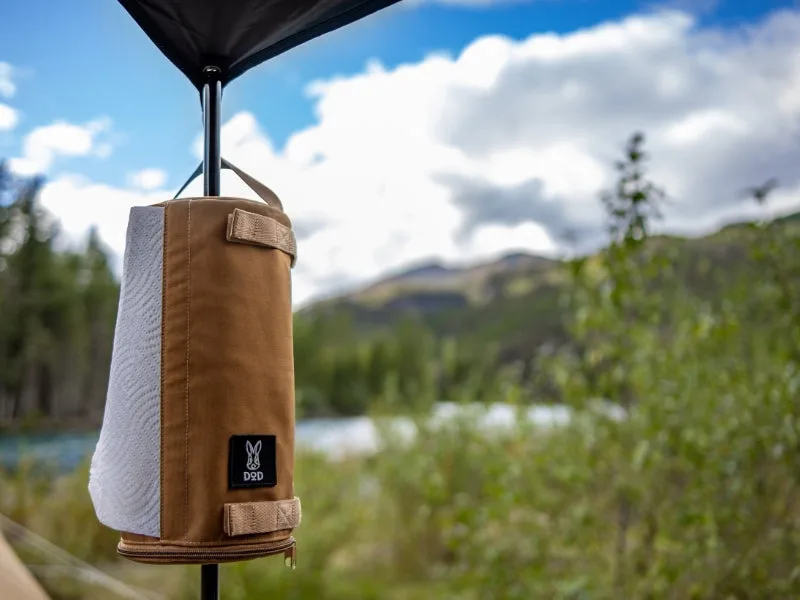
- Paper Towel Holder: The Paper Towel Holder is made from durable polyester with a nylon lining and can be attached to a pole or hung up. Keep paper towels clean and within reach for wiping up cooler meltwater and spills without digging through your camp bin.
A cooler is only as good as your routine. Pre-chill, pack in layers, keep it shaded, and open it less. Do that, and you will get an extra day or two out of every bag of ice, whether you are using a hard cooler or a soft cooler like the DOD Kura Soft Cooler.