Quick answer
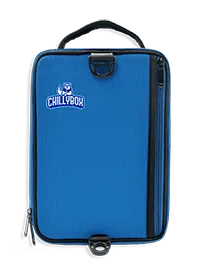
Chill everything before it goes in, line the bottom with a solid ice block, pack food in tight vertical layers, and fill every gap with loose ice or frozen items. Open the cooler as little as possible and keep it shaded. For short trips or lighter loads, a slim soft cooler such as the Kura Soft Cooler 10 is easier to carry and pack than a hard cooler.
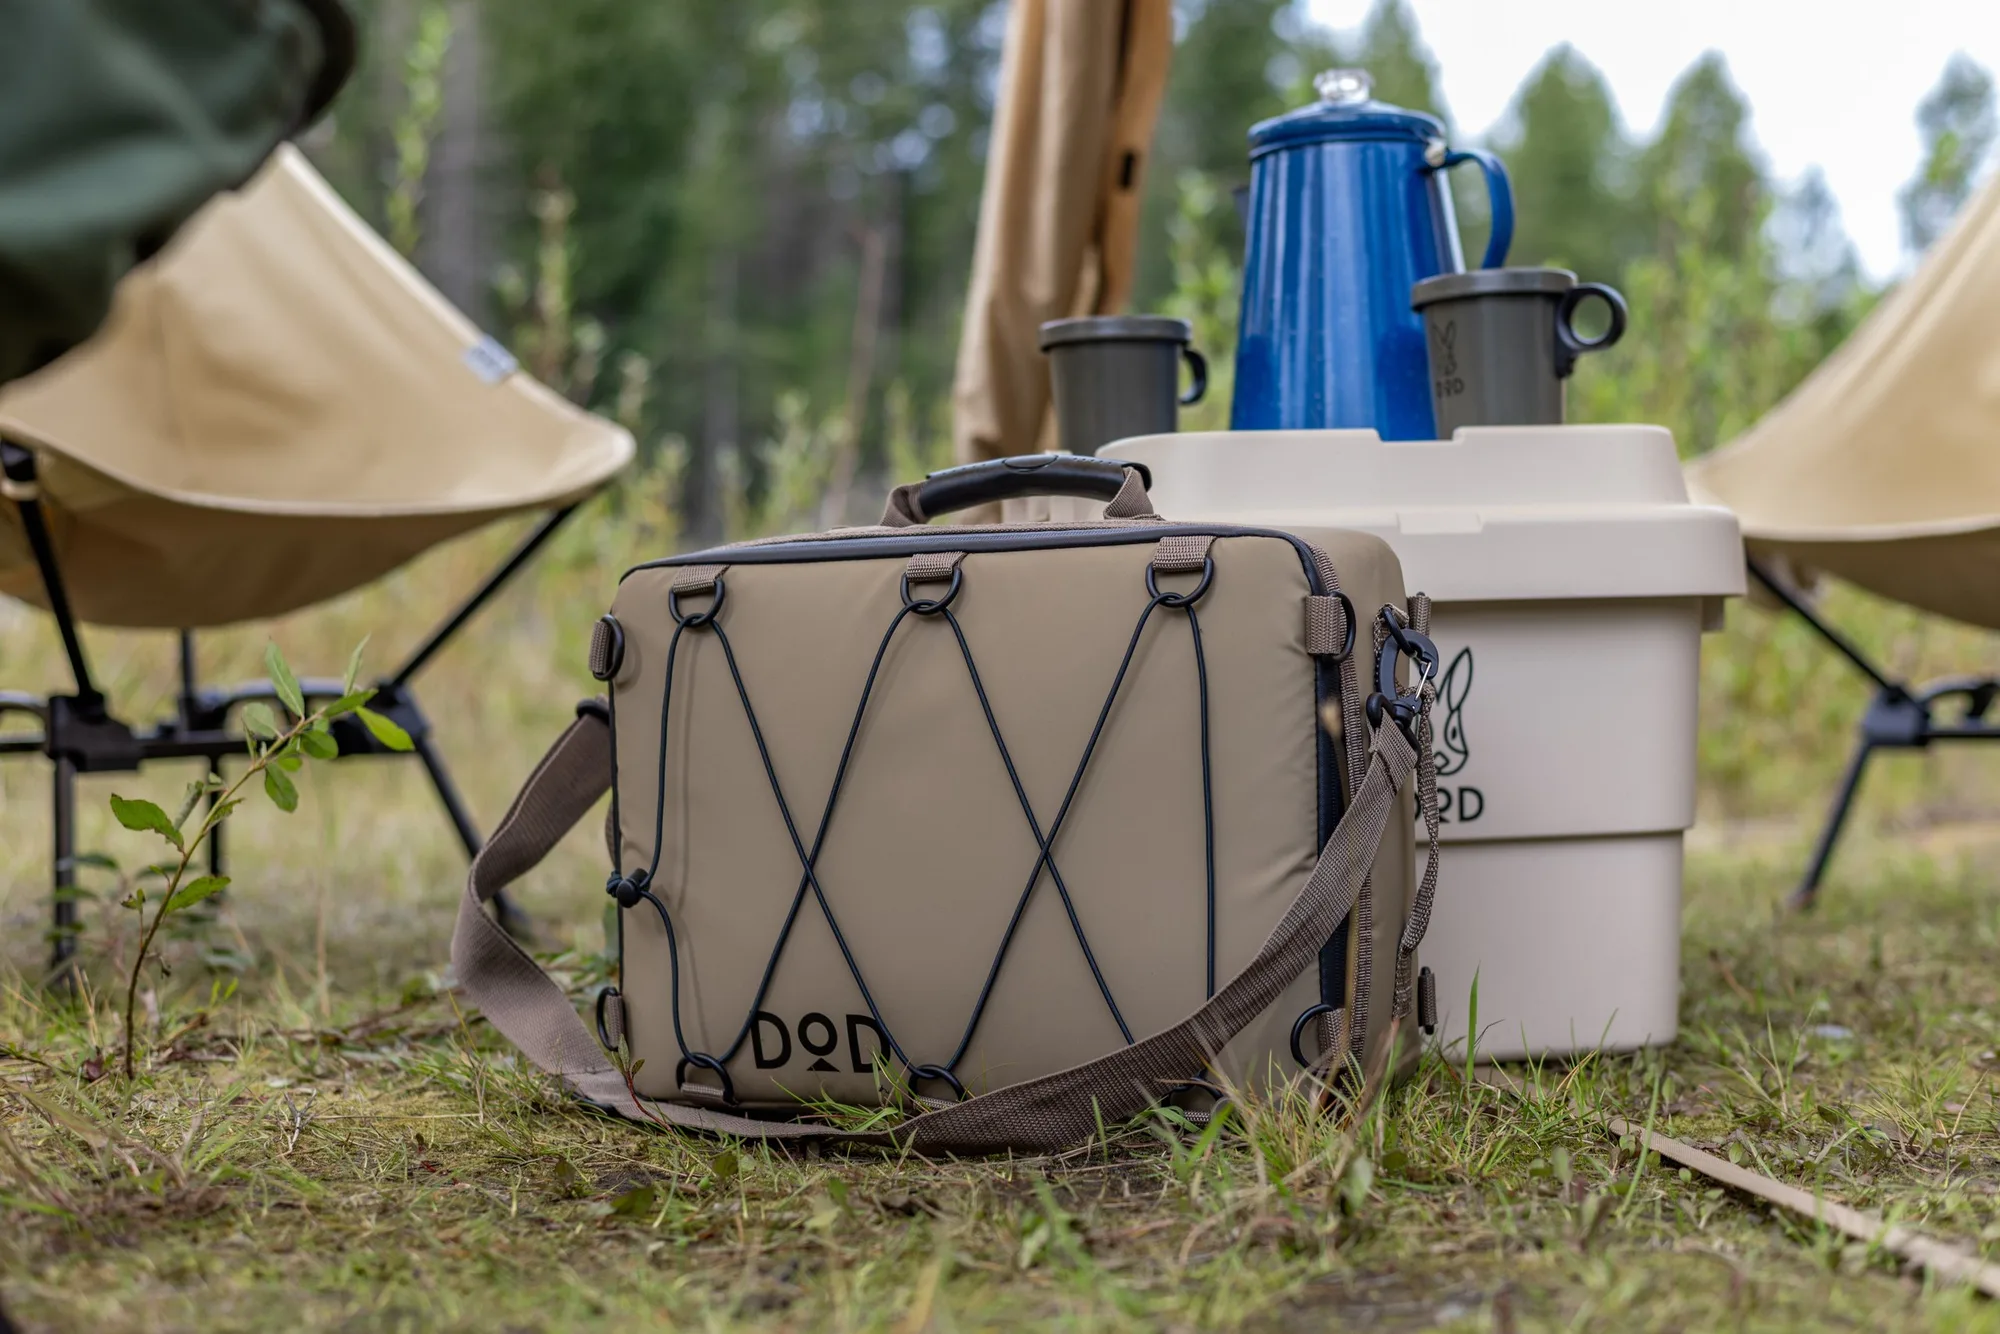
Kura Soft Cooler 10
A cooler only works as well as the way you load it. Most warm drinks and soggy food at camp come down to three things: warm food going in, too much air space, and a lid that opens every ten minutes.
This guide walks through a packing order you can repeat before every trip. It assumes a standard weekend camp with two to three days of food, and it works whether you use a hard cooler or a soft cooler bag.
Start with cold food and a cold cooler
The night before you leave, move drinks and anything that can be chilled into the fridge. A cooler is designed to keep cold food cold, not to pull room-temperature food down to a safe temperature. Every item you pre-chill is one less job for your ice.
If you can, put a bag of ice or a frozen water bottle in the empty cooler a few hours before packing, then tip out the meltwater. This drops the internal temperature so your first layer of ice lasts longer.
- Checkpoint: if the cooler walls still feel warm to the touch, give it more time before you start packing.
Choose your ice format deliberately
Blocks melt slowly and are best for the bottom layer, where they cool the whole load. Cubes and crushed ice chill faster but disappear sooner, so use them to fill gaps around food. A rough starting point for a weekend is one block plus enough loose ice to fill the spaces you leave.
Drain meltwater before you leave and again at camp. Standing water speeds up melting and turns labels and packaging soggy.
- Common mistake: filling the cooler entirely with cubes, which leaves no slow-release cold source for day two.
Layer heavy, then fragile, then gap-fill
Put the block or largest frozen items on the bottom. Add the heaviest, most cold-sensitive food next, such as meat and dairy, packed in sealed containers or zip bags. Then add produce and drinks, and finish by pushing loose ice into every gap.
Vertical packing beats a flat pile. Standing items upright in rows lets you see what you have and pull one thing out without digging through the whole cooler.
- Checkpoint: shake the cooler gently. If contents slide around, you have air pockets to fill.
Separate drinks from food when you can
Drinks get opened constantly, and every open lid lets cold air out. If you have two coolers, or a main cooler plus a soft bag, keep drinks in the one you reach for most and leave the food cooler closed until mealtime.
A soft cooler bag with a shoulder strap also works well as a day bag for lunch, snacks, and a few cans while the main cooler stays shut at camp.
- Common mistake: storing raw meat loose next to ready-to-eat food. Keep raw proteins sealed and at the bottom.
Manage the cooler at camp
Set the cooler in shade, ideally off the ground on a mat or log, and keep a towel over the lid for extra insulation. Open it once, take out everything you need for the meal, and close it again.
At the end of the trip, empty it completely, wipe it dry, and leave the lid open to air. A cooler stored damp and closed is a cooler that smells next season.
- Checkpoint: if ice is gone by the second morning, add a second block next trip rather than more cubes.
Cooler packing steps at a glance
- Chill the cooler and the food: Pre-cool the empty cooler with ice or a frozen bottle, then load only food that has already been refrigerated. Checkpoint: cooler walls feel cold before packing starts.
- Block on the bottom: Place a solid ice block or large frozen item at the base as the slow-release cold source. Mistake to avoid: all cubes, no block.
- Pack heavy and cold-sensitive food next: Seal raw meat and dairy in containers or bags and set them directly above the block. Keep raw proteins below ready-to-eat food.
- Stand items upright in rows: Arrange produce, drinks, and snacks vertically so you can grab one item without unpacking the cooler. Checkpoint: less digging means less lid-open time.
- Fill every gap with loose ice: Push cubes or crushed ice into the spaces between items until contents no longer shift. Air is the enemy; gaps melt ice faster.
- Split drinks into a second bag: Use a soft cooler bag for drinks and lunch so the main food cooler stays shut. The Kura Soft Cooler 10 covers this role for light loads.
- Shade, insulate, and drain: Keep the cooler off the ground in shade, cover the lid with a towel, and drain meltwater daily. Checkpoint: ice still present on the second morning.
Gear that fits this method
- Kura Soft Cooler 10: A 10L soft cooler bag that can be carried as a shoulder bag, with a main handle, two side handles, a removable shoulder strap, and multiple D-rings for different carrying methods. Its slim profile suits drink duty or day-trip food so the main cooler stays closed, and the multiple carry options make it easy to move between car, camp, and trailhead.
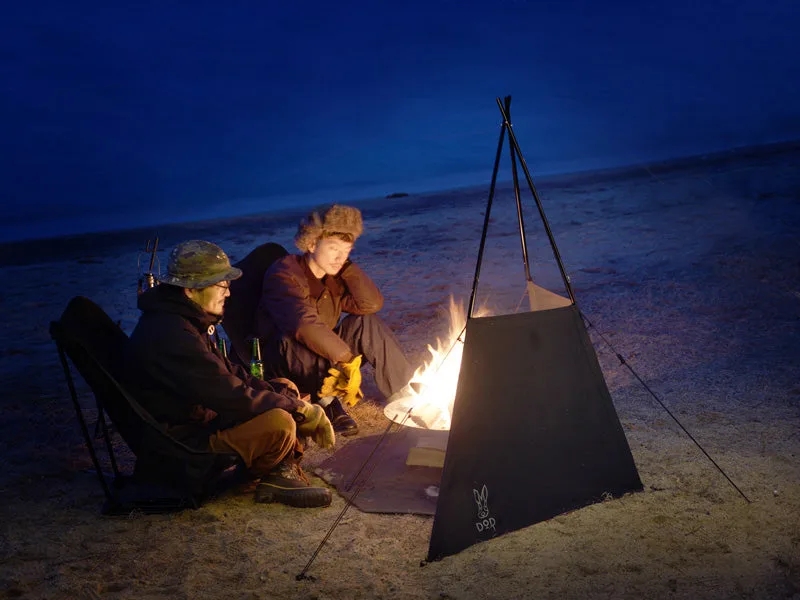
- Fire Break: A teepee-style windbreak made from durable cotton material resistant to spark damage, adjustable and sized to accommodate up to three people comfortably. If you cook over a fire at camp, a windbreak keeps the flame steadier, which matters more than cooler choice when you are reheating food from the cooler.
Pack cold, layer smart, and keep the lid closed. Do those three things and a weekend of food stays cold without a bigger cooler or more ice than you actually need.