Quick answer
Put the cooling harness on first, directly against your dog's coat, then fit the training vest over it so the harness stays smooth and the vest's straps sit outside the cooling panels. Check for two flat fingers of space under every strap and re-check after five minutes of movement. If the vest shifts or the harness bunches, remove the vest and adjust the harness before continuing.
Why layer at all instead of choosing one piece
A cooling harness manages heat; a training vest carries ID, patches, or a handle for control. In hot weather you often need both, but stacking them wrong creates pressure points and traps heat instead of releasing it. The goal is a single stable unit where each layer does one job: the harness cools, the vest identifies or supports handling.
Measure before you buy, not after
Layering adds roughly the thickness of the cooling harness to your dog's girth. Measure the widest part of the chest with the cooling harness on, then compare that number to the vest's size chart. If your dog sits between sizes on the vest, choose the larger size so the vest does not compress the cooling panels.
What to avoid when combining gear
Do not put the training vest directly against the coat and the cooling harness on top. That order pushes cooling panels away from the body, where they cannot absorb heat effectively. Also avoid metal hardware resting directly on the cooling harness, because repeated contact can wear the fabric.
Step-by-step layering process
- 1. Cool and dry the coat first: Wet the cooling harness, wring it so it stops dripping, and let it sit for a minute before putting it on. If your dog is already panting heavily, pause and cool them down before adding any gear. Checkpoint: the harness should be damp, not soaked, and your dog's breathing should be steady.
- 2. Fit the cooling harness alone: Put the cooling harness on your dog with no vest. Adjust every strap so the panels lie flat against the chest and back, then walk your dog a few steps and re-check. Common mistake: tightening the harness to stop it moving, which flattens the cooling panels and reduces airflow.
- 3. Place the training vest over the harness: Slide the vest over your dog's head or clip it on, keeping the cooling harness flat underneath. Route vest straps outside the cooling panels, not between them and the coat. Checkpoint: you should be able to slide two flat fingers under every vest strap.
- 4. Test movement before training: Ask for a sit, a down, and a short recall. Watch for the vest riding up, the harness bunching at the shoulders, or any strap loosening. Common mistake: starting training immediately and discovering a rub or shift ten minutes in.
- 5. Shorten the session and re-check: Two layers hold more heat than one, so cut your normal session length and re-check the fit every few minutes. If your dog slows down, pants harder, or tries to shake the gear off, stop and remove the vest. Checkpoint: if the harness feels warm and dry, re-wet it or end the session.
Gear that supports this setup
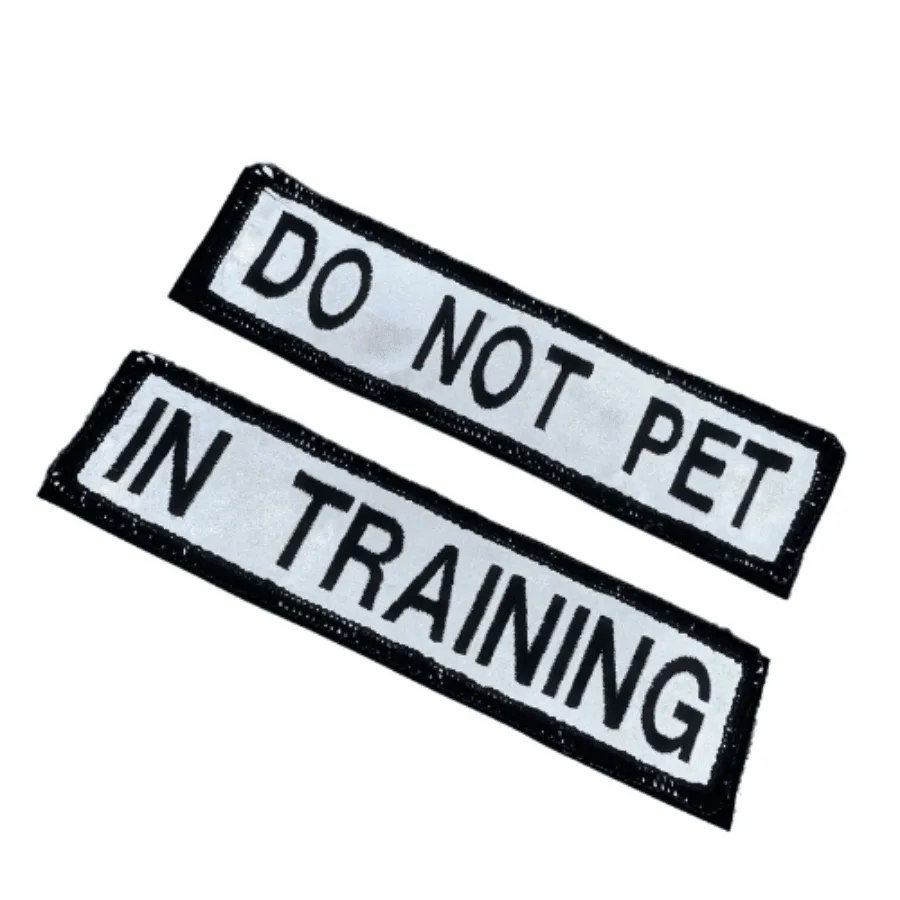
- Dog Training Velcro Patches: Embroidered reflective ID patches, 1.5 x 6 inches, sold as a pair, with badge types such as IN TRAINING, DO NOT PET, and ASSISTANCE DOG. Clear vest labeling reduces interruptions during hot-weather training sessions, so you can keep the session short and focused.
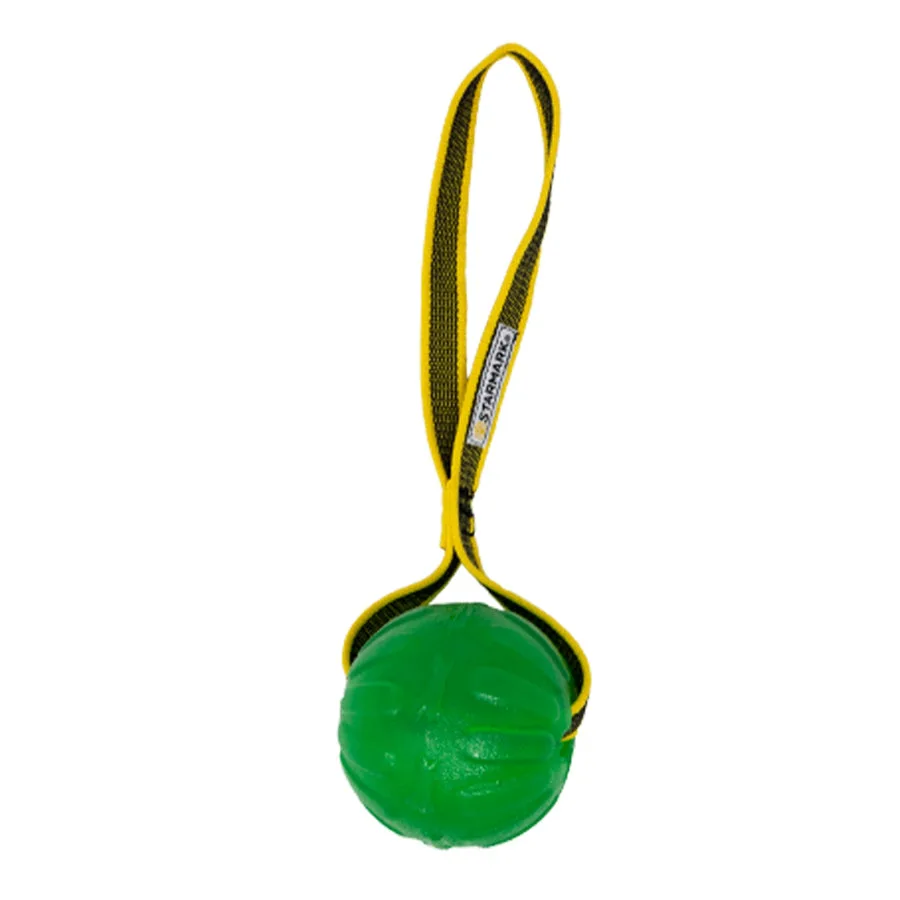
- Starmark GripCord Chew Ball - Soft Ball: Starmark GripCord Chew Ball in soft green with a loop, described as a medium tough toy for interactive play and training. A soft ball with a loop lets you reward and engage your dog without adding heavy gear, which matters when your dog is already wearing two layers.