Quick Answer
To get a true jelly effect with crelly polish, apply two to three thin coats, letting each dry fully before the next. This builds color depth while keeping the translucent, glass-like finish that makes crellies unique.
Why Layering Matters for Crelly Polish
Crelly polish is sheer by design, so the jelly look depends on how you build it. A single thick coat can look patchy or drag, while too many coats can make the color opaque and lose the jelly effect. Layering thin coats is the key to controlling depth and shine.
The number of coats you need depends on the color and your preference. Light shades like yellow might need three coats to reach the desired depth, while deeper tones can look great in two. Always test on a swatch stick to see how the color builds.
Choosing the Right Base and Top Coat
A smooth base is essential for crelly polish. Use a ridge-filling base coat to create an even canvas, which helps the sheer color look uniform. For the top coat, a glossy quick-dry formula seals the layers and enhances the jelly shine.
If you want a subtle color shift, consider layering a sheer crelly over a contrasting base color. For example, a light yellow crelly over a white base will look brighter, while over a nude base it will appear more natural.
Step-by-Step Layering Process
- Prep Your Nails: Start with clean, dry nails. Push back cuticles and gently buff the nail surface to remove shine. Apply a ridge-filling base coat and let it dry completely. A smooth base prevents streaks and helps the sheer color apply evenly.
- Apply the First Thin Coat: Dip the brush and wipe one side on the bottle rim. Apply a thin, even coat from cuticle to tip. Avoid overloading the brush, which can cause pooling at the sides. Thin coats are key—resist the urge to apply a thick layer.
- Let It Dry Fully: Wait at least two minutes between coats. Crelly polish needs time to settle; rushing can cause dragging and uneven color. Use a quick-dry top coat only after the final color coat is dry.
- Add the Second Coat: Apply a second thin coat, using the same technique. For lighter shades, this is where the color starts to build. Check the opacity—if you can still see the nail line clearly, a third coat may be needed. Assess after two coats to decide if you need a third.
- Finish with a Top Coat: Once the final color coat is dry, apply a glossy quick-dry top coat. This seals the layers and enhances the jelly shine. Avoid thick top coats that can smudge the color. A good top coat adds gloss and protects your work.
Crelly Polish to Try
-
Banana Cabana - Light Yellow Crelly - Glitter Nail Polish - Shimmer Nail Polish - Sweet Sips Collection: Banana Cabana is a sheer light yellow crelly with gold/green shifting shimmer, assorted metallic gold glitters, and a dusting of holographic glitters. It is recommended to use 2-3 coats. This polish shows how layering transforms a sheer base into a dimensional jelly look with added sparkle, making it a great choice for practicing your layering technique.
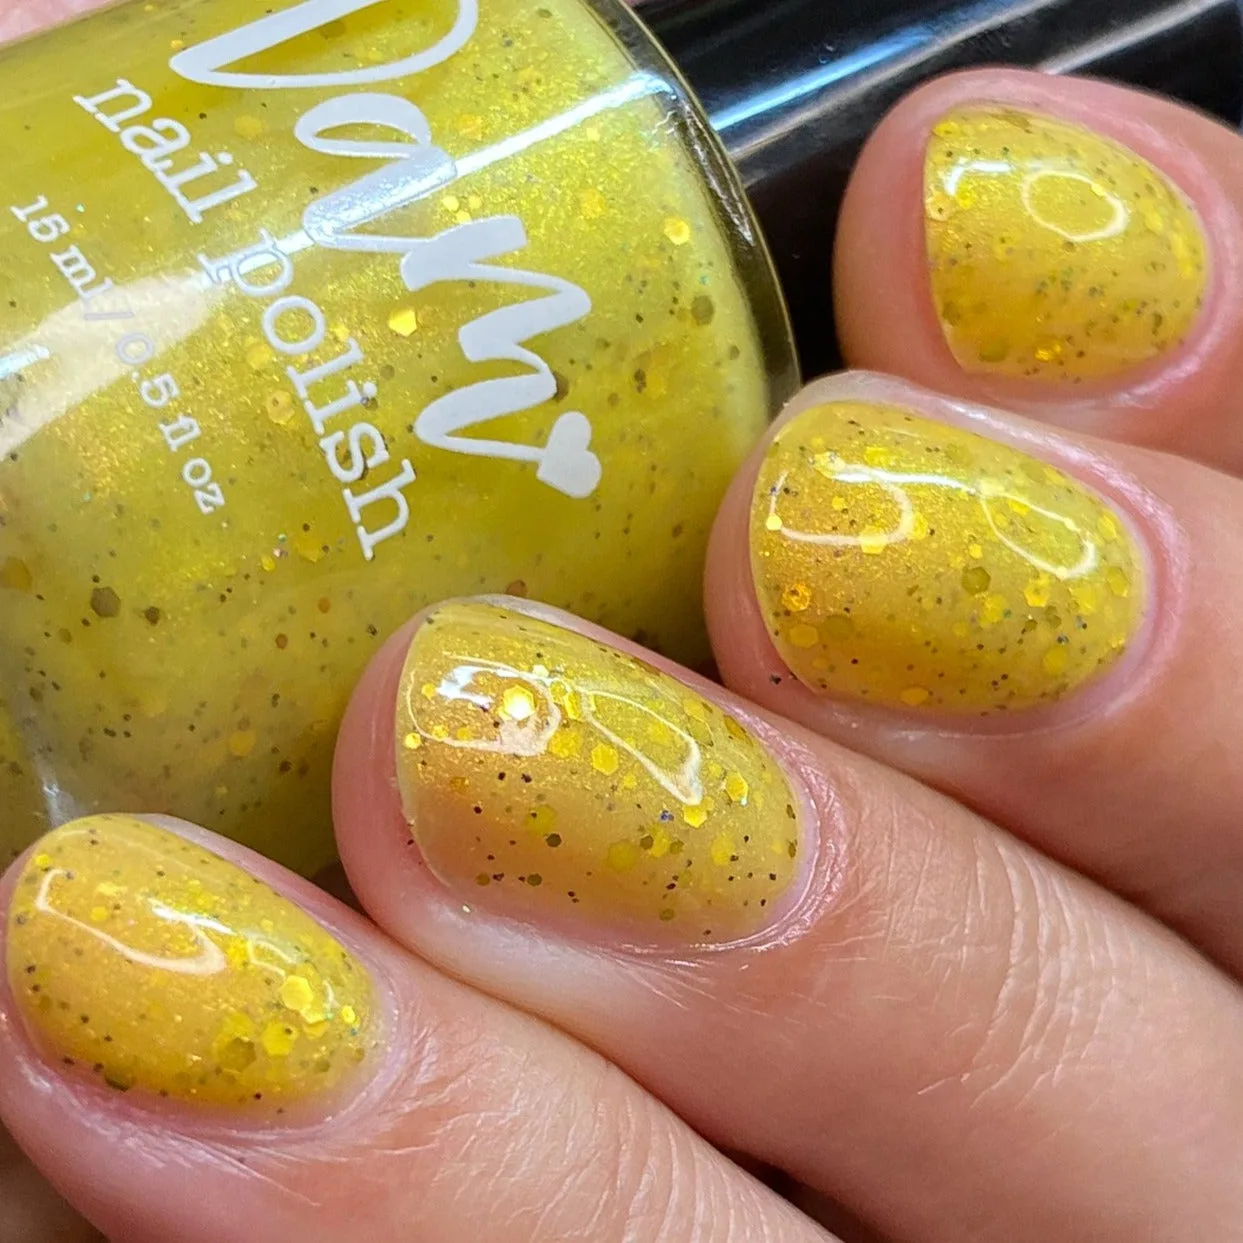
Banana Cabana - Light Yellow Crelly - Glitter Nail Polish - Shimmer Nail Polish - Sweet Sips Collection