Quick answer
A mini LED nail lamp cures gel polish on press on nails in 60 seconds per layer. Use gentle pressure to activate the lamp and move it over each nail to avoid uncured spots.
Why a mini lamp works for press ons
Full-size lamps are bulky and overkill when you only need to cure one or two press on nails at a time. A mini LED lamp is compact, USB-powered, and designed for small-area curing. Its 3 LED lights emit the right wavelength to harden most gel polishes and top coats used on press on nails.
Because the lamp is small, you must move it across the nail surface to cover the entire area. This takes a few extra seconds per nail but gives you more control over the cure.
Limitations to know before you start
The Mini Pro LED Nail Lamp 16W does not have a built-in timer or automatic shutoff. You press it down to start the 60-second cycle and press again to stop. This means you need to watch the clock or use a separate timer.
It also lacks a large curing chamber, so you cannot cure all five fingers at once. Cure one nail at a time or work in small batches. This is fine for press on nails you apply individually.
Step-by-step: Cure gel on press on nails with a mini LED lamp
- Prepare your press on nail with gel: Apply a thin, even layer of gel polish or gel top coat to the press on nail. Avoid pooling at the cuticle or edges. Thick layers take longer to cure and may remain tacky underneath. Thin layers cure faster and more completely. If the gel feels sticky after 60 seconds, the layer was too thick.
- Position the lamp over the nail: Place the press on nail on a flat, non-porous surface (like a silicone mat or glass plate). Hold the mini lamp directly above the nail and press it down gently until the LEDs turn on. The default cycle is 60 seconds. Do not press so hard that you smudge the wet gel. A light press is enough to activate the lamp.
- Move the lamp to cover the entire nail: Because the lamp’s LEDs are small, the light may not reach the edges in one spot. While the lamp is on, slide it slowly across the nail surface to ensure the cuticle area, sides, and tip all receive direct light. This takes about 10–15 seconds of movement within the 60-second cycle. Skipping this step leaves uncured gel at the edges, which will peel or smudge later.
- Check the cure and repeat if needed: After 60 seconds, press the lamp again to turn it off. Touch the gel surface lightly with a clean fingertip or a lint-free wipe. If it feels tacky or leaves a fingerprint, cure for another 30–60 seconds. Most gel polishes cure fully in one cycle when applied thinly. A tacky layer after curing usually means the gel was too thick or the lamp was not moved enough. Wipe the inhibition layer with isopropyl alcohol only if the gel instructions say so.
- Clean and store the lamp: Unplug the USB cable after use. Wipe the lamp body with a soft, dry cloth to remove any gel residue. Do not submerge the lamp in water or use harsh solvents. Store it in a dry place away from direct sunlight. Keeping the lamp clean prevents dust from blocking the LEDs and extends its life.
Product fact
-
Mini Pro LED Nail Lamp 16W: The Mini Pro LED Nail Lamp 16W contains 3 LED lights and cures gel in a default 60-second cycle. It connects via USB and is activated by pressing down gently. You can cure gel on press on nails anywhere you have a USB port, and the simple press-on/press-off operation makes it easy to control curing time without fiddling with buttons.
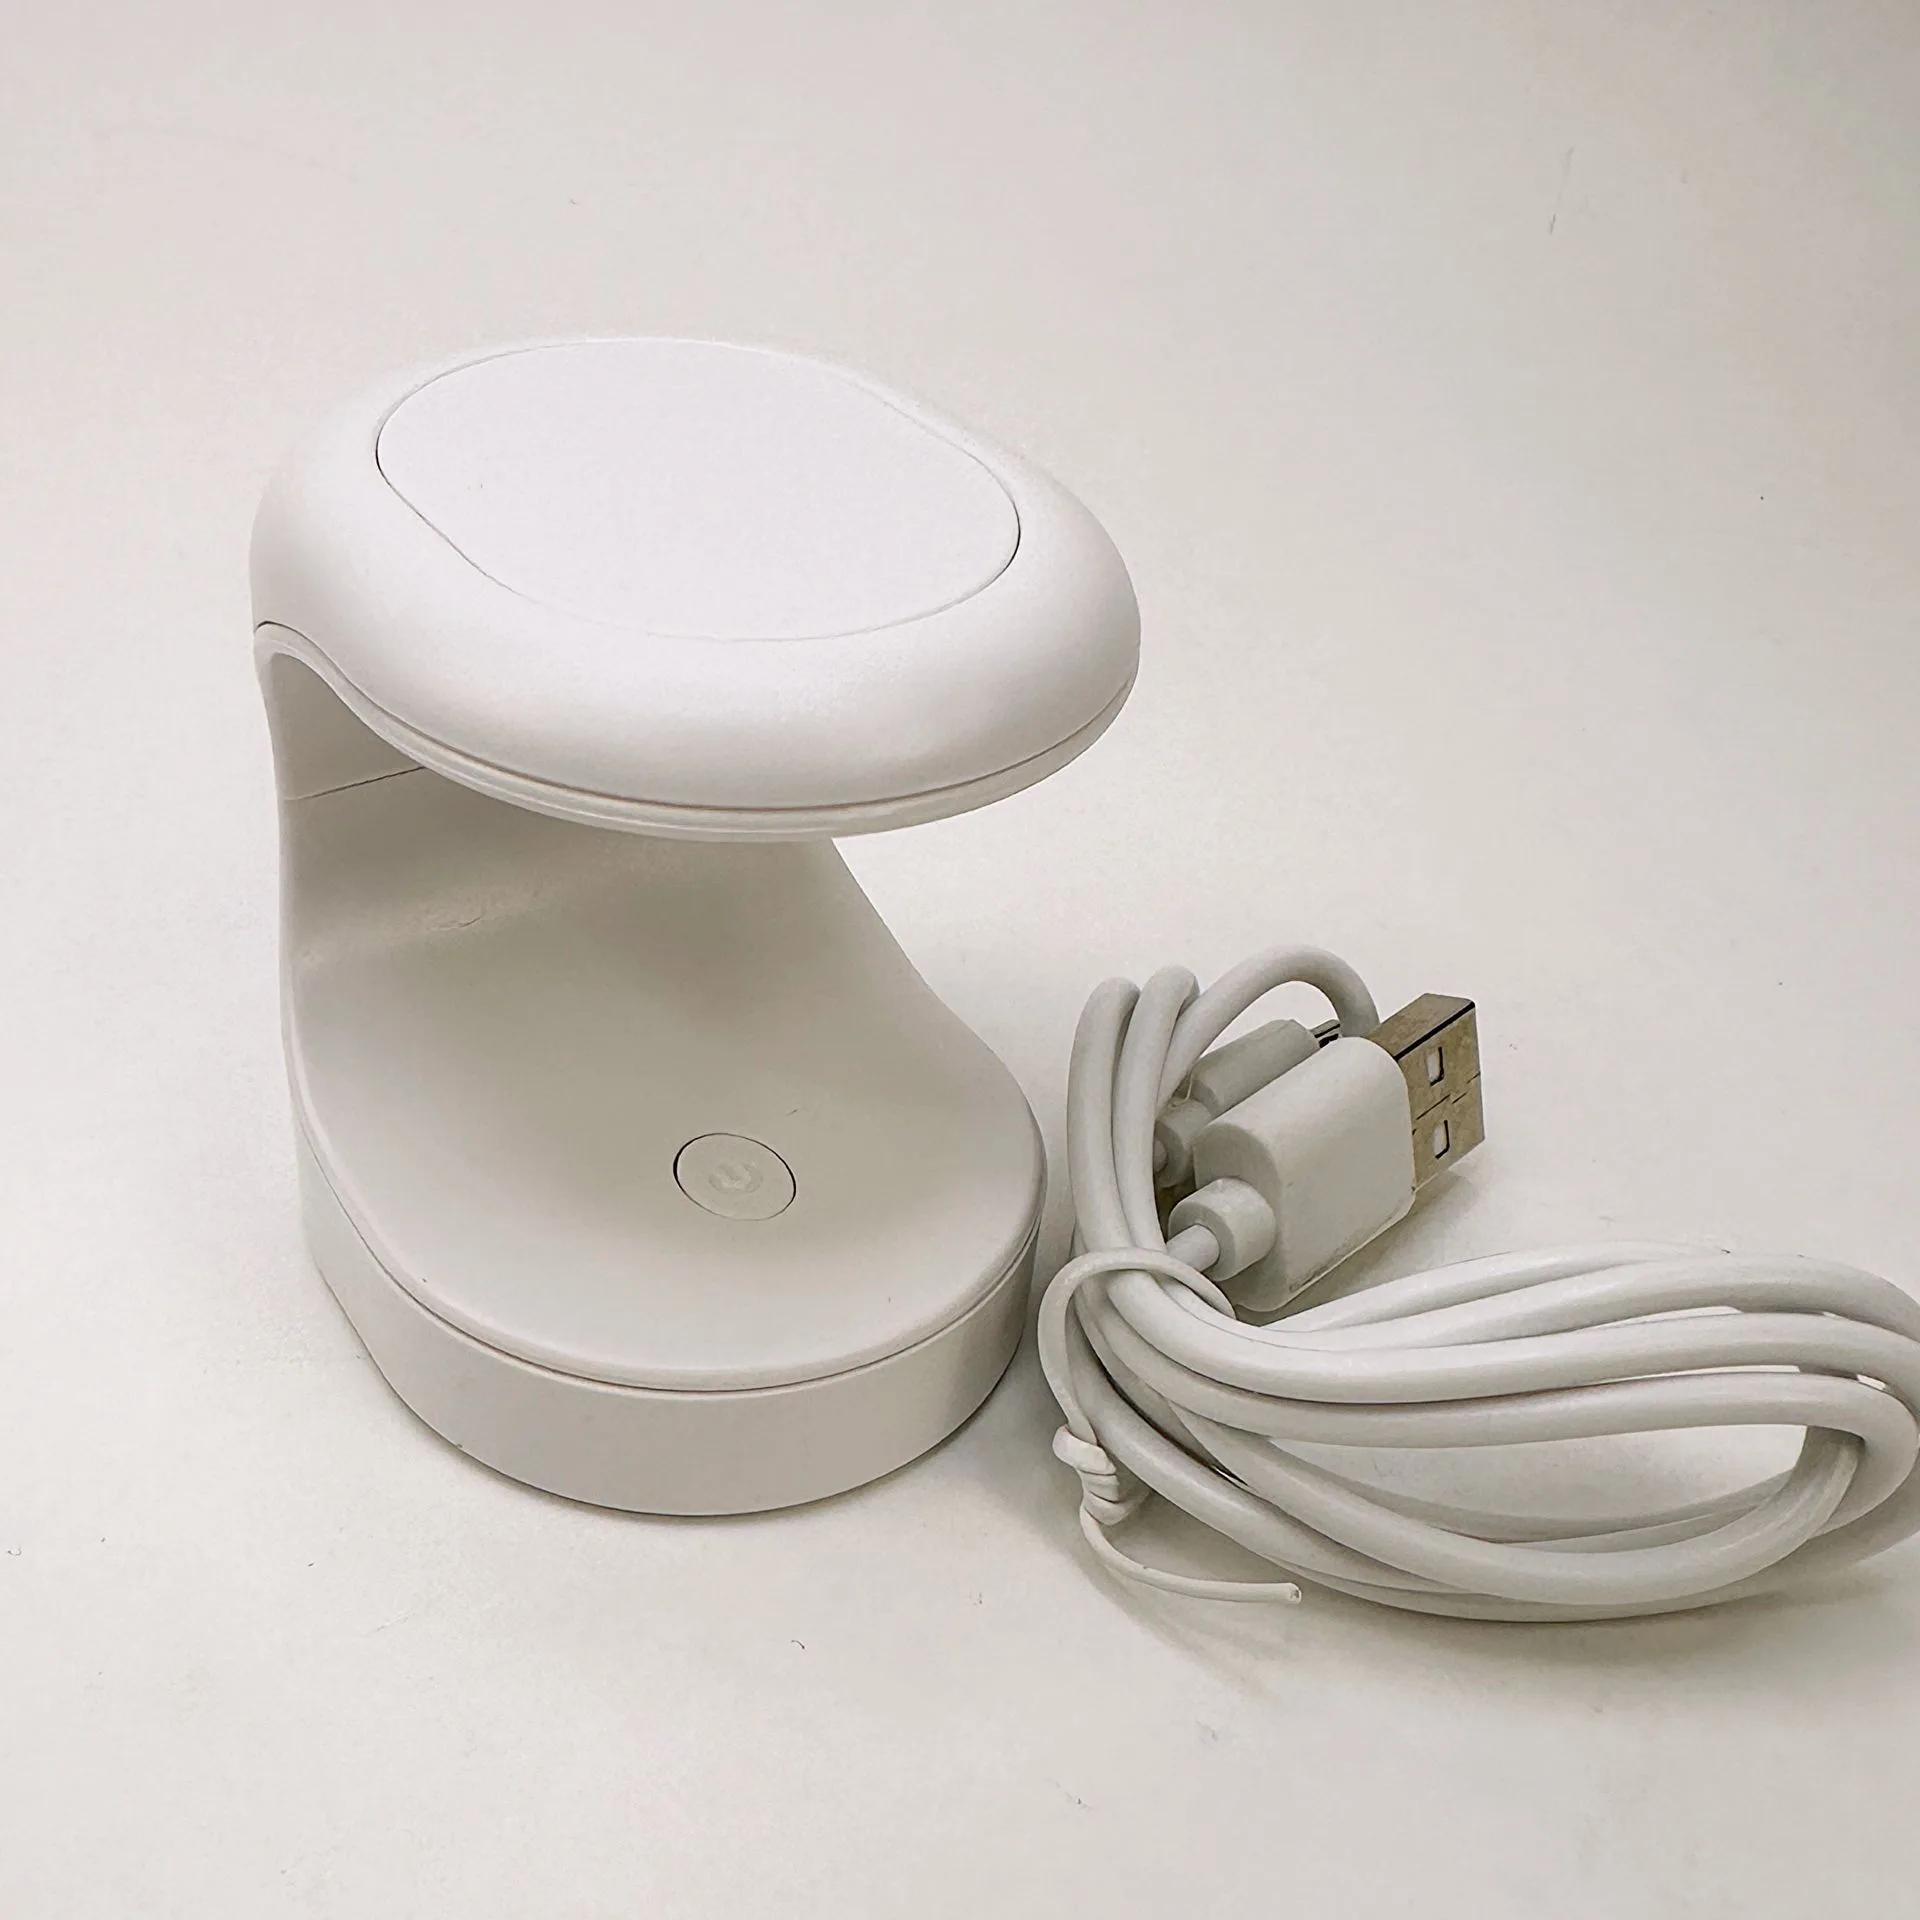
Mini Pro LED Nail Lamp 16W