Quick answer
Use your crystal facial roller first, on clean skin, to depuff and calm before any makeup goes on. Then apply makeup with your brushes, and if you want a final blend, wait at least five minutes and roll with very light pressure. The roller preps; the brushes build and blend. Reverse that order and you risk lifting your base.
Why the order matters more than the tool
A crystal roller is a prep tool, not a blending tool. Rolling before makeup increases circulation and helps reduce morning puffiness, which gives brushes a smoother surface to work on. If you roll after foundation without waiting, the stone can drag across product and create patchy streaks. The fix is sequencing, not a different roller.
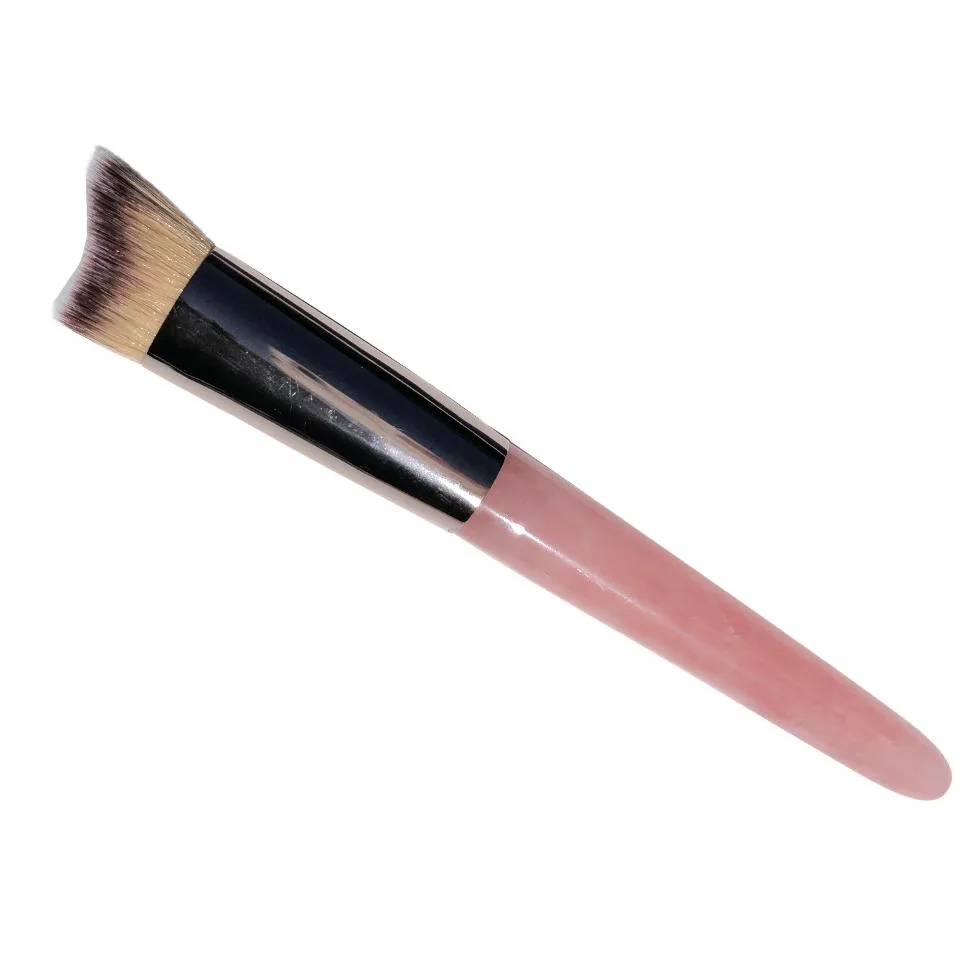
Brush layering also matters. Start with a dense brush for foundation or tinted moisturizer, then a softer brush for powder or blush. A roller used between those steps should be clean and cool, and it should never be used to push wet product around.
Choose the right crystal for your prep step
Rose quartz and amethyst are the two most common facial roller stones, and they behave similarly in a makeup routine. The practical difference is personal preference: pick the one you will actually keep on your vanity. If you already own a jade roller, it works the same way in this sequence.
Keep the roller in the fridge if you want extra cooling, but dry it fully before use. A wet roller can dilute skincare and make your first brush layer sit unevenly.
What to do when you wear full-coverage makeup
Full-coverage routines need a longer wait. Apply your primer, then foundation, then wait five to ten minutes before any roller touch-up. If you roll too soon, you will see the stone pull color from the center of your face and leave a visible edge near the jaw.
If you must roll after makeup, use the small end of a double-sided roller and work only along the jawline and under the eyes. Avoid the nose and forehead, where foundation is usually thinnest.
Step-by-step layering routine
- Step 1: Start with clean, dry skin: Cleanse and pat dry. Apply a light moisturizer or facial oil and let it absorb for one minute. This gives the roller slip so it glides instead of tugging. Checkpoint: if the roller drags, add one more drop of oil or wait another minute.
- Step 2: Roll before makeup: Using a double-sided crystal roller, roll upward and outward from the center of your face. Use the large end on cheeks and jaw, the small end under the eyes. Keep pressure light and do five to eight passes per area. Common mistake: rolling downward toward the jaw, which can make the face look heavier rather than lifted.
- Step 3: Apply makeup with brushes: Use a dense brush for foundation or tinted moisturizer, then a softer brush for powder, blush, or contour. Work in thin layers rather than one heavy pass. Checkpoint: if your brush starts skipping, your base is too wet; wait 30 seconds and continue.
- Step 4: Wait, then do a light post-makeup roll if needed: Wait at least five minutes after your last brush step. Then use the small end of the roller along the jawline and under the eyes only. Do not roll over the center of the face where coverage is thinnest. Common mistake: rolling immediately after foundation, which lifts product and creates streaks.
- Step 5: Clean the roller before your next use: Wipe the stone with a soft, damp cloth and dry it completely. Store it away from direct sunlight and from loose powders that can cling to the surface. Next step: if your roller feels warm, chill it in the fridge for ten minutes before your next prep.
Products that fit this routine
- Rose Quartz Facial Roller Double Sided: Rose Quartz Facial Roller Double Sided is a facial roller used to tighten and tone the skin. A double-sided roller gives you a large end for cheeks and jaw and a small end for under-eyes, which is useful when you want to prep without disturbing makeup.
- Amethyst Facial Roller Double Sided: Amethyst Facial Roller Double Sided is a facial roller used to tighten and tone the skin. If you prefer amethyst, this roller fits the same pre-makeup step, so you can keep one tool for prep and one for a cooled post-makeup touch-up.