Quick answer
Layer yoga props from the ground up: start with a non-slip base, add a firm support like a block or bolster, then fine-tune height with a blanket or strap. For restorative poses, a common setup is a bolster under the spine with blocks under the knees and a blanket under the head. Adjust until you feel fully supported with no effort.
Restorative yoga is about letting your body rest completely, and props make that possible. But stacking them randomly can create instability or discomfort. The key is to layer with intention: each prop has a job, and the order matters.
This guide walks you through a simple, repeatable process for layering props. You will learn how to build a stable foundation, choose the right support for each body area, and adjust your setup so you can relax without holding tension.
Why layering matters more than the props themselves
A single prop can help, but layering lets you customize height, angle, and firmness to fit your body. For example, a bolster alone may be too high for your lower back, but adding a folded blanket under your hips can tilt your pelvis into a more comfortable position. Layering also distributes weight, so you are not sinking into soft surfaces or balancing on hard edges.
The goal is to feel supported with zero muscular effort. If you have to hold yourself up even slightly, your nervous system stays alert. Proper layering signals safety, which is when deep relaxation happens.
- Check in with your body: where do you feel tension or gaps?
- Start with less height; you can always add more.
Build from the ground up: base, support, fine-tune
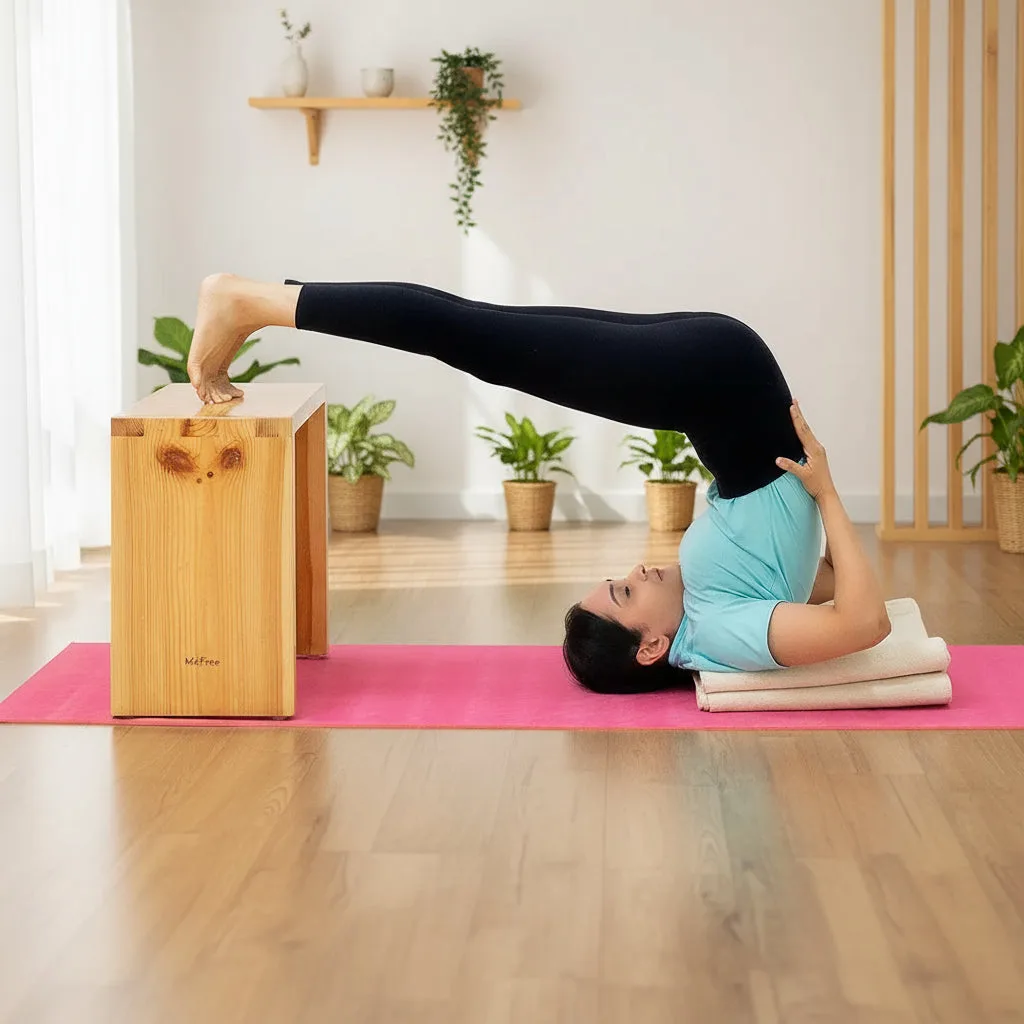
Think of your setup in three layers. The base layer prevents slipping and protects your joints. A cork yoga mat works well because it grips and stays put. The support layer creates the main shape of the pose, such as a bolster under your back or blocks under your knees. The fine-tune layer fills gaps and adjusts angles, using blankets, straps, or a smaller prop.
For example, in a supported bridge, place your mat on the floor, put a bolster horizontally under your sacrum, and slide a block under each foot for stability. If your neck feels strained, add a folded blanket under your head. Each layer solves a specific problem.
- Common mistake: skipping the base and placing a bolster directly on a slippery floor.
- Checkpoint: press down on your setup; nothing should slide or wobble.
Match props to the area you are supporting
Different body areas need different types of support. For the spine, you want broad, firm support like a rectangular bolster. For hips and knees, blocks offer adjustable height. For the head and neck, a folded blanket provides soft, even support. For tight muscles, a massage ball or a strap can help you target specific spots before or after your pose.
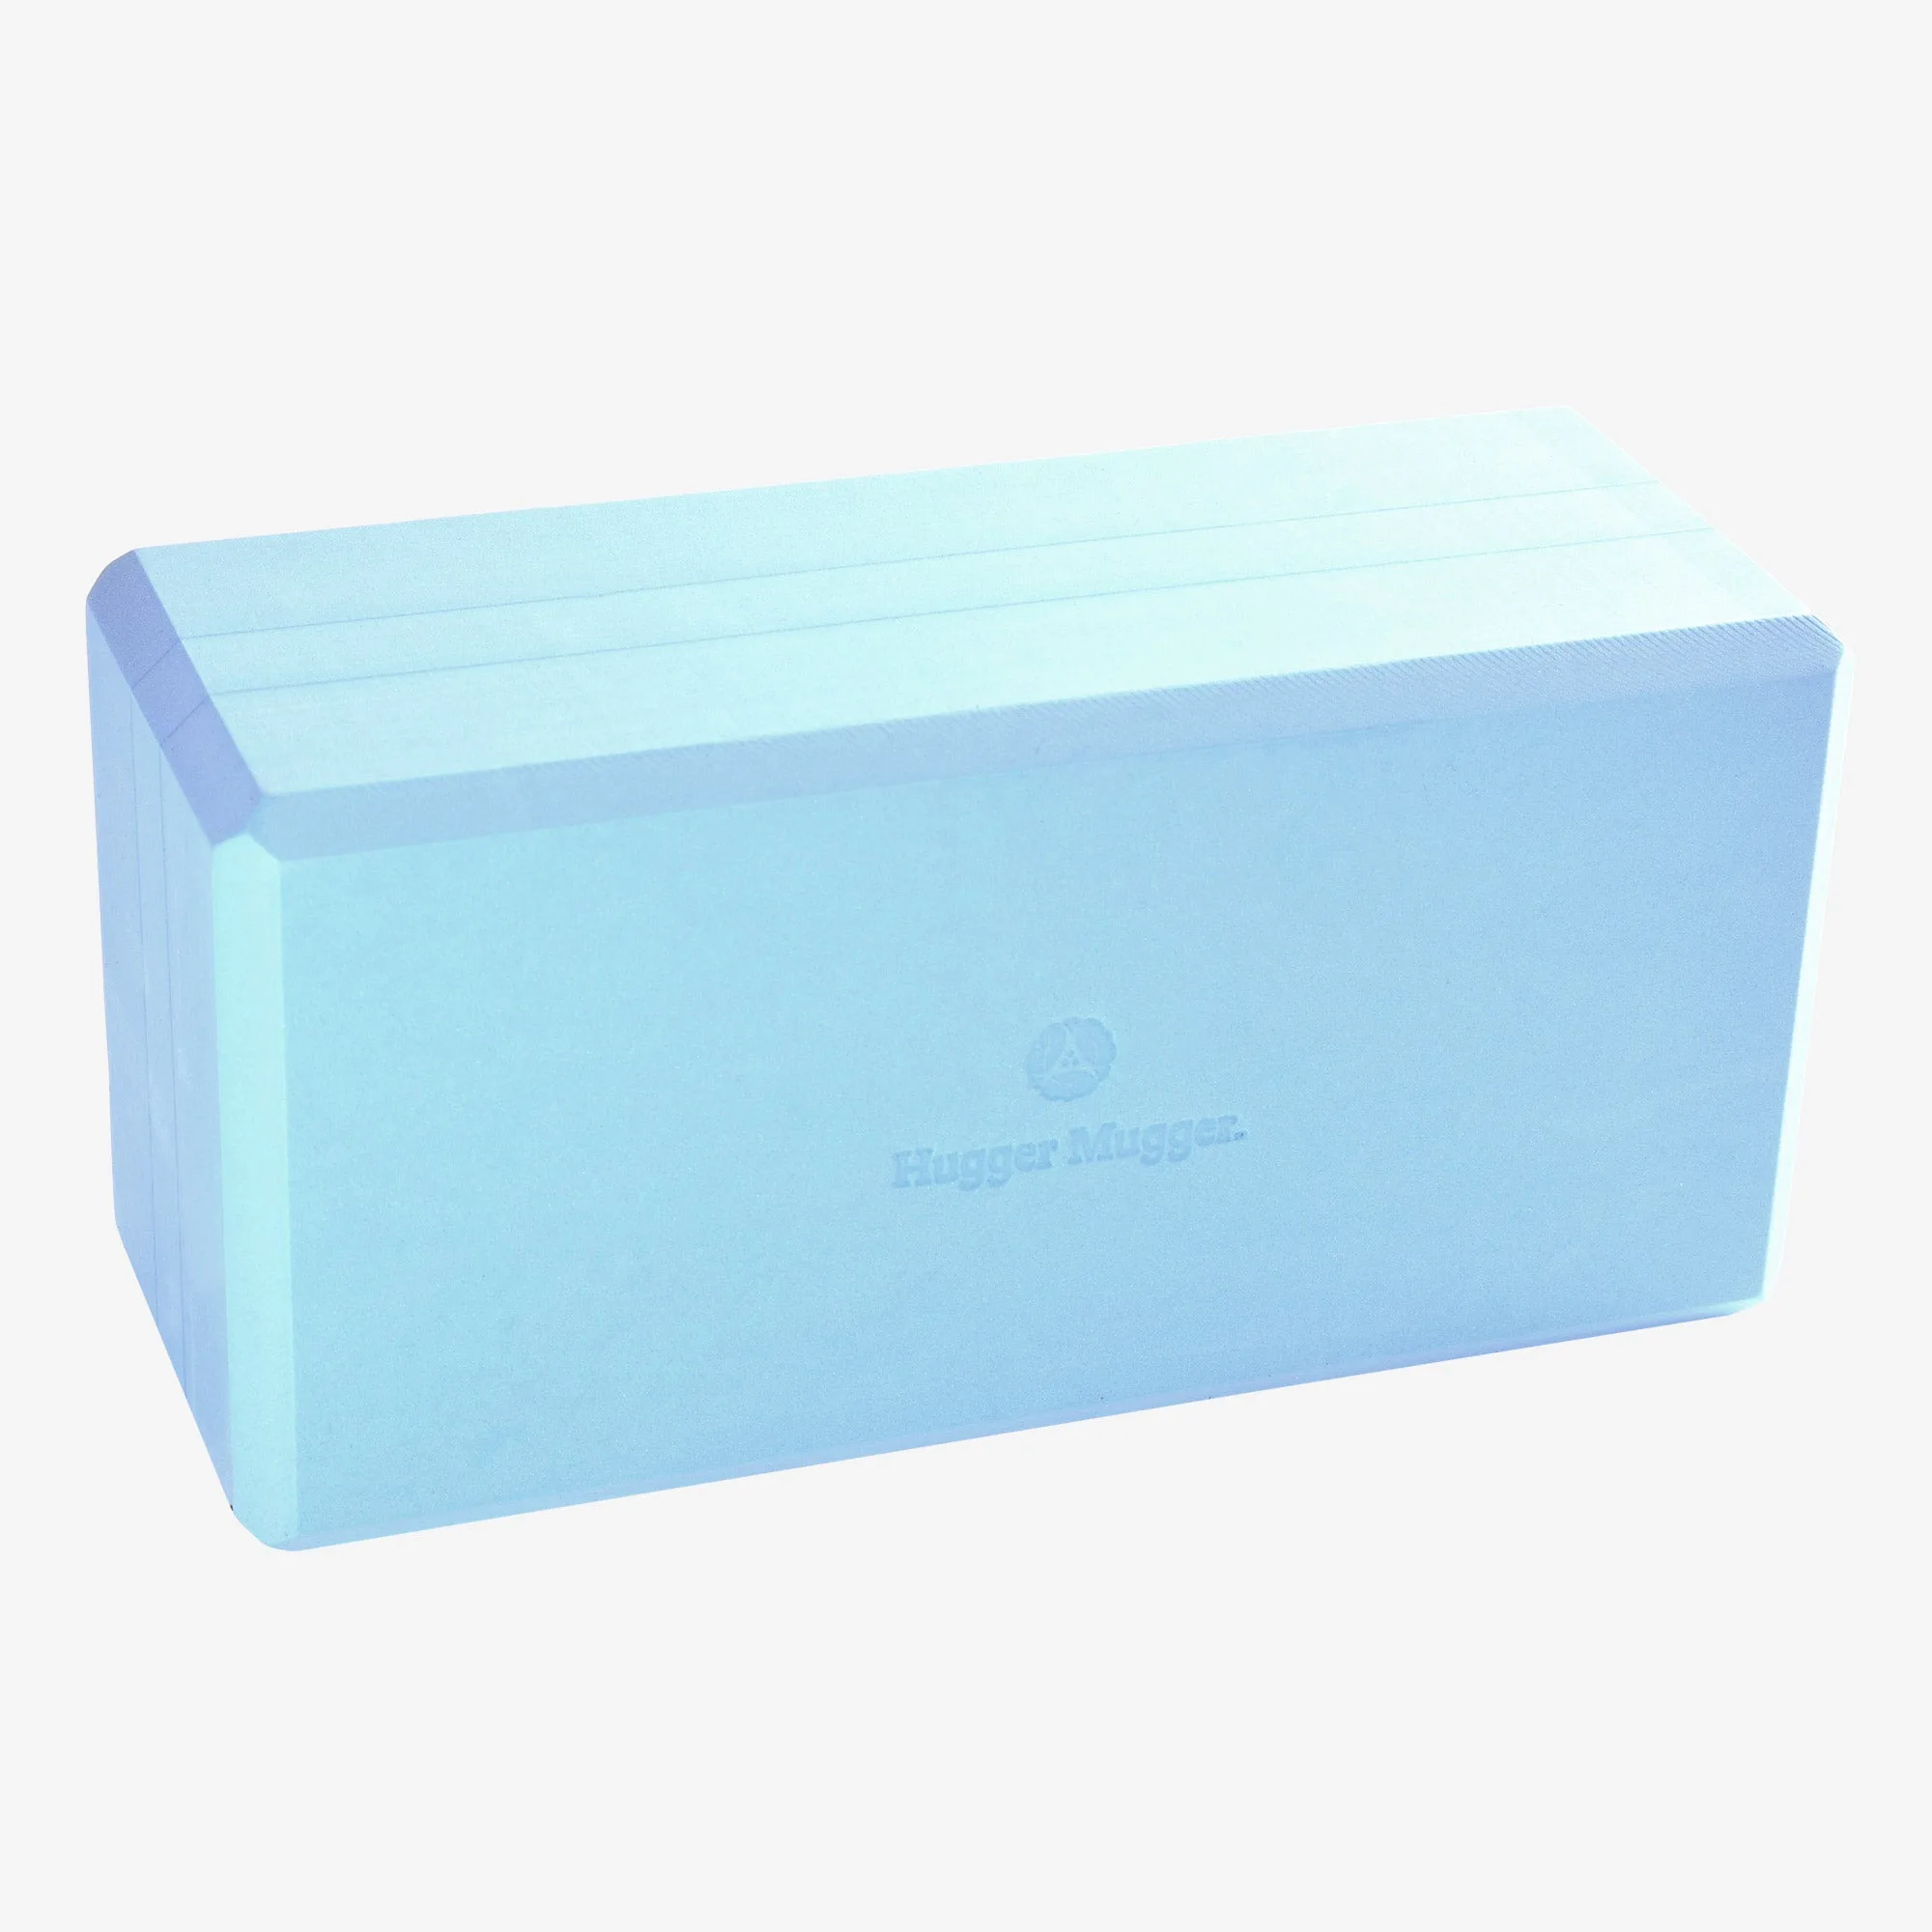
If you are using a bolster and blocks together, place the bolster where you need the most surface area, and use blocks to elevate or angle it. For instance, a bolster under the shoulder blades with a block under one end creates a gentle incline that can be easier on the neck.
- Use a strap around your feet in a reclined pose to avoid overstretching.
- For tight hamstrings, loop a strap around the arch of your foot and keep your knee slightly bent.
Adjust for your body, not the other way around
There is no perfect universal setup. Your proportions, flexibility, and any injuries determine what works. If a pose feels uncomfortable, change the height or angle. For example, if your lower back arches too much in a reclined pose, add a folded blanket under your head or reduce the bolster height by removing some filling if your bolster allows it.
The test is simple: can you stay in the pose for five minutes without fidgeting? If not, adjust. Small changes, like moving a block one inch, can make a big difference.
- If your hands or feet fall asleep, check for pressure points and add padding.
- If you feel pinching in your hips, reduce the height of your support.
A note on prop materials and stability
Cork props are naturally grippy and firm, which makes them excellent for layering because they do not compress much under weight. However, cork can be heavy, so if you need to move your setup often, consider lighter alternatives for some pieces. Also, cork surfaces can be slippery if they are dusty; wipe them down before use.
When layering, place firmer props at the bottom and softer props on top. This prevents sinking and keeps the structure stable. If you use a bolster with adjustable firmness, you can remove filling to make it lower, which is useful when you want a subtle lift rather than a big one.
- Avoid stacking two slippery props directly on each other.
- If a prop slides, place a mat or blanket between layers.
Step-by-step: layering props for a supported reclined pose
- 1. Set your base: Place a non-slip mat on the floor. If you are on a hard surface, add a blanket underneath for cushioning. Checkpoint: the mat should not slide when you press on it.
- 2. Position your main support: Place a bolster horizontally where you need it, such as under your shoulder blades for a chest opener. If you need more height, place a block under one end of the bolster to create an incline. Common mistake: putting the bolster too high, which can strain the lower back.
- 3. Add support for your legs: Slide a block under each thigh or knee to reduce strain on your lower back. Start with the block on its lowest height and adjust. Checkpoint: your legs should feel fully supported, not hovering.
- 4. Fine-tune your head and neck: Fold a blanket and place it under your head so your neck is in line with your spine. If your chin lifts, add more height. Common mistake: letting the head drop back, which can compress the neck.
- 5. Adjust for comfort: Stay for a few breaths. If you feel any pinching or tension, change the height or angle of your props. For example, remove some filling from your bolster to lower it. Checkpoint: you should be able to breathe easily and relax your muscles completely.
- 6. Use a strap if needed: If you are in a pose with legs extended, loop a strap around your feet and hold it lightly to avoid overstretching. Common mistake: pulling too hard on the strap, which creates tension.
Props that work well for layering
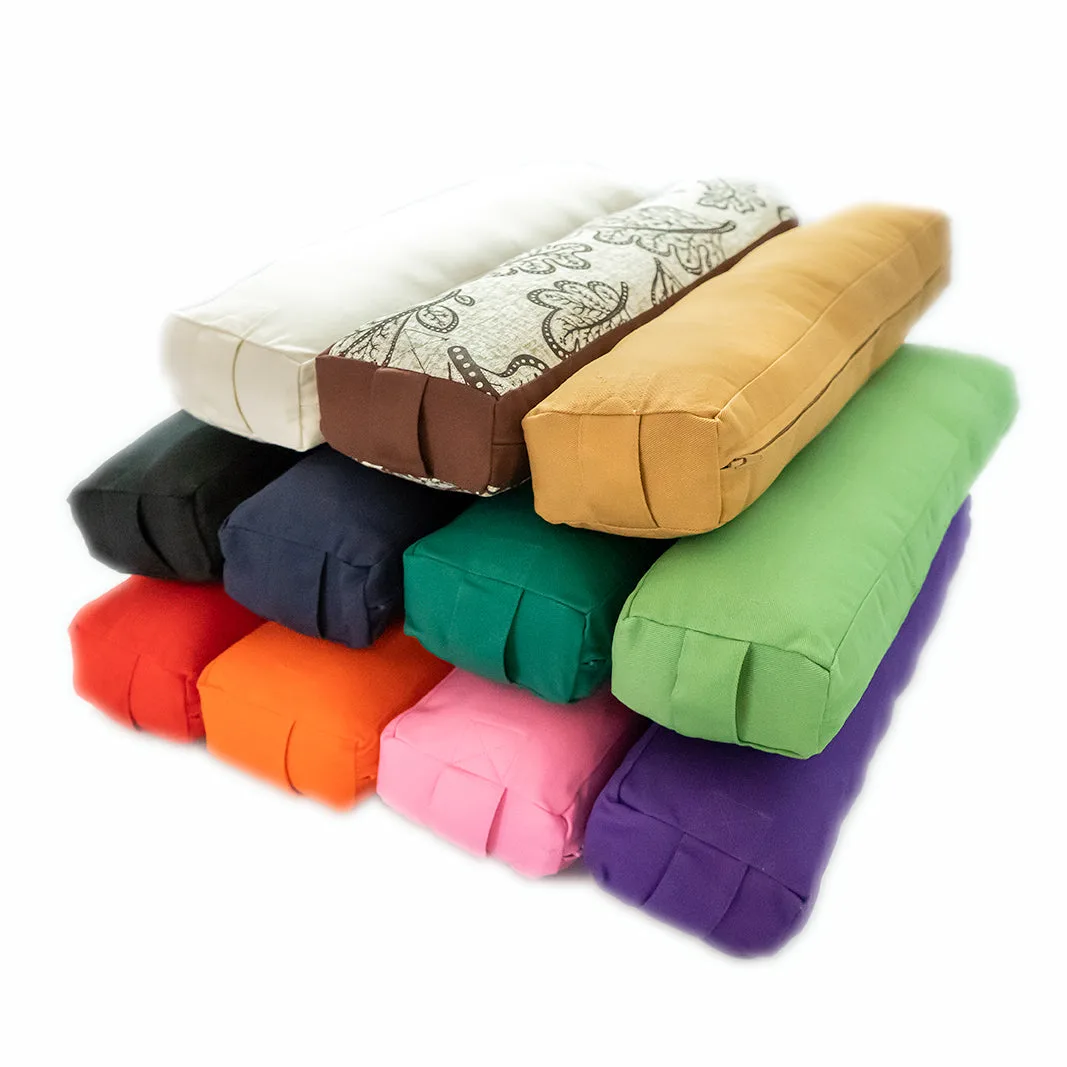
- Rectangular Yoga Bolster | Natural & Organic | Sage Green: Made with GOTS certified organic fabrics and dyes, with extra filling that can be adjusted for firmness by removing hulls. You can customize the height and firmness to fit your body, and the organic materials feel good against the skin during long holds.
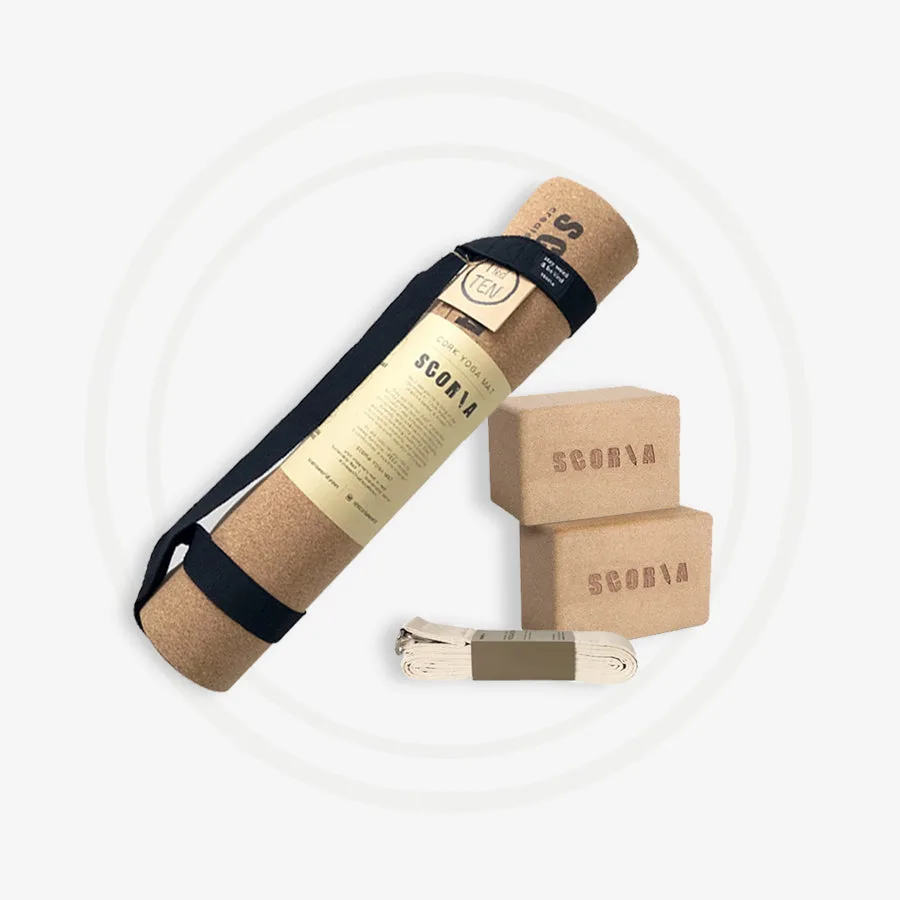
- The Essential Cork Yoga Pack: Mat (Choose Size) + 2 Blocks + Stretch Strap: Includes a cork yoga mat, two blocks, and a stretch strap, giving you a base, supports, and a fine-tuning tool in one set. This pack covers all three layers of a restorative setup, so you can start layering without buying pieces separately.
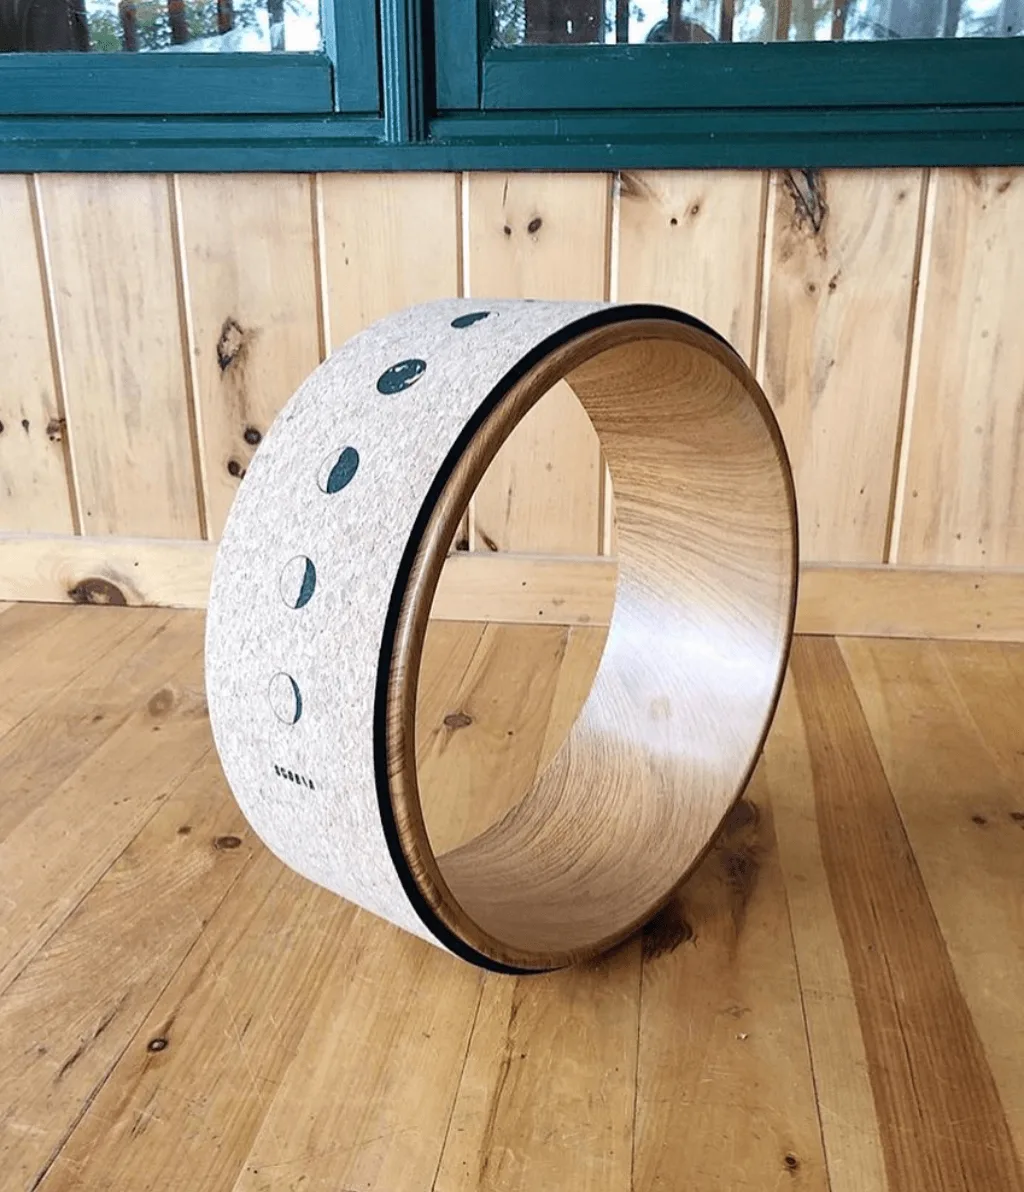
- Illuminate Cork Yoga Wheel: Cork top is anti-microbial and harvested sustainably; comes with a handout of ideas and postures. The wheel can be used as a support for backbends or as a prop to open the chest, and the handout helps you explore safe ways to use it.
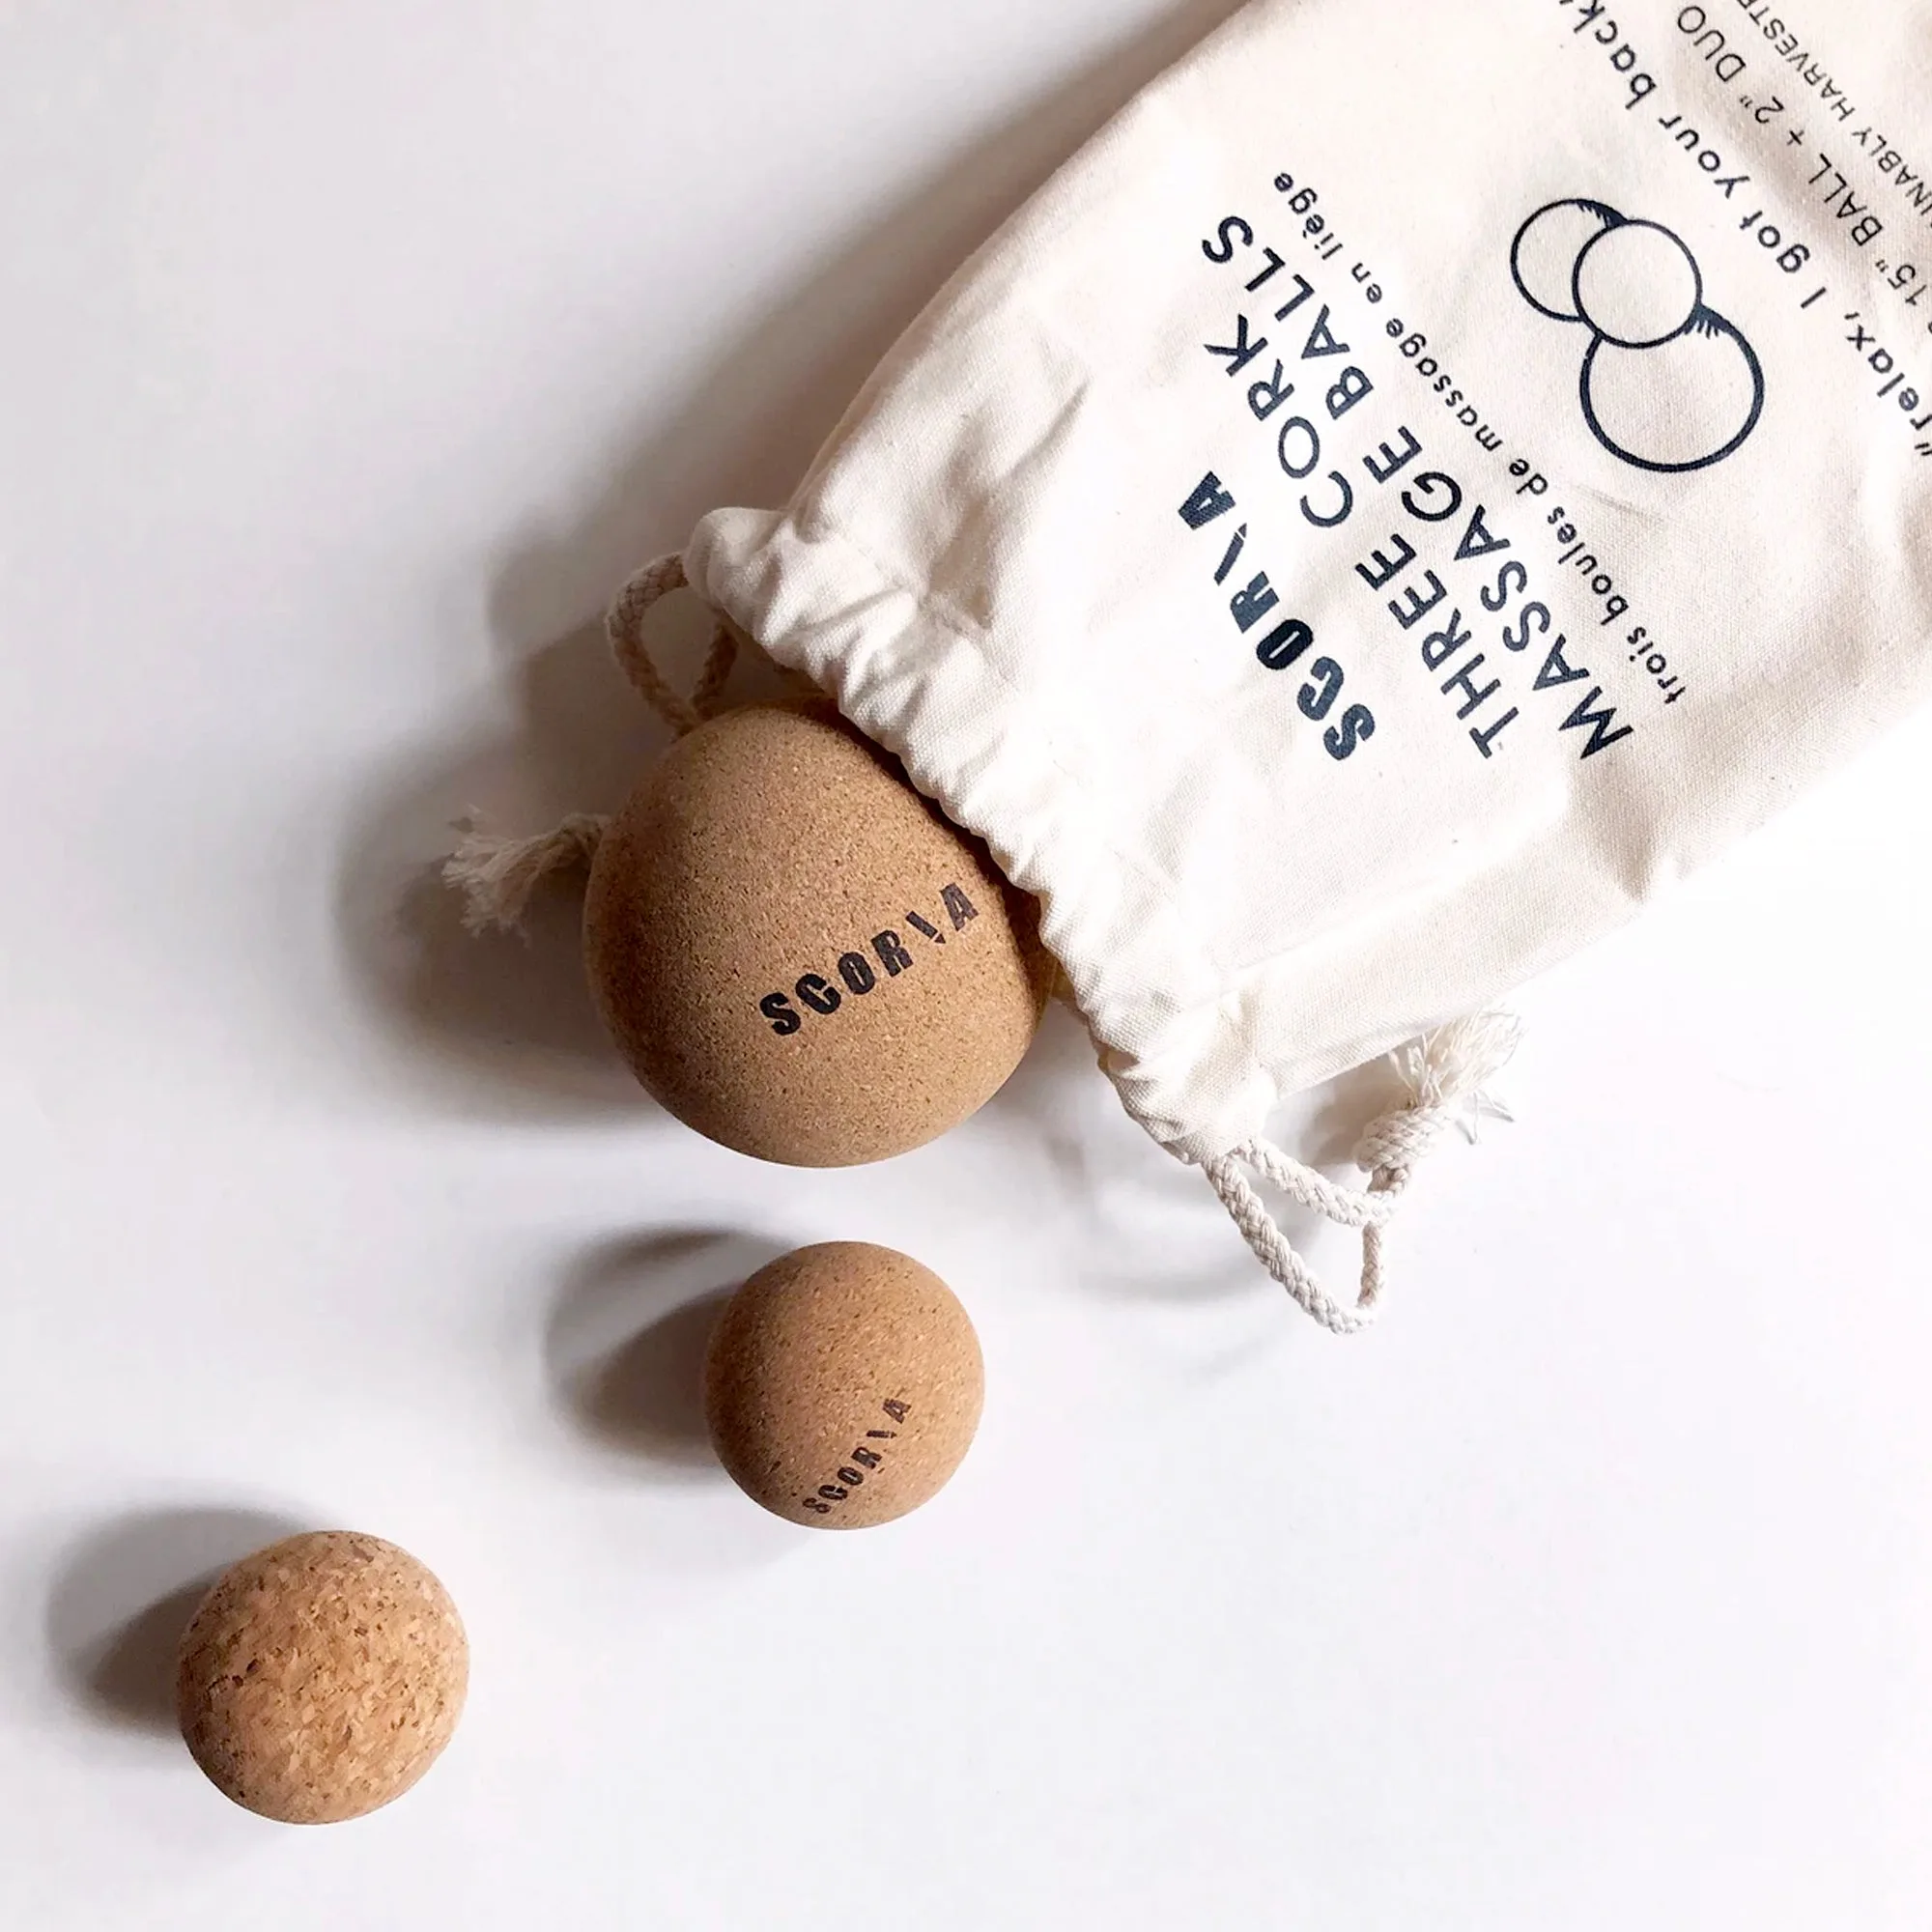
- Cork Massage Balls (Set of Three): Set includes two small (1.95" dia) and one large (3.15" dia) cork balls, with a pouch and instruction card. Use them before or after your prop setup to release tight spots; the two sizes let you target small areas like shoulders and larger areas like hamstrings.
Layering props is a skill that improves with practice. Start with the basic three-layer approach, adjust for your body, and soon you will be able to create a supportive setup for any restorative pose. The right combination can turn a few minutes of rest into deep relaxation.