Quick Answer
To create a restorative yoga sequence with props, choose 4-6 supported poses that hold for 3-5 minutes each. Use props like yoga blocks, a pranayama pillow, and a halasana bench to eliminate muscular effort and allow your nervous system to shift into relaxation. Focus on gentle backbends, forward folds, and inversions that use props for full body support.
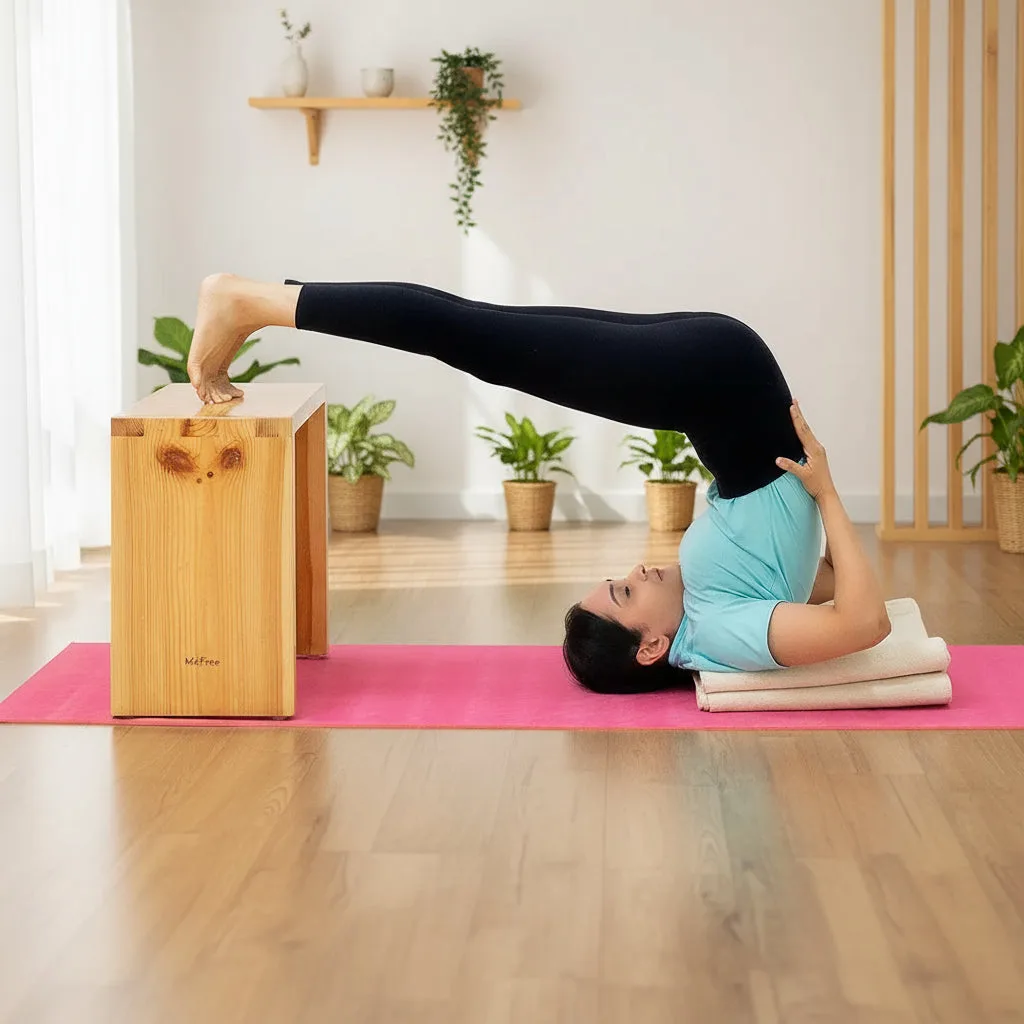
halasana bench
Restorative yoga is about doing less to achieve more. Unlike active practices that build heat or strength, restorative yoga uses props to support your body in poses held for several minutes. The goal is to signal your nervous system that it is safe to rest, which can reduce stress, lower heart rate, and improve sleep quality.
The key to an effective restorative sequence is choosing props that take weight and effort out of each pose. When your muscles can fully release, your mind follows. Below is a step-by-step guide to building a sequence that uses common yoga props to create deep, lasting relaxation.
Why Props Are Essential for Restorative Yoga
Props are not accessories in restorative yoga; they are the foundation. A well-placed block under your knees or a firm pillow under your head allows you to hold a pose for several minutes without strain. This passive support is what distinguishes restorative yoga from gentle or yin yoga.
The right prop can also help you access poses that might otherwise feel uncomfortable or inaccessible. For example, a halasana bench makes inverted poses like legs-up-the-wall or supported shoulder stand available to anyone, regardless of flexibility or neck health. Without props, these same poses would require significant muscular effort, defeating the relaxation purpose.
- Use a foam yoga block under your head in Savasana to maintain a neutral neck position.
Choosing the Right Props for Your Sequence
When building a restorative sequence, start with props that address the most common tension areas: the neck, lower back, and hips. A cotton pranayama pillow is excellent for seated meditation or supported reclining poses because its firm cotton fill keeps the spine tall without collapsing. For backbends, a setubandh bench or a halasana bench can provide the support needed to open the chest and shoulders passively.
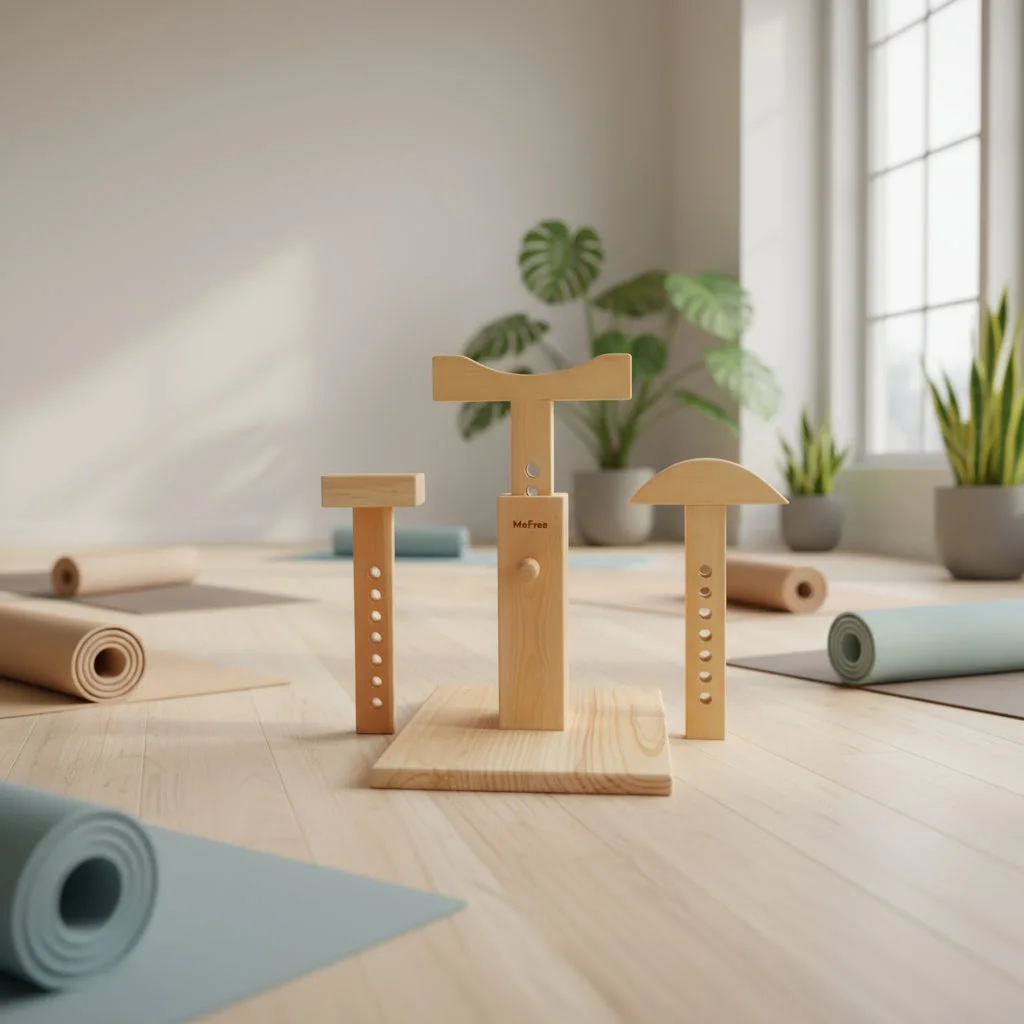
Yoga blocks are versatile enough to support knees in a reclined bound angle pose or to elevate the hips in a supported bridge. The foam yoga blocks set of 2 offers a firm yet forgiving surface that works well under the sacrum or between the thighs. If you plan to work on deeper backbends, consider a stump set for customizable height and angle adjustments, though a simpler block setup works for most beginners.
- For a simple sequence, start with a pranayama pillow, two foam blocks, and a blanket for extra cushioning.
Step-by-Step Restorative Yoga Sequence with Props
- Step 1: Supported Child’s Pose (Balasana): Place a foam yoga block or folded blanket between your thighs and sit on your heels. Drape your torso over the block, resting your forehead on the floor or an additional block. Hold for 3-5 minutes. Common mistake: letting your hips lift off your heels. Check that your sit bones stay heavy on your feet.
- Step 2: Supported Reclining Bound Angle (Supta Baddha Konasana): Sit with the soles of your feet together. Place a foam yoga block under each knee for support. Lie back over a rolled blanket or a cotton pranayama pillow placed lengthwise under your spine. Hold for 5 minutes. Checkpoint: your knees should be fully supported by the blocks, not dangling. Adjust block height if needed.
- Step 3: Legs-Up-the-Wall (Viparita Karani) with Halasana Bench: Position a halasana bench near a wall. Sit on the bench and swing your legs up the wall. Lie back so your sacrum rests on the bench and your head is on a folded blanket. Hold for 5-10 minutes. Common mistake: letting your lower back arch. Keep your tailbone heavy on the bench to maintain a neutral spine.
- Step 4: Supported Bridge Pose (Setu Bandha Sarvangasana): Lie on your back with knees bent and feet flat. Slide a foam yoga block under your sacrum. Adjust the block height to a comfortable lift. Hold for 3-5 minutes. Checkpoint: your neck should feel long and relaxed. If you feel pressure in your neck, lower the block height or place a folded towel under your head.
- Step 5: Savasana with Pranayama Pillow: Lie flat on your back. Place a cotton pranayama pillow under your knees to release the lower back. Rest your arms at your sides with palms up. Cover your eyes with a soft cloth or eye pillow. Hold for 5-10 minutes. Common mistake: clenching your jaw or hands. Do a quick body scan from head to toe before settling into stillness.
Products That Support a Restorative Practice
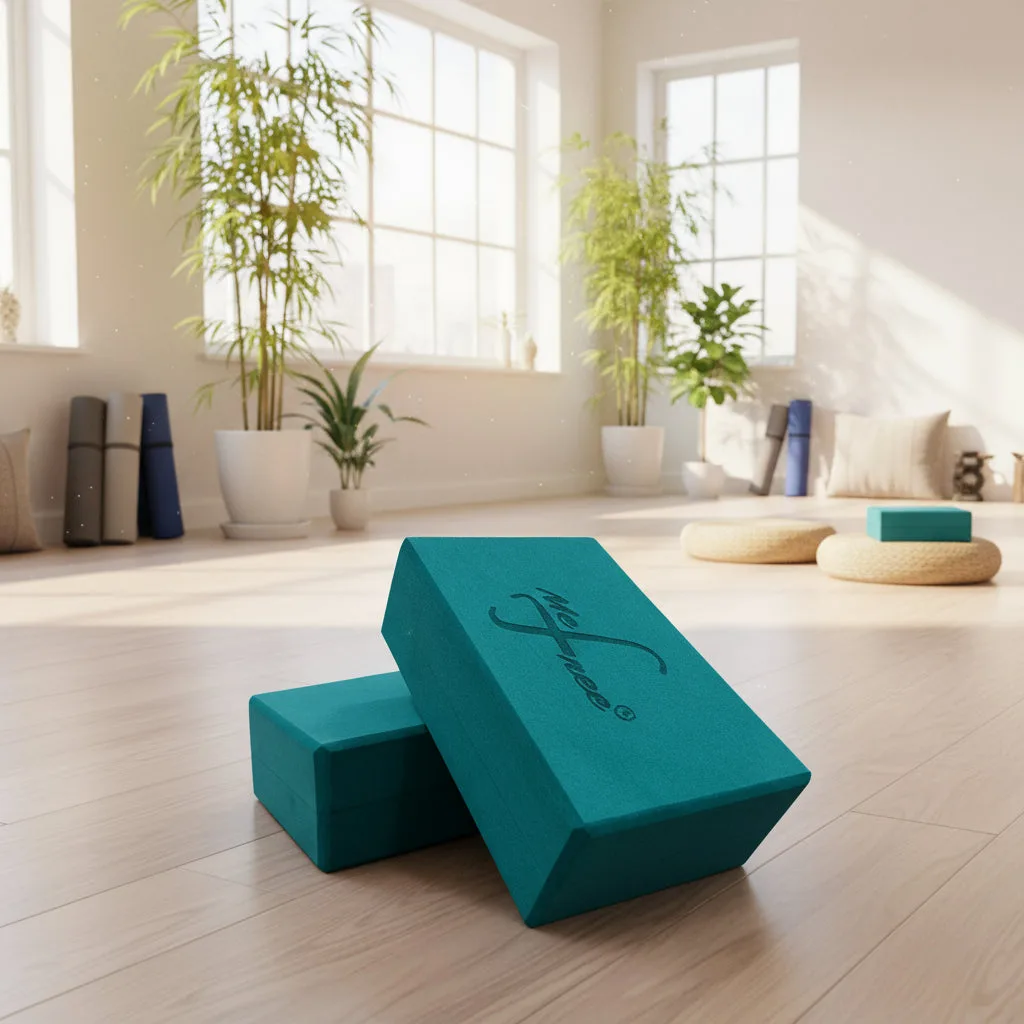
- Foam Yoga Blocks Set of 2: High-density foam yoga blocks designed to bridge the gap between your current reach and your wellness goals, providing essential stability for both restorative sessions and technical Iyengar-inspired practices. In restorative yoga, these blocks can support your knees in a reclined pose or elevate your hips in a supported bridge, allowing your muscles to release fully without strain.
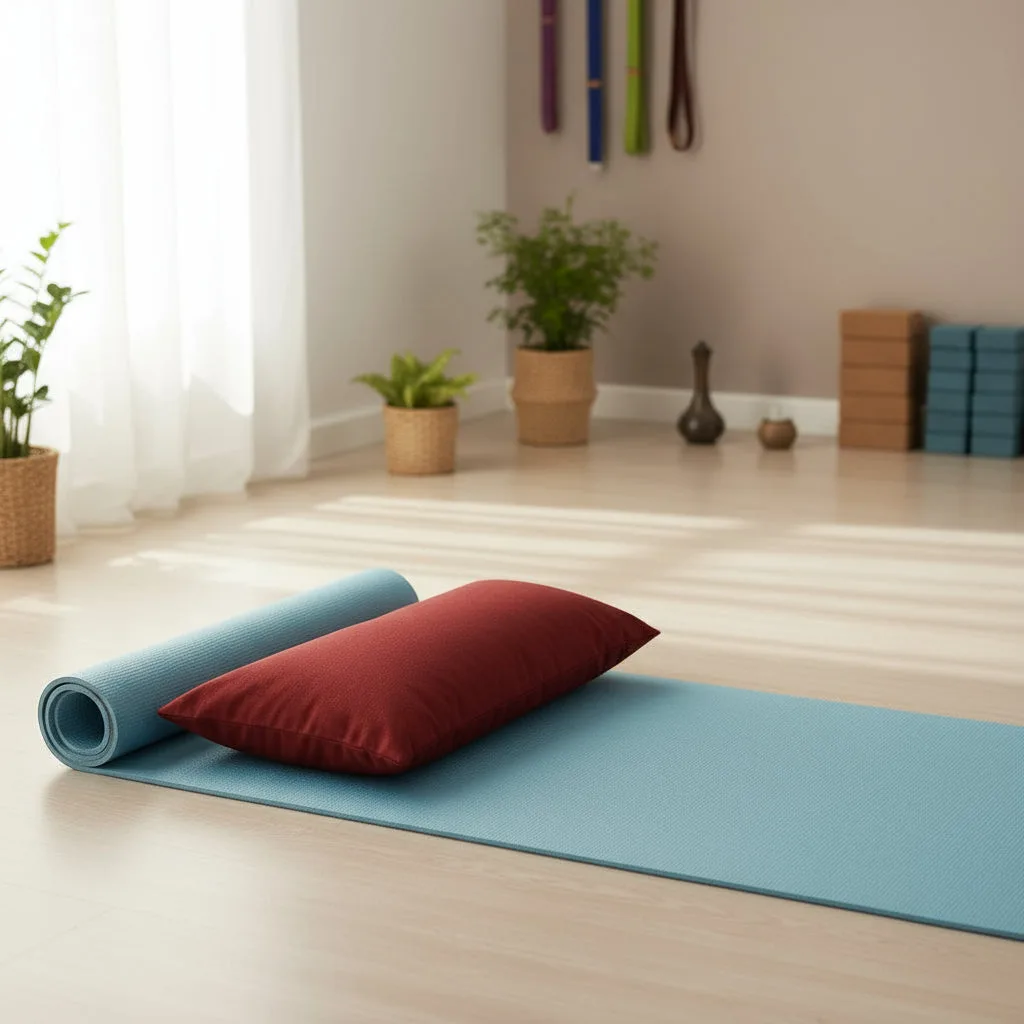
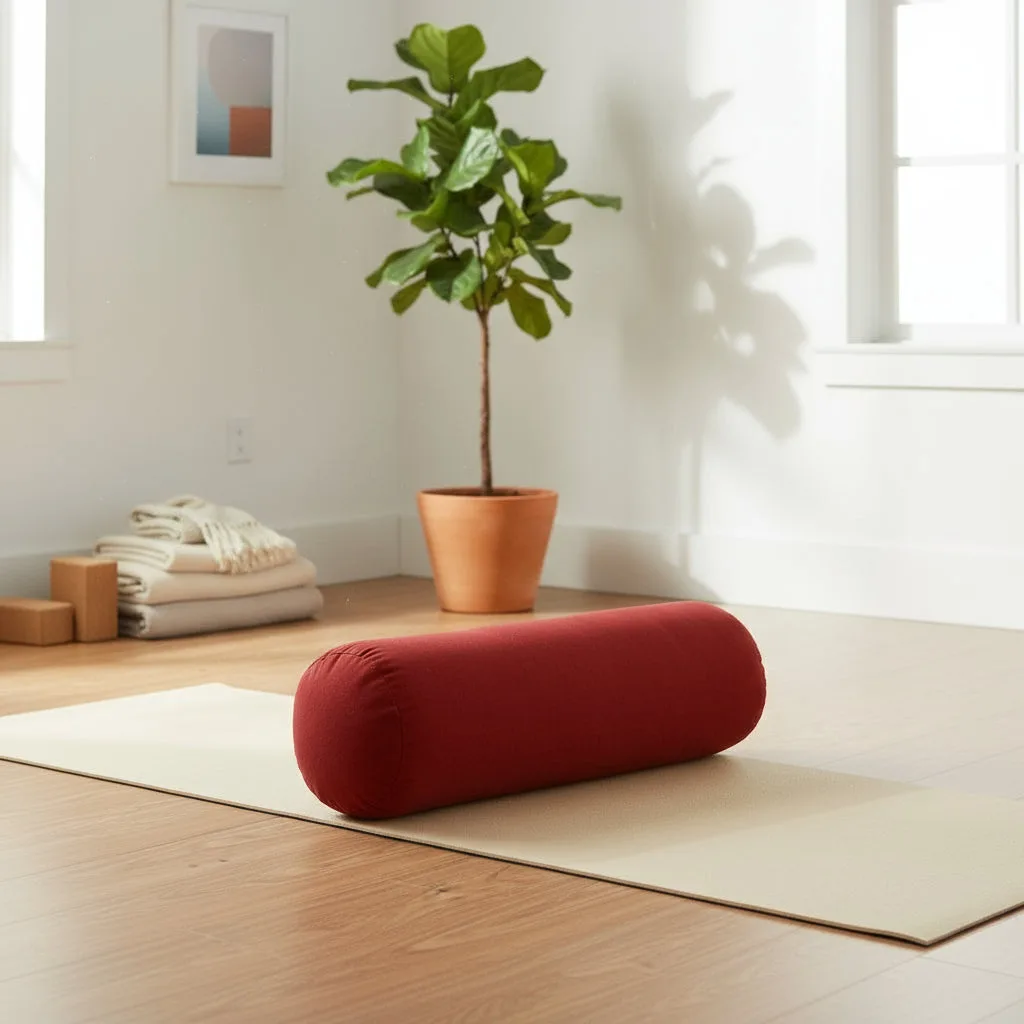
- Cotton Pranayama Pillow: The cotton fabric is very firm yet comfortable so you can maintain tall posture for your longer and deeper breathes. It provides your spine with good alignment. This pillow is ideal for seated meditation or supported reclining poses in a restorative sequence, as its firm fill keeps your spine aligned without collapsing over time.
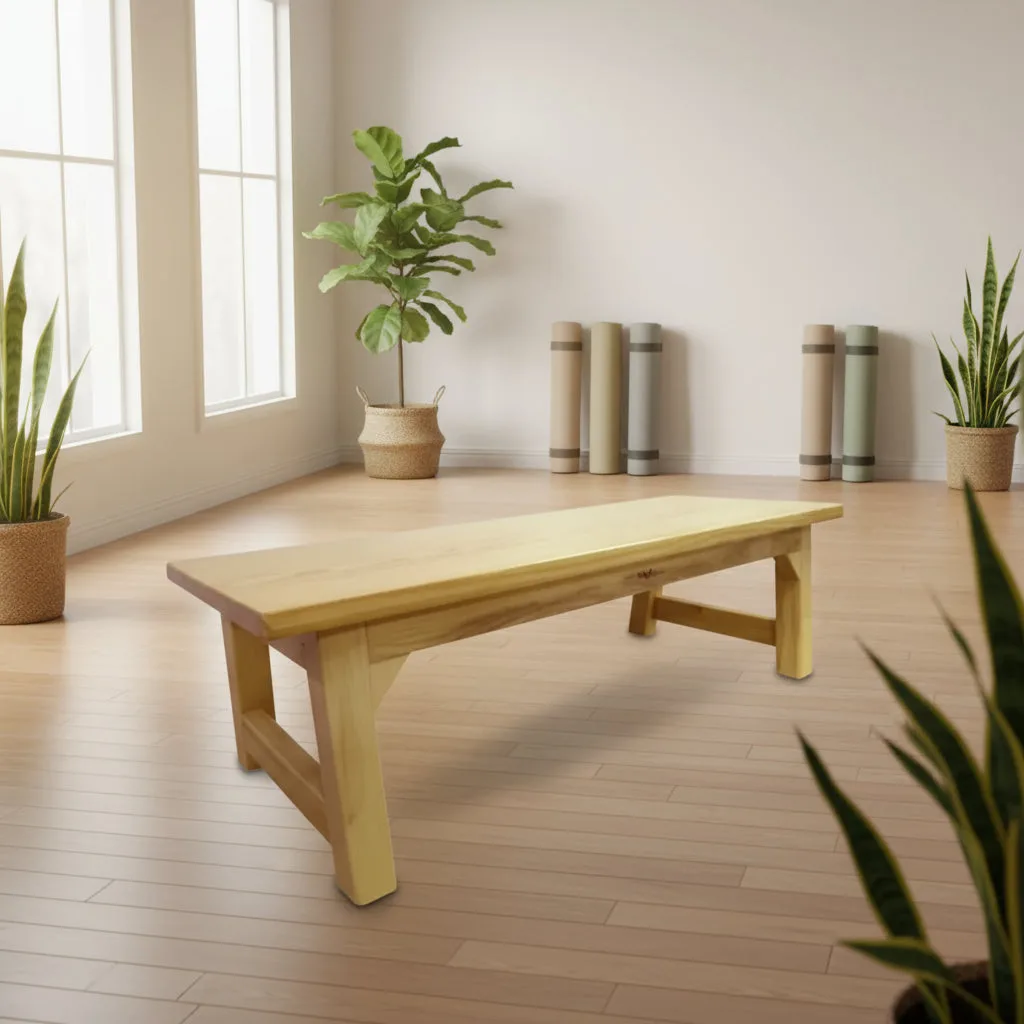
- Halasana Bench: The MeFree Halasana bench is the ultimate prop for a stressed-out spine and a cluttered mind. This premium inversion functions as a deep-tissue release, targeting the neck, shoulders, and lower back. For a restorative inversion, the halasana bench supports your entire spine, allowing you to hold a gentle inversion for several minutes without pressure on your neck or lower back.
Restorative yoga is a practice of surrender, not effort. By using props like foam blocks, a pranayama pillow, and a halasana bench, you can create a sequence that supports your body so completely that your mind naturally lets go. Start with these five poses, hold each one for several minutes, and notice how your nervous system responds. Over time, you can adjust the sequence to target specific areas of tension or to lengthen your practice.