Quick answer
Load 35mm film onto the spiral reel by touch in complete darkness, keeping the emulsion side facing inward and letting the reel pull the film in rather than pushing it. Cut a clean, burr-free leader, keep your hands and the reel dry, and never force a bind. If you plan to develop more than one roll at a time, choose a tank that accepts extension modules so you are not fighting a full reel in the dark.
Set up so you never touch the film in the light
Scratches almost always start before the film is on the reel. Work at a clean, uncluttered surface with a changing bag or a fully light-tight darkroom, and keep scissors, a can opener, and the tank within reach by feel. Lay out the reel, the tank body, the centre column, and the lid in the same order every time so you can find them with your eyes closed.
Wipe the work area and your hands. Grit, dried fixer, and dust on your fingers are the most common cause of fine linear scratches along the length of a negative, and they are invisible until you scan the film.
Prepare the film end and the reel before you start
Trim the leader square across, removing any torn sprocket area and any bent corner. A ragged or angled cut catches on the reel's entry guides and encourages you to push harder, which is exactly when the emulsion gets scraped.
Check that the reel's spiral grooves are dry and free of residue. Stainless reels should be completely dry and unbent; plastic reels should be dry, clean, and clicked fully together. If a reel has ever been dropped, test it with a scrap length of film in daylight before trusting it with a real roll.
Load by feel and let the reel do the work
In darkness, feed the trimmed end into the reel's outer entry slot, emulsion side facing the centre of the reel, and turn the two halves of the reel in opposite directions with a gentle rocking motion. The film should glide in with light pressure only. If it stops, back the film out a few centimetres and start again rather than forcing it forward.
Listen and feel for the film settling into the groove. A correctly loaded reel feels even and slightly springy; a misloaded one feels lumpy and refuses to advance. When you reach the end of the roll, leave the film tail free and place the loaded reel on the centre column.
Close the tank and check before the lights go on
Slide the reel down the centre column, seat it fully, and fit the lid until it is firmly home. Only then turn on the light. If you are using a tank with a cog or magnet lid, confirm you have the correct lid for your processing method before you start, because swapping lids later means going back into the dark.
Once the tank is closed, do a quick inversion test over the sink. Any leak at the lid seam is a sign the lid is not seated, and it is far easier to fix now than mid-development.
Handling habits that keep negatives scratch-free
After processing, hang the film to dry in a dust-free spot and resist the urge to squeegee it with anything rigid. Touch the film only by the edges, and store negatives in sleeves rather than loose in a box. Most scratches people blame on the reel actually happen during drying, cutting, or storage.
If a roll is stubborn, it is usually curl or humidity rather than the reel. Letting a tightly curled roll relax for a few minutes in the changing bag, and keeping the darkroom comfortably dry, solves more loading problems than any technique change.
Step-by-step: scratch-free loading sequence
- Work in total darkness with everything laid out: Arrange reel, tank body, centre column and lid in a fixed order before you open the cassette, and keep the surface and your hands clean and dry. Checkpoint: if you cannot find every part by touch, stop and reset before opening the film.
- Trim the leader square and inspect the reel: Cut off the tapered leader and any damaged sprocket holes, then confirm the reel is dry, clean and, for plastic reels, fully clicked together. Common mistake: reusing a damp or gritty reel, which drags grit along the emulsion.
- Feed the film emulsion-in and rock the reel halves: Insert the trimmed end into the outer entry slot with the emulsion facing the centre, then turn the reel halves in opposite directions with light, even pressure. Common mistake: pushing the film when it binds. Back it out and restart instead.
- Seat the reel on the column and close the tank: Slide the loaded reel fully onto the centre column, fit the correct lid for your processing method, and only then switch on the light. Checkpoint: invert the closed tank over the sink to confirm the lid is sealed.
- Dry, cut and store without touching the image area: Hang the film in a dust-free place, skip rigid squeegees, handle only the edges, and sleeve the negatives once dry. Next step: keep a spare dry reel on hand so you never rush a second roll.
Tank choices that make loading easier
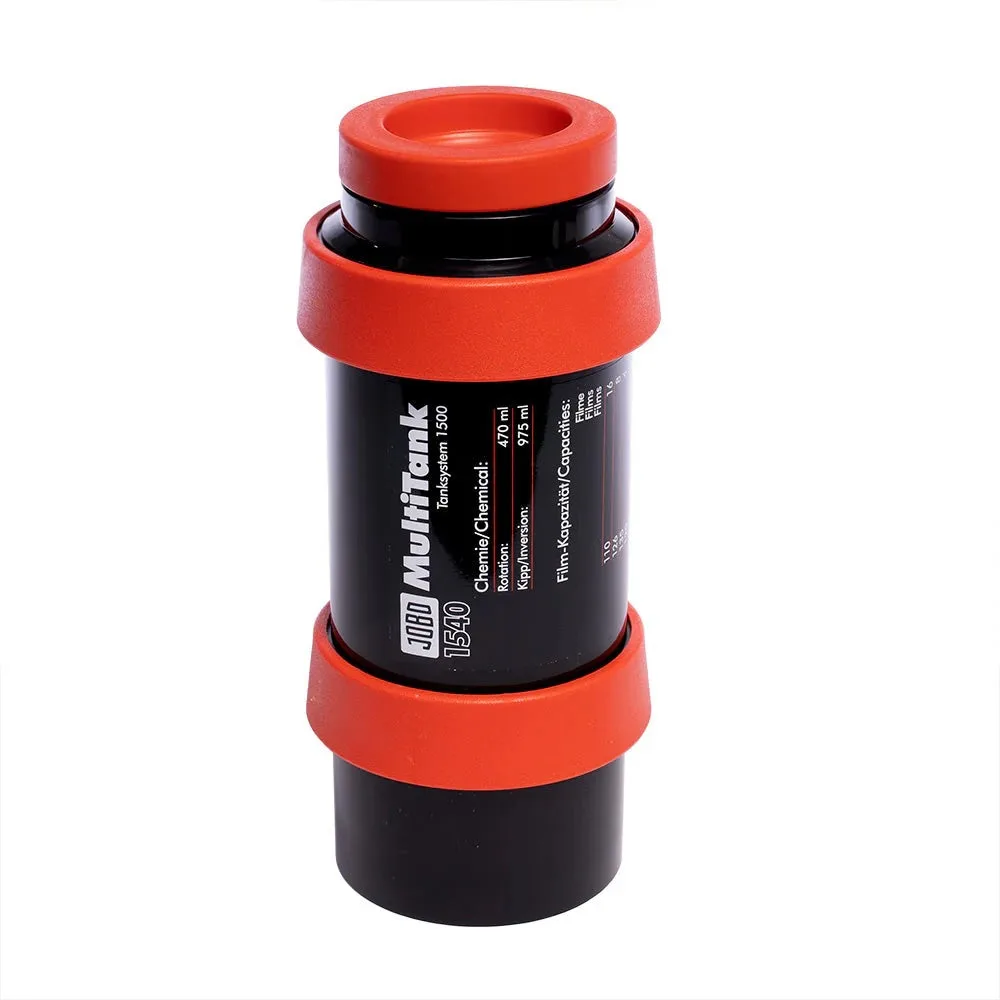
- Jobo 1540 Developing Tank Multi Tank: All Jobo tanks can be combined with extension modules, for example the 3-film tank extension 1530, and the lid you fit determines whether the tank is used for normal hand development or in a processor (1505 cog lid for models with a lift, 1504 magnet lid for those without). If you regularly develop several rolls in one session, a modular tank lets you load each reel separately and combine them afterwards instead of wrestling a full stack in the dark. Check which lid matches your processing method before buying, because the lid, not the tank body, decides how you agitate.
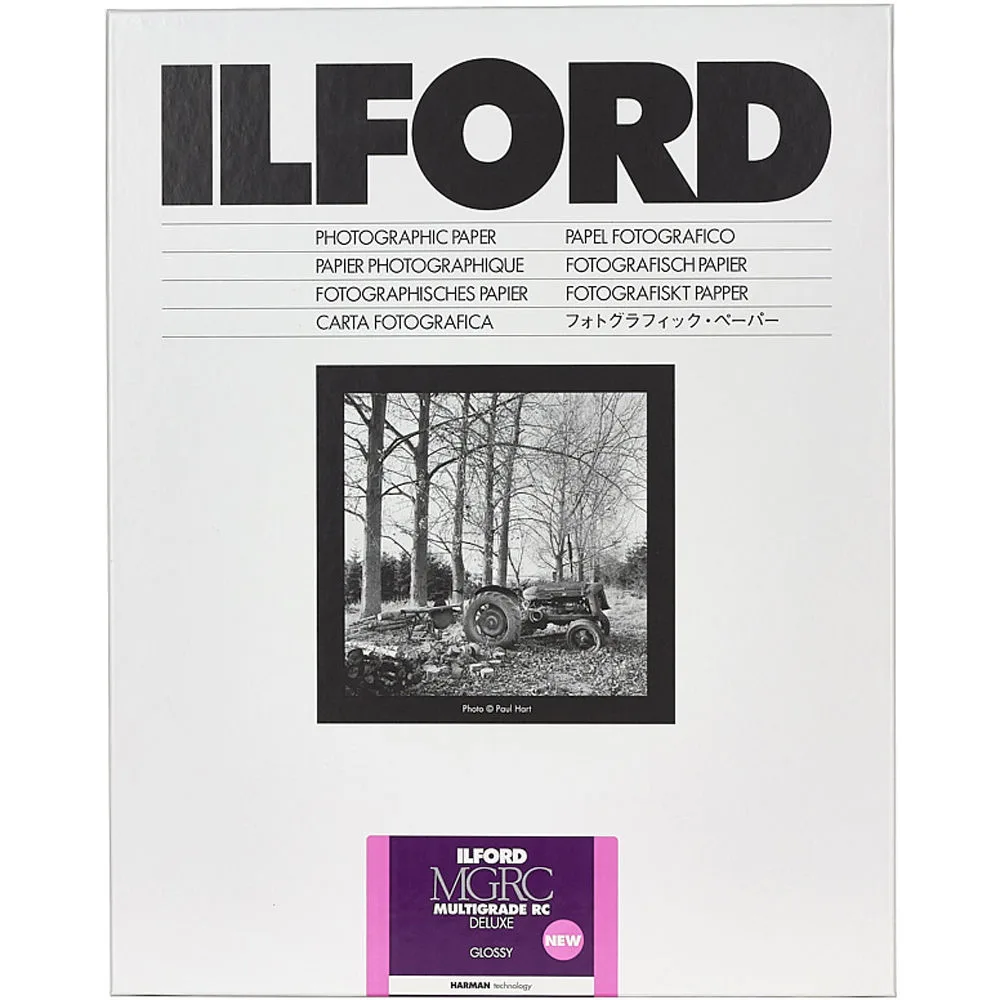
- Ilford Multigrade RC Deluxe Glossy 4 x 5in 25 Sheets: Ilford Multigrade RC Deluxe Glossy is a variable-contrast black and white paper that gives five grades and half grades from a single sheet. Once your negatives are scratch-free, variable-contrast paper lets you fine-tune contrast print by print without buying several paper grades, which is useful when a slightly thin or dense negative needs rescuing at the enlarger.