Quick answer
Wipe the lamp's interior and bulbs with a dry microfiber cloth after every use, keep the curing chamber free of sticky gel and dust, and store the lamp closed and away from heat and water. Replace the lamp if curing time clearly increases or the glue stays tacky, and always follow the cure time that came with your glue gel.
Your UV lamp is the one tool that decides whether your press-on nails actually stay put. A dirty or weakened lamp gives you a soft, tacky glue layer, and that is usually the real reason a set pops off two days in.
The good news is that nail UV lamp maintenance takes about a minute per session. This guide walks through a simple routine you can build into your application process, plus the checkpoints that tell you when a lamp is past saving.
Why lamp care matters more than you think
UV and LED lamps cure solid nail glue gel by delivering light at the right intensity for the right amount of time. Dust, gel residue, and dried glue on the bulbs or the reflective interior block that light. The result is partial curing: the surface looks set, but the layer underneath stays soft and lets the nail lift.
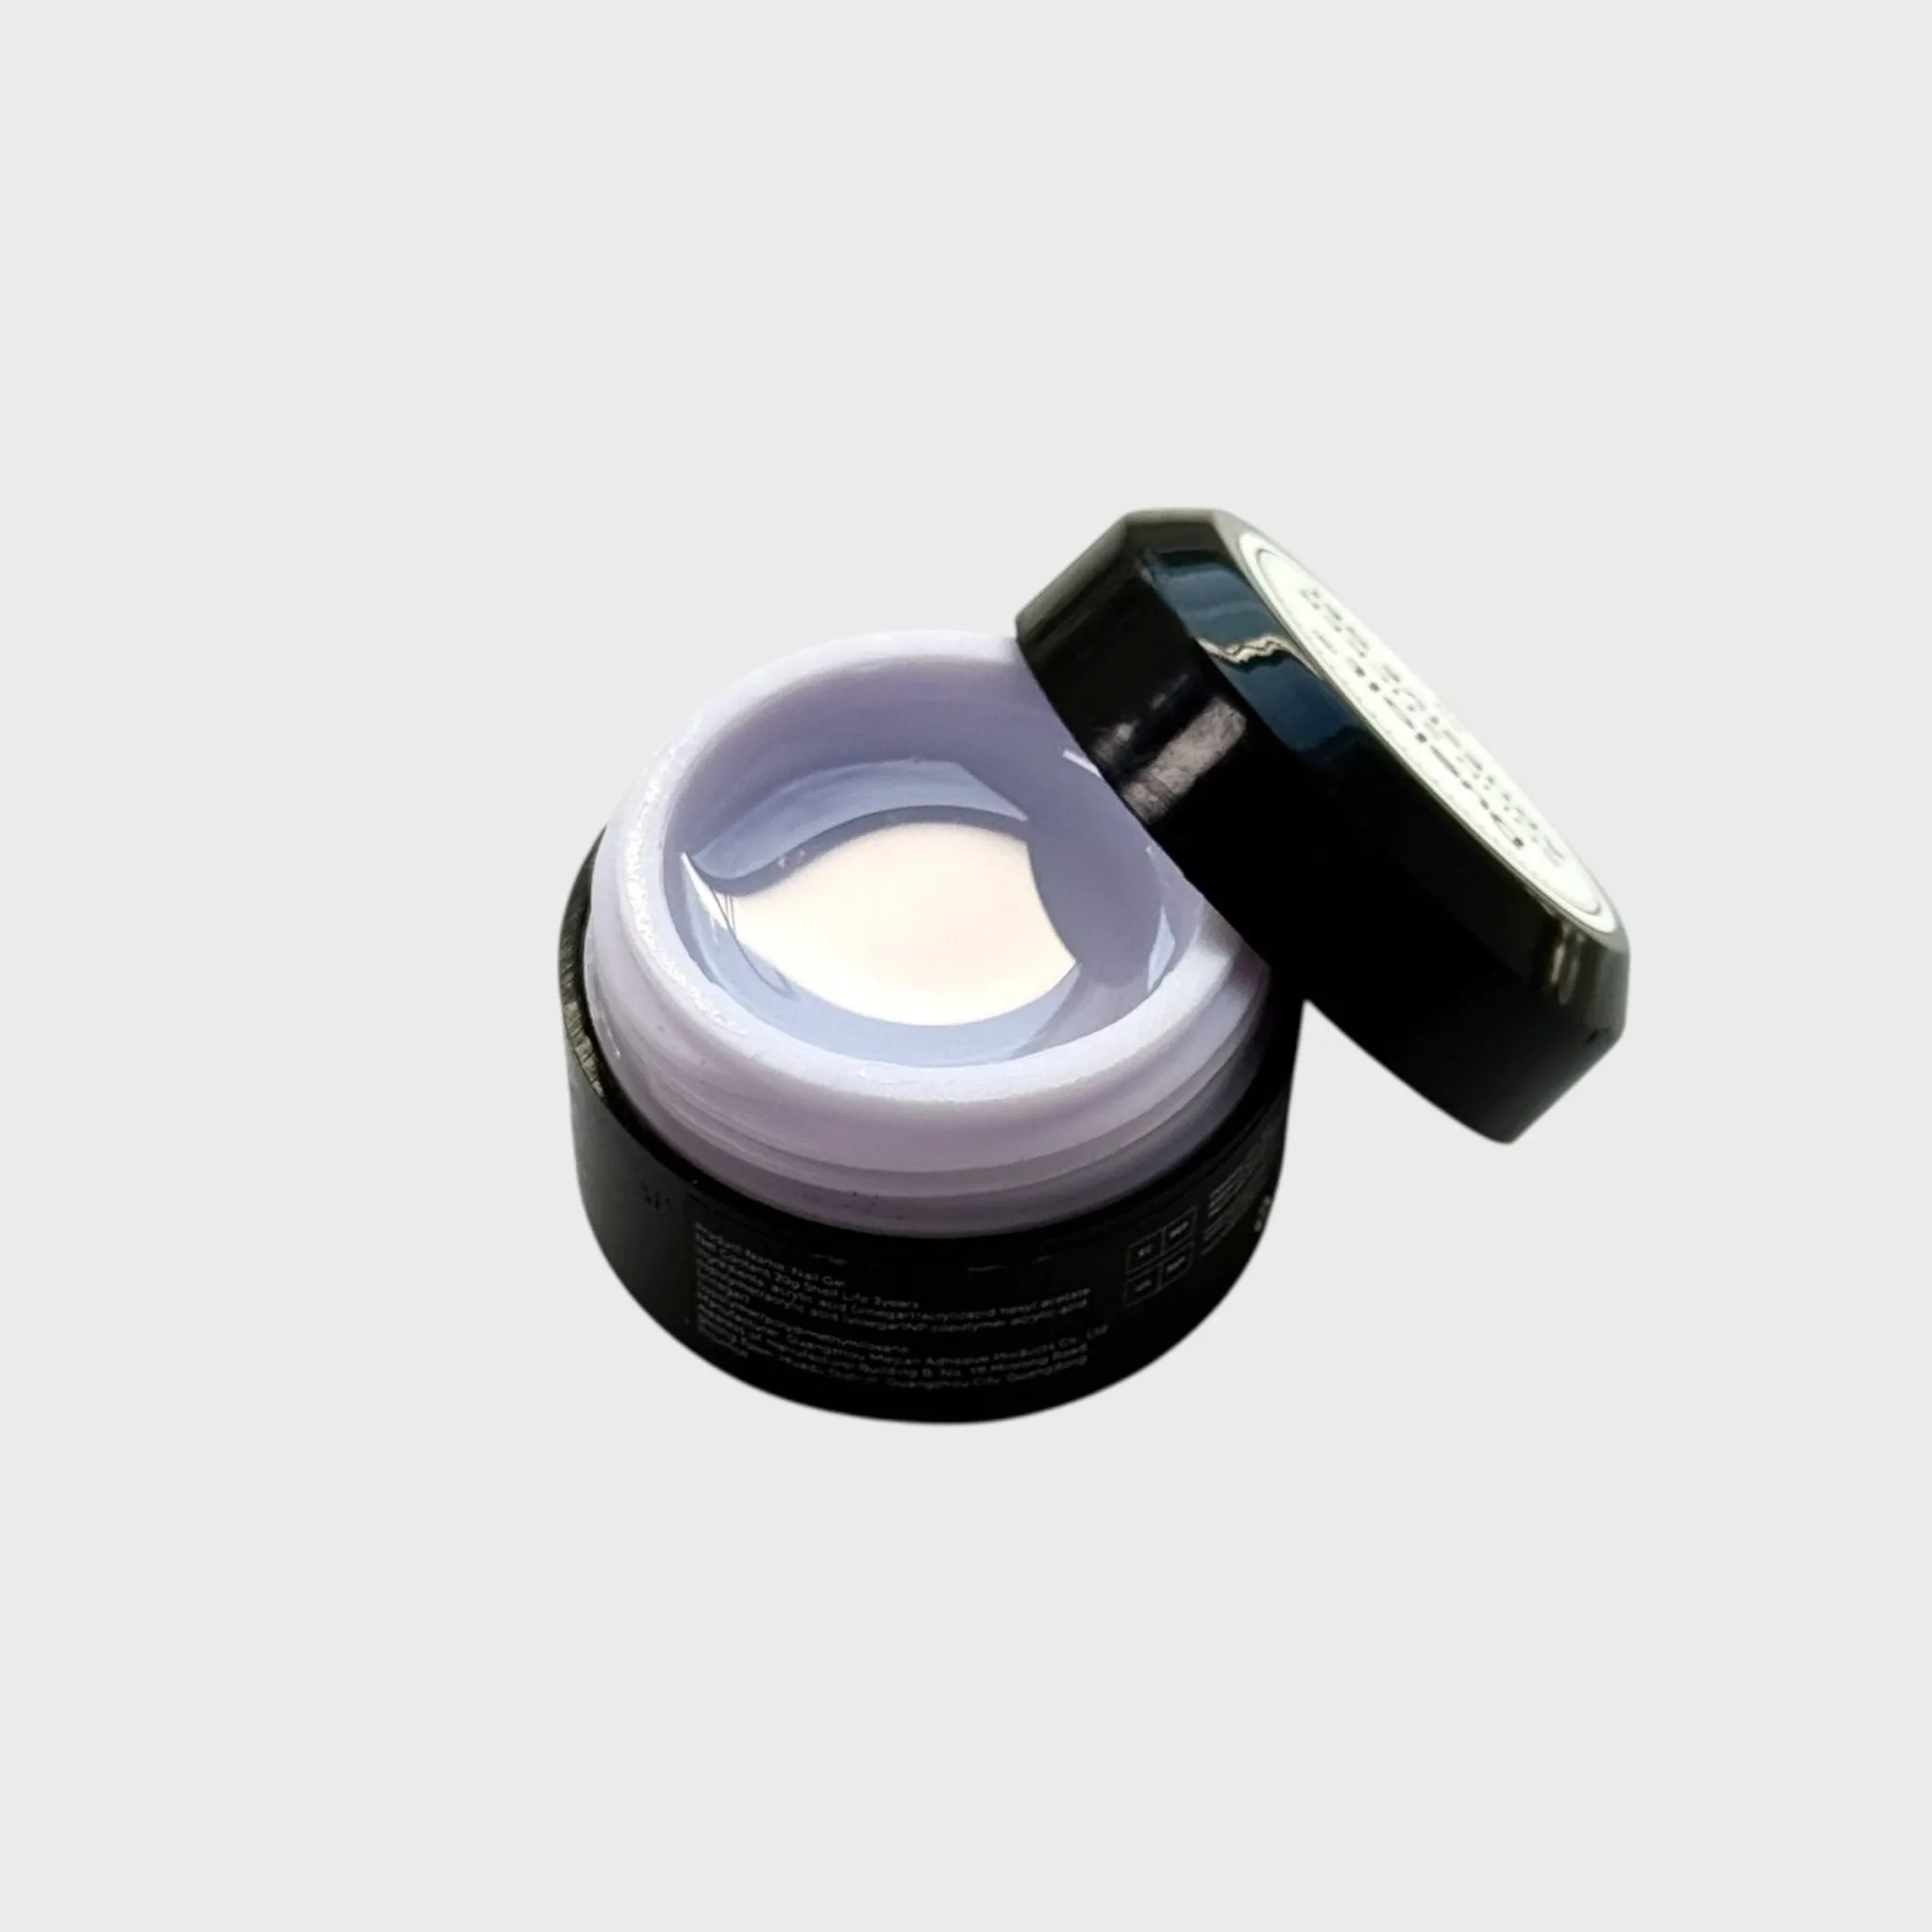
solid nail glue gel
Cleaning also protects your hands. Residue on the lamp floor can transfer onto the next set, and a sticky chamber collects dust and lint that end up sandwiched between your natural nail and the press-on. A clean lamp gives you a predictable cure, which is what makes a set last.
- Treat the lamp as part of your application, not an accessory you pull out once a month.
- If your glue gel came with a recommended cure time, that time assumes a clean, working lamp.
What you need for a two-minute clean
You do not need a specialty kit. A dry microfiber cloth, a few lint-free wipes or cotton swabs, and isopropyl alcohol for occasional spot cleaning cover almost everything. Avoid paper towels, which shed fibers into the chamber, and never spray liquid directly into the lamp.
If your lamp has removable bulbs or a removable tray, check the manual for whether those parts can be wiped or need to be replaced. If the manufacturer's instructions are not available, stick to dry wiping and light alcohol spot cleaning rather than soaking any part.
- Keep a dedicated microfiber cloth with your nail supplies so cleaning actually happens.
- Do not use acetone or nail polish remover on the lamp interior; it can cloud plastic surfaces.
How to clean a UV nail lamp without damaging it
Unplug the lamp first and let it cool if it has been running. Wipe the interior walls, the floor of the chamber, and the bulbs or LED window with a dry microfiber cloth. For sticky spots, dampen a swab with isopropyl alcohol and work the spot gently, then let the surface air dry completely before plugging the lamp back in.
Do not scrub the bulbs or LED panel. They are the parts that actually do the curing, and abrasive scrubbing or a soaked cloth can shorten their life. A light wipe is enough for routine care; save deeper cleaning for visible residue.
- Clean after every few applications, or immediately if you notice gel on the chamber floor.
- Let the lamp dry fully before use so moisture does not sit near the bulbs.
Curing checkpoints that tell you the lamp is still working
After each cure, press a clean fingertip against the glue layer at the edge of the nail. It should feel hard and dry, not tacky or rubbery. If the edge still feels soft after the full recommended time, that is your first signal the lamp is losing output or the chamber is dirty.
Track your cure times loosely. If you used to get a solid set in one cycle and now need two or three, the lamp is either dirty or weakening. Clean it thoroughly and test again before you assume it is broken.
- A tacky edge after a full cure is a lamp or cleaning problem, not a glue problem.
- If cleaning does not restore the cure, replace the lamp rather than extending cure time indefinitely.
Storage habits that extend UV lamp life
Store the lamp closed, upright, and away from windowsills, radiators, and bathroom counters where it can get splashed. Heat and moisture are the two things that quietly shorten lamp life, and both are common in a bathroom setup.
If the lamp runs on batteries or has a charging cable, store it with the cable loosely coiled rather than bent sharply at the connector. A damaged cable is the most common reason a working lamp suddenly seems dead.
- Keep the lamp out of direct sun; UV exposure degrades plastic housings over time.
- Do not pile nail files and metal tools on top of the lamp; pressure can crack the housing or the LED window.
When to replace instead of repair
Replace the lamp when cleaning no longer restores a hard cure, when the bulbs visibly darken or flicker, or when the housing is cracked. Most compact handheld and mini lamps are not designed for user-replaceable bulbs, so if your model does not list replacement bulbs, treat the whole unit as the consumable.
This is also a good moment to check your glue gel. If the gel has thickened, separated, or changed texture, a new lamp will not fix a bad cure. Replace the gel and the lamp together if both are past their useful life.
- Check the product listing or manual before assuming bulbs are replaceable.
- If you are unsure whether the lamp or the gel is the problem, test a fresh gel with the cleaned lamp.
Your lamp maintenance routine, step by step
- Unplug and cool: Turn the lamp off and unplug it, then let it sit for a minute so the bulbs and housing are not hot when you touch them. Checkpoint: never clean a lamp that is still warm or plugged in.
- Dry-wipe the chamber: Wipe the interior walls, floor, and LED window or bulbs with a dry microfiber cloth to remove dust, lint, and dried gel flakes. Common mistake: using paper towels, which leave fibers that block light.
- Spot-clean sticky residue: Dampen a cotton swab with isopropyl alcohol and gently work any sticky spots, then let the surface air dry completely. Common mistake: soaking the lamp or using acetone, which can damage plastic surfaces.
- Test the cure: Apply a small amount of glue gel to a test nail, cure for the recommended time, and press the edge to confirm it feels hard and dry. Checkpoint: a tacky edge after a full cure means clean again before you blame the gel.
- Store it closed and dry: Put the lamp away closed, upright, and away from heat, water, and direct sun, with any cable loosely coiled. Common mistake: leaving the lamp open on a bathroom counter where splashes and humidity reach it.
- Replace when curing weakens: If cleaning no longer gives a hard cure, or the bulbs darken or flicker, replace the lamp rather than extending cure times. Checkpoint: if the model does not list replaceable bulbs, the whole unit is the consumable.
Products that fit this routine
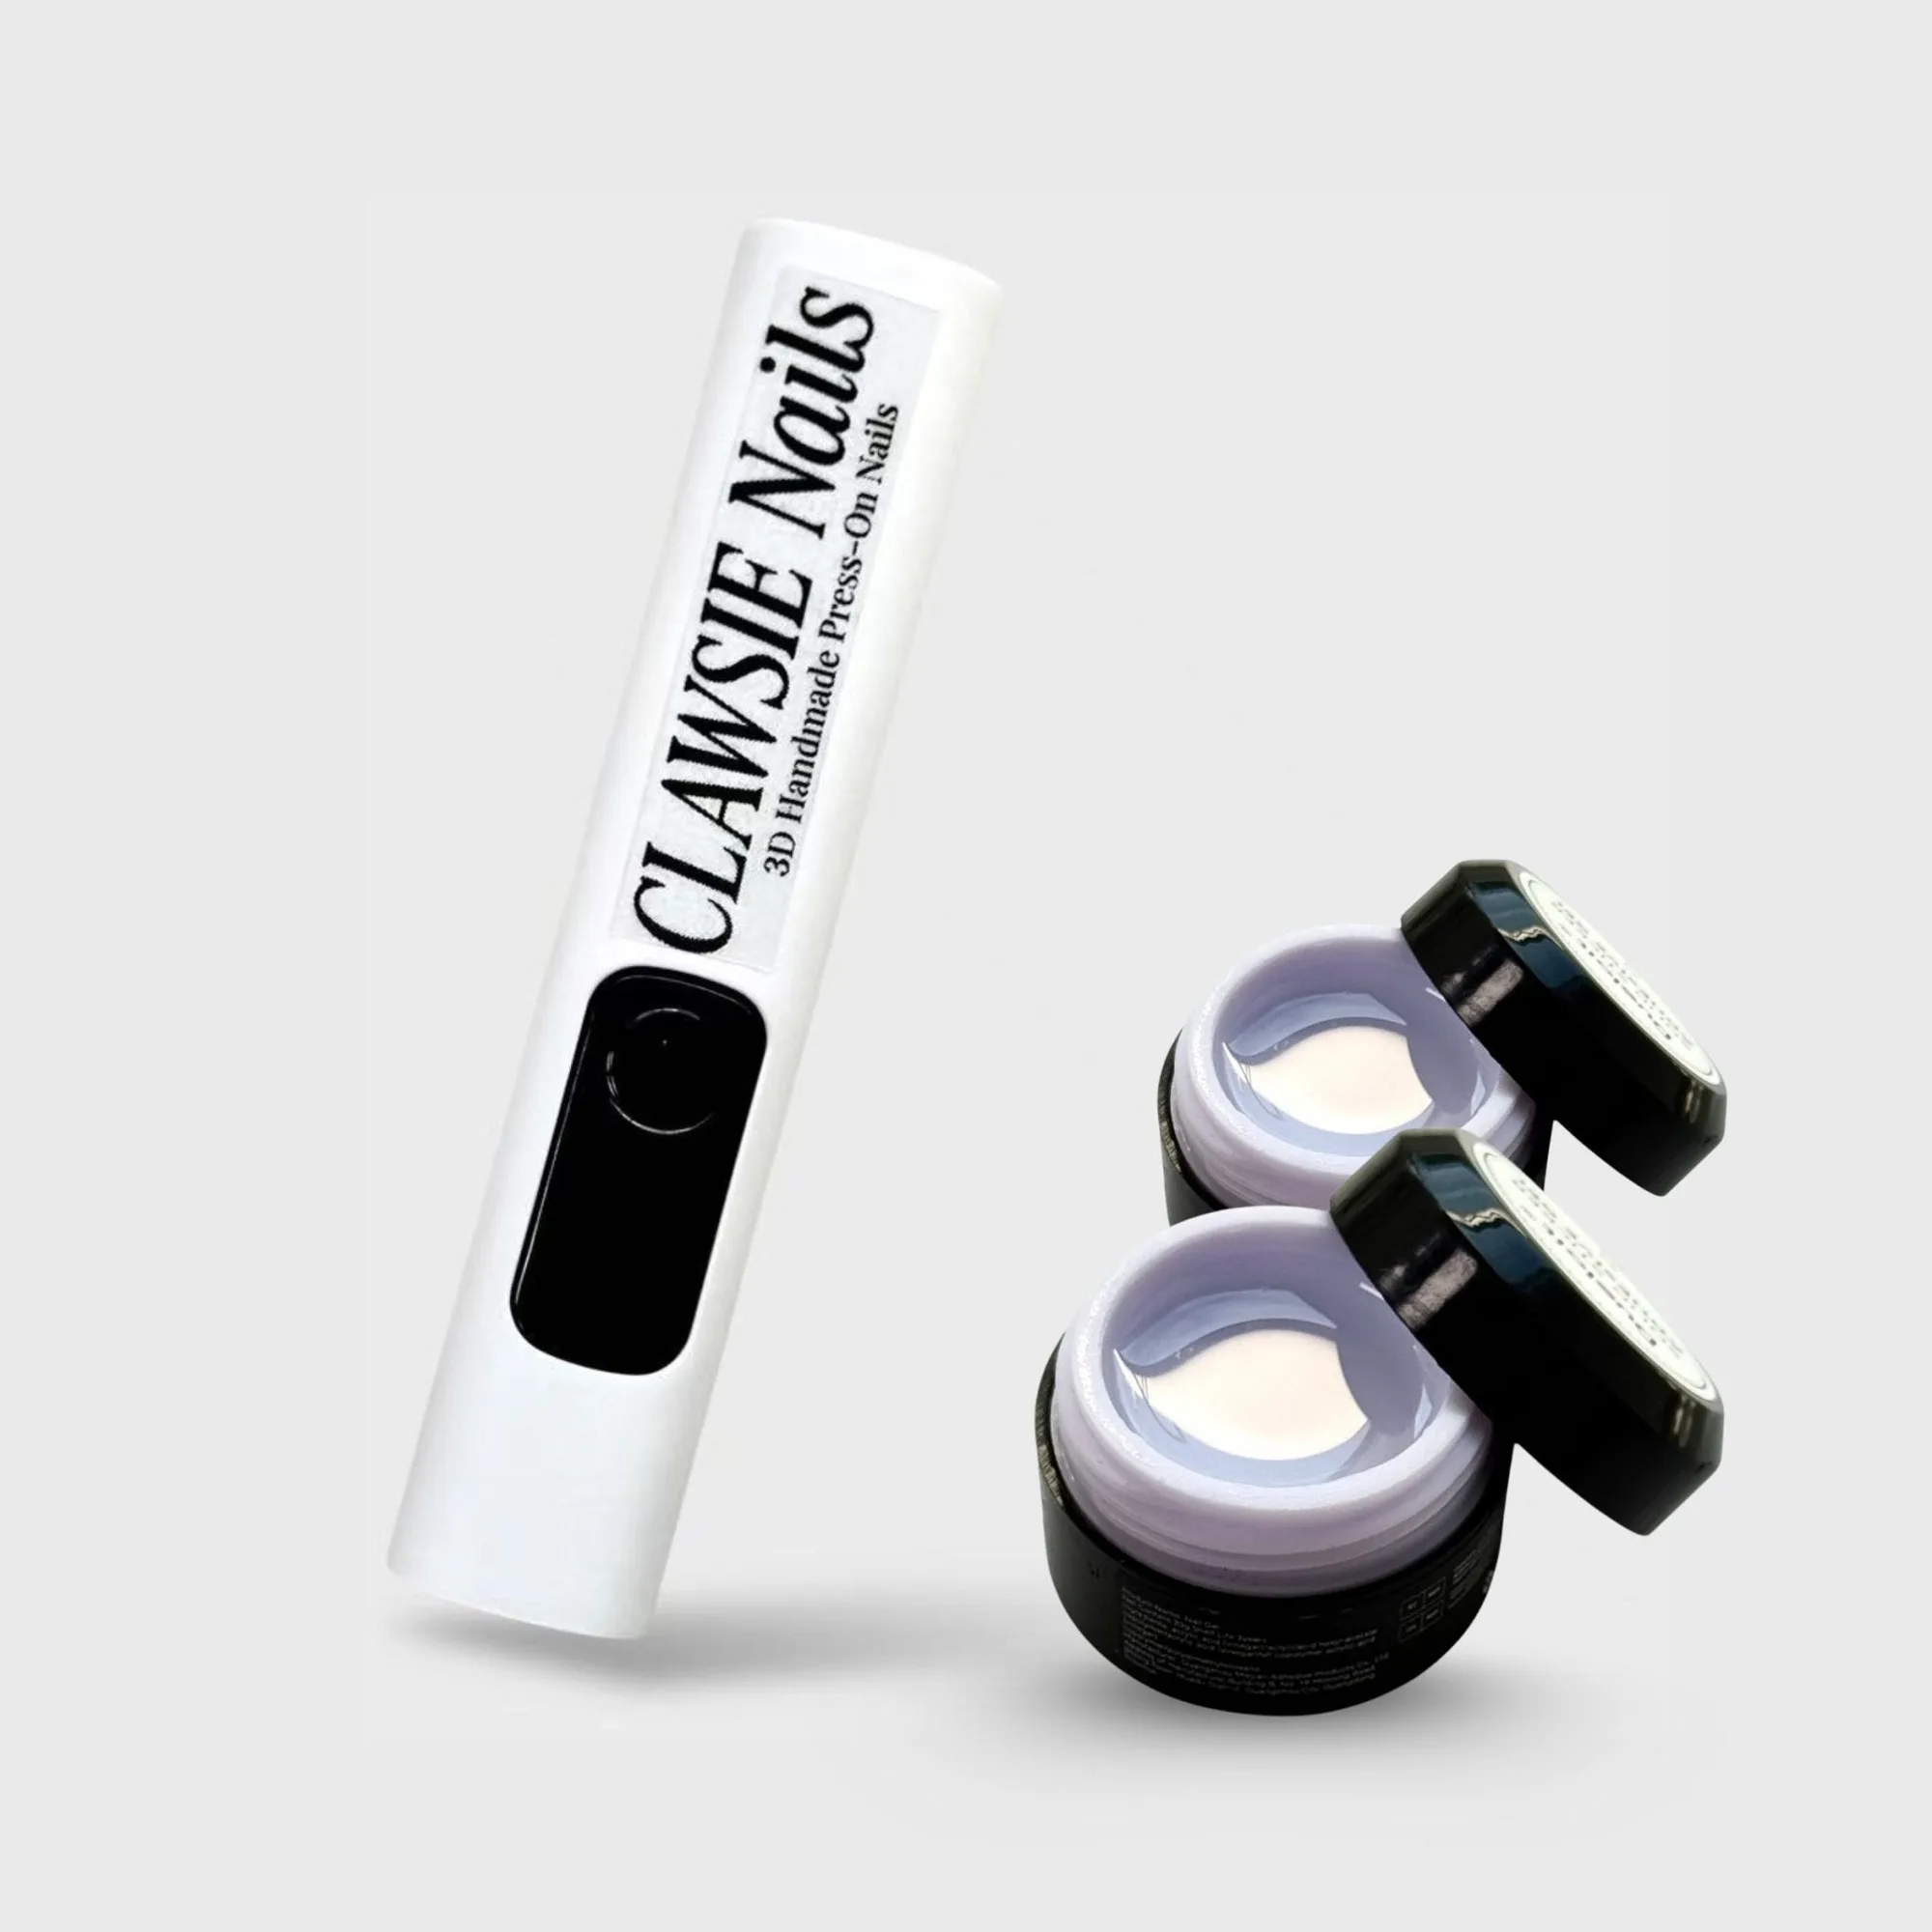
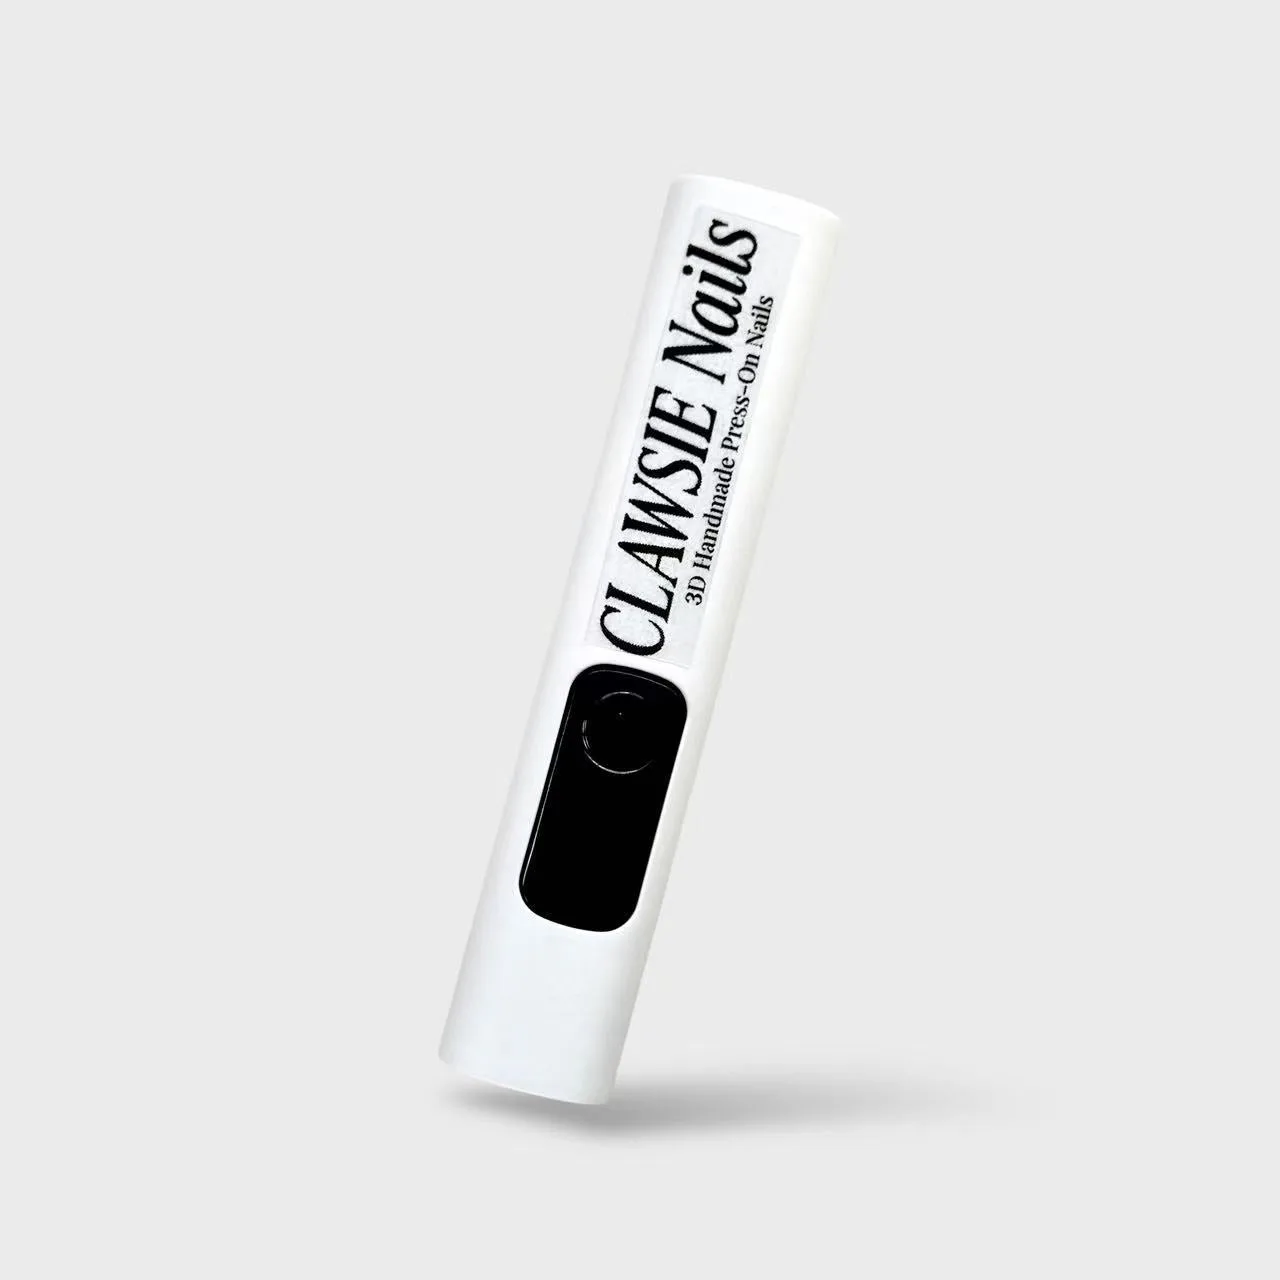
- NailFit Starter Kit: Includes 1 mini handheld UV lamp and 2 solid nail glue gels, with the lamp described as compact, portable, and able to cure solid nail glue in seconds. A compact lamp is easy to wipe down and store closed, which makes the cleaning routine in this guide simple to keep up. The two included gels also let you test whether a weak cure is the lamp or the gel.
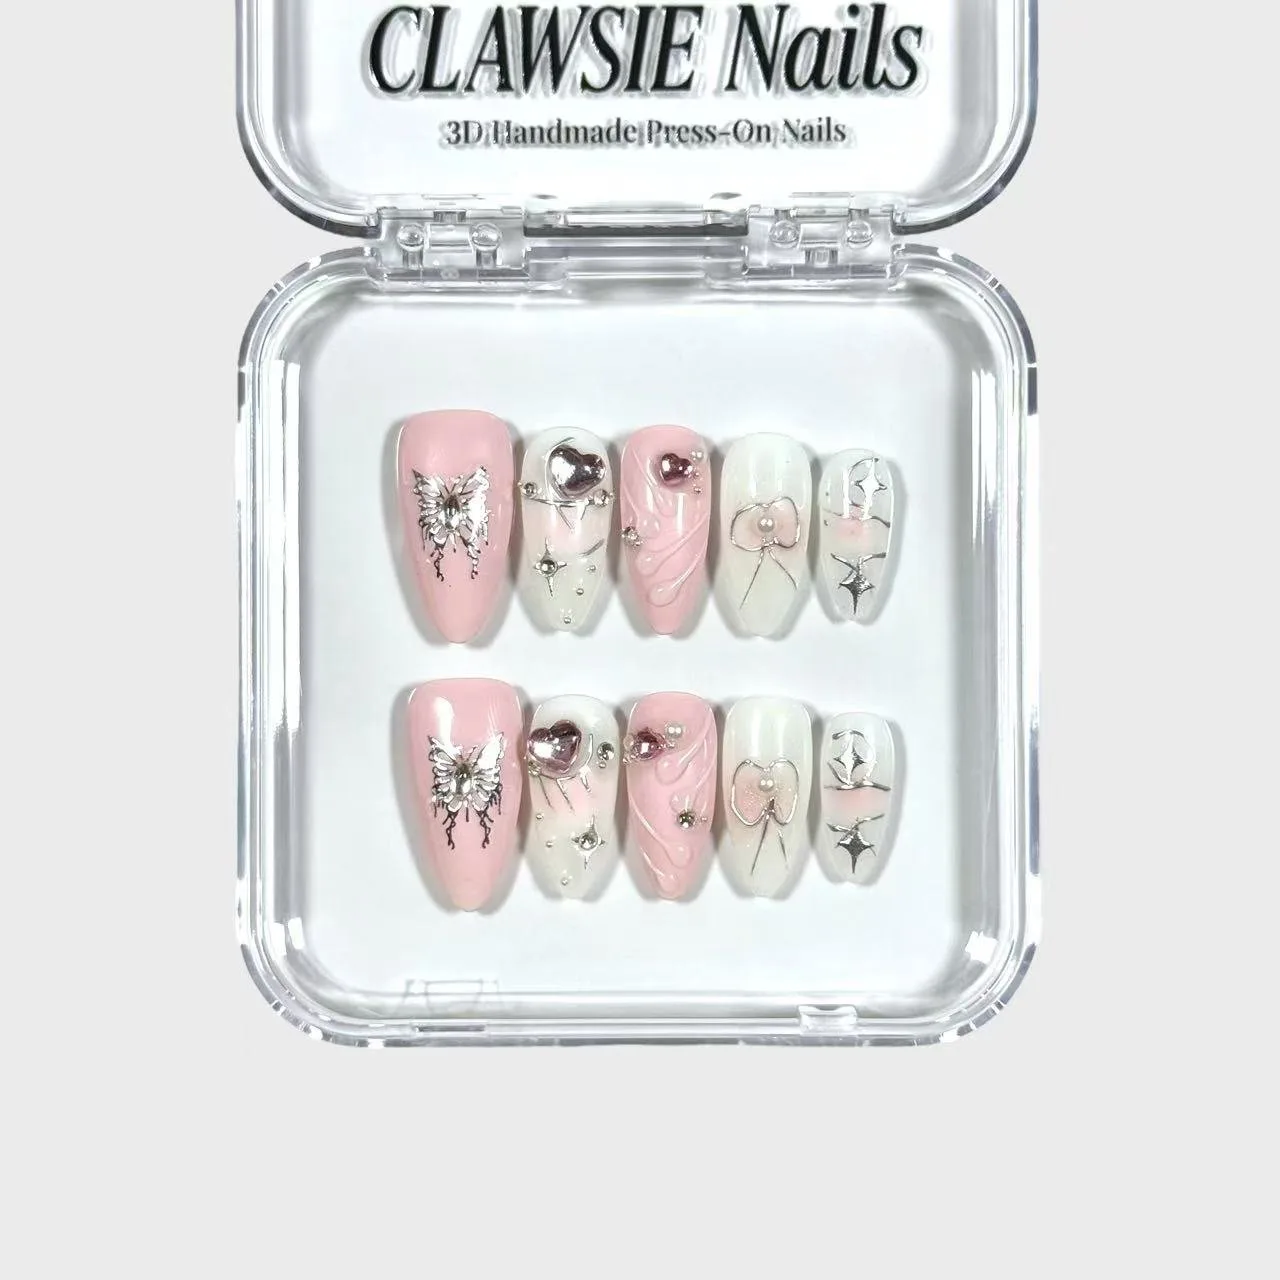
- Bowelle: A medium almond press-on set in soft pink and white with bows, butterfly motifs, and crystal accents, described as lightweight, reusable, and easy to apply. Reusable sets reward good lamp care. If your cure is solid, you can remove, clean, and re-wear a set like Bowelle instead of replacing it, which is where the maintenance routine pays off.
A clean lamp, a dry storage spot, and an honest cure test are all it takes to get consistent hold from your press-on sets. Build the wipe-down into your application routine, and you will spend less time fixing lifted nails and more time wearing the designs you actually chose.