Quick answer
To make a simple apron, cut one main body panel about 28 inches wide by 32 inches long, two waist ties, and a neck strap from cotton fabric. Sew the straps, attach them to the body, then hem the sides and bottom. Choose a beginner apron pattern with straight seams and no curved darts, and use two contrasting cotton prints so the straps read as a design choice.
A simple apron is one of the best first projects for a new sewist because it uses straight seams, forgiving hems, and only a few pattern pieces. You can finish one in an afternoon, and you do not need a serger, interfacing, or a zipper foot. The version below is the one I recommend to anyone learning how to make an apron for the first time.
This tutorial walks through a free pattern layout, fabric choices, and an assembly order that keeps the straps from twisting. It also covers the two spots where beginners most often go wrong: strap width and hem allowance. If you want a diy apron pattern you can reuse for gifts, this is it.
What you need before you cut
Gather 1 yard of main fabric and 1/2 yard of contrast fabric for the straps and pocket. A 100% cotton quilting weight is the easiest to press and sew. If you want a woven texture that hides flour dust and small stains, a basic like Grasscloth Brown by Heather Peterson for Riley Blake Designs has a dimensional woven look that works well for backgrounds or on its own. It is 43/44 inches wide and machine wash cold.

Grasscloth Brown by Heather Peterson for Riley Blake Designs
You also need a rotary cutter or shears, a marking tool, pins or clips, and a sewing machine with a universal needle. Pressing tools matter more than you think: a crisp pressed hem is the difference between a homemade apron and a handmade one. Pre-wash both fabrics so any shrinkage happens before you sew, not after the first wear.
- Checkpoint: lay your fabric flat and smooth before cutting. A wrinkle becomes a wavy hem.
- If you skip pre-washing, cut the body 1 inch longer to allow for later shrinkage.
Free apron pattern measurements
This beginner apron pattern is a rectangle-based layout, so you can draw it directly on fabric with a ruler. The body is 28 inches wide by 32 inches long for an average adult. The neck strap is 2.5 inches wide by 24 inches long, and each waist tie is 2.5 inches wide by 32 inches long. The pocket is 8 inches wide by 7 inches tall.
If you are tall or short, adjust the body length rather than the width. Width controls coverage across the chest and hips, while length controls where the hem falls. Mark all pieces with a disappearing ink pen or chalk before you cut so you can keep the grainline straight.
- Common mistake: cutting the straps on the bias. Cut them along the lengthwise grain so they do not stretch out of shape.
- Checkpoint: measure twice, cut once. Straps that are too short cannot be extended invisibly.
Sew the straps first
Fold each strap in half lengthwise with right sides together, and sew a 1/4 inch seam along the long edge. Turn the tube right side out using a safety pin or turning tool, then press flat. Repeat for the neck strap and both waist ties. Pressing after turning is what makes the straps look store-bought instead of lumpy.
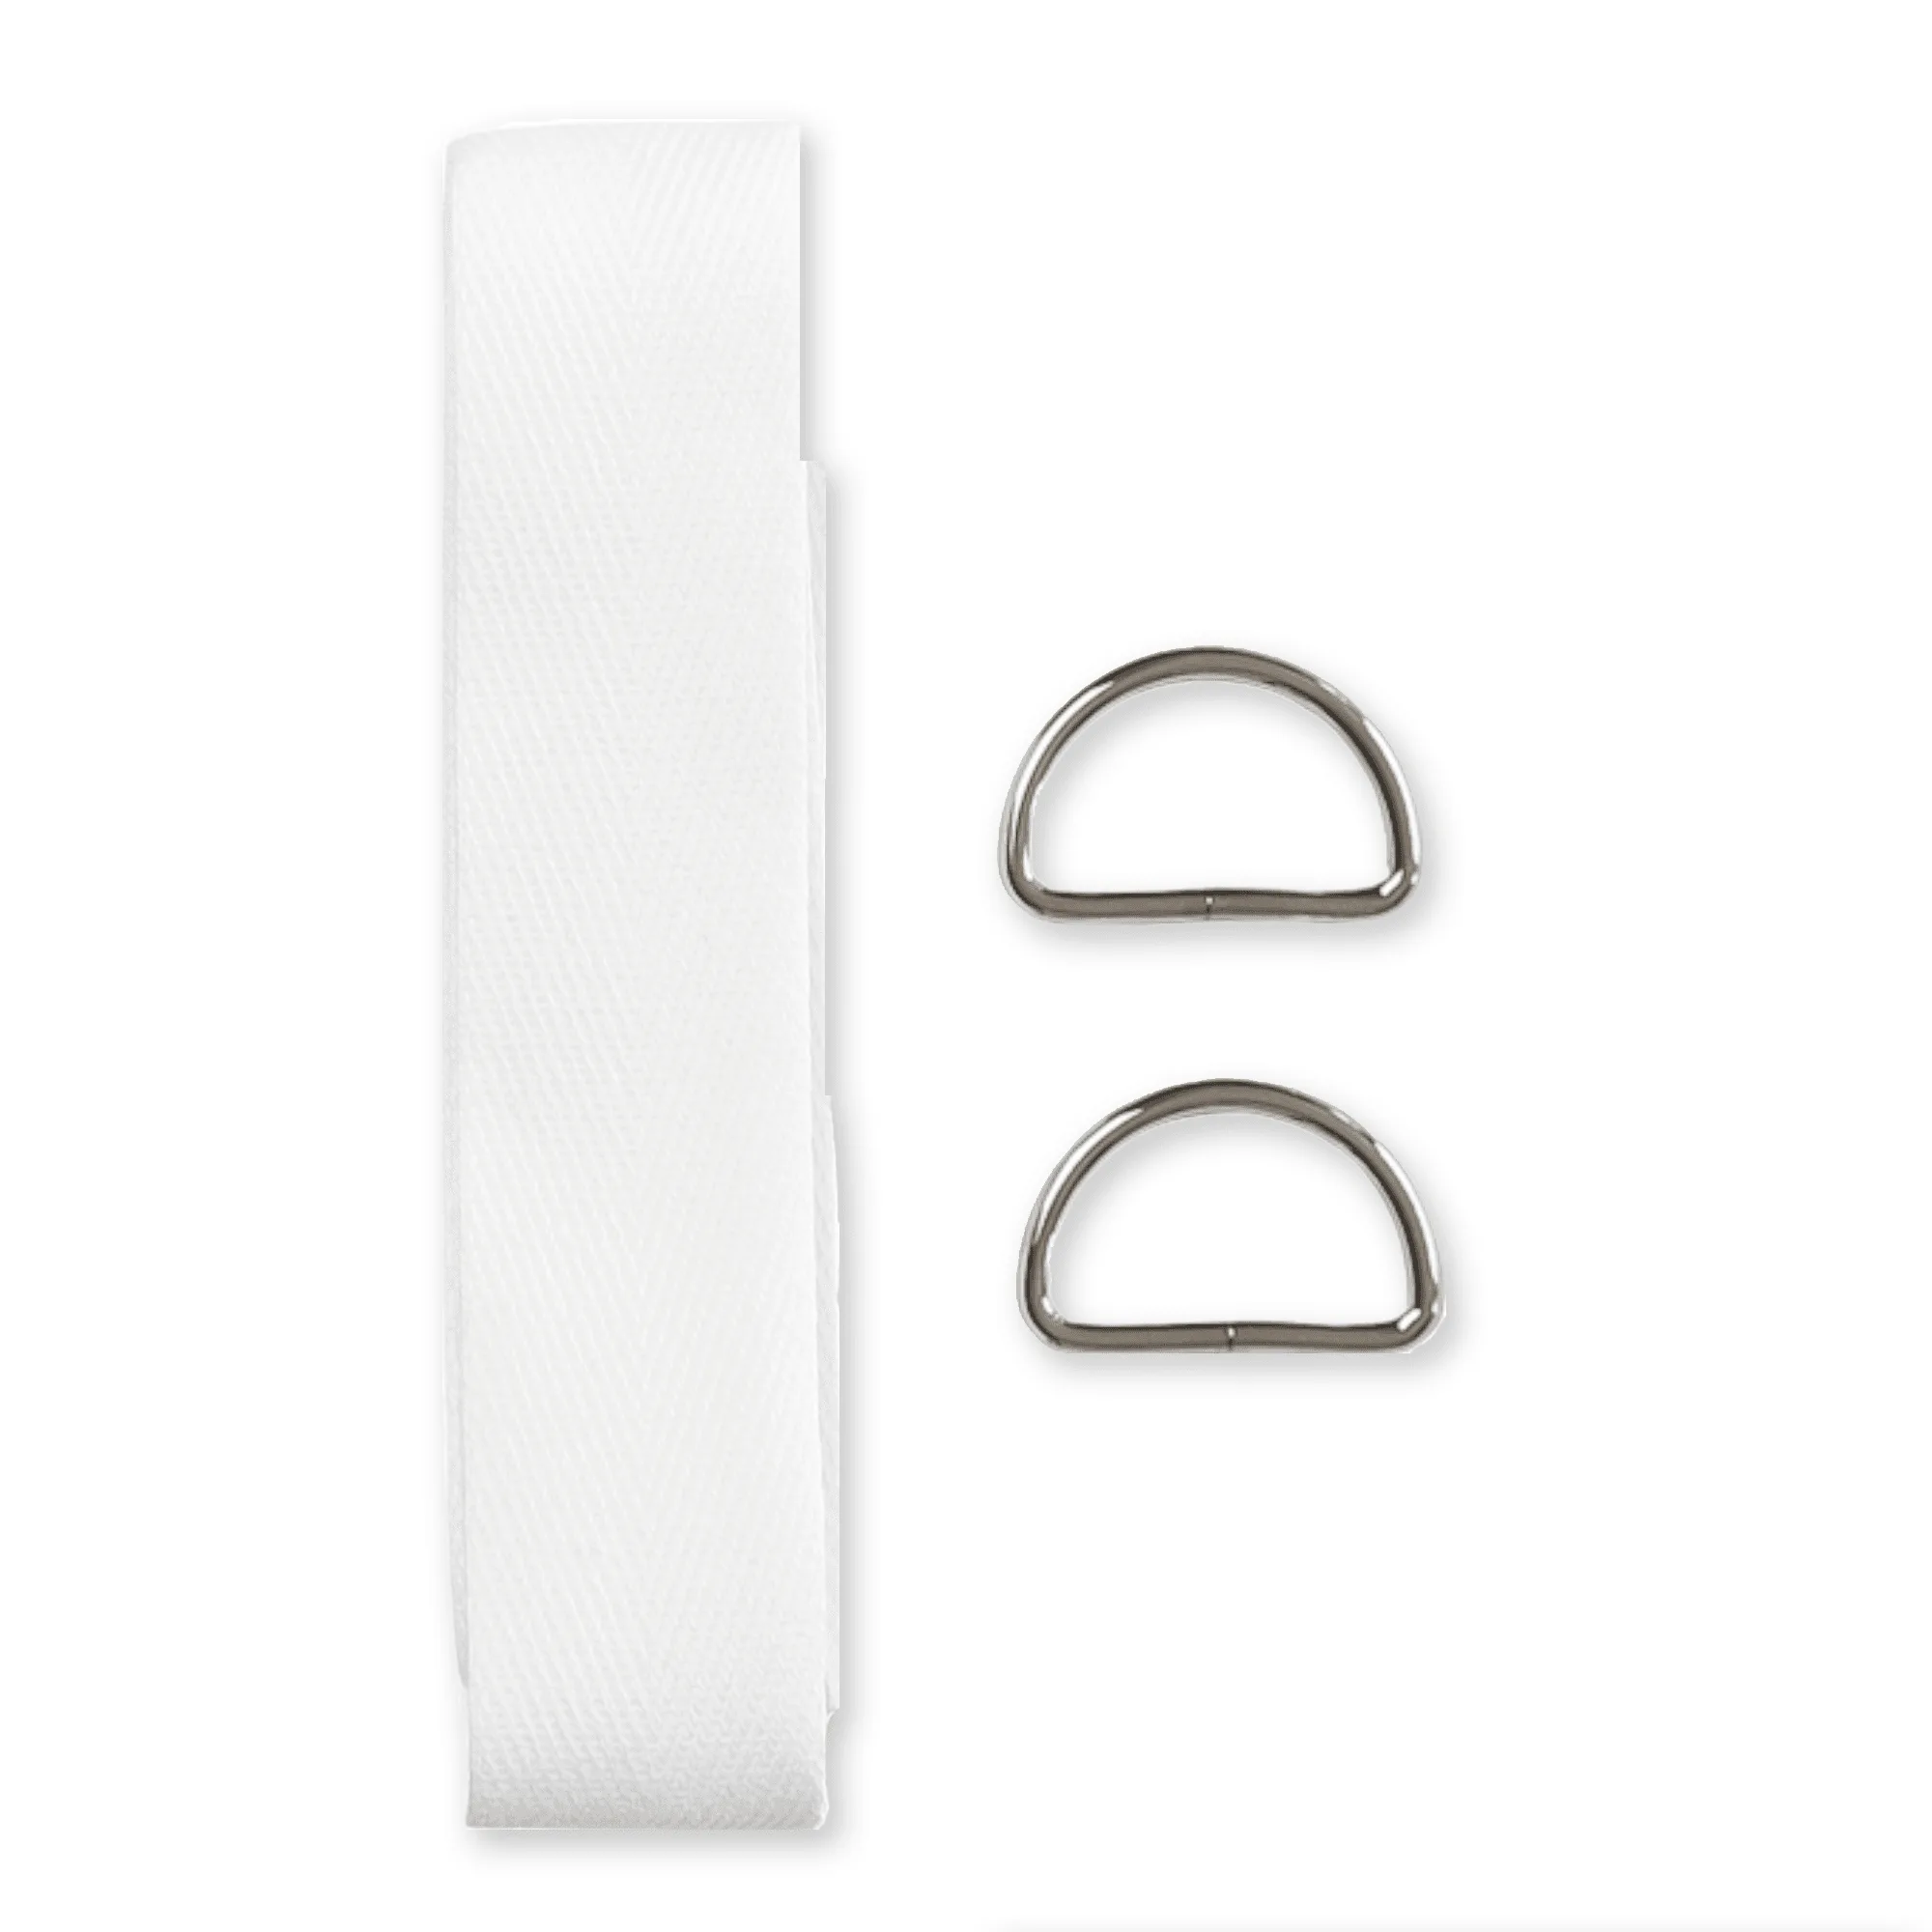
If you dislike turning narrow tubes, an apron strap kit with pre-folded binding or pre-cut straps removes this step entirely. Either way, keep all straps the same finished width so the apron looks intentional. A contrast strap in Stripe 1/8 Inch SWEET MINT by Riley Blake Designs adds a thin stripe detail without extra work.
- Checkpoint: tug each strap gently after pressing. If the seam twists to the front, re-press before attaching.
- Topstitch 1/8 inch from both long edges if you want the straps to stay flat through repeated washing.
Attach the straps to the apron body
Pin the neck strap ends to the top corners of the body, about 2 inches in from each side, with raw edges aligned. Pin the waist ties at the side edges, roughly 12 to 14 inches down from the top. Baste each strap in place with a 1/4 inch seam. Basting is not optional here; it prevents the straps from shifting when you fold the hem.
Fold the top edge of the body over the strap ends by 1/2 inch, then fold again by 1/2 inch to enclose the raw edges. Sew across the top, catching the straps. Repeat along the side edges where the waist ties attach. This enclosed finish is sturdier than sewing straps on top of a finished hem.
- Common mistake: attaching straps after hemming. You will sew through four layers and break needles.
- Checkpoint: give each strap a firm pull. If it moves, add a second row of stitching.
Add the pocket and finish the hem
Press the pocket edges under 1/2 inch on all four sides, then topstitch the top edge. Pin the pocket to the center front of the apron, about 6 inches below the top edge, and stitch around the sides and bottom, leaving the top open. A tone-on-tone print like Tea Dye from POParazzi by Riley Blake Designs keeps the pocket subtle while adding texture.
Hem the sides and bottom of the apron with a double-fold hem: fold 1/2 inch, press, fold 1/2 inch again, press, and stitch close to the inner fold. Backstitch at the start and end of every seam. Press the finished apron one last time, then try it on and adjust the neck strap length if needed.
- Checkpoint: the hem should hang straight. If it waves, your fold was uneven; unpick and re-press.
- Wash cold and tumble dry low to keep the cotton from shrinking unevenly.
Apron tutorial steps at a glance
- Step 1: Pre-wash and press: Wash both fabrics cold and tumble dry low, then press flat before cutting. Checkpoint: fabric should be wrinkle-free and at its final size.
- Step 2: Cut the pattern pieces: Cut one body panel 28 by 32 inches, two waist ties 2.5 by 32 inches, one neck strap 2.5 by 24 inches, and one pocket 8 by 7 inches. Checkpoint: keep straps on the lengthwise grain so they do not stretch.
- Step 3: Sew and turn the straps: Sew each strap right sides together with a 1/4 inch seam, turn, and press flat. Common mistake: skipping the press, which leaves twisted straps.
- Step 4: Baste straps to the body: Pin neck strap ends 2 inches from the top corners and waist ties 12 to 14 inches down the sides, then baste. Checkpoint: tug each strap before hemming.
- Step 5: Enclose the top and side edges: Fold the top and side edges over the strap ends twice by 1/2 inch and stitch. Common mistake: hemming first, which makes straps hard to attach.
- Step 6: Add the pocket: Press pocket edges under, topstitch the top edge, and stitch the pocket to the center front. Checkpoint: pocket sits about 6 inches below the top edge.
- Step 7: Hem the sides and bottom: Double-fold hem 1/2 inch, press, and stitch close to the inner fold. Checkpoint: hem hangs straight with no waves.
Fabric facts that matter for aprons
- Grasscloth Brown by Heather Peterson for Riley Blake Designs: 100% cotton, 43/44 inches wide, with a dimensional woven look; machine wash cold. The woven texture hides everyday kitchen marks and gives a plain apron body visual interest without a print.
- Stripe 1/8 Inch SWEET MINT by Riley Blake Designs: 100% cotton, 43/44 inches wide, from the Stripe 1/8 Inch collection. A thin stripe reads as a deliberate contrast on straps and waist ties, so a beginner project looks finished.
- Tea Dye from POParazzi by Riley Blake Designs: 100% cotton, 43/44 inches wide, with tiny tone-on-tone squares; machine wash cold, tumble dry low. The small-scale pattern works well for a pocket or lining where a large print would be cut off.
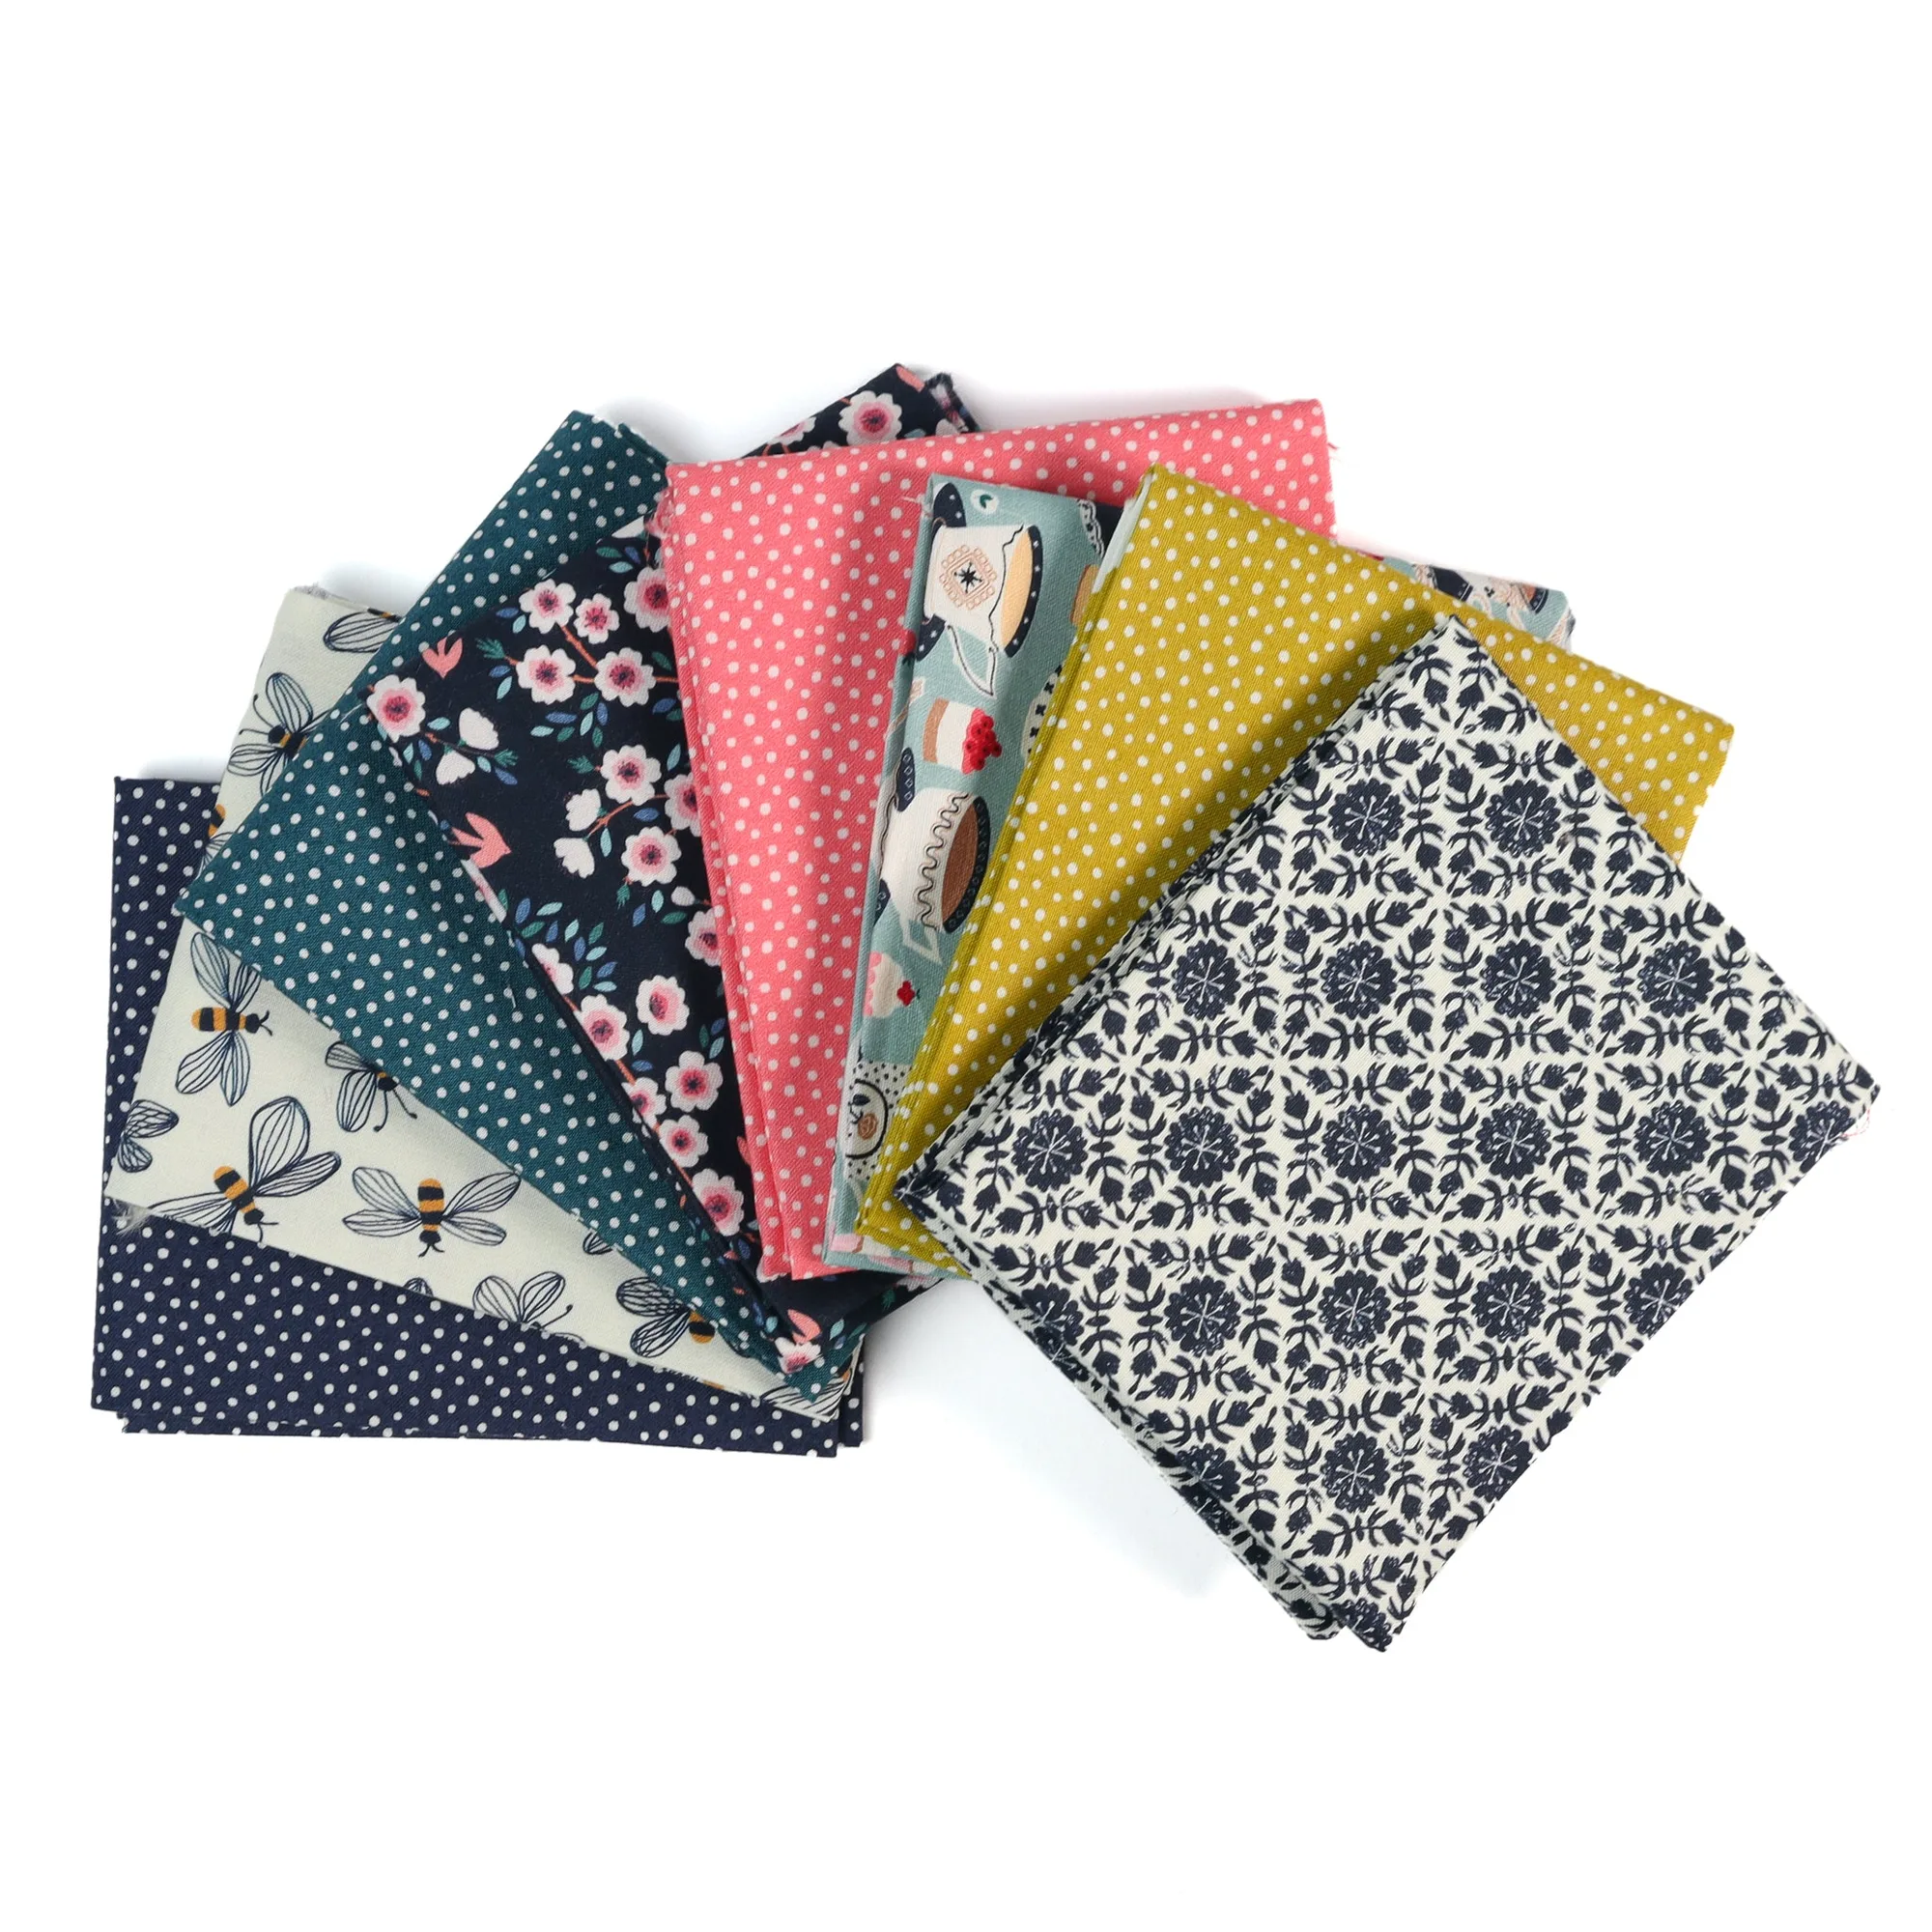
- Garden Party (8) Piece Fat Quarter Bundle: Eight coordinated fat quarters, each approximately 18 by 22 inches, premium cotton, OEKO-TEX certified, made in Korea. One bundle gives you enough coordinated fabric for an apron plus a matching pot holder or two, which is useful if you are sewing gifts.
A simple apron is a fast, forgiving project that teaches straight seams, pressing, and strap attachment without any advanced techniques. Start with two cotton fabrics you like, follow the steps in order, and press at every stage. Once you have made one, you can adjust the body length and pocket placement to suit the person wearing it.