Quick Answer
To make a tote bag, choose a sturdy woven fabric like cotton or linen, cut two main panels and two handle strips using a free DIY tote bag pattern, then sew the sides and bottom, box the corners for depth, attach the handles, and finish with a clean top hem. A basic tote takes about 1–2 hours and is an ideal beginner tote bag project.
A tote bag is one of the most useful things you can sew: it carries groceries, library books, project supplies, and everyday essentials. This tote bag sewing guide walks you through a free pattern and a clear, ordered process so you can make a sturdy bag without guesswork.
You will need a few basic materials: about 1 yard of main fabric, matching thread, a sewing machine, pins or clips, and an iron. For structure, consider a mid-weight woven like cotton or linen. If you want a more tailored look, add interfacing to the handles. The steps below include checkpoints to help you avoid common mistakes.
Materials and Pattern
Start with a free DIY tote bag pattern or draft a simple rectangle. A standard finished size is 15 inches wide by 16 inches tall, with a 3-inch boxed bottom. Cut two main panels and two handle strips that are 4 inches wide by 24 inches long (folded in half, they become 2-inch-wide handles). If you prefer a kit, the Lincoln Tote Bag Sewing Project Kit includes leather handles and all materials, which saves sourcing time.
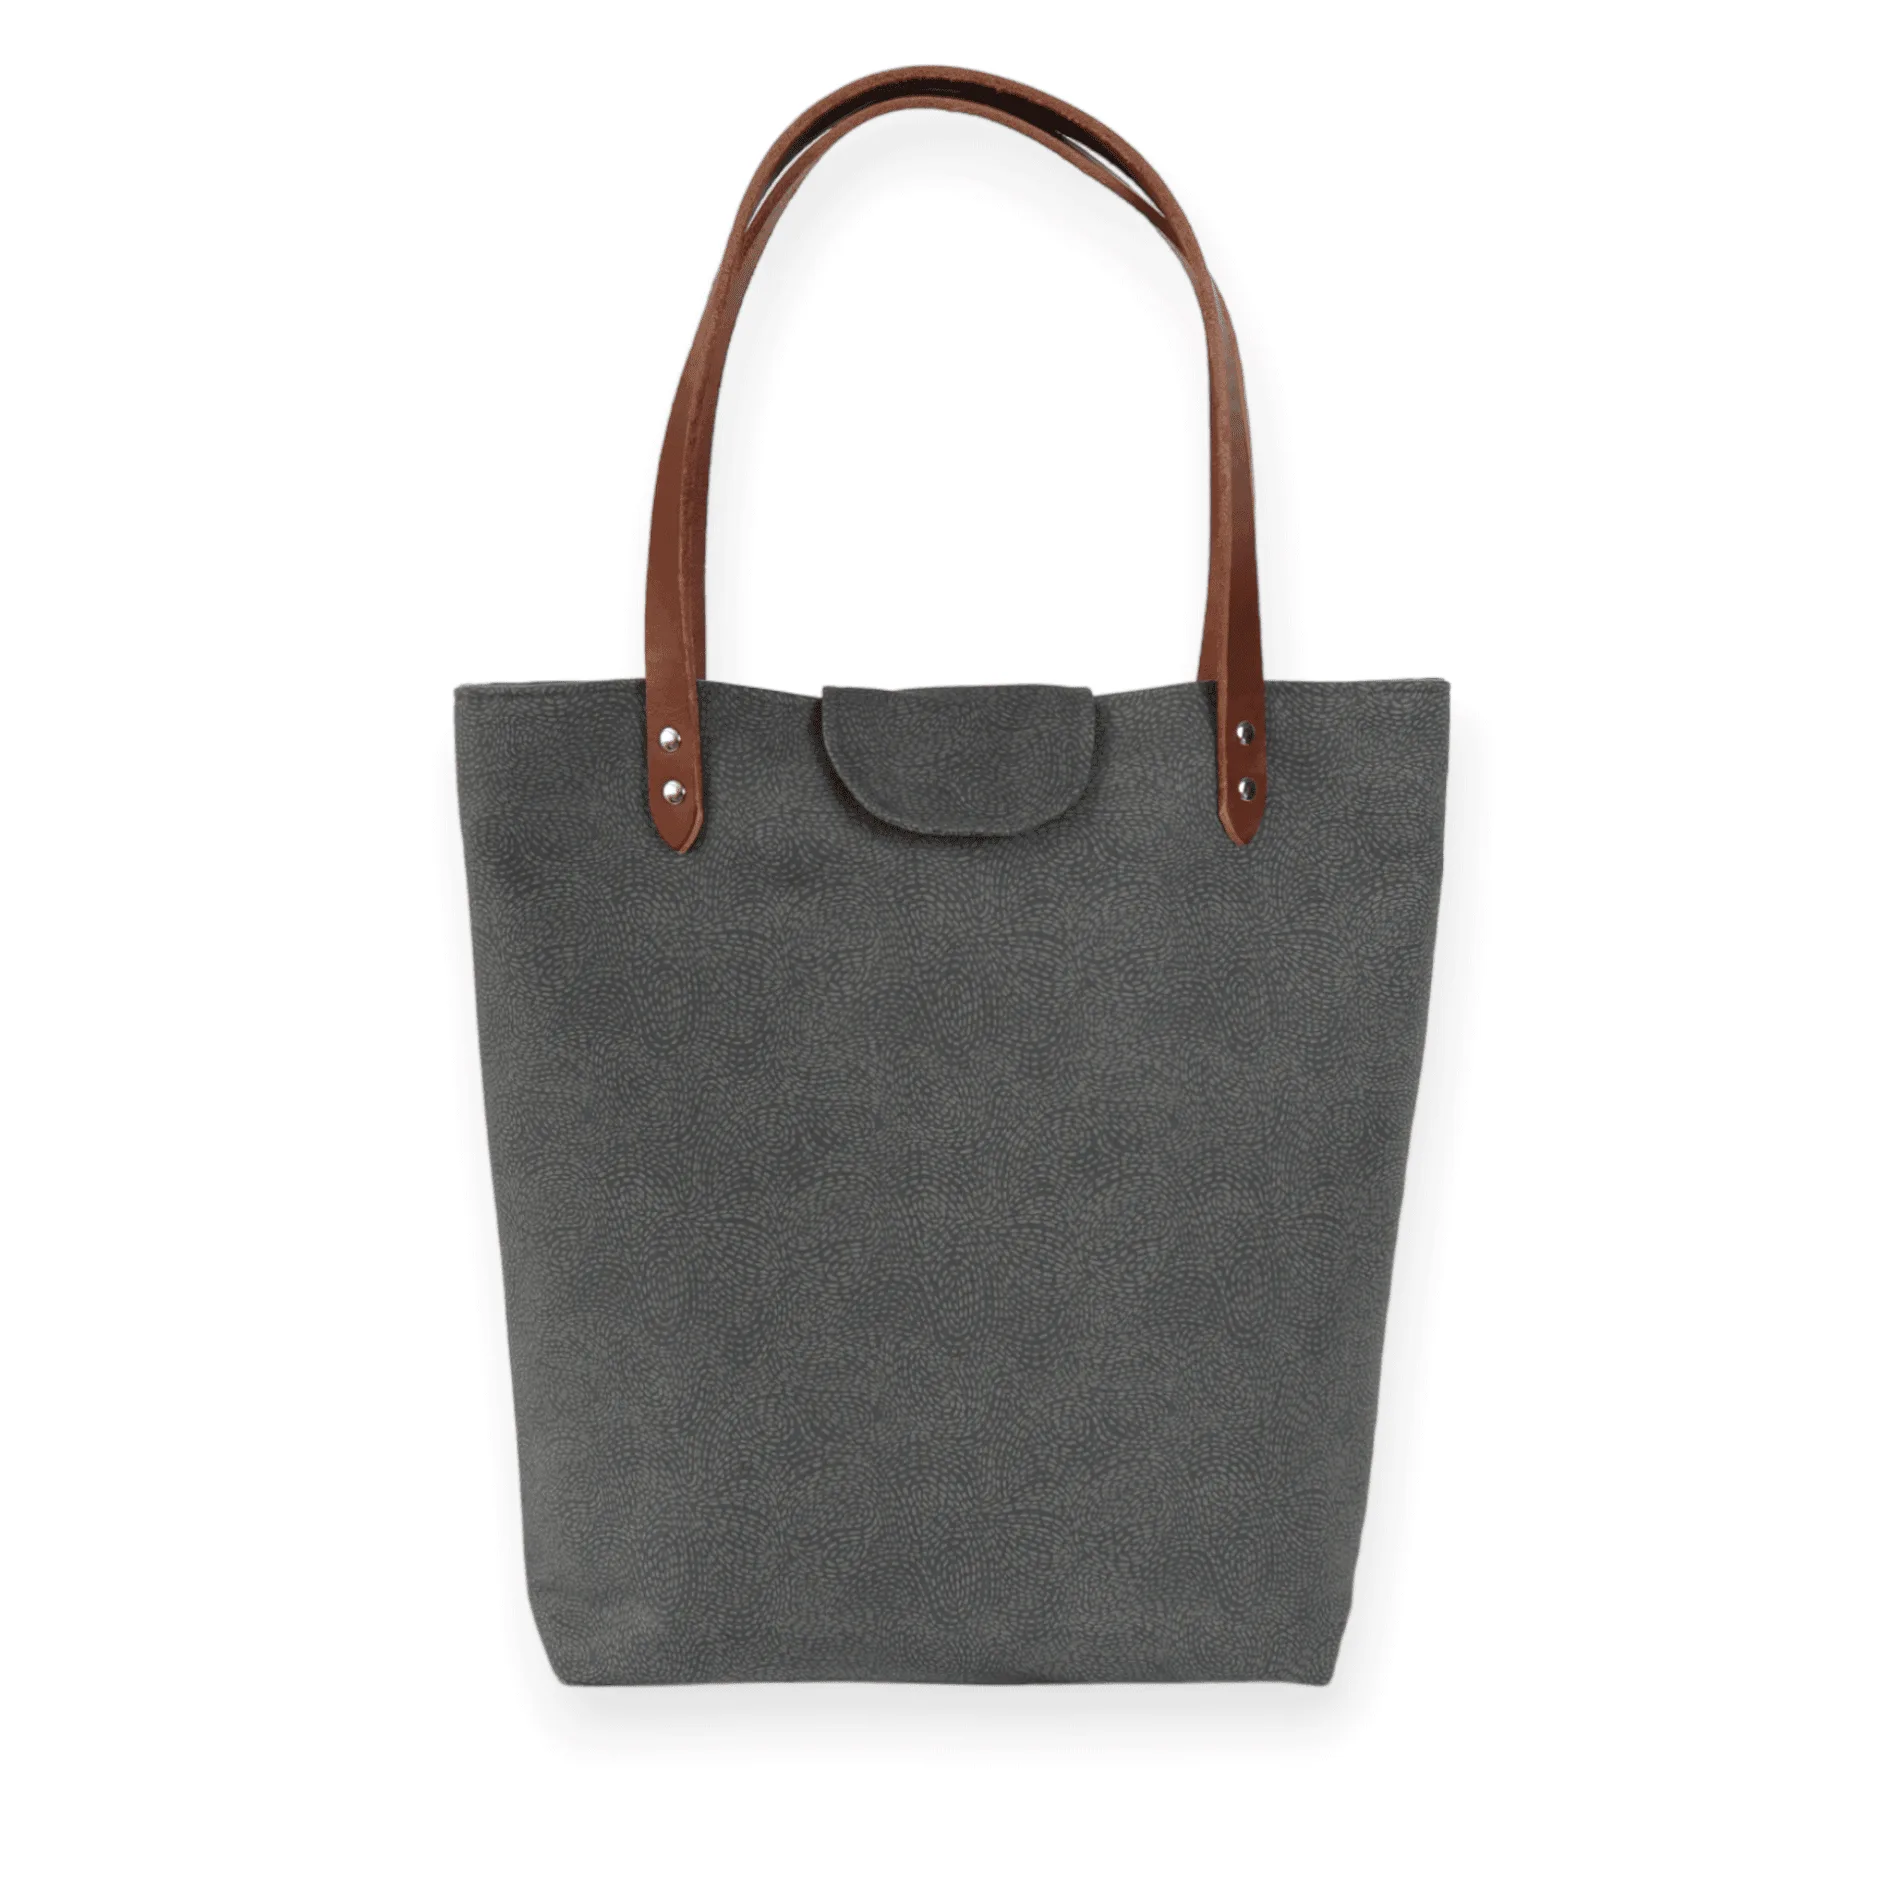
Lincoln Tote Bag Sewing Project Kit
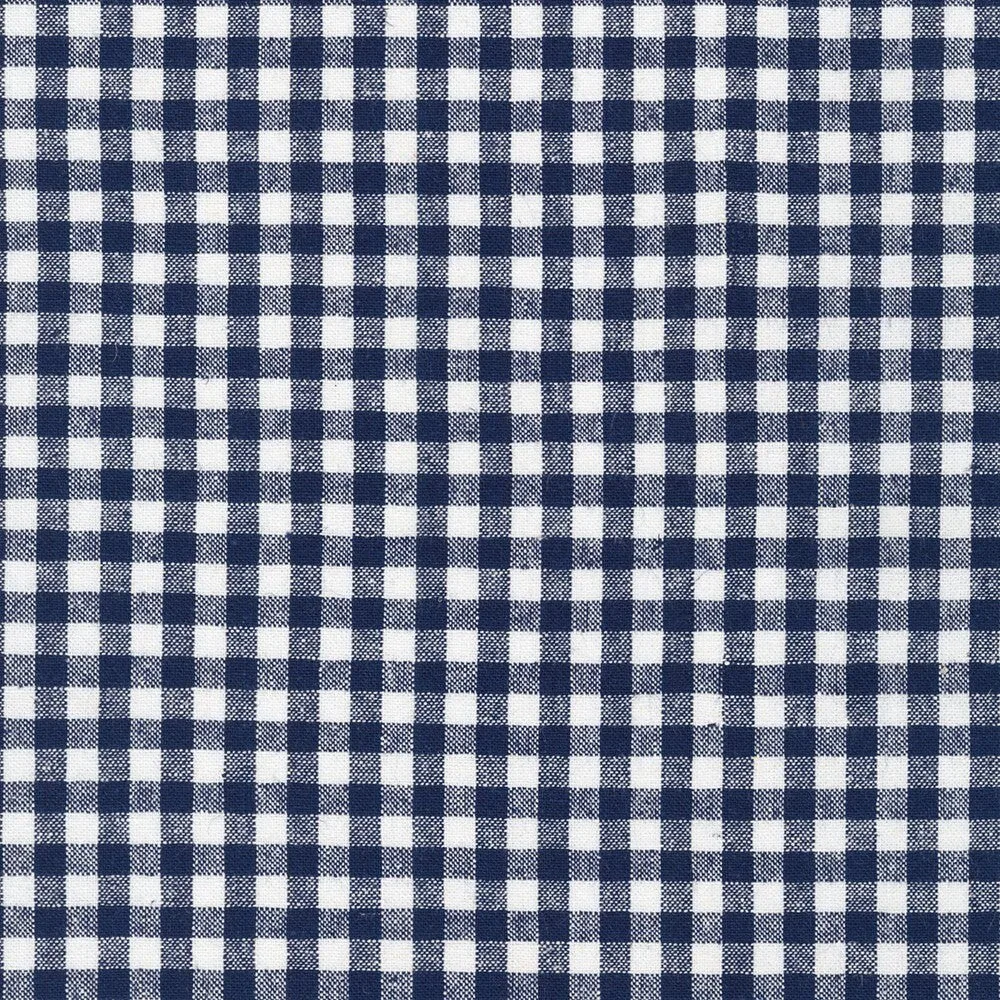
Fabric choice matters. Quilting cotton is easy to sew and holds shape, but for a heavier bag, consider a linen-cotton blend like Navy Gingham from Essex Yarn Dyed Classic Wovens by Robert Kaufman (55% linen, 45% cotton, 5.6 oz per square yard). Its weight gives the bag structure without being stiff. For a lighter, foldable tote, Nautical Ditsy from Whimsical Waters by Paintbrush Studio (100% cotton, 143 GSM) works well and is machine washable.
- Pre-wash and press your fabric to prevent shrinkage later.
- Use a 1/2-inch seam allowance unless your pattern says otherwise.
Cutting and Marking
Lay your fabric flat, selvage to selvage, and cut two main panels and two handle strips. If using a directional print, make sure both panels face the same way. Transfer any markings for the boxed corners and handle placement with a fabric pen or chalk. A rotary cutter and ruler speed up this step, but scissors work fine.
Check the grainline: the lengthwise grain should run vertically on the main panels for less stretch. For the handles, cut along the lengthwise grain if possible; if not, crosswise is acceptable. Mark the center of the top edge on each panel to center your handles later.
- Cut handles 4 inches wide by 24 inches long; adjust length for shoulder or hand carry.
- If using interfacing, apply it to the handle strips before folding.
Sewing the Bag Body
Place the two main panels right sides together. Pin or clip the sides and bottom, leaving the top open. Sew with a 1/2-inch seam allowance, backstitching at the start and end. Press the seams open. To add depth, box the corners: pinch the bottom corner so the side seam aligns with the bottom seam, forming a triangle. Measure 1.5 inches from the point and sew straight across. Trim excess fabric, leaving a 1/2-inch seam allowance. Repeat for the other corner.
Turn the bag right side out and press. The boxed corners create a flat bottom that helps the bag stand. If you want a more structured bag, consider adding a layer of fusible fleece or interfacing to the main panels before sewing. This is optional but improves shape retention.
- Checkpoint: Before boxing corners, ensure side seams match at the bottom.
- Common mistake: Sewing the boxed corner too large; 1.5 inches is a good starting point.
Making and Attaching Handles
Fold each handle strip in half lengthwise, right sides together, and sew along the long raw edge with a 1/4-inch seam allowance. Turn the tube right side out using a loop turner or safety pin. Press flat. Topstitch along both long edges for a professional finish. If you prefer not to make handles, use pre-made leather handles like those in the Lincoln Tote Bag Sewing Project Kit.
Pin the handles to the right side of the bag's top edge, placing them about 3–4 inches from each side seam. Make sure the handles are not twisted. Baste in place within the seam allowance. For extra strength, sew a square with an X inside at each handle attachment point after the top hem is finished.
- Checkpoint: Ensure handles are evenly spaced and not twisted before sewing.
- Common mistake: Attaching handles too close to the side seams, causing them to pull.
Finishing the Top Hem
To finish the top edge, fold the top raw edge toward the wrong side by 1/2 inch and press. Fold again by 1 inch and press. Topstitch close to the folded edge all the way around, securing the handles. This creates a clean hem and reinforces the handle area. If you prefer a lined bag, you can sew a lining and leave a turning gap, but this tutorial uses a simple hemmed top.
Give the bag a final press. Your tote is ready to use. For a more polished look, consider adding a pocket to the inside before sewing the sides. A simple patch pocket is a great beginner addition.
- Checkpoint: The top hem should be even all the way around.
- Common mistake: Sewing over pins; remove them as you go to avoid needle breakage.
Step-by-Step Tote Bag Tutorial
- Cut fabric: Cut two main panels (15" x 16") and two handle strips (4" x 24") from your main fabric. If using interfacing, cut it to match the handles. Checkpoint: Ensure panels are square and handles are equal length.
- Sew bag body: With right sides together, sew the sides and bottom of the main panels using a 1/2" seam allowance. Press seams open. Common mistake: Forgetting to backstitch at ends, causing seams to unravel.
- Box corners: Pinch each bottom corner so side and bottom seams align. Measure 1.5" from the point and sew across. Trim excess. Checkpoint: Both corners should be symmetrical.
- Make handles: Fold handle strips in half lengthwise, right sides together, and sew along the long edge with a 1/4" seam allowance. Turn right side out and press. Topstitch both edges. Common mistake: Sewing the tube too narrow, making turning difficult.
- Attach handles: Pin handles to the right side of the bag top, 3–4" from side seams, ensuring no twists. Baste in place. Checkpoint: Handles should be evenly spaced and aligned.
- Finish top hem: Fold top edge 1/2" to wrong side, press, then fold 1" more and press. Topstitch close to the folded edge, catching handles. Common mistake: Sewing the hem unevenly; go slowly and adjust as needed.
Fabric and Kit Options
- Lincoln Tote Bag Sewing Project Kit: Sew your own leather handle tote bag with this beginner-friendly sewing project kit. Sleek, durable, and thoughtfully designed, this tote is perfect for work, errands, or travel. If you want a polished result without sourcing leather handles, this kit provides all materials and a refined silhouette.
- Navy Gingham from Essex Yarn Dyed Classic Wovens from Robert Kaufman: 55% Linen 45% Cotton, 43 inches wide, 5.6 oz. per square yard. This mid-weight blend gives a tote bag more structure and durability than quilting cotton, making it a good choice for a heavy-use bag.
- Nautical Ditsy from Whimsical Waters by Paintbrush Studio Fabric: 100% Cotton, 143 GSM, 44/45" wide. Quilting Cotton is a lightweight fabric which tends to hold its shape even after being washed, making it perfect for quilting and crafting structured garments! A lightweight cotton that is easy to sew and washable, ideal for a foldable tote or a first project.
Making a tote bag is a rewarding project that builds core sewing skills. With a free pattern, sturdy fabric, and the steps above, you can create a durable bag in an afternoon. Adjust the size or add pockets to make it your own.