Quick answer
To make a zipper pouch, cut two outer and two lining rectangles, sandwich the zipper between the outer and lining layers, sew both sides with a zipper foot, then stitch the bottom and side seams and turn the pouch through the lining gap. A 9" x 5" pouch is a reliable beginner size. Press at every step and use a zipper foot for a clean, professional finish.
A zipper pouch is one of the most useful things you can sew: it protects small items, uses up fabric scraps, and gives you a chance to practice a skill that shows up in bags, garments, and home decor. If you have been searching for a straightforward zipper pouch tutorial, this one walks you through the whole process without skipping the parts that usually cause trouble.
You will need two outer fabric rectangles, two lining rectangles, a zipper, and basic sewing tools. The measurements below make a finished pouch about 8.5" x 4.5", but you can size it up or down as long as you keep all four fabric pieces the same size and match the zipper length to the top edge. Read through the whole tutorial before you cut, then work step by step.
What you need to make a zipper pouch
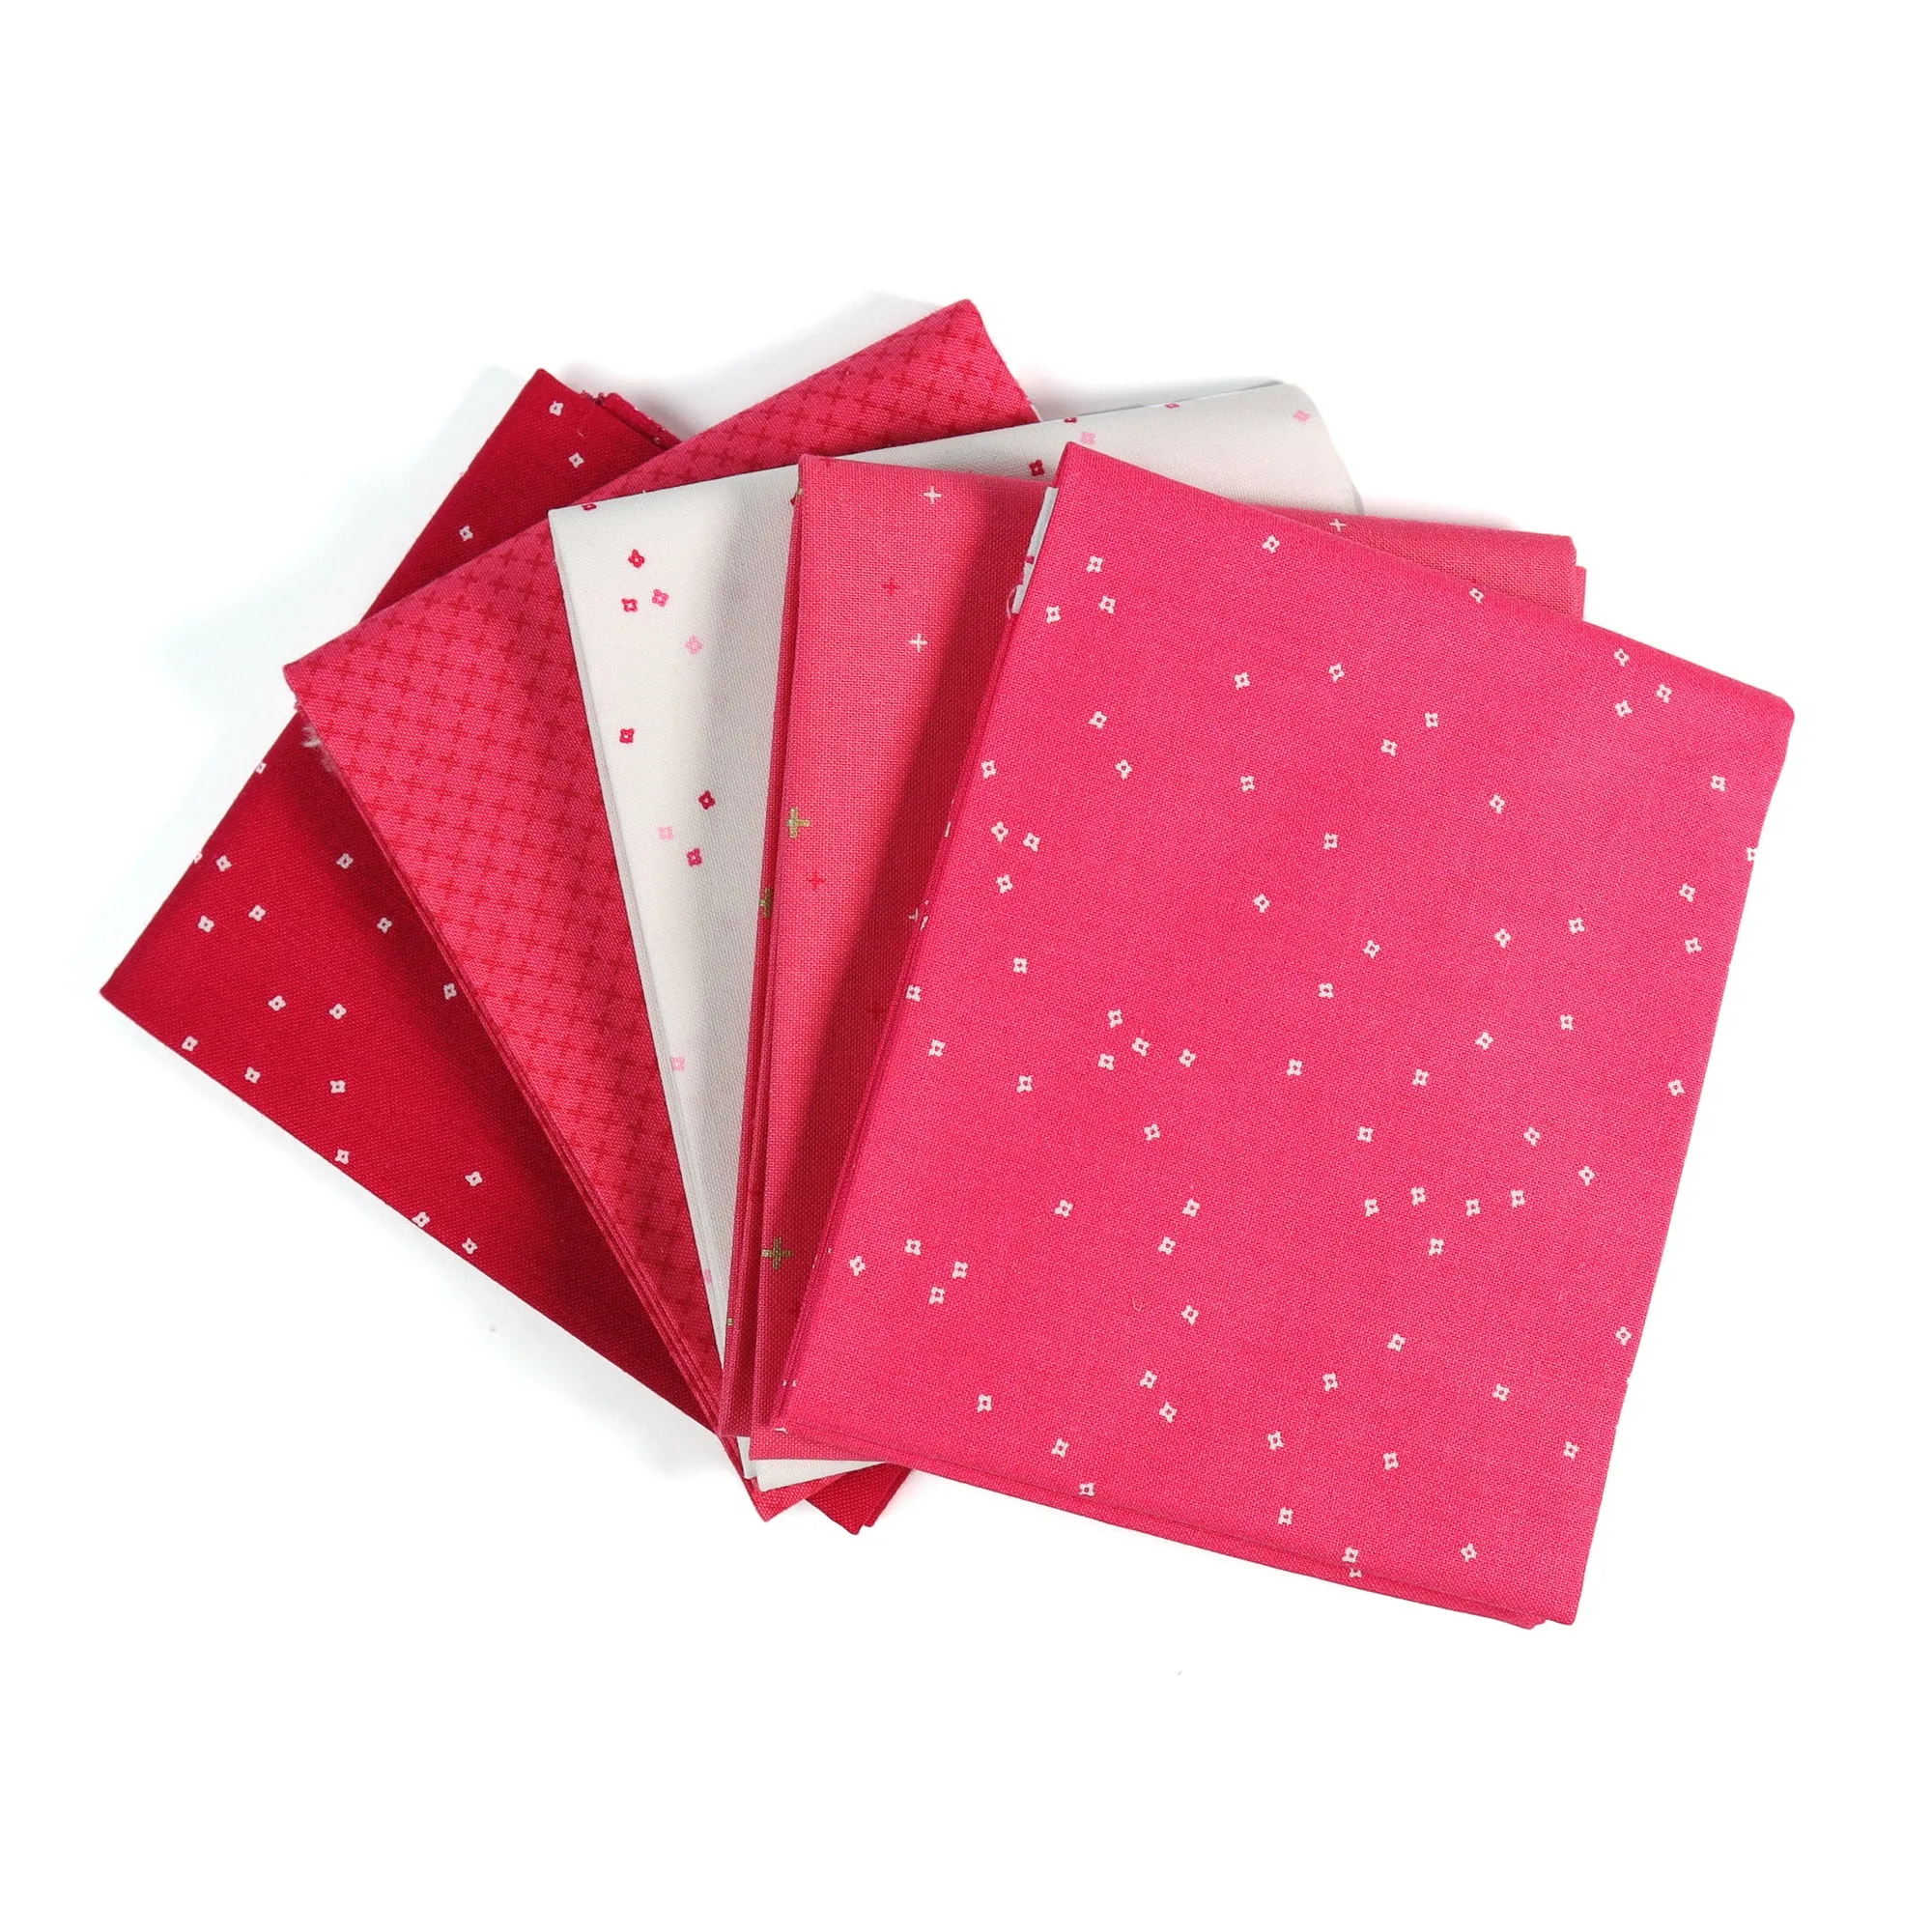
For a pouch that finishes around 8.5" x 4.5", cut two outer fabric pieces and two lining pieces, each 9" x 5". Use a 9" or longer zipper. Quilting cotton is the easiest fabric to learn with because it holds its shape and presses flat. If you want a coordinated look, a fabric bundle gives you matching shades without hunting through bolts.
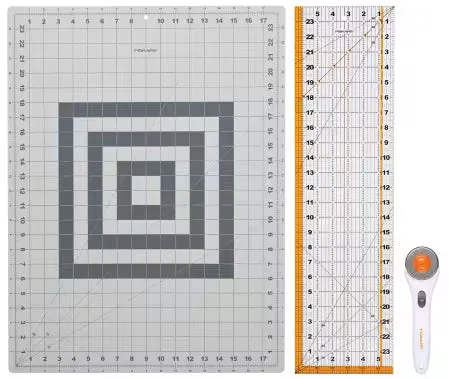
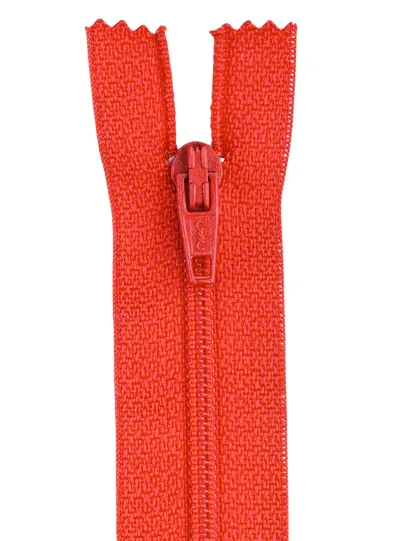
You will also need a zipper foot, a marking tool, pins or clips, and an iron. A rotary cutter, ruler, and mat make cutting faster and more accurate, especially if you plan to make several pouches. If you are new to zippers, choose a nylon coil zipper in a color that blends with your fabric so small stitching wobbles are less noticeable.
- Cut all four fabric pieces the same size; a 1/4" seam allowance is included in the 9" x 5" cut.
- Use a zipper at least as long as the top edge of your fabric; longer is fine and gets trimmed or hidden in the seam.
- Press your fabric before cutting so the pieces are flat and accurate.
How to sew the zipper between the outer and lining
Lay one outer piece right side up. Place the zipper along the top edge with the zipper pull facing up and the zipper tape edge aligned with the fabric edge. Place one lining piece right side down on top, sandwiching the zipper. Pin or clip along the top edge, keeping the zipper teeth away from the seam line.
Sew along the top edge with a 1/4" seam allowance, using a zipper foot so you can stitch close to the teeth. Stop and reposition the zipper pull if it gets in the way, but do not sew over the teeth. When you open the layers, the outer and lining should lie flat on either side of the zipper with no puckers. Repeat this sandwich with the remaining outer and lining pieces on the other side of the zipper.
- Common mistake: sewing too close to the zipper teeth. Keep the needle just outside the teeth so the zipper still opens smoothly.
- Checkpoint: before topstitching, open the zipper halfway and make sure both sides of the pouch lie flat.
- Press the fabric away from the zipper, not directly on the zipper teeth.
Sewing the sides and bottom
Open the zipper halfway. This is essential because you will turn the pouch through the lining later, and a closed zipper makes that impossible. Bring the two outer pieces right sides together and the two lining pieces right sides together, matching raw edges. The zipper should fold in half and sit between the layers.
Pin around the perimeter, leaving a 3" to 4" opening in the bottom edge of the lining for turning. Sew all the way around with a 1/4" seam allowance, backstitching at the opening. If your machine struggles over the zipper ends, slow down and use the handwheel for a few stitches. Trim the corners to reduce bulk, but do not cut through the stitching.
- Common mistake: forgetting to open the zipper before sewing the sides. If you skip this, you cannot turn the pouch right side out.
- Checkpoint: the lining opening should be on the bottom edge, not the side, so it is easy to close later.
- Use a slightly longer stitch length over thick zipper intersections to avoid broken needles.
Turning, closing, and finishing
Turn the pouch right side out through the lining opening. Push out the corners with a point turner or the blunt end of a pencil, then press the pouch, keeping the iron away from the zipper teeth. Tuck the lining into the pouch and smooth the top edges so the zipper sits flat.
Close the lining opening by folding the raw edges inward and stitching close to the fold, or sew it closed by hand with a ladder stitch. For a more polished look, topstitch along both sides of the zipper through the outer fabric only. Give the pouch a final press and test the zipper a few times.
- Common mistake: turning the pouch before opening the zipper. Open it first, then turn.
- Checkpoint: the lining should sit inside the pouch with no twisting at the side seams.
- If the zipper feels stiff, run the pull back and forth a few times; do not force it.
Zipper pouch steps at a glance
- Cut the fabric: Cut two outer and two lining pieces, each 9" x 5", using a rotary cutter and ruler for straight edges. Checkpoint: all four pieces should be exactly the same size before you sew.
- Sandwich the zipper: Layer outer right side up, zipper on top, lining right side down, and pin along the top edge. Common mistake: letting the zipper teeth shift out of alignment while pinning.
- Sew the first zipper side: Use a zipper foot and a 1/4" seam allowance, stitching just outside the zipper teeth. Checkpoint: open the layers and confirm the zipper lies flat with no puckers.
- Sew the second zipper side: Repeat the sandwich with the remaining outer and lining pieces on the other side of the zipper. Common mistake: sewing the second side without checking that the first side is still flat.
- Open the zipper halfway: Pull the zipper pull to the middle before sewing the sides and bottom. Checkpoint: if the zipper is closed, you will not be able to turn the pouch.
- Sew around the perimeter: With right sides together, sew the outer and lining layers around all edges, leaving a 3" to 4" opening in the lining bottom. Common mistake: forgetting to backstitch at the opening, which causes it to unravel.
- Trim and turn: Trim corners, then turn the pouch right side out through the lining opening. Checkpoint: push corners out gently so you do not poke through the fabric.
Fabric and tool notes from our catalog
- Checkerboard - Purple from Playtime Primaries for Paintbrush Studio Fabric: This quilting cotton is a lightweight 100% cotton fabric at 143 GSM, 44/45" wide, and tends to hold its shape even after washing. It presses flat and holds shape well, which makes it a good choice for a zipper pouch outer where you want clean edges and a crisp finish.
- Fiskars Rotary Cutting 3pc Set - Cutting Mat, Ruler and Rotary Cutter: The set includes a 45 mm rotary cutter, an extra-large cutting mat, and an acrylic ruler. Accurate cutting is the fastest way to avoid mismatched pouch pieces, and a rotary set makes it easy to cut multiple pouches from the same fabric.
- Hot Pink (5) Piece Fat Quarter Bundle: This bundle includes five pieces of Riley Blake Designs fabric, each approximately 18" x 22", in different shades and tones of one colorway. A bundle gives you coordinated outer and lining options for several pouches without buying separate cuts.
Once you have made one zipper pouch, the process becomes a repeatable pattern you can adapt to any size. Keep your first pouch simple, press as you go, and open the zipper before you sew the sides. With a little practice, you will be able to sew a stack of pouches for gifts, storage, and everyday use.