Quick Answer
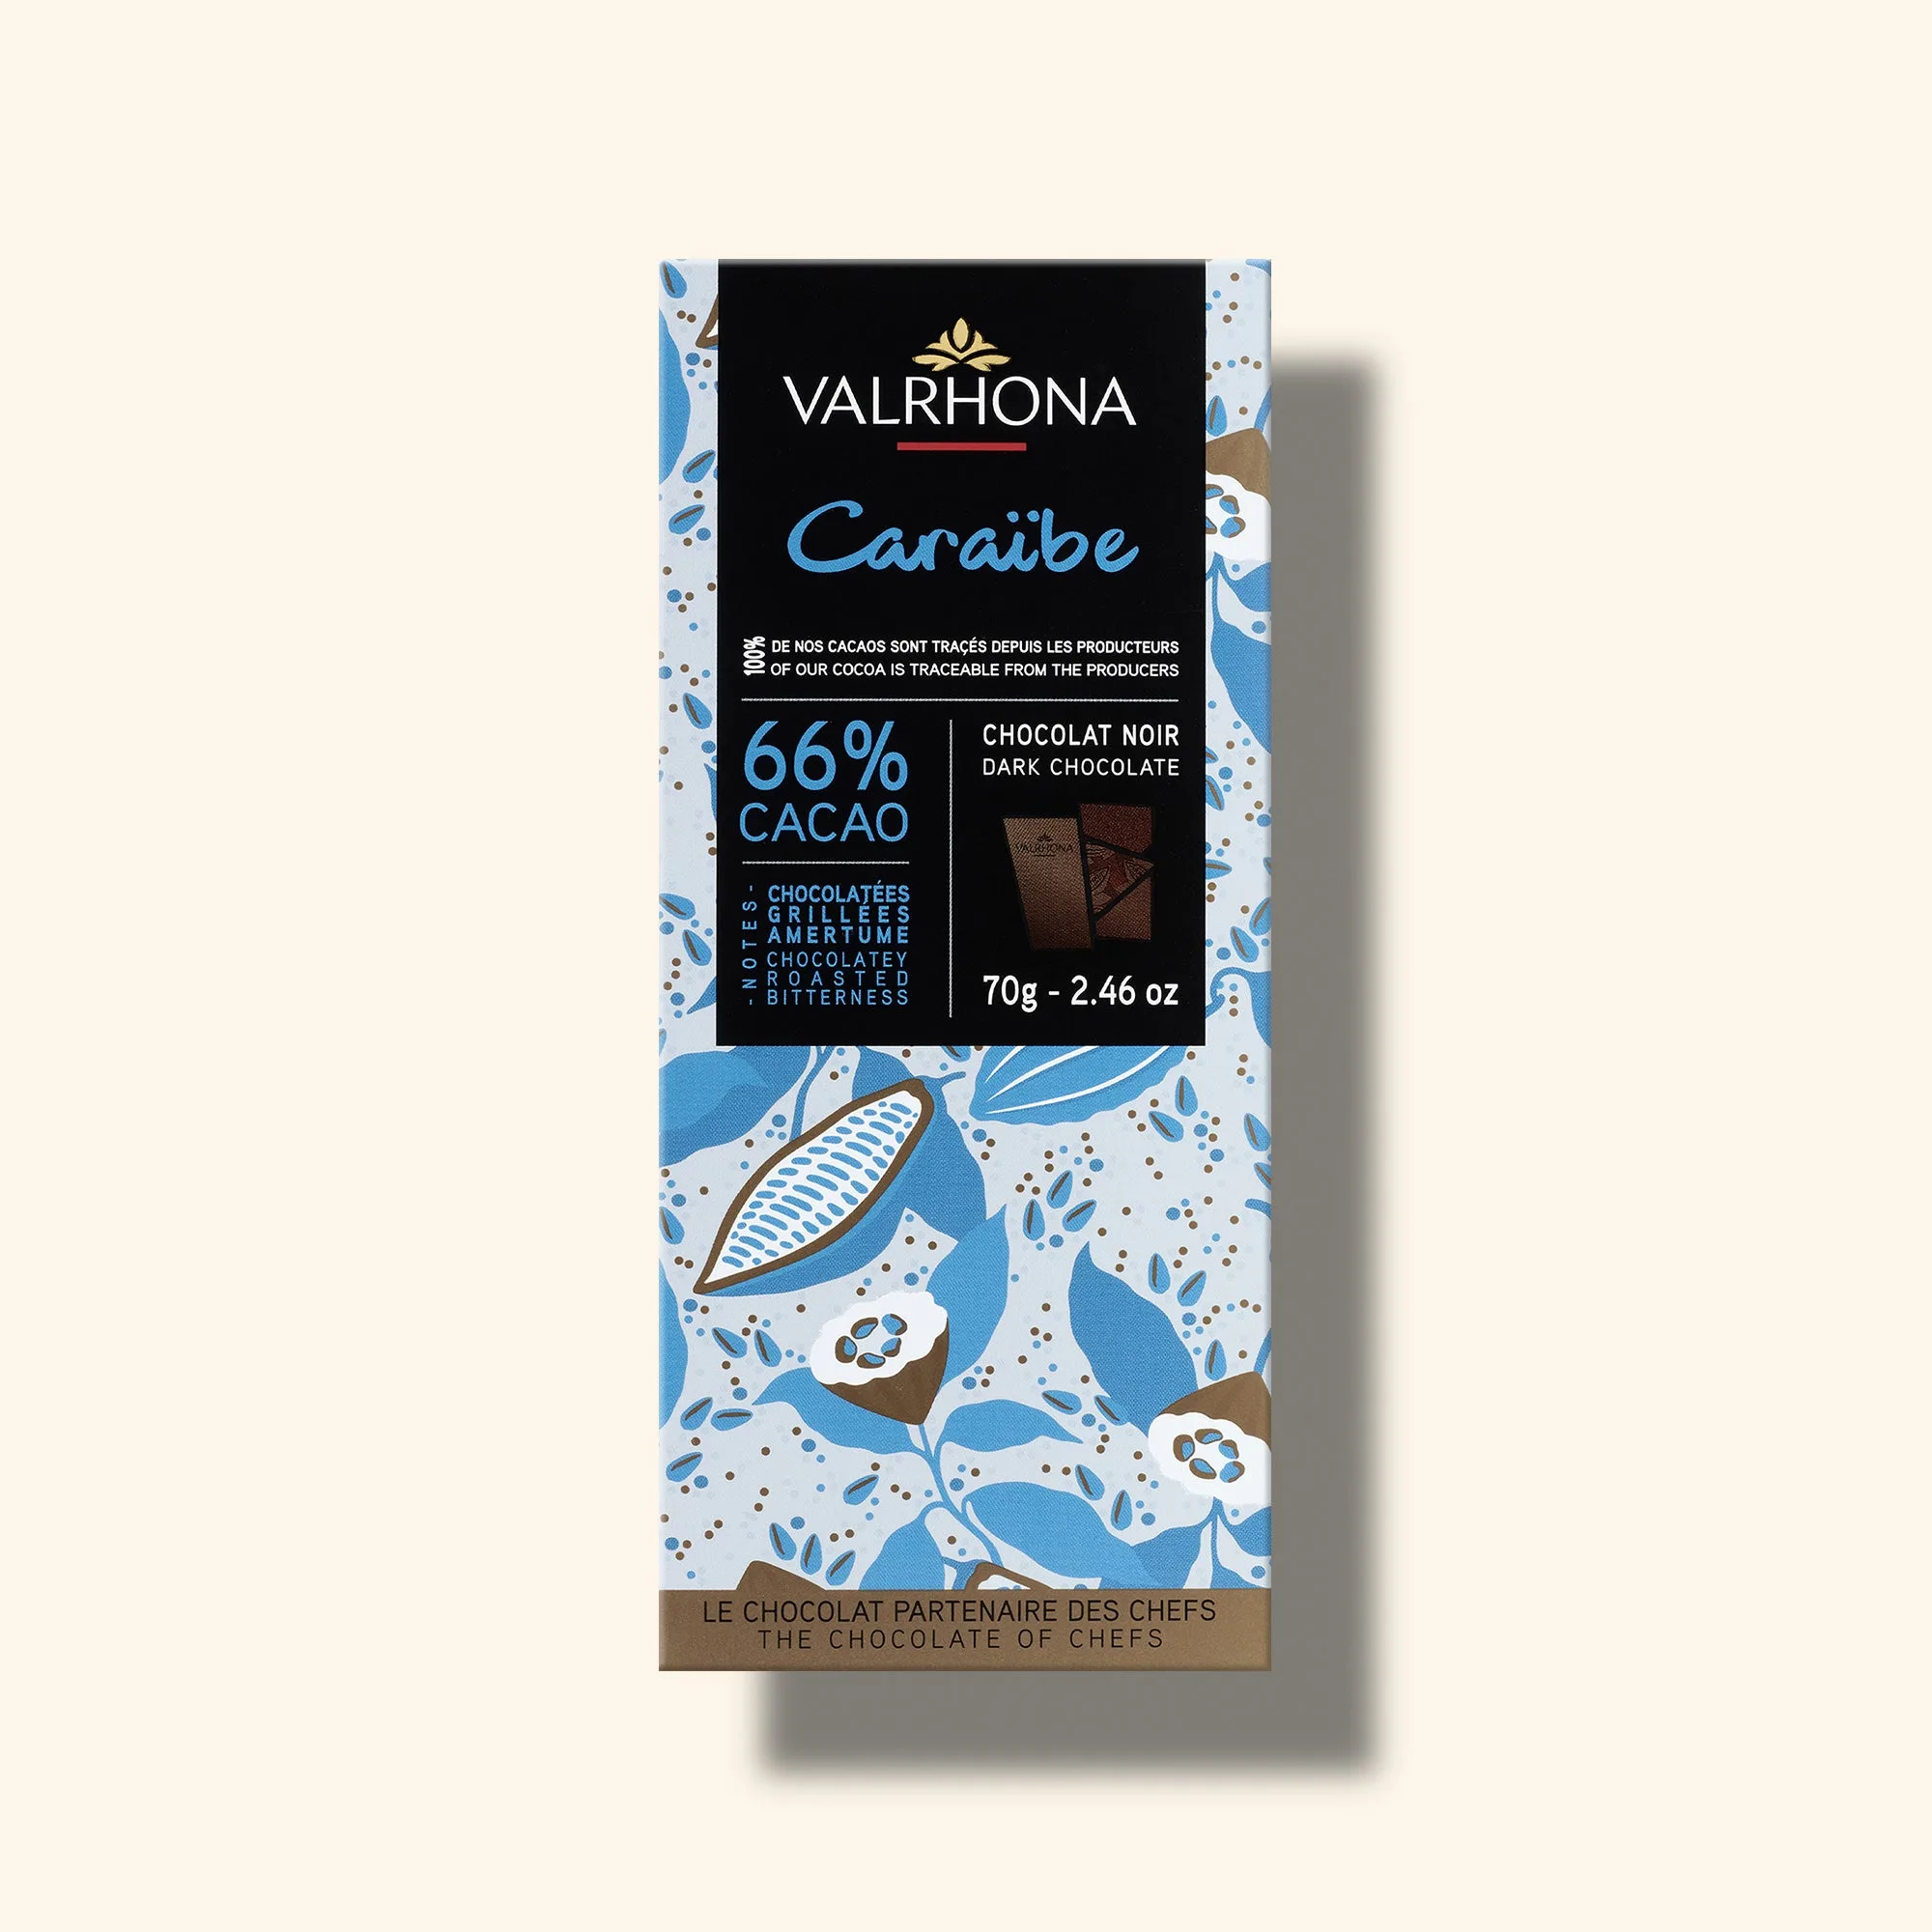
To make chocolate bars at home, you'll need quality chocolate, a reliable tempering method, and a good mold. Start with a dark chocolate like Valrhona's Caraïbe 66% for a balanced flavor, then follow a simple tempering process to ensure a shiny, snappy finish.
Making chocolate bars at home is a rewarding project that lets you customize flavors, textures, and designs. Whether you're a hobbyist or aspiring pastry chef, the process is simpler than you might think—once you master a few key steps.
This guide walks you through the entire process, from choosing the right chocolate to unmolding your finished bars. Along the way, you'll learn common pitfalls and how to avoid them, so your homemade chocolate bars look and taste professional.
Why Make Chocolate Bars at Home?
Homemade chocolate bars offer complete control over ingredients and flavor. You can experiment with different cacao percentages, add inclusions like nuts or dried fruit, and create unique gifts that reflect your personal touch. Plus, it's a fun activity that impresses friends and family.
While it requires a bit of patience, the payoff is immense. You'll gain a deeper appreciation for chocolate and the craft behind it. And with the right tools and techniques, you can produce bars that rival those from professional chocolatiers.
- Cost-effective for large batches
- Customizable flavors and ingredients
- Great for gifting and special occasions
Choosing the Right Chocolate
The quality of your finished bars depends largely on the chocolate you start with. For beginners, a dark chocolate with a balanced profile is ideal. Valrhona's Caraïbe 66% is often called the 'safe bet' because it appeals to most palates, making it perfect for your first attempts.
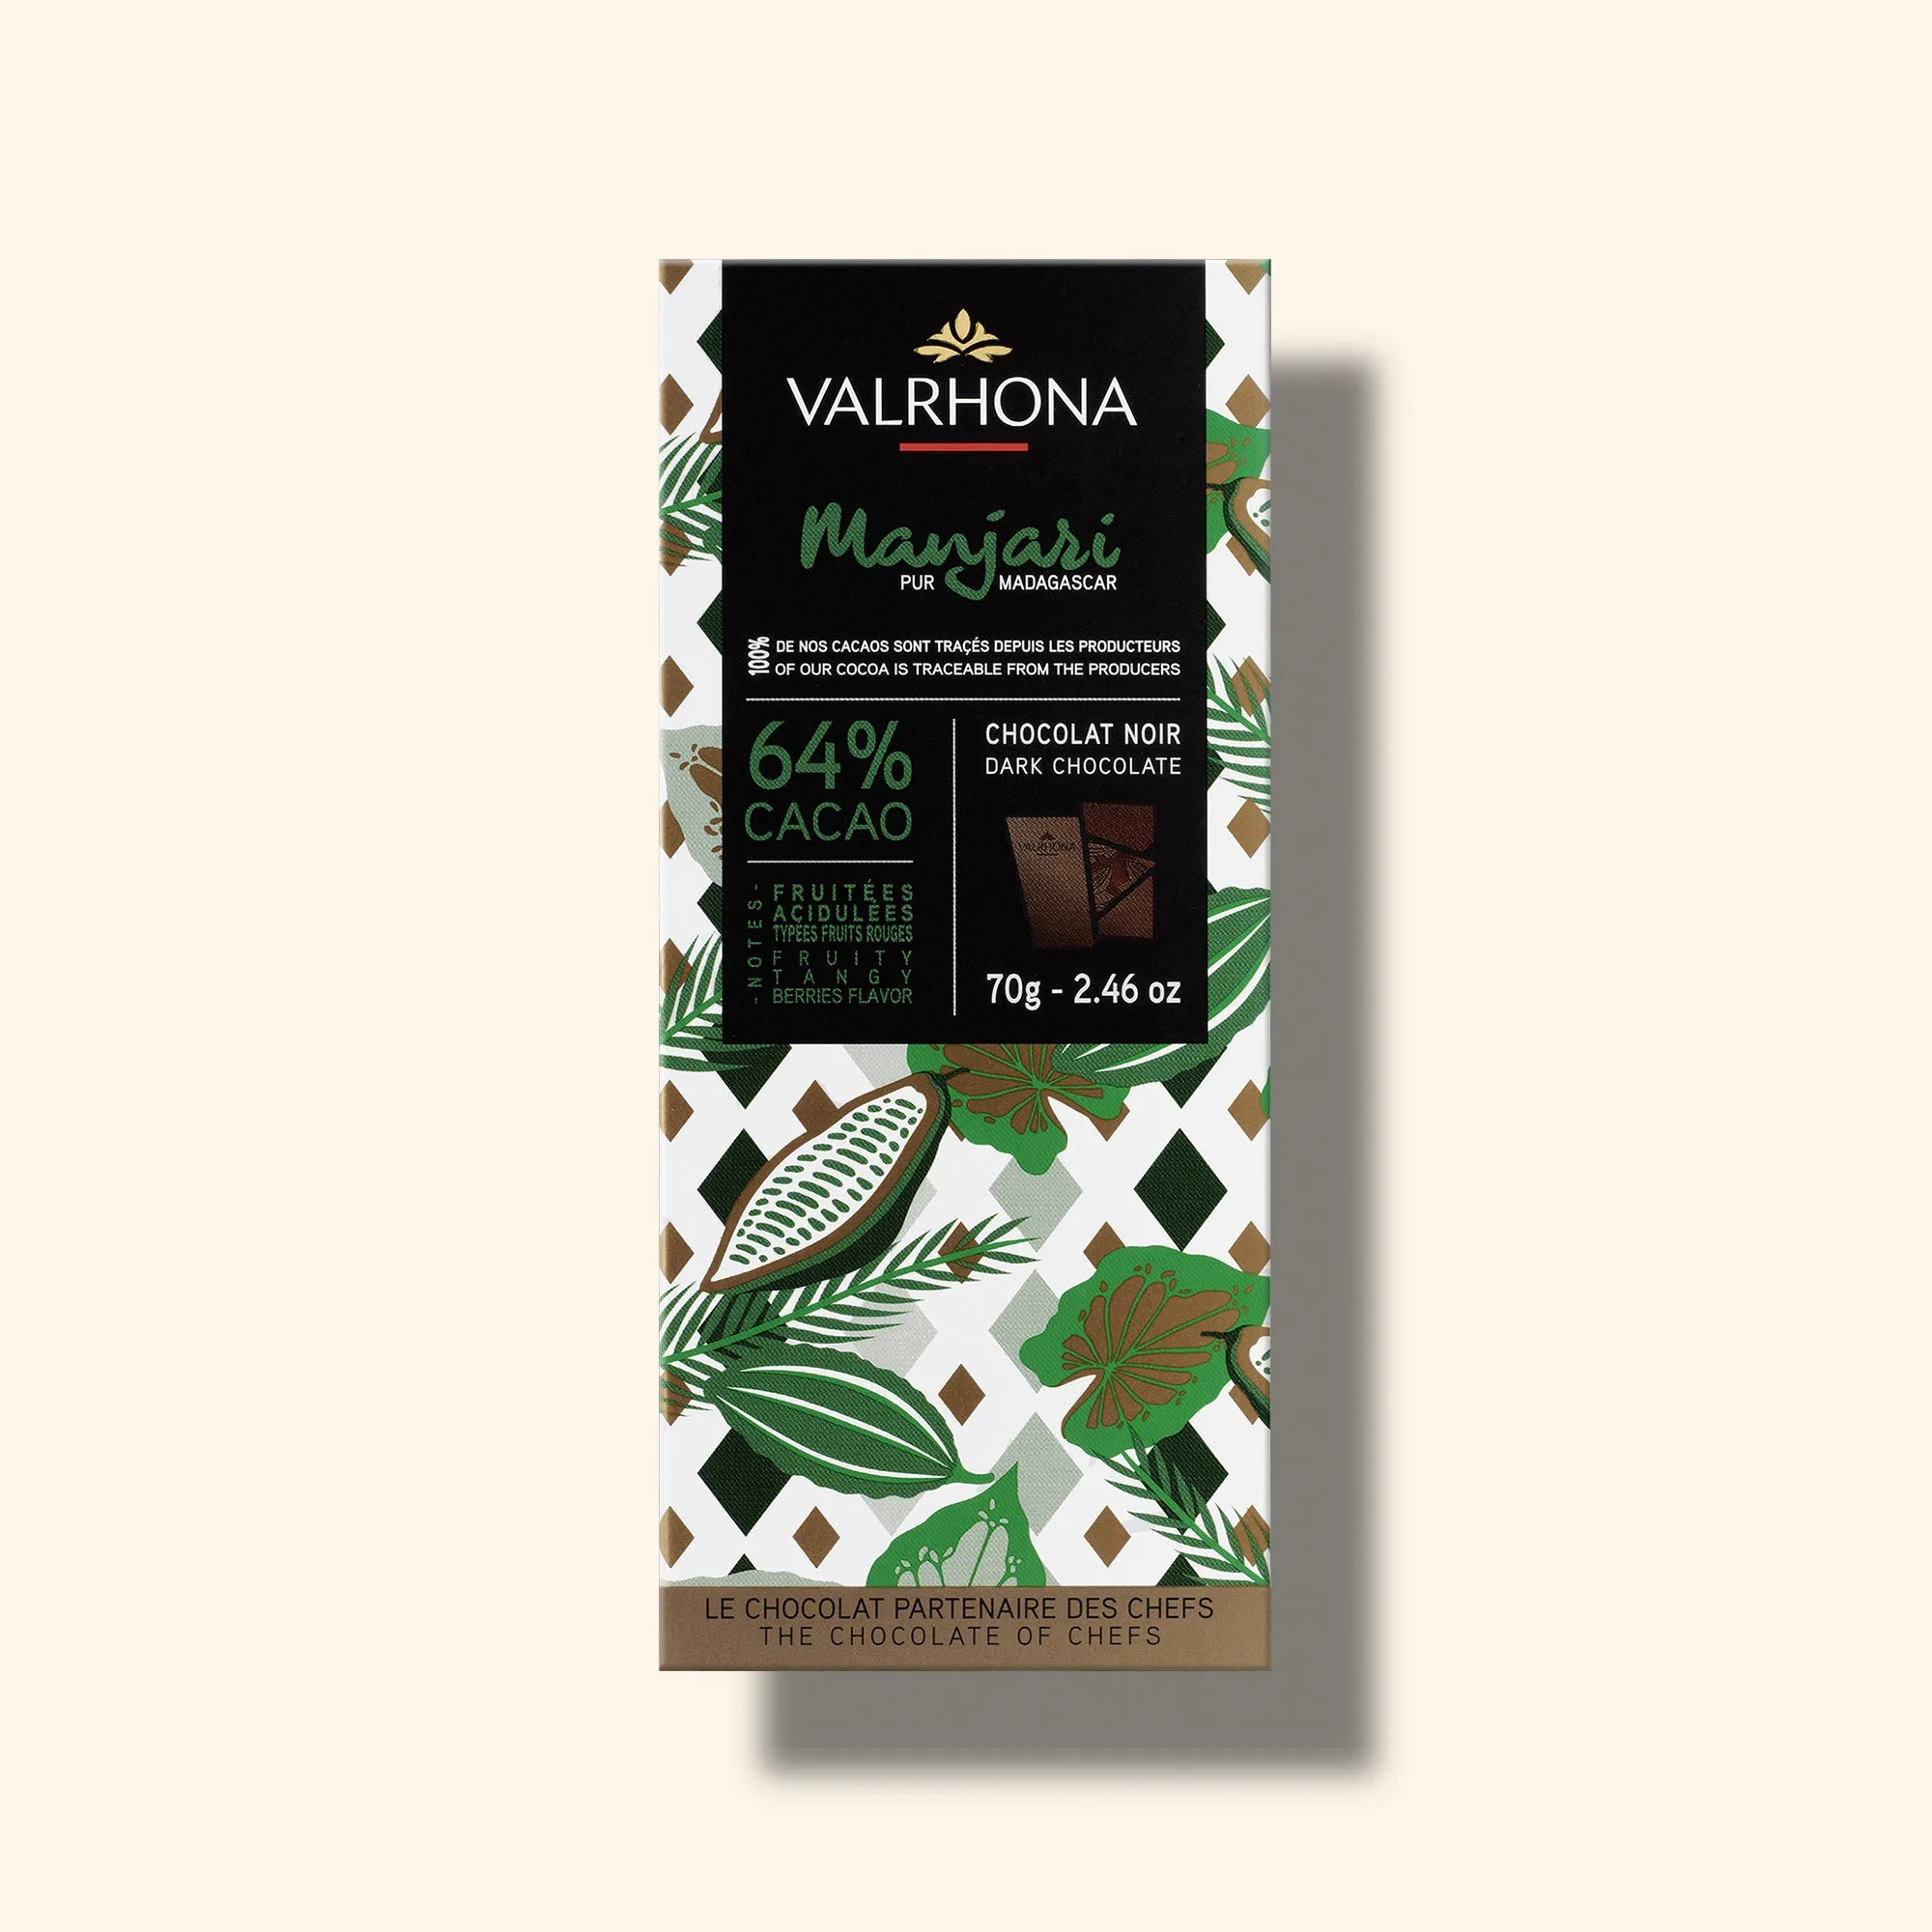
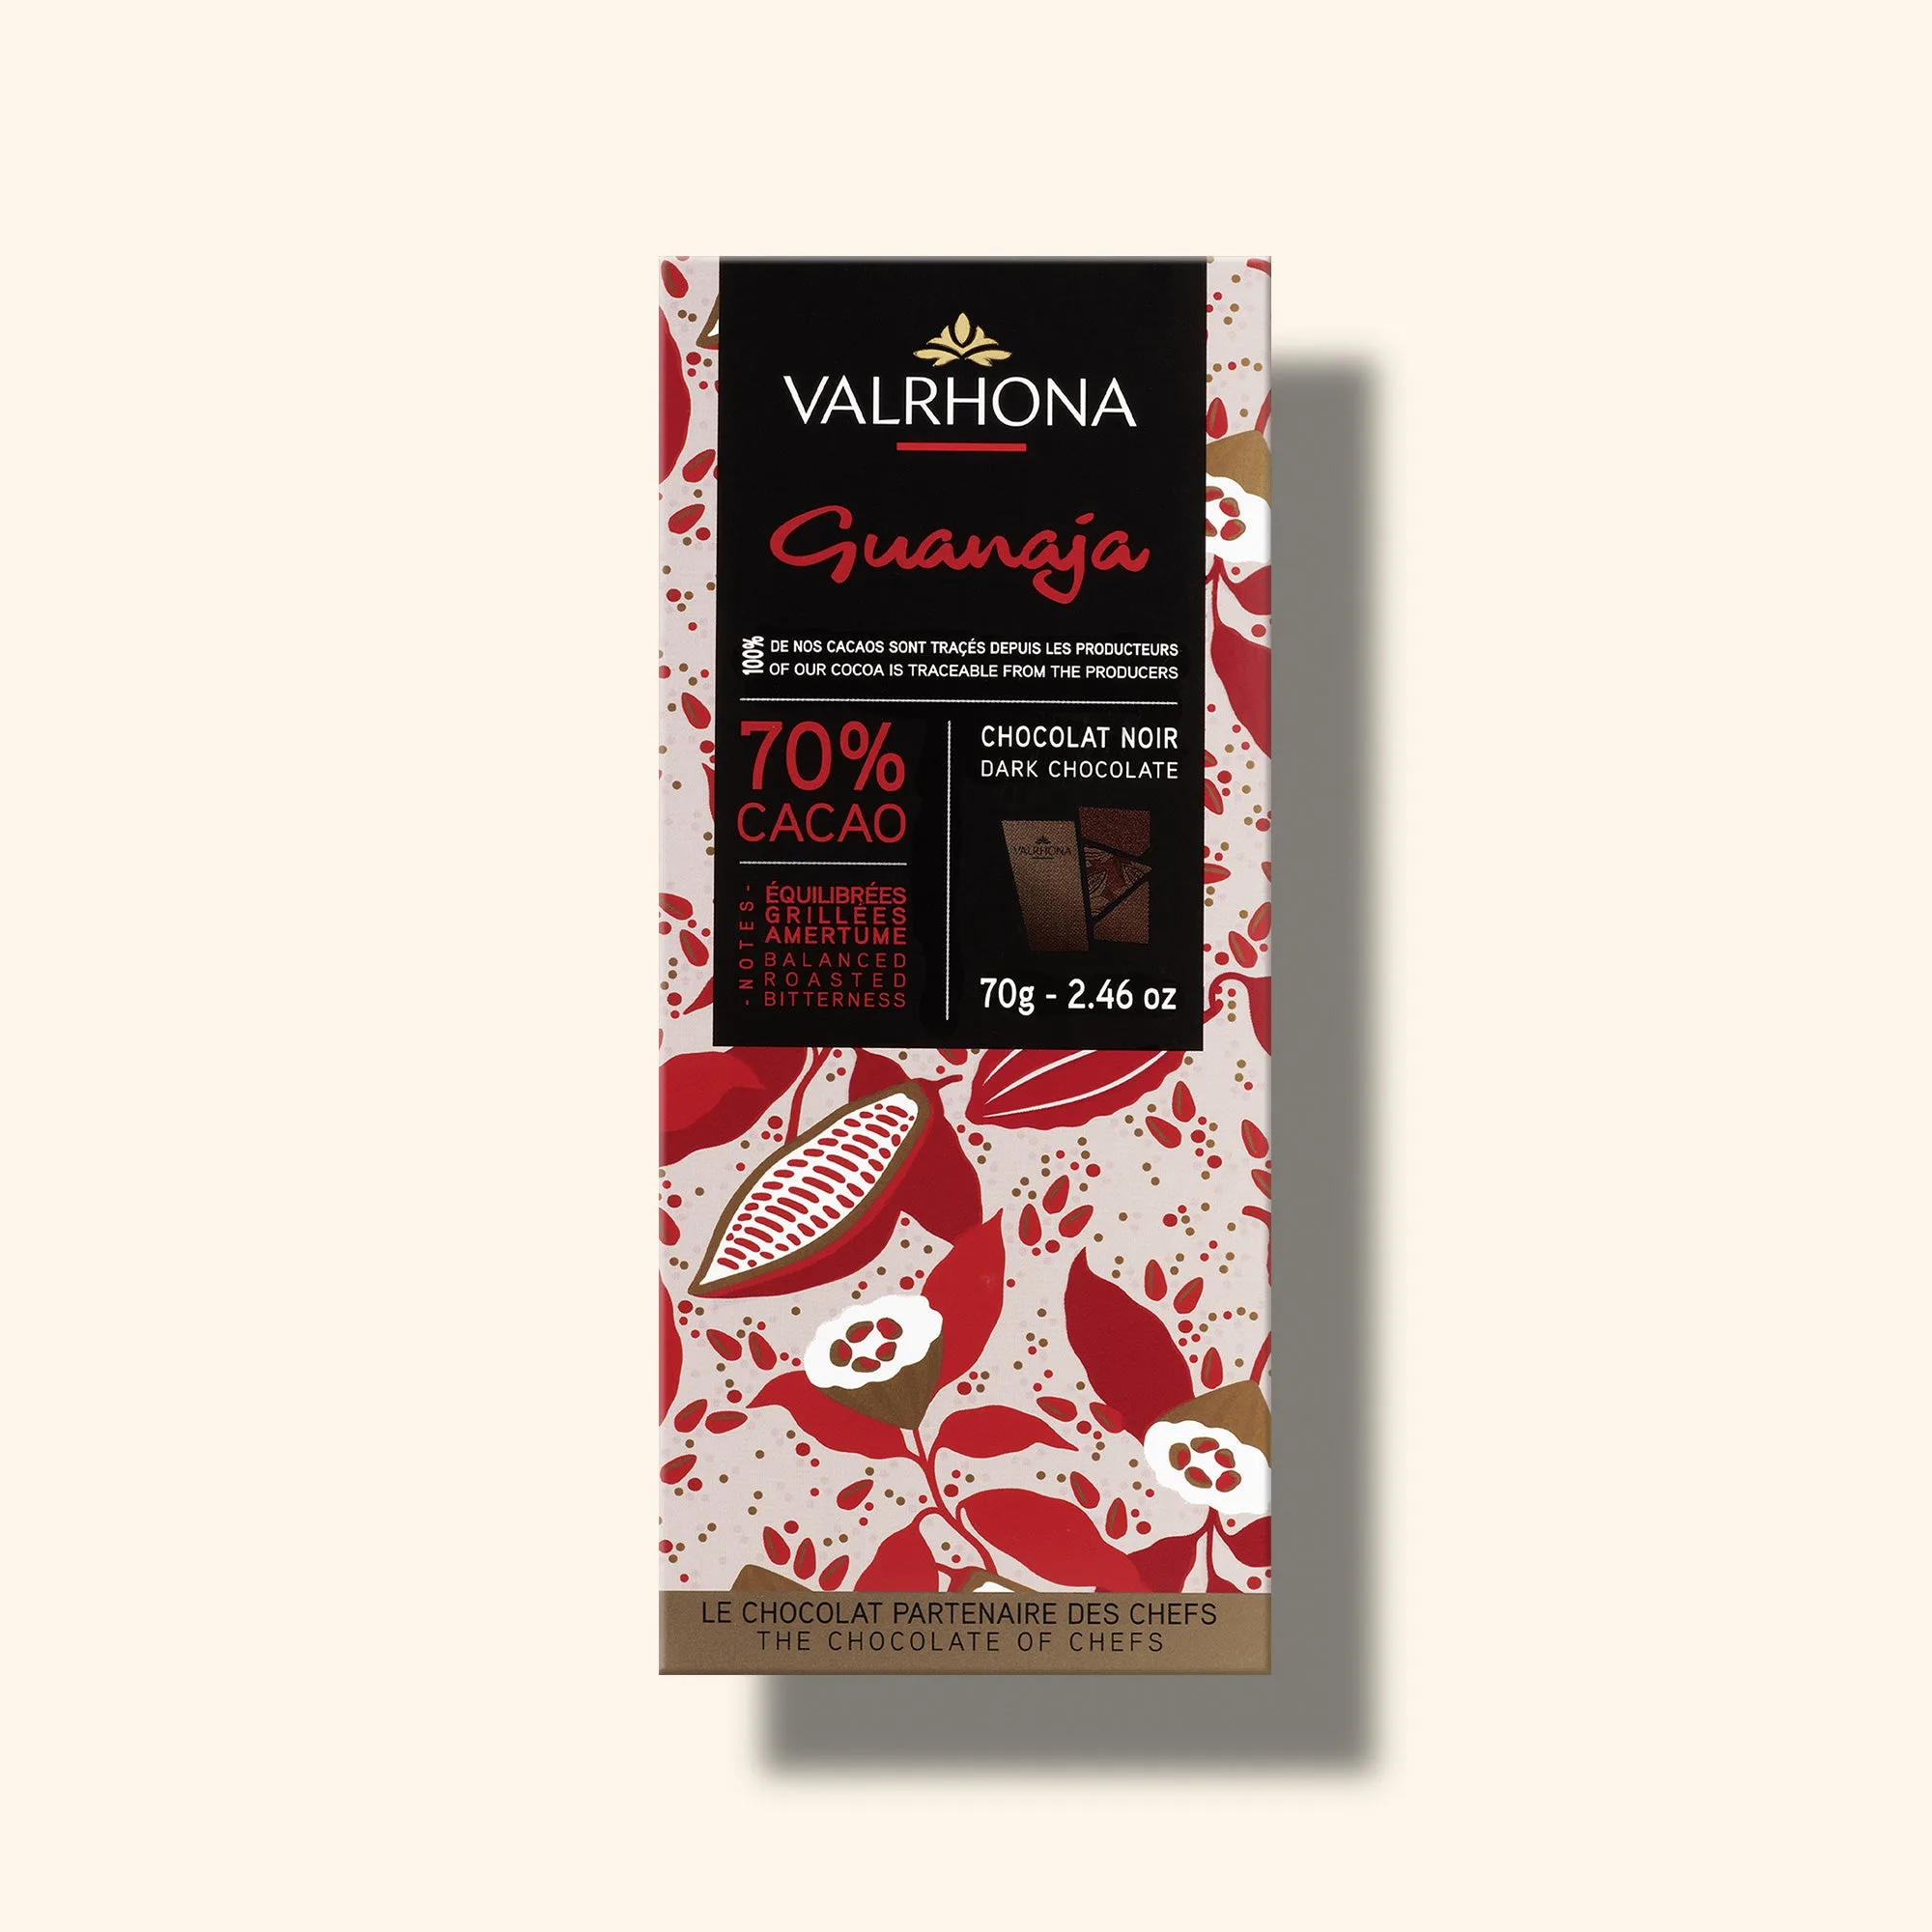
If you prefer a more intense experience, try Guanaja 70%—the world's first bitterest chocolate—which offers a robust, classic dark chocolate flavor. For a fruity twist, Manjari 64% from Madagascar brings a tangy, acidic note that some chocolate lovers adore.
Whatever you choose, ensure it's high-quality couverture chocolate with good cocoa butter content. This will make tempering easier and result in a glossy, crisp bar.
- Start with a balanced dark chocolate like Caraïbe 66%
- For a bolder taste, try Guanaja 70%
- Experiment with Manjari 64% for fruity notes
Essential Equipment for Chocolate Bar Making
You don't need a professional kitchen to make chocolate bars, but a few key tools will make the process smoother. A digital thermometer is crucial for tempering, and a heatproof spatula helps with stirring. You'll also need a mold—silicone or polycarbonate—to shape your bars.
Valrhona offers a range of molds, such as the Granite Easter Egg Mold, but for bars, any flat mold with cavities will work. If you're making holiday-themed bars, the Large Santa Claus Mold adds a festive touch. Remember to clean and dry your mold thoroughly before use to avoid imperfections.
- Digital thermometer for accurate tempering
- Heatproof spatula for stirring
- Quality chocolate mold for shaping
Tempering Chocolate: The Key to a Professional Finish
Tempering is the process of heating and cooling chocolate to stabilize the cocoa butter crystals. Properly tempered chocolate has a shiny surface, a clean snap, and melts smoothly at body temperature. Untempered chocolate can be dull, soft, and prone to blooming (white streaks).
The simplest method for beginners is the seeding method: melt about two-thirds of your chocolate to 115°F (46°C) for dark chocolate, then add the remaining one-third in small pieces, stirring until the temperature drops to about 88–90°F (31–32°C). Keep the chocolate in this temperature range while working.
- Always use a thermometer for accuracy
- Work in a cool, dry environment
- Avoid getting water in the chocolate
Adding Flavor and Inclusions
Once your chocolate is tempered, you can customize it with inclusions. Popular options include toasted nuts, dried fruits, sea salt, or spices. Fold them in gently just before pouring to avoid breaking the temper.
For a simple yet elegant touch, consider using a flavored chocolate base. For instance, you might mix in a bit of milk chocolate for a creamier texture, or add a few drops of essential oil (food-grade) for a minty twist. Remember: less is more, as too many add-ins can affect the chocolate's texture.
- Fold in inclusions gently
- Use high-quality, dry ingredients
- Keep inclusions small for even distribution
Pouring and Molding
Pour the tempered chocolate into your mold, filling each cavity to the top. Tap the mold gently on the counter to release air bubbles and ensure the chocolate settles into all corners. Use a scraper or offset spatula to level the surface.
If you're adding a second layer (e.g., with a filling), pour a thin base, let it set slightly, then add the filling and top with more chocolate. For solid bars, simply fill and tap.
- Tap the mold to remove air bubbles
- Scrape off excess chocolate for a clean finish
- Work quickly to keep chocolate in temper
Setting and Unmolding
Allow the chocolate to set at room temperature (around 65–70°F / 18–21°C) for at least 30 minutes, or until it fully hardens. Avoid refrigerating, as rapid cooling can cause condensation and affect the finish.
Once set, gently flex the mold to release the bars. If they don't come out easily, tap the mold lightly on a counter. Store your finished bars in a cool, dry place, ideally in an airtight container to protect them from moisture and odors.
- Let chocolate set at room temperature
- Do not refrigerate unless necessary
- Store in a cool, dry place
Step-by-Step: How to Make Chocolate Bars at Home
- Gather your ingredients and equipment: Choose high-quality chocolate (like Valrhona Caraïbe 66%) and have your mold, thermometer, and spatula ready. Ensure everything is clean and dry. Checkpoint: Your workspace is organized, and you have at least 200g of chocolate for a small batch.
- Chop the chocolate into uniform pieces: Small, even pieces melt more consistently. If using a block, chop it finely with a serrated knife. Mistake to avoid: Large chunks cause uneven melting and can seize.
- Melt two-thirds of the chocolate to 115°F (46°C): Use a double boiler or microwave in short bursts, stirring frequently. Do not overheat, as this can ruin the chocolate. Checkpoint: The chocolate is smooth and free of lumps.
- Add the remaining one-third to seed the temper: Remove from heat and stir in the reserved chocolate pieces. Continue stirring until the temperature drops to about 88–90°F (31–32°C) for dark chocolate. Mistake to avoid: If the temperature rises above 90°F, you'll need to start over.
- Test the temper: Dip a knife tip into the chocolate and let it set for a few minutes. It should harden with a shiny finish. If not, continue seeding or use a different method. Checkpoint: Your chocolate is ready for molding when it passes the test.
- Pour into your mold and tap out air bubbles: Fill each cavity to the top, then tap the mold gently on the counter. Use a scraper to level the surface. Mistake to avoid: Overfilling can cause overflow; underfilling leads to thin bars.
- Let set at room temperature, then unmold: Allow the chocolate to harden completely (30–60 minutes) before unmolding. Gently flex the mold to release. Checkpoint: Your bars should release cleanly with a glossy finish. Store in a cool, dry place.
Recommended Products for This Guide
- Dark Chocolate Bar Caraïbe 66% - 2.46oz / 70g: Dark Chocolate Bar Caraïbe 66% - 2.46oz / 70gDiscover the perfect balance of chocolate with the Caraïbe 66% dark chocolate bar, known as the safe bet that appeals to most people. It is also the favorite dark chocolate of children because of its accessible aromatic profile. It is therefore ideal for making gourmet desserts and snacks to satisfy young and old alike. Its balanced flavor makes it an excellent starting point for beginners, ensuring your homemade bars are enjoyable for a wide audience.
- Dark Chocolate Bar Guanaja 70% - 2.46oz: Dark Chocolate Bar Guanaja 70% - 2.46ozAre you a fan of great classics? Discover the iconic Guanaja 70% dark chocolate bar created by Valrhona. The world's first bitterest chocolate, Guanaja has become the flagship of Valrhona's dark chocolates. If you prefer a more intense chocolate bar, Guanaja's bold flavor stands up well to additions like sea salt or orange zest.
- Dark Chocolate Bar Manjari 64% - 2.46oz / 70g: Dark Chocolate Bar Manjari 64% - 2.46oz / 70gLover of fruity and tangy dark chocolates? Manjari 64% chocolate is made for you! Known for the typicality of its cocoa beans, the island of Madagascar offers exceptional cocoa beans. Manjari is a fine example of this acidic signature, easily recognizable and which serves for some amateurs as a reference on acidity scales. For a unique homemade chocolate bar, Manjari's fruity acidity pairs beautifully with dried cherries or a touch of raspberry powder.
Making chocolate bars at home is a delightful skill that combines science and creativity. With the right chocolate and a little practice, you'll be crafting beautiful, delicious bars that make perfect gifts or personal treats. Start with a reliable recipe and don't be afraid to experiment as you gain confidence.