Quick Answer
A long-lasting gel manicure comes down to three things: a fully dehydrated nail plate, thin and even coats that never touch the cuticle, and aftercare that treats your nails like tools rather than decorations. Follow the steps below in order. If you skip prep or flood the sidewalls, no top coat will save the wear time.
Gel polish does not fail randomly. When a manicure lifts at the corner on day three or peels off in one piece on day seven, the cause is usually in the prep or the application, not the formula. The good news is that every one of those causes is fixable with a routine you can repeat.
This guide walks through the full lifecycle of a gel manicure, from bare nail to day-ten check-in. Each step includes the mistake that quietly shortens wear time so you can catch it before it costs you a set. It applies whether you are using a creamy anti-spread gel or a sheer shimmer shade.
Prep Decides Everything
Start by pushing back cuticles and gently removing any non-living tissue from the nail plate. Then buff the shine off the surface with a fine grit buffer, not a coarse file. The goal is a matte, slightly textured plate that gel can grip, not a thinned nail. Wipe away dust with a lint-free pad and cleanser or alcohol.
The most common mistake here is over-buffing. If you can see ridges deepening or the nail feels warm, you have gone too far, and the nail will flex under the gel, causing cracks. A light pass is enough. Also resist the urge to skip dehydration: oils and moisture are the number one enemy of adhesion.
- Use a cuticle pusher, not your fingernail, to avoid tearing the seal.
- Dehydrate immediately before base coat so nothing re-oils the plate.
Base Coat and First Color Coat
Apply a thin base coat and cap the free edge. Thin is the operative word: a thick base coat cures unevenly and creates a soft layer that peels. Cure according to your lamp and the product instructions. If your base coat is a peel-off type, understand that it trades wear time for easy removal, so it may not be the right choice if you need ten days of wear.
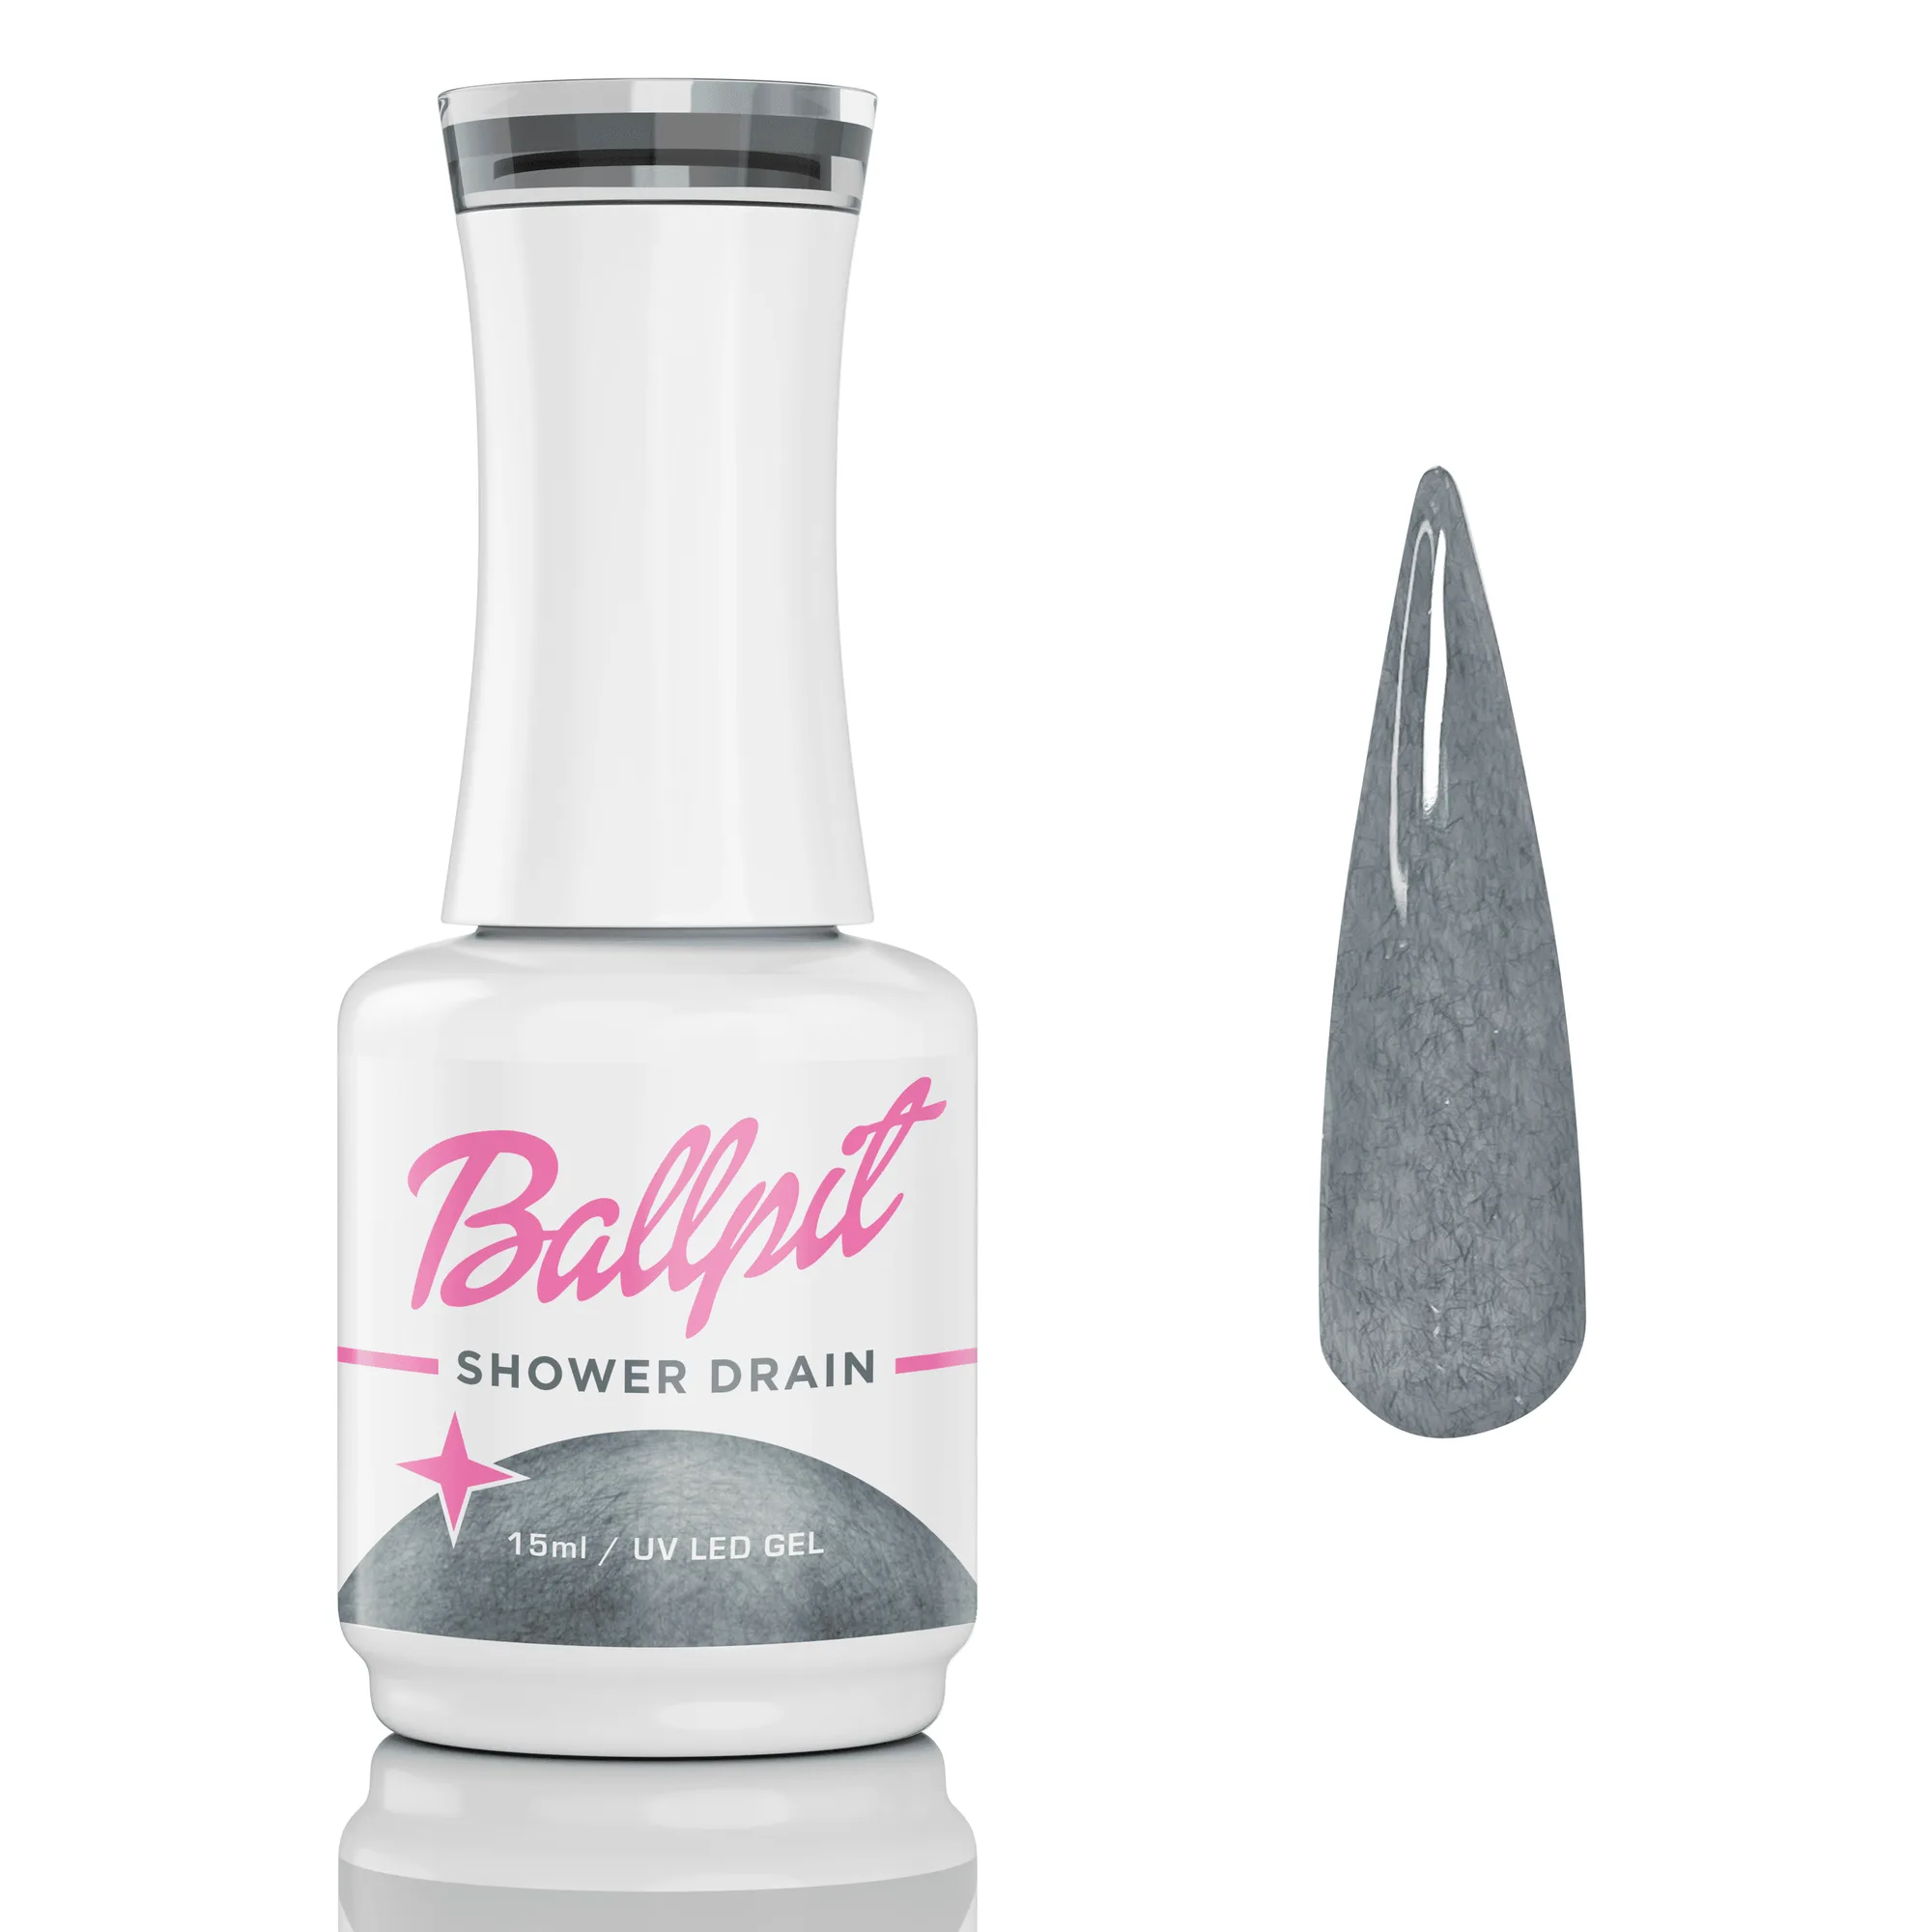
For the first color coat, load a small bead and spread it with light pressure. Anti-spread formulas like the ones in Ballpit Nails' creamy gel line are designed to hold their shape, which helps you keep the product off the cuticle. If you flood the sidewalls or cuticle line, the gel will lift there first because the seal is compromised.
- Never let color touch the cuticle or sidewall; leave a hairline gap.
- Cap the tip on every coat, including the first color layer.
Second Color Coat and Top Coat
A second thin color coat builds opacity without bulk. If you are using a highly pigmented shade, one coat may be enough, but two thin coats almost always outlast one thick coat. Cure fully. Then apply a glossy top coat, again thin, and cap the free edge. The top coat is your wear layer, so a uniform film matters more than a thick one.
The mistake to avoid is under-curing. If the gel feels tacky after the full cure time or looks dull, your lamp may be underpowered or your coats too thick. Under-cured gel will chip and can also cause sensitivity. Check your lamp's wattage and bulb condition, and never guess the cure time.
- Cure all five fingers together only if your lamp is designed for it; otherwise cure thumbs separately.
- Wipe the inhibition layer with cleanser before touching anything.
Aftercare That Actually Prevents Chipping
Once the manicure is cured, treat your nails as if they were slightly soft for the first hour. Avoid hot water, cleaning products, and heavy lifting. For daily care, keep cuticles moisturized with cuticle oil, but apply it to the skin around the nail, not the gel itself. Dry cuticles crack and pull at the seal, which is how many chips begin.
Wear gloves for dishes, cleaning, and gardening. Water and detergent are the two most common causes of lifting at the free edge. Also file your nails in one direction with a fine file if you need to reshape; sawing back and forth creates micro-fractures that turn into chips. If a corner lifts, do not pick at it. Instead, file the lifted area smooth and seal it with a thin layer of top coat and cure.
- Oil the cuticle, not the gel.
- Gloves for every wet chore.
- One-direction filing only.
Removal and Reset
When it is time to remove, file the top coat, soak a pad in acetone, and wrap each nail. Give it the full ten to fifteen minutes. The mistake is rushing with a pusher and tearing the gel off; that removes layers of your natural nail and makes the next manicure weaker. After removal, give your nails a rest day with cuticle oil before you prep again.
If you use a peel-off base coat, you can skip acetone, but you still need to be gentle. Peeling from the side rather than the tip reduces nail damage. Either way, a healthy nail plate is the foundation of gel polish longevity, so never sacrifice nail health for speed.
- Never bite, pick, or pry off gel.
- Let nails breathe for 24 hours between sets if they feel thin.
Your Repeatable Gel Longevity Routine
- Step 1: Dehydrate and matte the nail plate: Push cuticles, buff lightly, and wipe with cleanser or alcohol immediately before base coat. Checkpoint: the nail should look matte, not shiny, and feel dry, not slick.
- Step 2: Apply a thin base coat and cap the tip: Keep the layer thin enough that you can still see the nail through it. Cure fully. Mistake to avoid: a thick base coat that pools at the cuticle and peels early.
- Step 3: Apply two thin color coats, leaving a hairline gap: Use an anti-spread formula to control the bead, and cap the free edge on each coat. Checkpoint: no color should touch skin or cuticle.
- Step 4: Seal with a thin glossy top coat and cure: Cap the tip again. Wipe the inhibition layer only after a full cure. Mistake to avoid: under-curing, which leaves a tacky surface and shortens wear.
- Step 5: Practice gel manicure aftercare daily: Oil the cuticles, wear gloves for wet work, and file in one direction. Checkpoint: if a corner lifts, file it smooth and seal with top coat instead of picking.
- Step 6: Remove gently and rest the nail: Soak off with acetone wraps or peel off from the side if using a peel-off base. Mistake to avoid: prying gel off, which damages the nail plate and weakens the next set.
Product Facts That Affect Wear
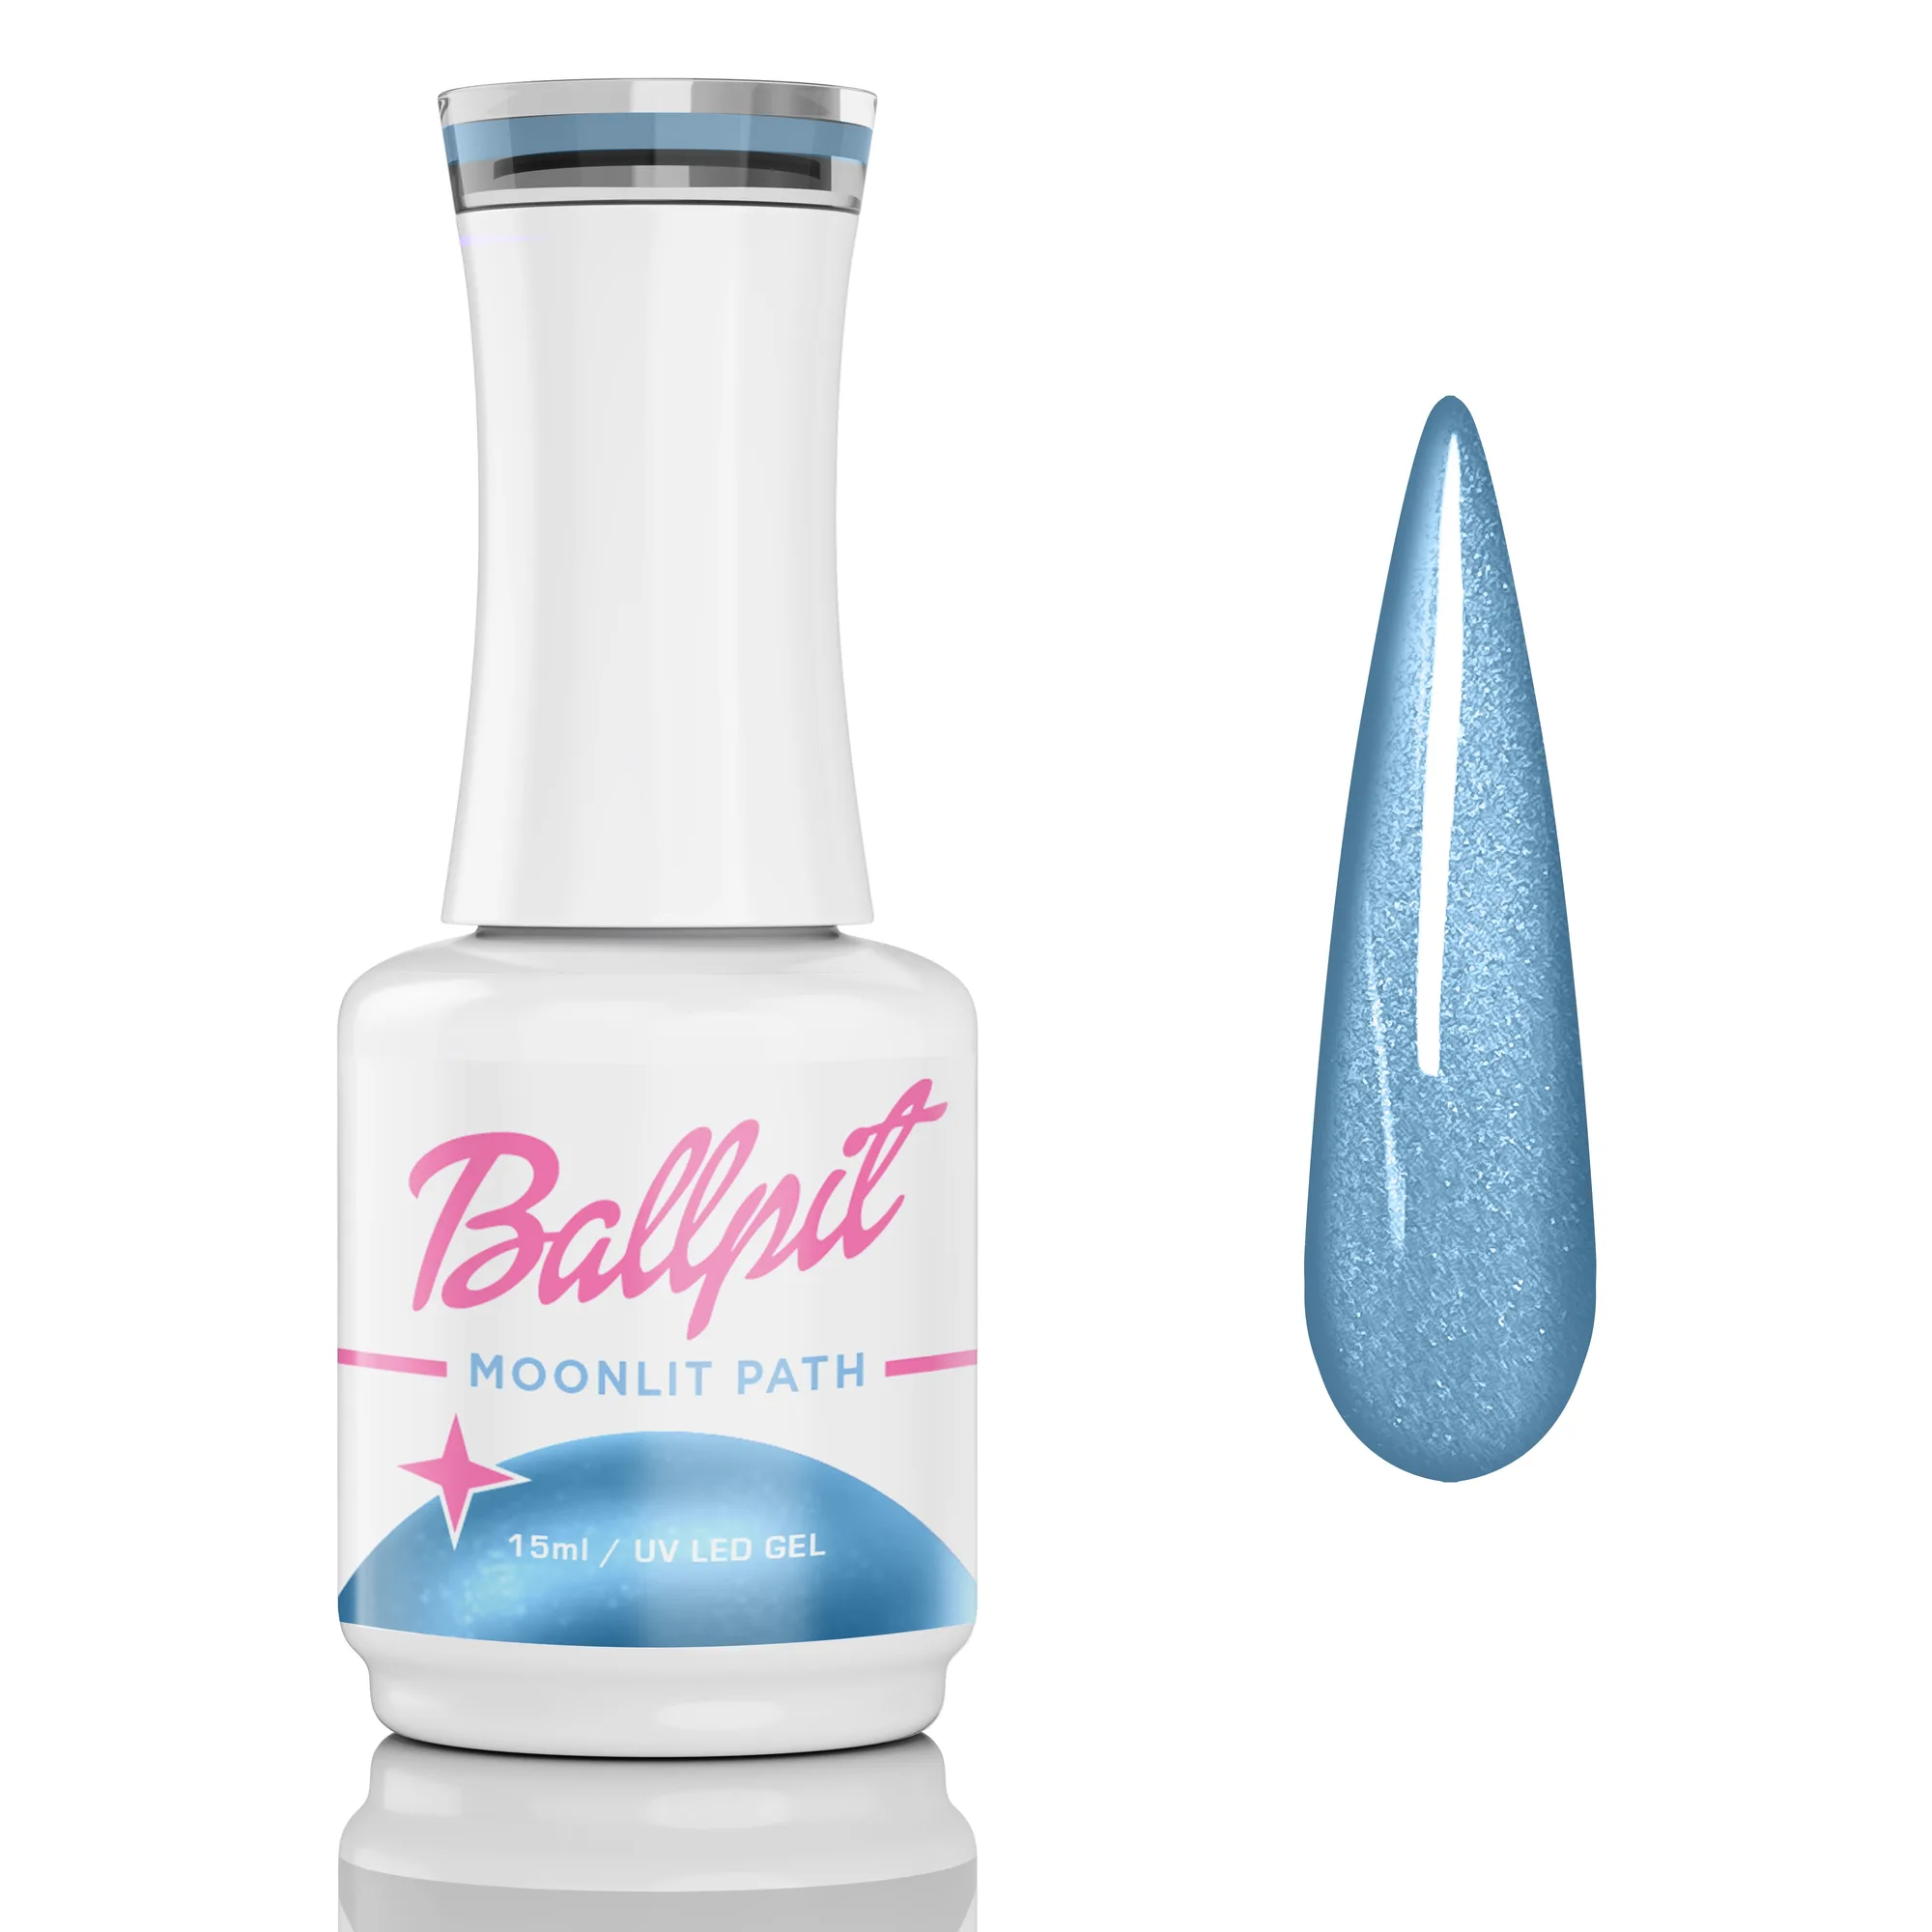
- Moonlit Path - Gel Polish: Shade: Enchanted moonlight blue velvet cat eye; HEMA and TPO free; pigment-forward with an anti-spread, creamy body; 60-second cure; 15ml. The anti-spread body helps you keep color off the cuticle, and the 60-second cure gives you a predictable application window. HEMA and TPO free is a consideration if you have known sensitivities.
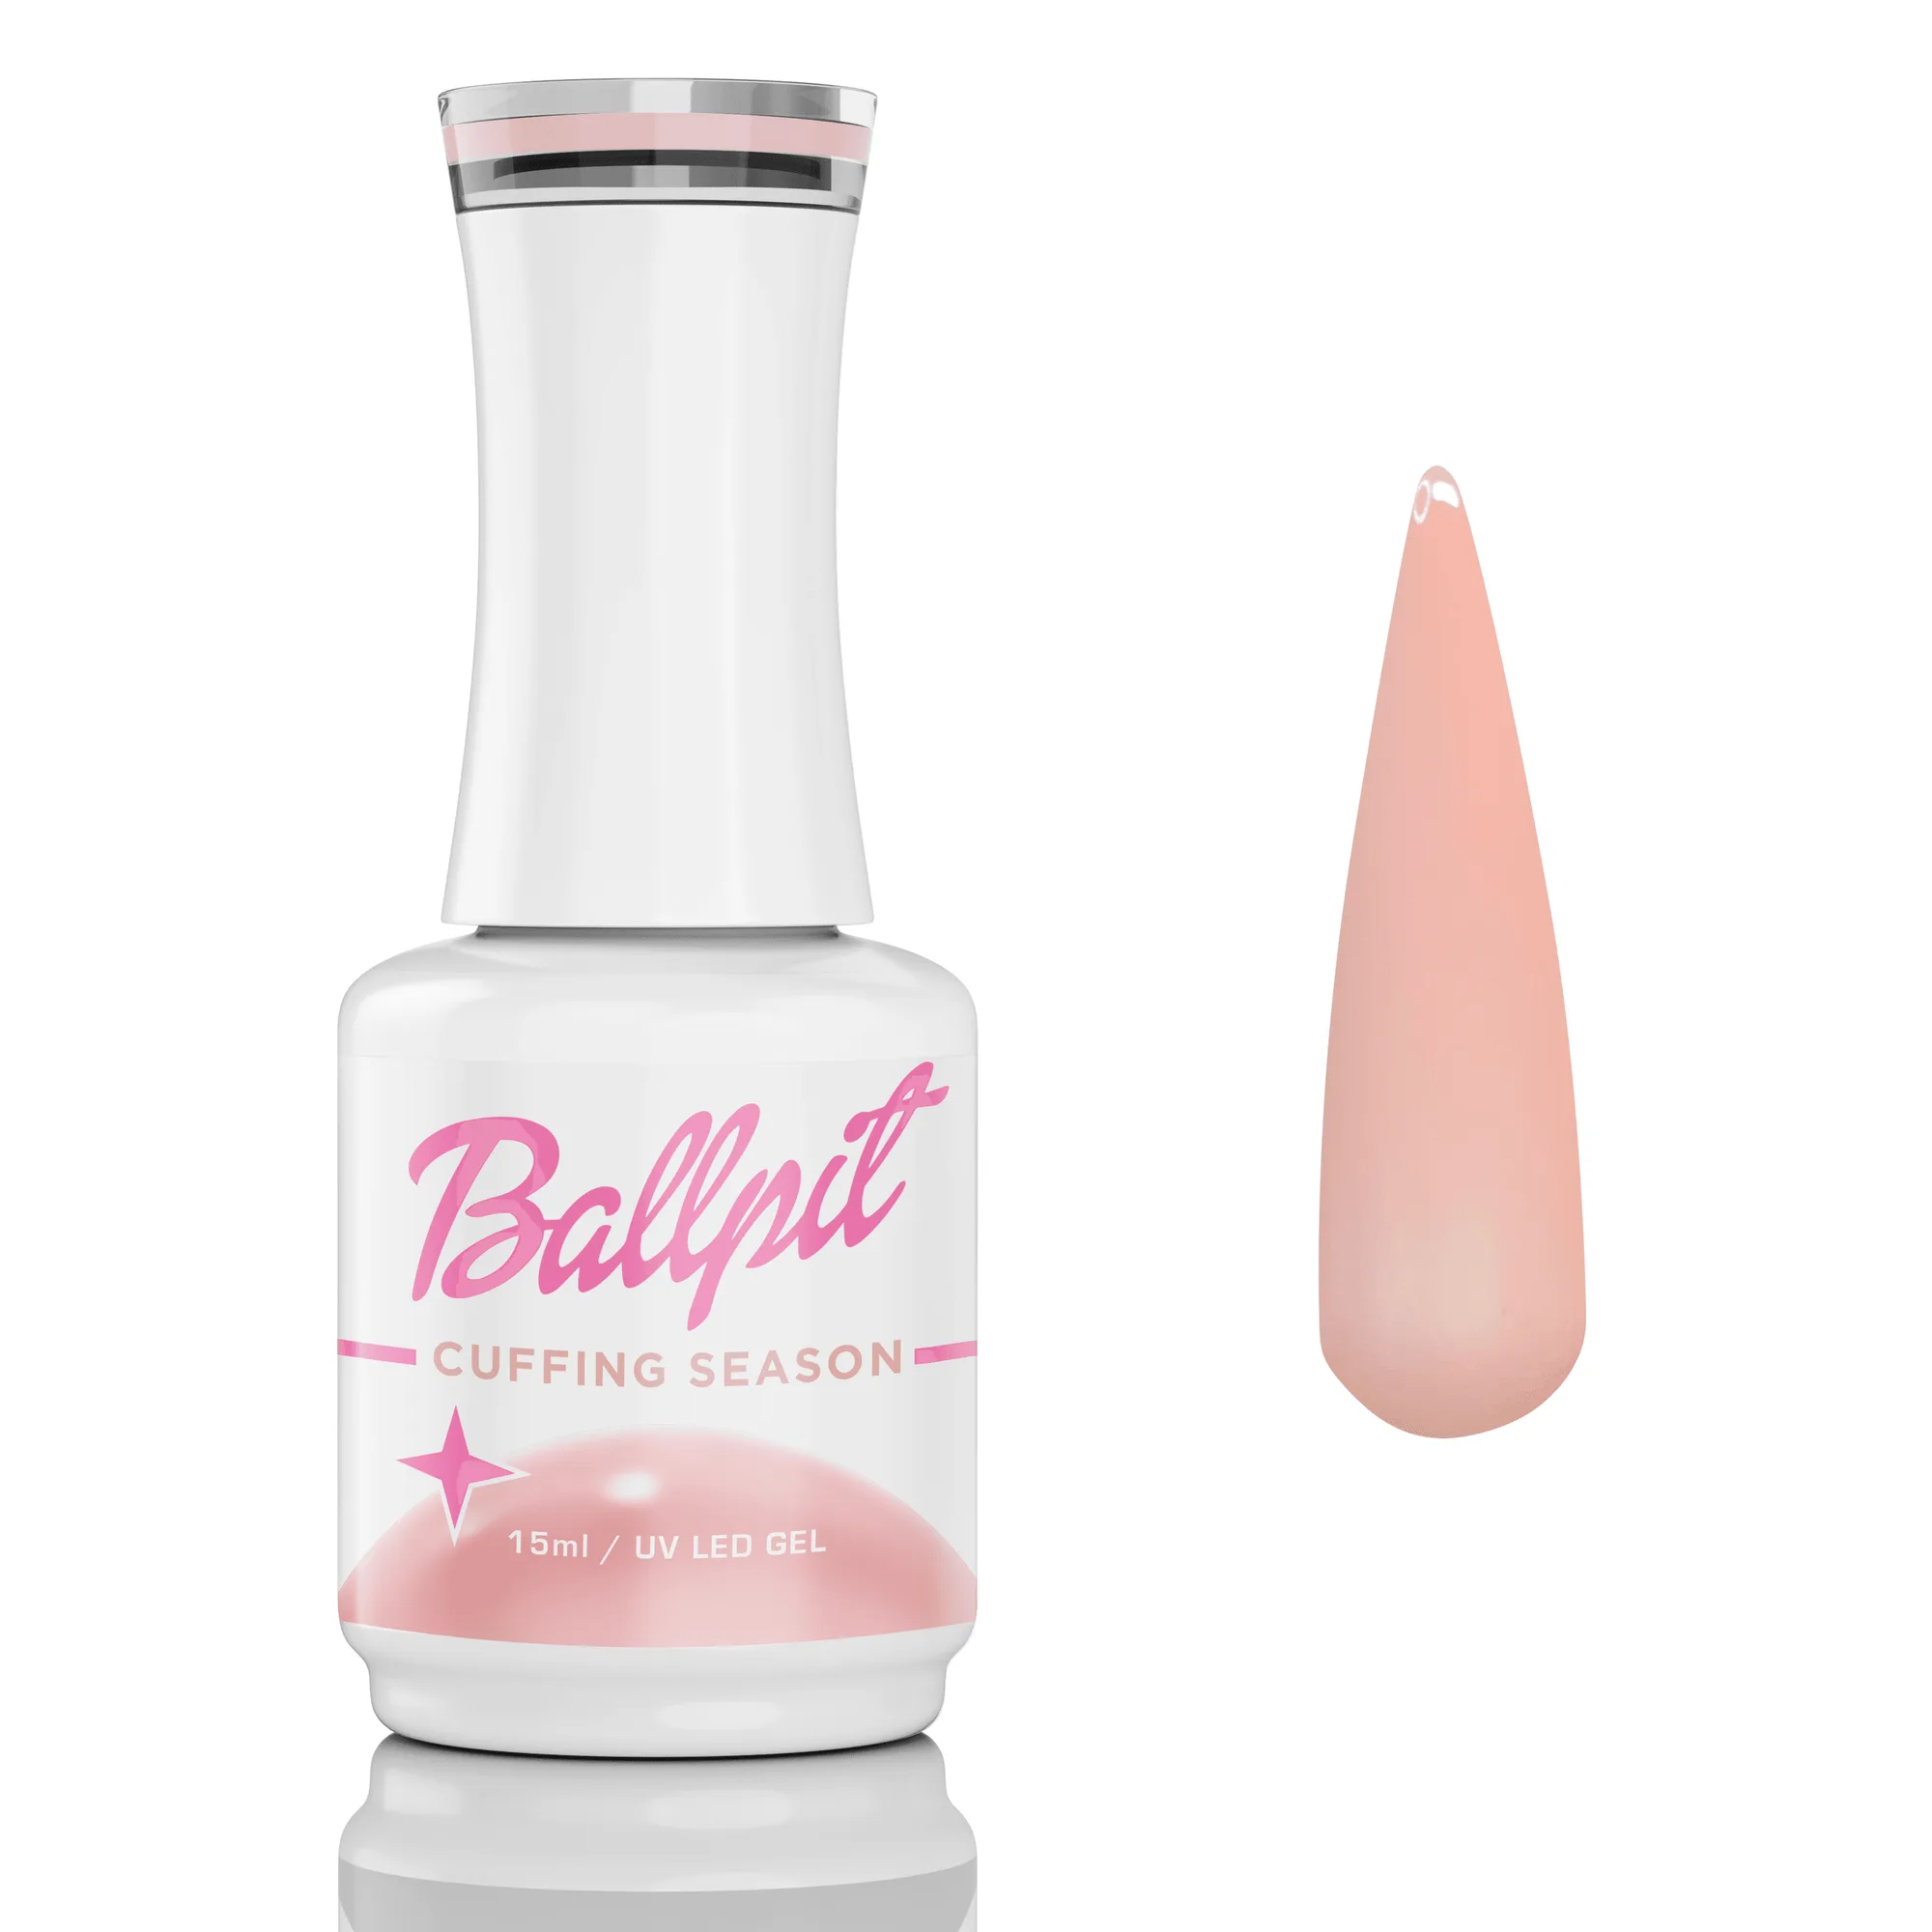
- Cuffing Season - Gel Polish: 15ml UV/LED soak-off gel with the classic creamy gel formula, extreme pigment, and anti-spread performance. Extreme pigment means you can use thinner coats, and thin coats cure more evenly, which directly supports longer wear.
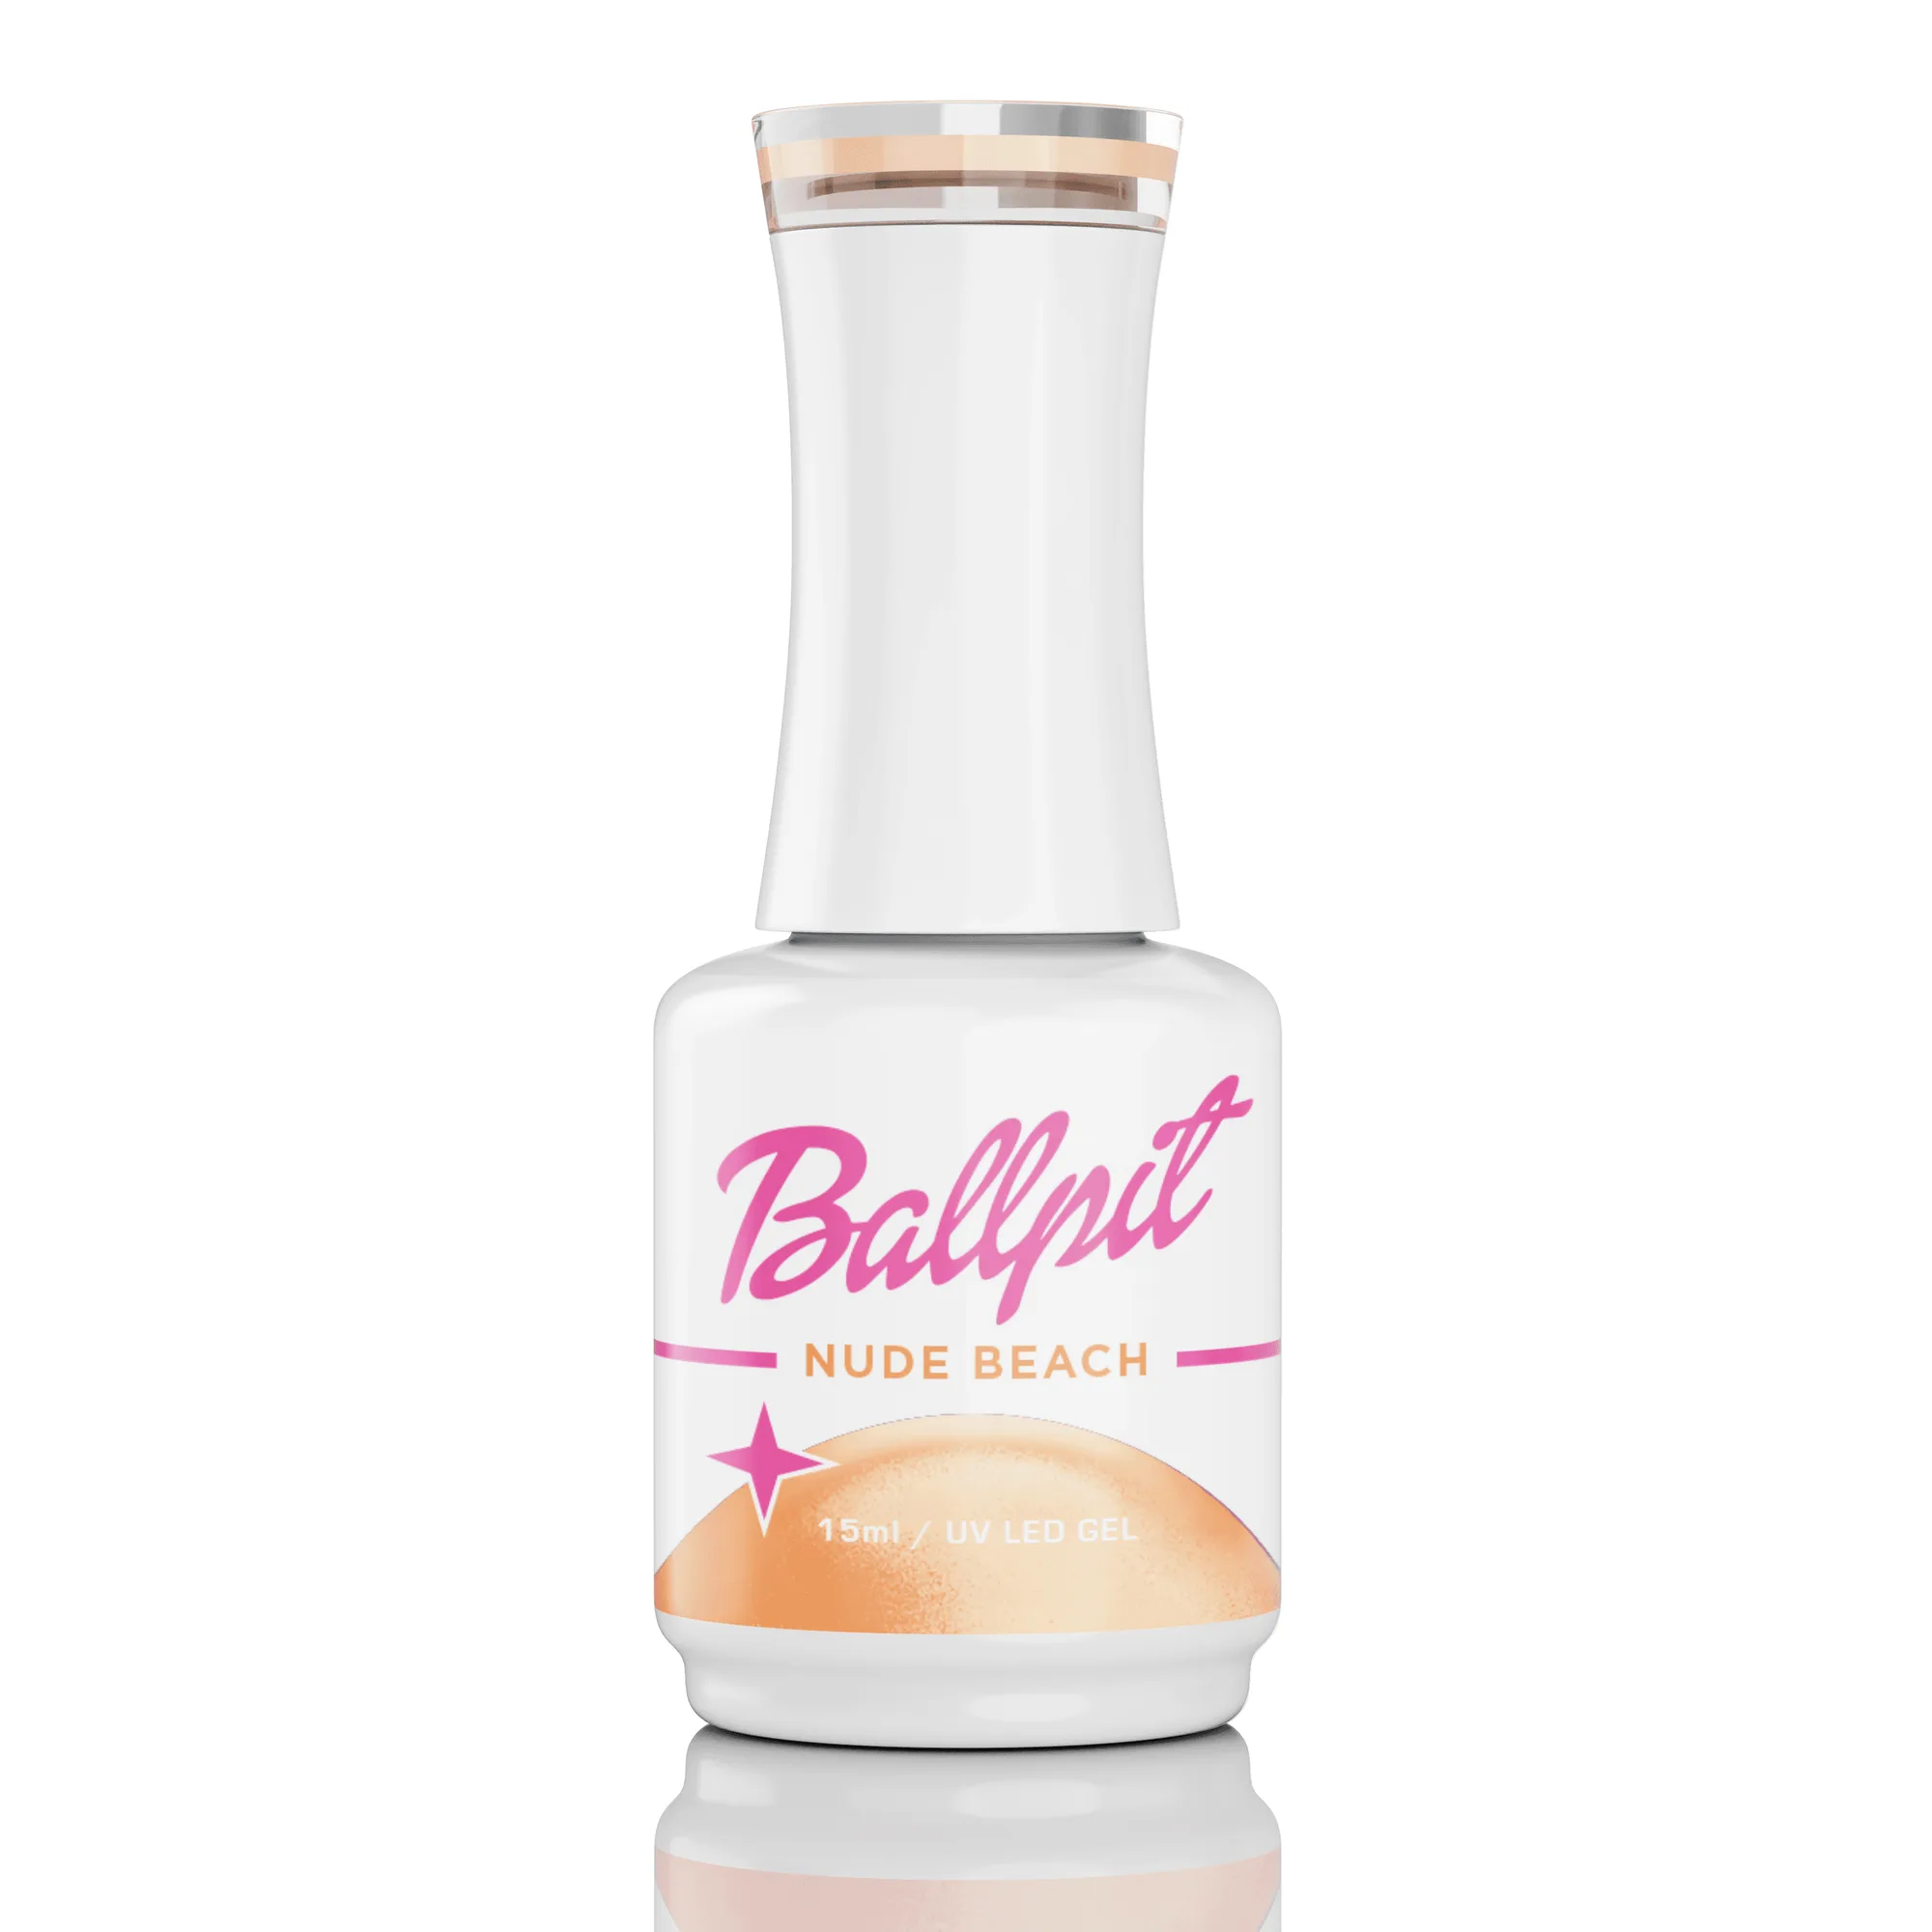
- Nude Beach - Gel Polish: 15ml UV/LED soak-off gel; classic creamy gel formula with extreme pigment and anti-spread; shade is a sheer nude with sparkling sand crystals. Sheer shades show every ridge and lifted edge, so this is a good test of whether your prep and application are truly smooth.
Long-lasting gel nails are less about the polish and more about the process. Dehydrate, keep every layer thin, seal the tip, and protect your hands afterward. Do that consistently and you will spend less time fixing chips and more time enjoying your manicure.