Quick Answer
To make low-carb sandwich thins with Hero Sliced Bread, start with a slice of Classic White Bread, roll it thin with a rolling pin, then toast or bake until crisp. This gives you a sturdy, keto-friendly base for your favorite sandwich fillings.
If you're following a low-carb or keto lifestyle, you know that bread is often the first thing to go. But with Hero Sliced Bread, you can still enjoy sandwiches without blowing your carb budget. Making your own sandwich thins at home is easier than you think and gives you a versatile base for everything from turkey clubs to veggie melts.
This guide walks you through the simple process of turning Hero Sliced Bread into thin, crispy sandwich thins. You'll also learn how to store them for meal prep and avoid common mistakes like soggy or unevenly cooked thins.
Why Make Your Own Sandwich Thins?
Store-bought sandwich thins can be convenient, but they often contain hidden carbs and additives. Making your own with Hero Sliced Bread gives you full control over the ingredients and the thickness. Hero's Classic White Bread has 0g net carbs, so you can enjoy a sandwich that fits your macros perfectly.
Homemade sandwich thins are also more cost-effective. A single loaf of Hero Sliced Bread can yield multiple thins, and you can customize the flavor with seasonings or herbs. Plus, they're perfect for meal prep—make a batch on Sunday and have low-carb lunch options ready all week.
- Use a rolling pin for even thickness.
- Toast or bake until just crisp—overcooking makes them brittle.
- Store in an airtight container to maintain freshness.
Choosing the Right Bread
Not all bread is created equal when it comes to making sandwich thins. Hero Sliced Bread is an excellent choice because it's sturdy yet pliable, making it easy to roll thin without tearing. The Classic White Bread is a great all-purpose option, but you can also experiment with Seeded Bread for added texture and flavor.
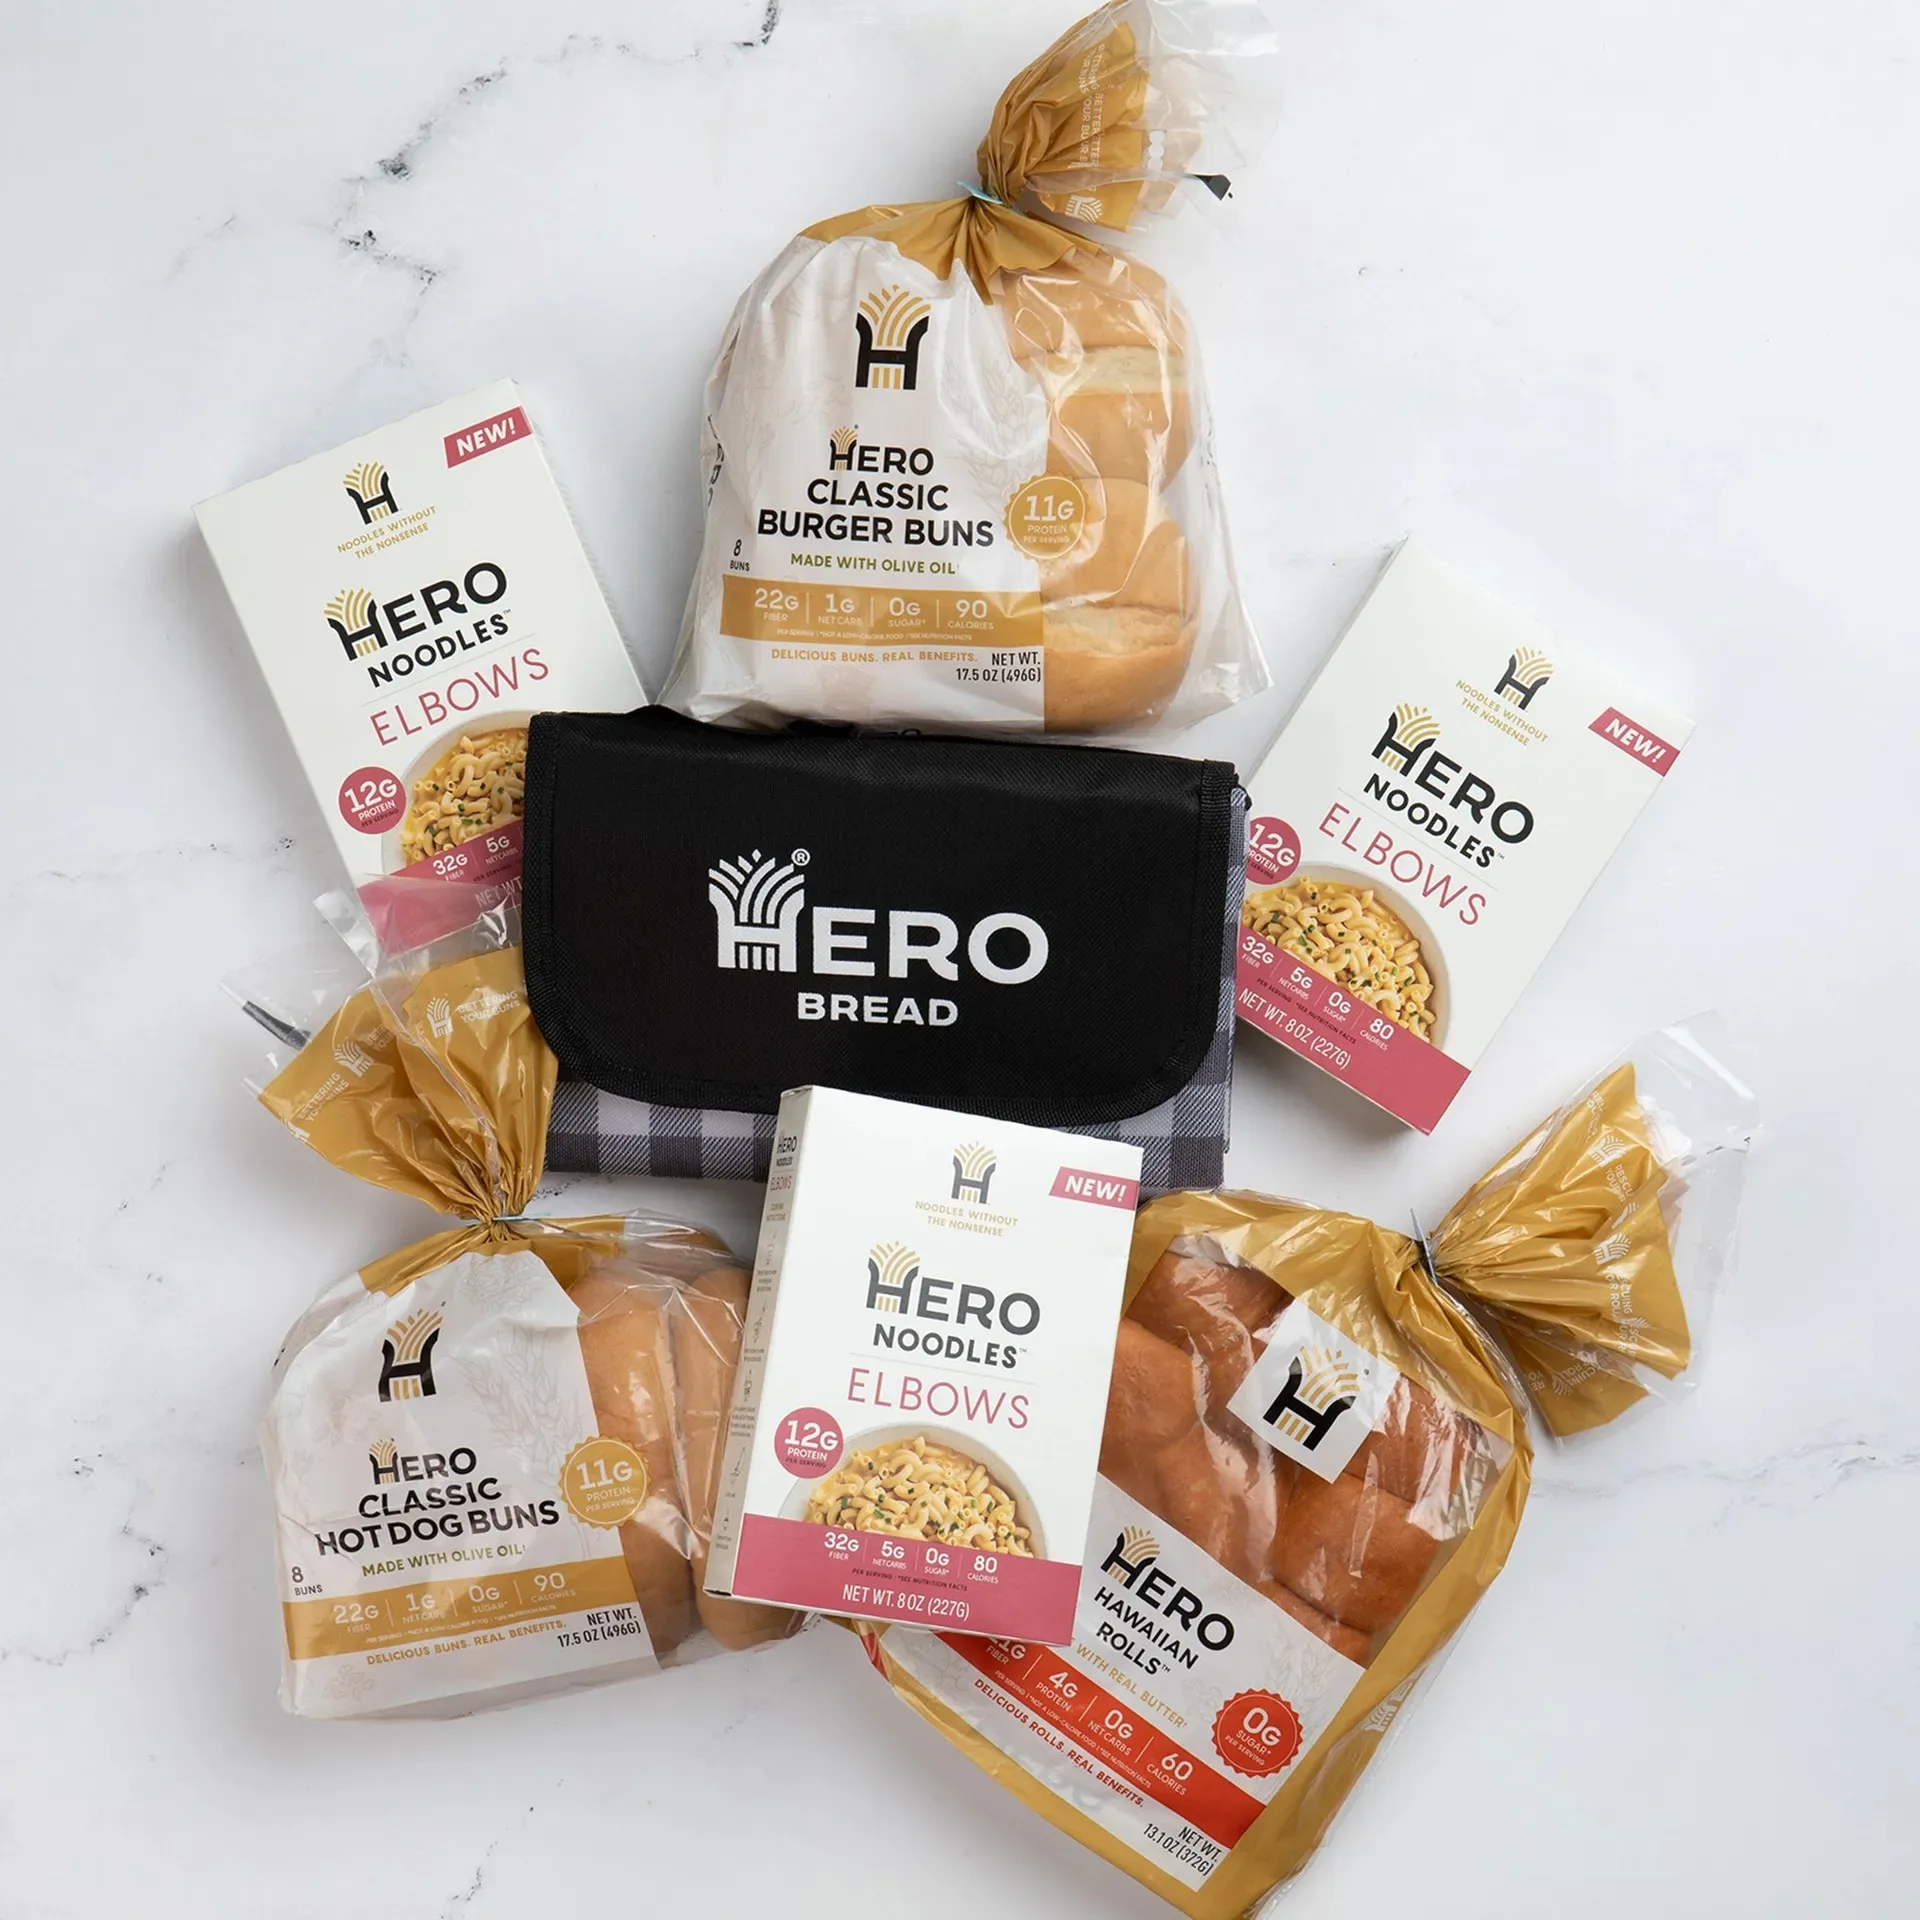
If you're new to Hero Bread, consider the Hero Bread Welcome Box. It includes a variety of products, including Classic White Bread and Seeded Bread, so you can find your favorite. The Welcome Box also comes with tortillas, bagels, and Hawaiian rolls, making it a great starting point for low-carb baking and cooking.
- Classic White Bread is ideal for neutral-tasting sandwich thins.
- Seeded Bread adds a nutty flavor and extra crunch.
- The Welcome Box is perfect for trying multiple Hero Bread products.
Tools You'll Need
You don't need fancy equipment to make sandwich thins. A rolling pin, a baking sheet, and parchment paper are the basics. A sharp knife or a pizza cutter will help you trim the edges for a uniform shape, though that's optional if you prefer rustic edges.
If you want perfectly round thins, you can use a round cookie cutter or a small bowl as a template. But remember, the shape doesn't affect the taste—just the presentation. Focus on getting an even thickness so they cook uniformly.
- Rolling pin or a clean wine bottle works in a pinch.
- Parchment paper prevents sticking and makes cleanup easy.
- A pizza cutter makes trimming edges quick and simple.
Step-by-Step: Making Low-Carb Sandwich Thins
- Step 1: Choose and Prep Your Bread: Select a slice of Hero Sliced Bread (Classic White or Seeded). If the bread is fresh, it's easier to roll. If it's a bit stale, you can lightly steam it or microwave for a few seconds to make it pliable. Fresh or slightly warmed bread rolls more easily and won't crack.
- Step 2: Roll the Bread Thin: Place the bread slice between two sheets of parchment paper. Use a rolling pin to flatten it to about 1/8-inch thickness. Apply even pressure from the center outward. Even thickness ensures uniform cooking—avoid pressing too hard on the edges.
- Step 3: Trim to Shape (Optional): Use a pizza cutter or a round cookie cutter to trim the rolled bread into your desired shape. This step is optional but gives a cleaner look for sandwiches. Trimming is purely aesthetic—don't worry if you skip it.
- Step 4: Toast or Bake: Heat a non-stick skillet over medium heat and toast the thins for 1-2 minutes per side, or bake at 350°F (175°C) for 5-7 minutes until crisp. Keep an eye on them to avoid burning. The thins should be golden and crisp but still slightly pliable—overcooking makes them brittle.
- Step 5: Cool and Store: Let the thins cool completely on a wire rack. Store in an airtight container at room temperature for up to 3 days, or freeze for longer storage. Separate layers with parchment paper to prevent sticking. Proper storage keeps your thins fresh and ready for quick lunches.
Products Mentioned in This Guide
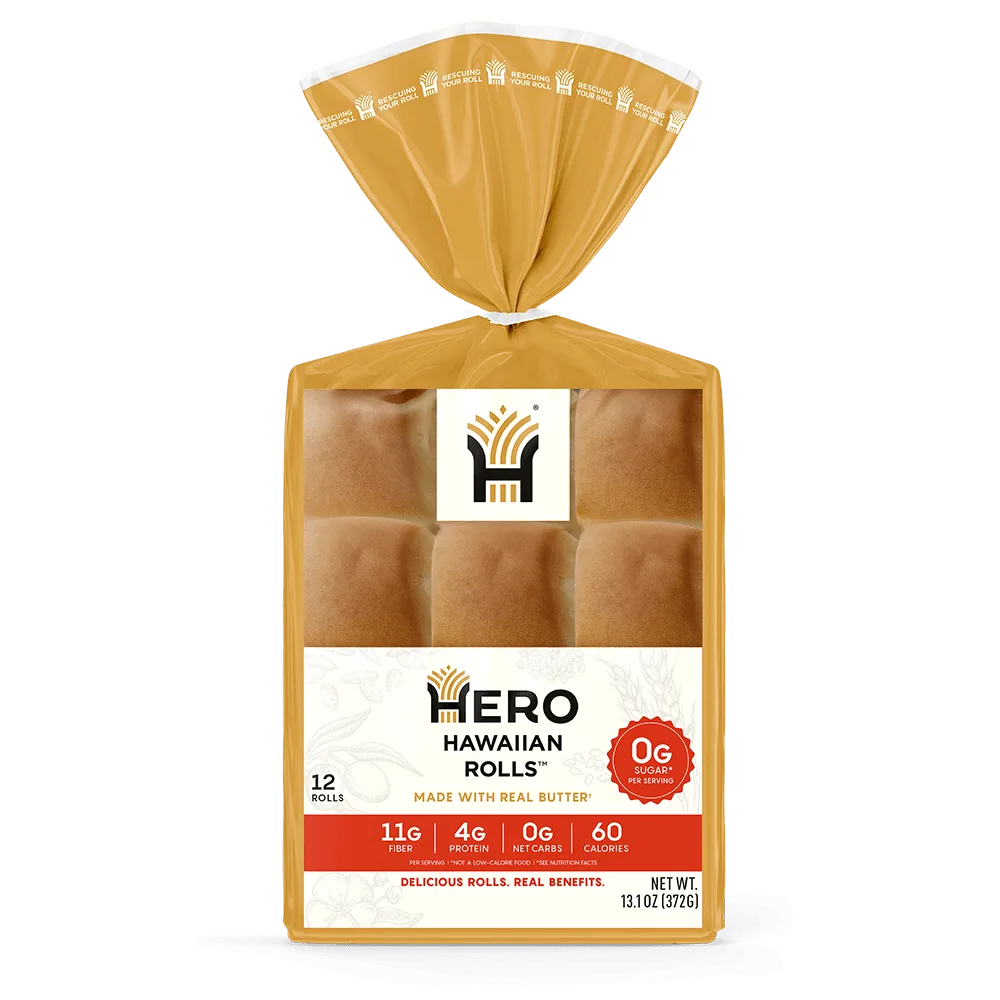
- Hero Bread Welcome Box: Our Welcome Box includes a perfect sampling of our everyday favorites and small-batch gems. It includes 0g Net Carb Classic White Bread, 1g Net Carb Seeded Bread, 0g Net Carb Flour Tortillas, 0g Net Carb Hawaiian Rolls, 4g Net Carb Classic Plain Bagels, and 5g Net Carb... This box lets you try multiple Hero Bread products, so you can find the best bread for your sandwich thins and other low-carb recipes.
- Classic Plain Bagel: Ready to uplevel your breakfast sandos with 19g of protein* and 21g fiber*? These bagels are satiating and flavorful while coming in at just 4g net carbs. If you want a heartier sandwich base, these bagels can be sliced thin and toasted to create a more substantial thin with extra protein and fiber.
Making low-carb sandwich thins with Hero Sliced Bread is a simple, rewarding way to keep sandwiches on your keto menu. With just a few minutes of prep, you can have a batch of crispy, versatile thins ready for any filling. Try it with Classic White Bread or explore the variety in the Welcome Box to find your favorite.