Quick Answer
The biggest gains in press-on nail longevity come from three things: a dry, oil-free nail plate, a tip that covers your natural nail without touching the skin, and a thin, even layer of glue with steady pressure for 30 seconds. Do that consistently, then protect the edges from water and lifting, and you can extend press-on nail wear well beyond a single day.
Press-on nails fail for predictable reasons: oil left on the nail plate, a tip that is too small or too wide, too much glue, or constant water exposure in the first hours. None of those are about the nails themselves. They are about the routine around them.
This guide walks through the order that actually matters, from prep to removal, with the common mistake to avoid at each checkpoint. It applies whether you are wearing a simple nude set or a detailed handmade design.
Start with a Clean, Dry Nail Plate
Oils and moisturizers are the enemy of adhesion. Wash your hands, then wipe each nail with an alcohol wipe or acetone-free prep pad and let it dry completely. Push back cuticles gently so the tip can sit flat against the nail rather than on top of skin. If you have just showered or applied hand cream, wait and re-prep.
A common mistake is prepping only the nails you think look dirty. Every nail carries a thin layer of natural oil, and skipping one is usually the one that pops off first. Treat all ten the same way.
- Keep a dedicated prep pad or small alcohol wipe near your kit so prep is not skipped.
- Do not file the surface aggressively; light buffing is enough to remove shine.
Size Each Tip Before You Glue Anything
Fit matters more than glue strength. A tip that is too small puts pressure on the center and lifts at the sides. A tip that is too wide touches skin, which flexes and breaks the bond. Lay out all ten tips before applying any adhesive so you can compare and swap sizes.
Press-on sets often include a size range, and some products list their available sizes directly. Golden Veil press on nails from CLAWSIE Nails are offered in four sizes, XS through L, so you can match the tip to your nail width instead of forcing a close-enough fit. If a set does not list a size chart, treat the fit test as mandatory, not optional.
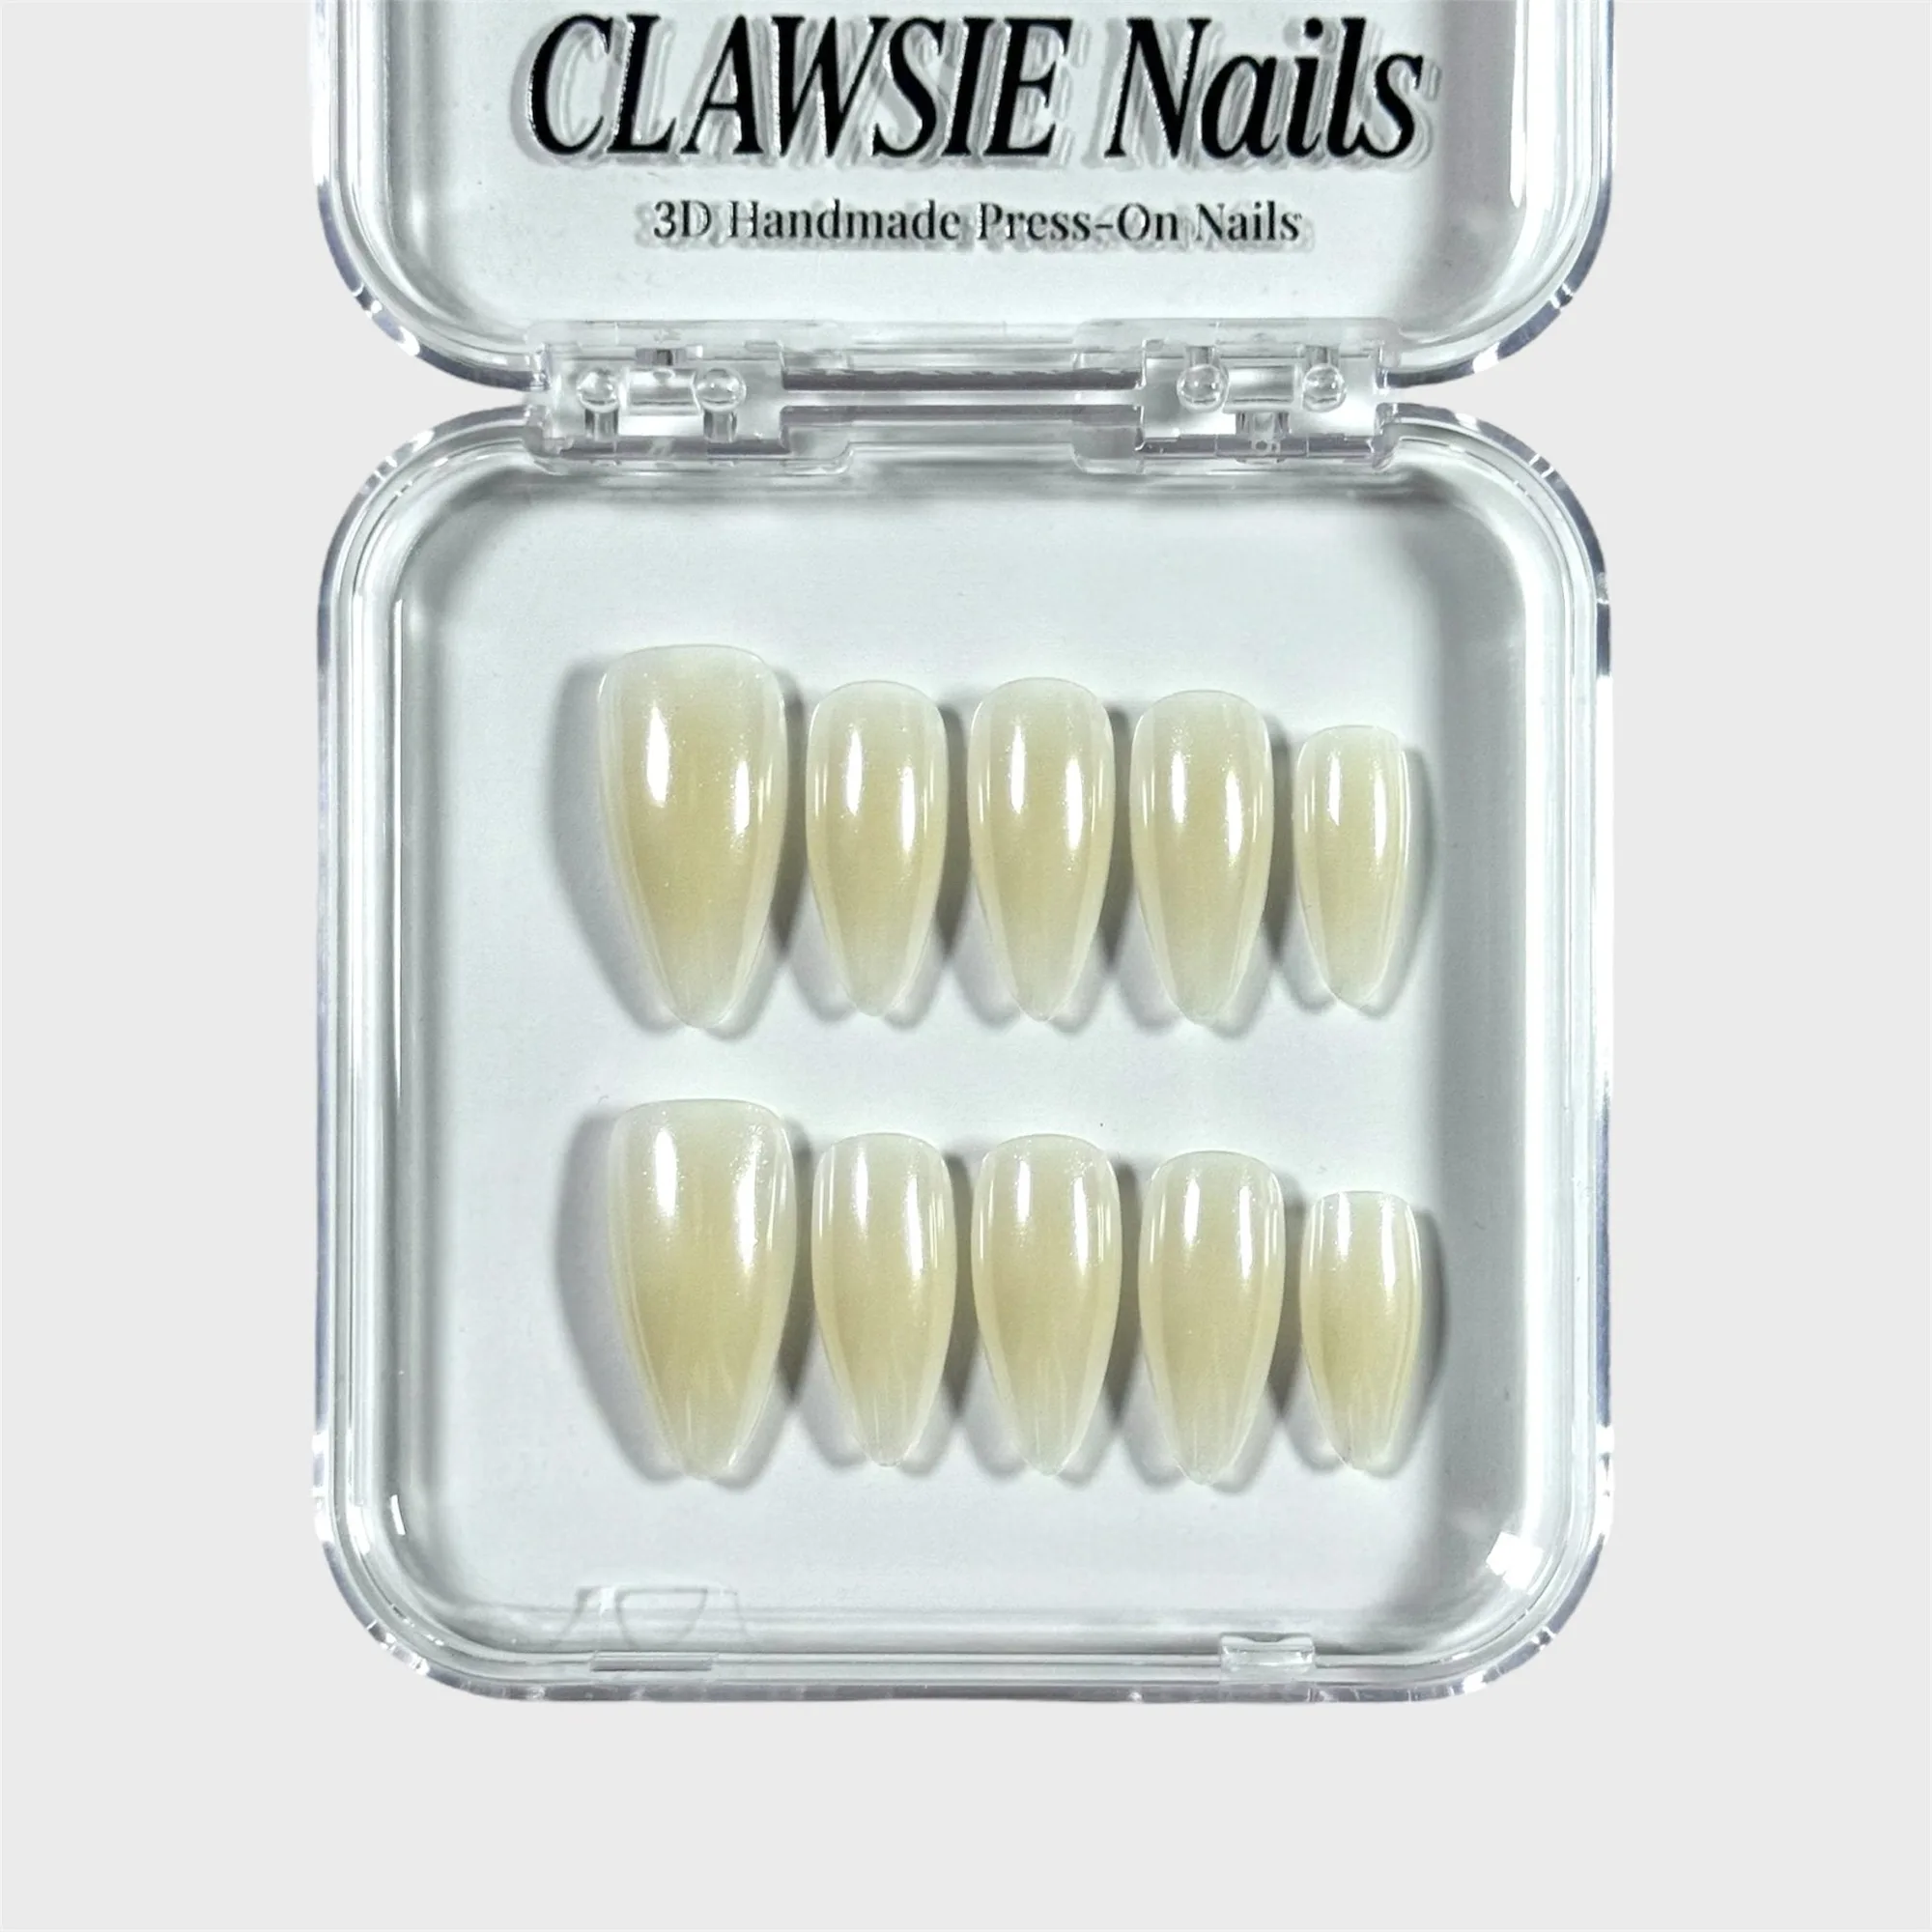
Golden Veil
- Check fit on your dominant hand first; those nails take the most stress.
- If a tip sits on skin at either side, size down or reshape slightly with a file.
Apply Glue Thin and Even, Then Hold
Use a thin, even layer of glue on both the natural nail and the inside of the tip. Too much glue creates a thick cushion that never fully sets and slides under pressure. Too little leaves dry patches that lift at the edges. Press the tip down at a slight angle from cuticle to free edge, then hold steady pressure for about 30 seconds.
The common mistake is rushing the hold. Thirty seconds feels long, but it is the difference between a bond that cures and one that releases the moment you reach for your keys. Work one nail at a time and do not test the tip by tugging on it.
- Keep glue off the skin around the nail; skin oils and movement weaken the seal.
- If glue oozes out at the sides, you used too much; wipe and start that nail over.
Protect the First Few Hours
Adhesive continues to cure after application. For the first few hours, avoid long hot showers, dishwashing by hand, swimming, and heavy cleaning. Water and heat soften the bond before it has fully set, which is why so many sets fail on day one.
Plan application for a low-water window, such as after your evening shower. Wear gloves for chores during that window, and pat hands dry rather than soaking them. Once the bond has set, normal hand washing is fine.
- Skip the hot tub and long bath on application day.
- Use rubber gloves for dishes and cleaning for the first 24 hours.
Daily Habits That Extend Wear
Most lifting starts at the free edge or the sidewall. Keep nails out of your mouth, do not use them as tools to open cans or peel labels, and avoid tapping them against hard surfaces. Apply cuticle oil to the skin around the nail, not under the tip, and moisturize hands regularly to keep the natural nail from becoming brittle.
If you notice a small lift, address it early. A tiny gap lets water in, and water is what turns a minor lift into a full pop-off. Keep a small brush-on glue or a spare adhesive tab in your bag for quick fixes.
- Carry a repair tab or glue pen for edge lifts during the day.
- Dry hands thoroughly after washing, especially around the tips.
The 7-Step Longevity Routine
- 1. Wash and dry hands completely: Use soap and water, then dry every nail and the surrounding skin. Moisture under the tip weakens adhesion before you even start. Checkpoint: nails should feel matte and dry, not slick.
- 2. Wipe each nail with prep pad or alcohol: Remove natural oils and any leftover moisturizer. Push cuticles back gently so the tip can sit flat. Common mistake: prepping only some nails, leaving one oily nail to fail first.
- 3. Size every tip before gluing: Lay out all ten tips and compare width to each nail. Swap sizes until no tip touches skin and none is narrower than the nail. Checkpoint: the tip should cover the nail edge to edge without overhang.
- 4. Lightly buff the natural nail surface: A few passes with a fine buffer removes shine and gives the adhesive something to grip. Do not thin the nail. Common mistake: over-filing until the nail feels sensitive.
- 5. Apply thin glue to both surfaces: One thin, even layer on the natural nail and one inside the tip. Angle the tip from cuticle to free edge and press down. Checkpoint: no glue should ooze out at the sides.
- 6. Hold steady pressure for 30 seconds: Press firmly and count. Do not adjust or tug the tip during this time. Work one nail at a time. Common mistake: testing the bond by pulling on the tip, which breaks the seal.
- 7. Avoid water and heat for the first few hours: Skip long showers, dishes, and swimming right after application. Wear gloves for chores and pat hands dry. Next step: after 24 hours, resume normal hand washing and add cuticle oil to the skin around the nail.
Product Facts That Affect Wear
- Golden veil: Golden Veil press on nails from CLAWSIE Nails are offered in four sizes to help you find a fit: XS, S, M, and L, with size selectable as a product option. A closer size match means less sidewall pressure and fewer early lifts, which is one of the most reliable ways to extend wear.
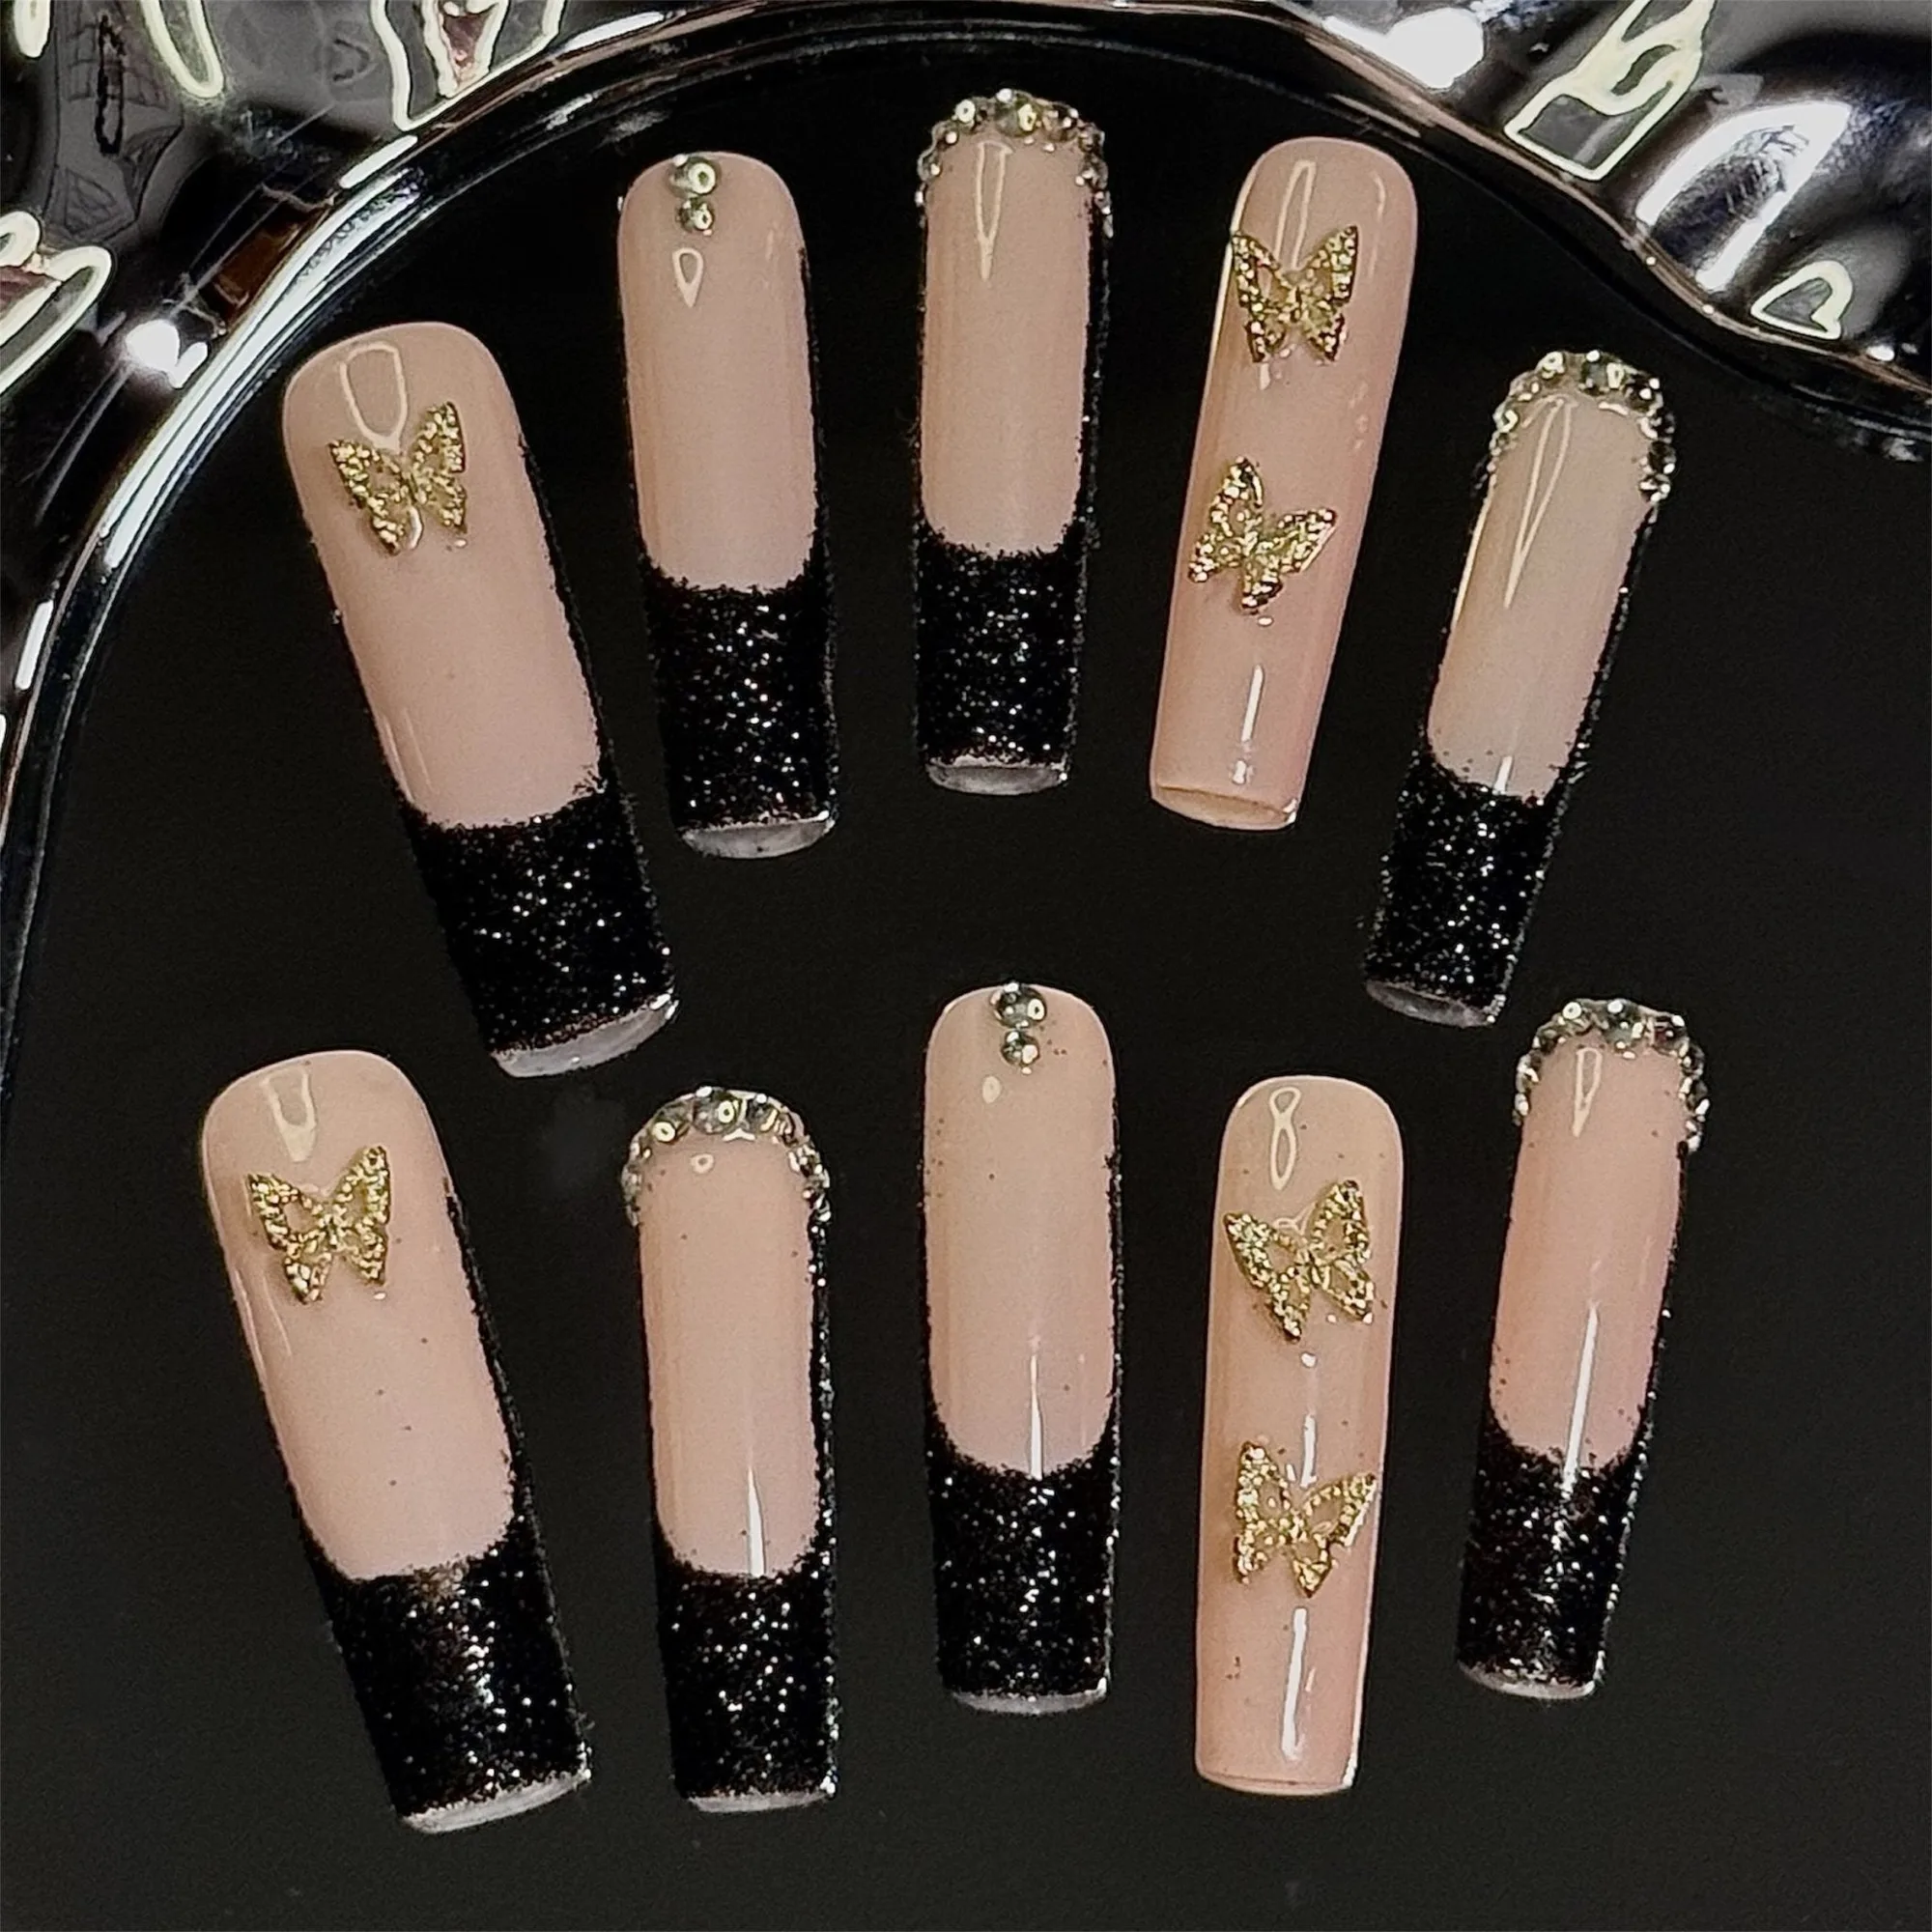
- Noiré: Noiré from CLAWSIE Nails is a luxurious set of long XL square press-on nails with nude pink bases, black glitter French tips, and silver butterfly accents, and it is lightweight and reusable. Long XL square tips have more surface area and leverage at the free edge, so prep, sizing, and edge protection matter even more than they do on shorter sets.
Long-lasting press on nails are less about the product and more about the order of operations: prep dry, size accurately, glue thin, hold steady, and protect the first few hours. Follow that sequence and address small lifts early, and your sets will stay put far longer.