Quick answer
Match the marking tool to the fabric and the job. Use a water-soluble pen for precise lines you will wash out soon, chalk marking for quilting on dark or textured fabric, and a removable marking pen when you need marks to disappear without water. Always test the tool on a scrap of the same fabric first and remove marks before they set.
Marking is the step that decides whether your quilting lines land where you planned. The right fabric marking tools leave a line you can follow and then erase without a trace. The wrong ones leave a shadow, a hole, or a stain you cannot fix.
This guide walks through choosing a marker, testing it, marking quilt lines, and removing the marks in the right order. The process works for straight-line walking-foot quilting, free-motion designs, and ruler work. It also covers what to do when a mark will not come out.
Choose a marking tool for the fabric and the job
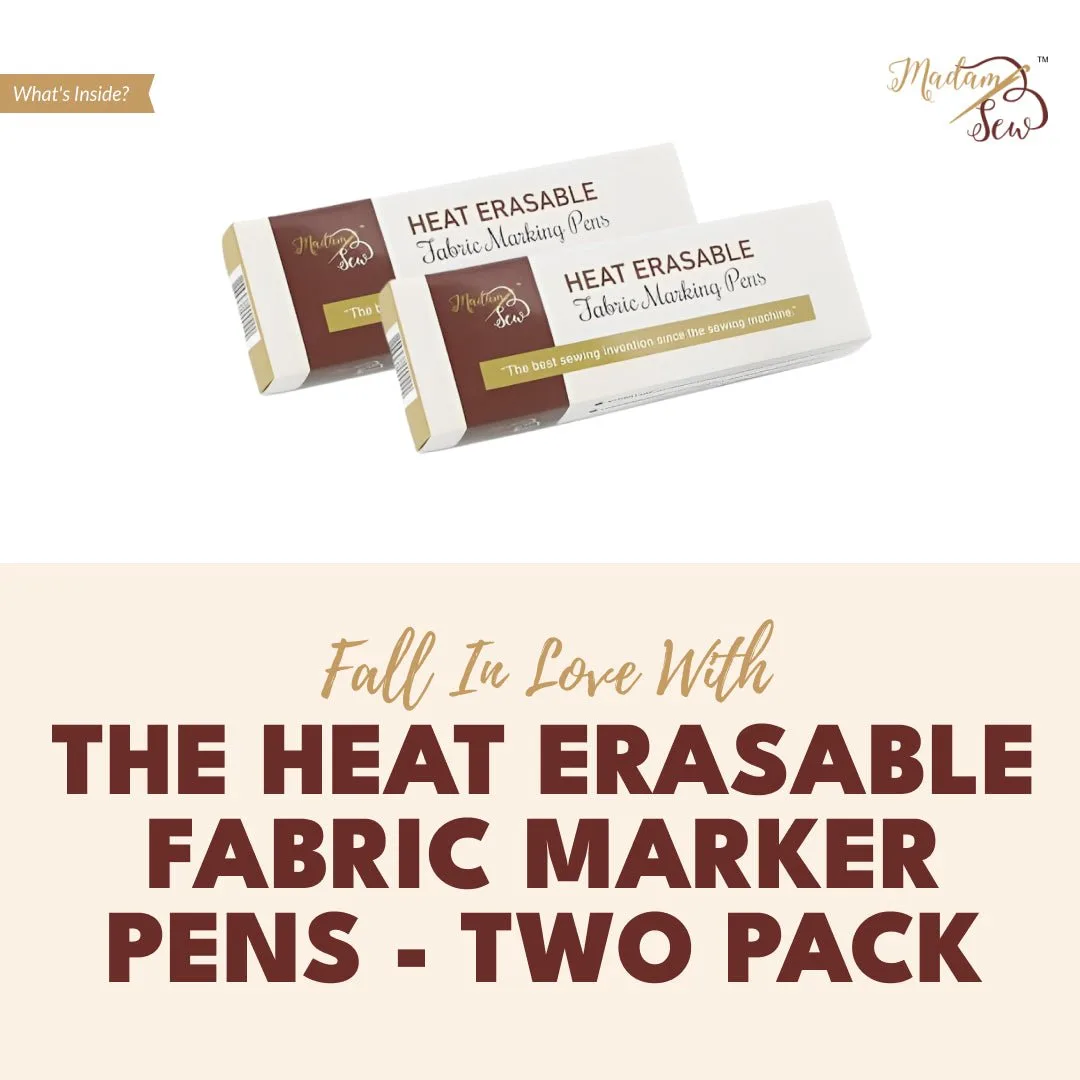
Start by matching the tool to the fabric color, texture, and how long the mark will stay in the quilt. A water soluble pen shows clearly on light cottons and rinses out with water, but it can leave a faint line on some dark or batik fabrics. Chalk marking for quilting is easy to brush away and works well on dark fabric, though it can rub off as you handle the quilt.
A removable marking pen that fades with air or heat is useful when you cannot wash the quilt, but the marks may disappear before you finish quilting. For long projects, mark in small sections rather than the whole quilt at once. If a tool's instructions do not say how to remove the marks, treat that as a limitation and test it before trusting it.
- Light fabric: water-soluble pen or fine chalk pencil
- Dark fabric: white or silver chalk, or a light marking pencil
- Delicate or antique fabric: test first and mark as little as possible
Test every marker on a scrap first
Before you touch the quilt top, mark a scrap of the same fabric and batting. Let it sit for the same amount of time the marks will stay on the real quilt, then remove them the way the manufacturer recommends. This catches bleeding, ghosting, and fabric damage before they become permanent.
Heat is the usual culprit when a mark sets. Pressing over a water-soluble or removable mark can bake it into the fibers, so press on the wrong side or wait until the marks are gone. If a test mark will not come out of the scrap, do not use that tool on the quilt.
- Test on the same fabric, not a similar one
- Wait the full time the mark will be in the quilt
- Press a corner of the test scrap to check heat sensitivity
Set up the quilt so marks stay accurate
Marking goes faster and straighter when the quilt is flat and supported. Baste or pin the layers so nothing shifts while you draw, and keep the area you are marking on a table rather than letting it hang. A shifting quilt turns a straight line into a wavy one.
Work in sections and mark only what you can quilt in one sitting. This keeps air-fading and removable marks fresh and reduces the chance that handling wears them away. If you are marking a design that repeats, mark one unit, quilt it, and check the result before marking the next.
- Baste or pin before marking so layers do not shift
- Mark one section, quilt it, then mark the next
- Keep the quilt supported to avoid drag on the marker
Mark the lines with a light, consistent hand
Hold the marker at a slight angle and draw with light pressure. A heavy hand can stretch the fabric, dent it, or push a pen tip through the weave. For straight lines, use a ruler as a guide and draw along its edge rather than freehand.
For quilting designs, mark the spine or key registration lines first, then add the details. You do not need to mark every stitch line. On many quilts, marking the main structure and quilting the rest by eye gives a softer, more natural result and saves time.
- Light pressure prevents stretch and dents
- Mark registration lines, not every stitch
- Use a ruler for straight lines and a template for curves
Remove marks in the right order
Remove marks as soon as the quilting is done, before binding, washing, or heavy handling. Follow the tool's instructions: water-soluble marks usually need cool water, while chalk brushes or vacuums away. If you used more than one tool, remove the most stubborn marks first.
If a mark lingers, do not scrub aggressively. Rewet the area, let it soak briefly, and blot. Scrubbing can fray the fabric or distort the quilting. When a mark still will not budge, treat it as a lesson and switch tools for the next quilt.
- Remove marks before binding or washing
- Use cool water for water-soluble marks
- Blot, do not scrub, to protect the fabric
Know when to skip marking altogether
Not every quilt needs marked lines. All-over free-motion designs, meandering, and many edge-to-edge patterns can be quilted without any marks. Skipping marking removes the risk of residue and saves time on projects where precision is not the point.
Mark when the design needs registration, when you are quilting a specific motif, or when you want consistent spacing across a large area. For everything else, let the quilting flow and keep your marking tools for the projects that truly need them.
- Skip marking for all-over free-motion and meandering
- Mark for motifs, grids, and ruler work
- Match the effort to the quilt's purpose
Seven steps to mark fabric for quilting
- Match the tool to the fabric: Choose a water soluble pen for light cottons, chalk marking for quilting on dark or textured fabric, and a removable marking pen when you cannot wash the quilt. Checkpoint: the tool you pick should be removable by a method you can actually use on this quilt.
- Test on a scrap of the same fabric: Mark the scrap, wait the same time the marks will stay on the quilt, then remove them the recommended way. Mistake to avoid: testing on a different fabric and assuming the result will transfer.
- Baste or pin so layers do not shift: A flat, supported quilt keeps lines straight and stops the fabric from stretching under the marker. Checkpoint: press a corner of the test scrap to see if heat sets the mark.
- Mark in small sections: Mark only what you can quilt in one sitting so air-fading and removable marks stay fresh. Mistake to avoid: marking the whole quilt at once and losing the lines to handling.
- Draw with light pressure: Hold the marker at a slight angle, use a ruler for straight lines, and mark registration lines rather than every stitch. Checkpoint: if the fabric dents or stretches, you are pressing too hard.
- Remove marks before binding: Follow the tool's instructions, use cool water for water-soluble marks, and blot rather than scrub. Mistake to avoid: pressing over marks and setting them into the fibers.
- Decide whether to mark at all: Skip marking for all-over free-motion and meandering; mark for motifs, grids, and ruler work. Match the marking effort to how precise the quilt needs to be.
Marking and quilting supplies that pair with this process
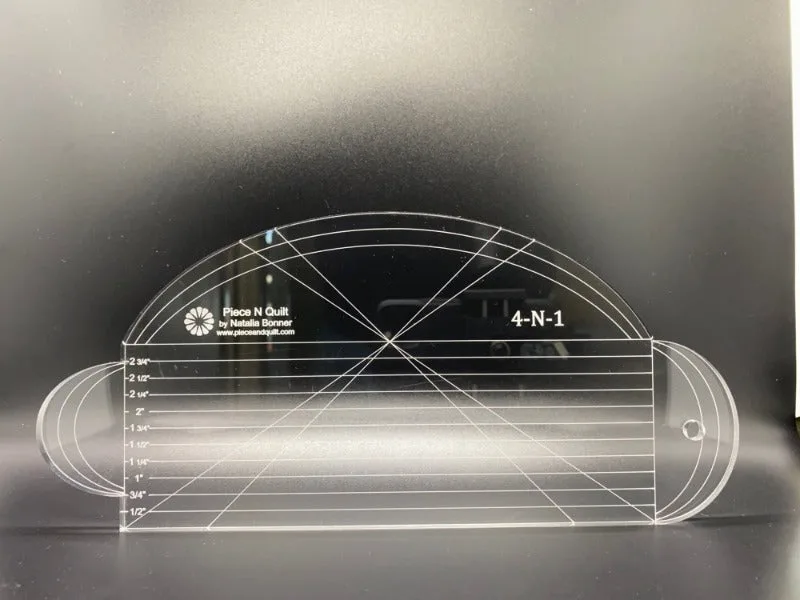
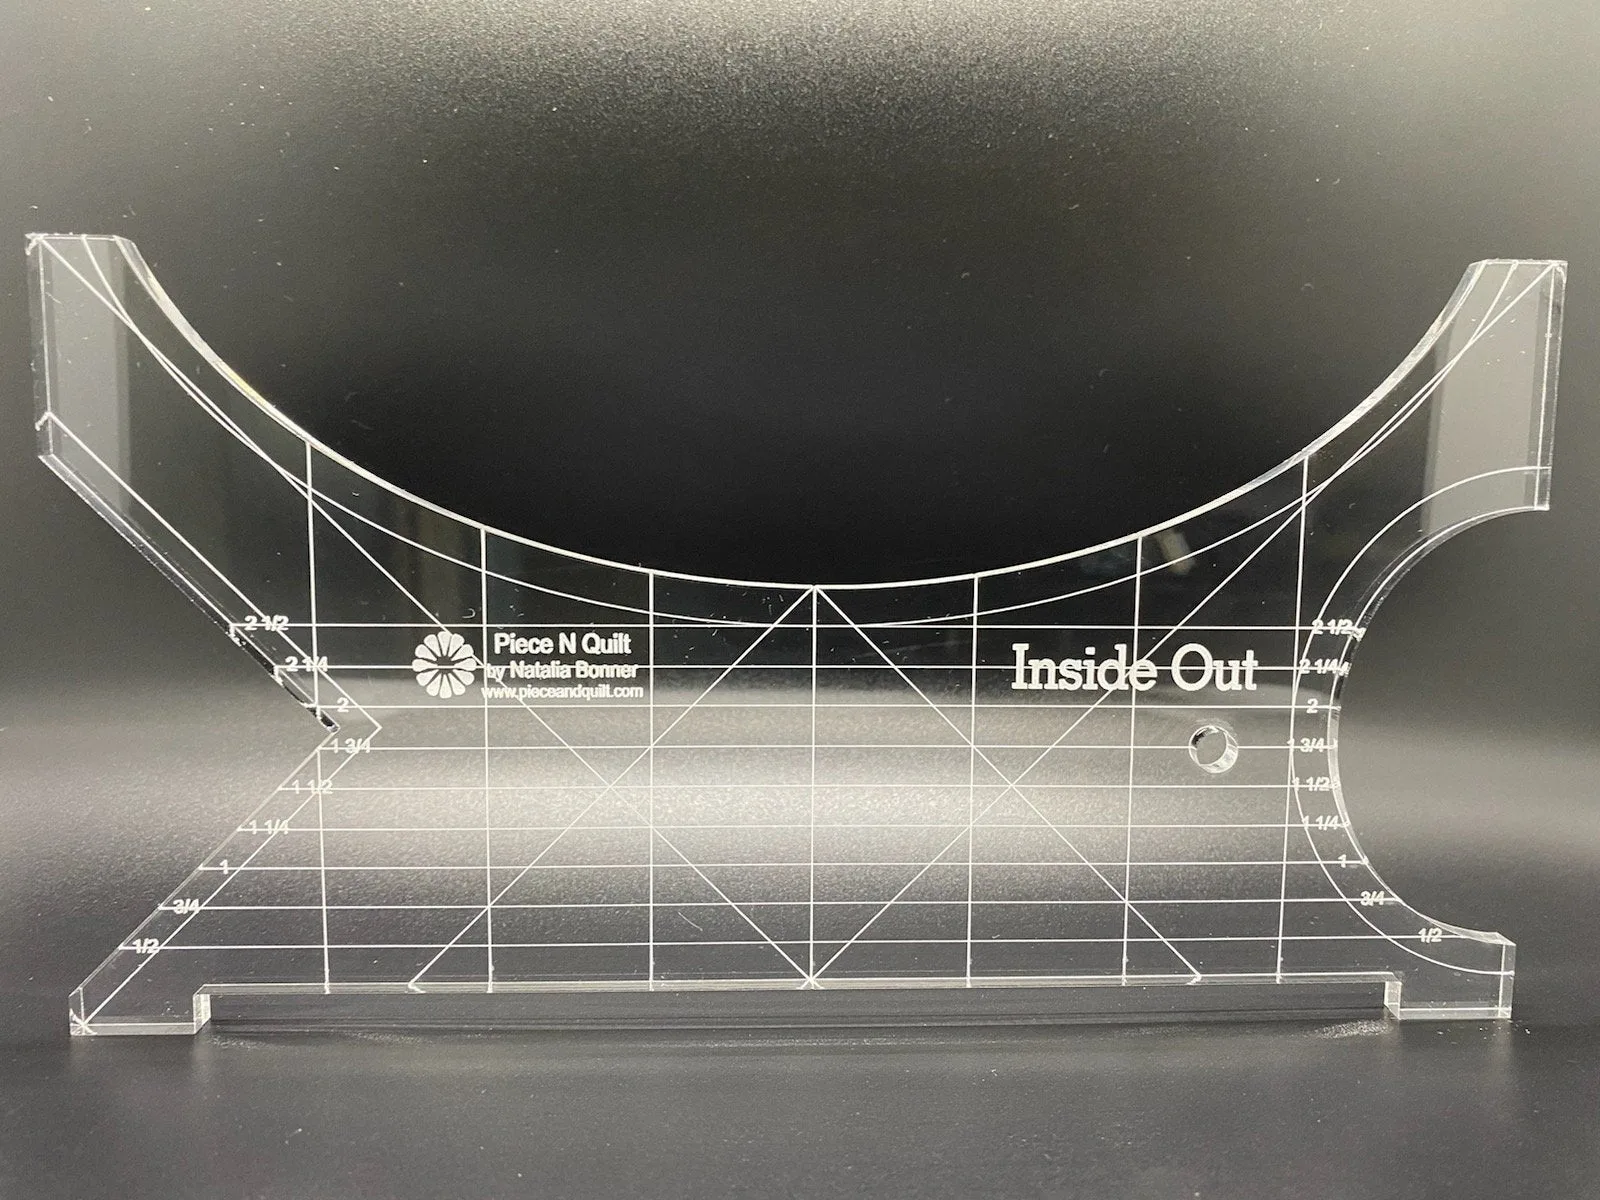
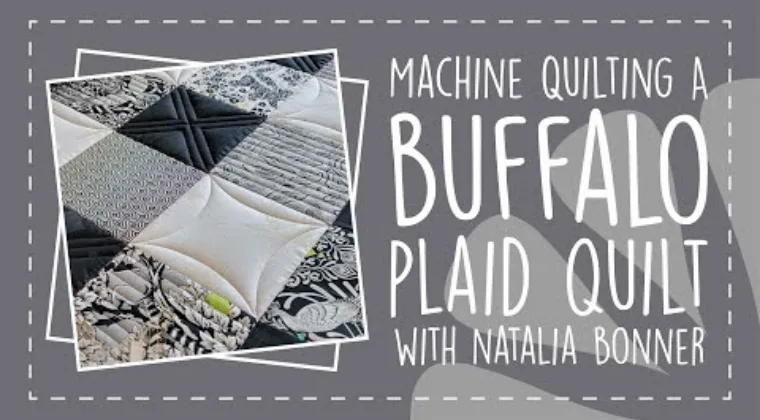
- Machine Quilt A Kaffe Quilt with Natalia Bonner: This PNQ Academy video features instructor Natalia Bonner using tools like the Inside Out Machine Quilting Ruler and 4-N-1 Machine Quilting Ruler to bring a quilt to life. Watching how a designer plans quilting lines helps you decide which lines are worth marking and which can be quilted by eye.
- Vinyl Window Decal Sew Geek: A white vinyl decal for windows and smooth, non-porous surfaces that is easy to apply and remove cleanly, though it cannot be reapplied. A small reminder that marking tools, like decals, work best on the surfaces they were made for and are hard to reposition once placed.
- Too Legit To Quit Enamel Pin: A pink seam ripper enamel pin for jackets, coats, and shirts, made for quilters who refuse to let one rogue seam get them down. A lighthearted nod to the reality that even careful marking and quilting sometimes need a seam ripper and a fresh start.
Marking fabric for quilting comes down to testing first, marking lightly, and removing marks in the right order. Pick one tool that suits your fabric and habits, keep a scrap nearby for tests, and your quilting lines will stay clean from the first stitch to the last.