Quick answer
For most quilts, keep three tools on hand: a water-soluble pen for short-term marks on light cotton, tailor's chalk or a chalk wheel for dark or textured fabric, and a fine mechanical chalk pencil for precise lines you will quilt within a day or two. If you are marking a quilt you will not finish this week, choose chalk or a removable tape instead of any pen. The right tool is the one whose removal method matches your fabric and your timeline.
Match the tool to your fabric and timeline
Marking problems almost always come from a mismatch, not a bad product. A water-soluble pen that disappears perfectly on white cotton can leave a faint halo on batik or hand-dyed fabric. Chalk that brushes off easily on a bed quilt can rub away before you reach the second border. Before you buy anything, answer two questions: how dark and how textured is the fabric, and how long will the marks sit before you quilt over them?
If the answer is less than a day and the fabric is light and smooth, a water-soluble pen gives you the thinnest, most accurate line. If the answer is weeks, or the fabric is dark, napped, or heavily printed, choose chalk or a removable marker tape. If the answer is somewhere in between, a mechanical chalk pencil is the compromise that works for most piecing and walking-foot quilting.
How to mark quilt lines for machine quilting
Machine quilting punishes thick marks. A line that is fine enough for hand quilting can drag your walking foot or get buried under ruler work. For straight-line quilting, mark with the thinnest tool that still shows on your fabric, and mark only the lines you cannot guide with a seam or a ruler edge. For free-motion and ruler work, many quilters mark only the spine or the boundary and fill the rest by eye.
Test every tool on a scrap of the same fabric, batting, and thread before you mark the quilt. Let the test sit for the same number of days you expect the real marks to sit, then remove them the way you plan to remove them. This one step prevents most ghost lines and bleed marks. If you are following a class project, mark the way the instructor marks, because the quilting plan and the marking plan are designed together.
Pens, chalk, pencils, and tape: strengths and failure points
Water-soluble pens are the most precise option and the least forgiving. They can leave residue if ironed before removal, and some fabrics hold a faint line even after washing. Use them on light, colorfast cotton you will quilt soon, and remove the marks before pressing.
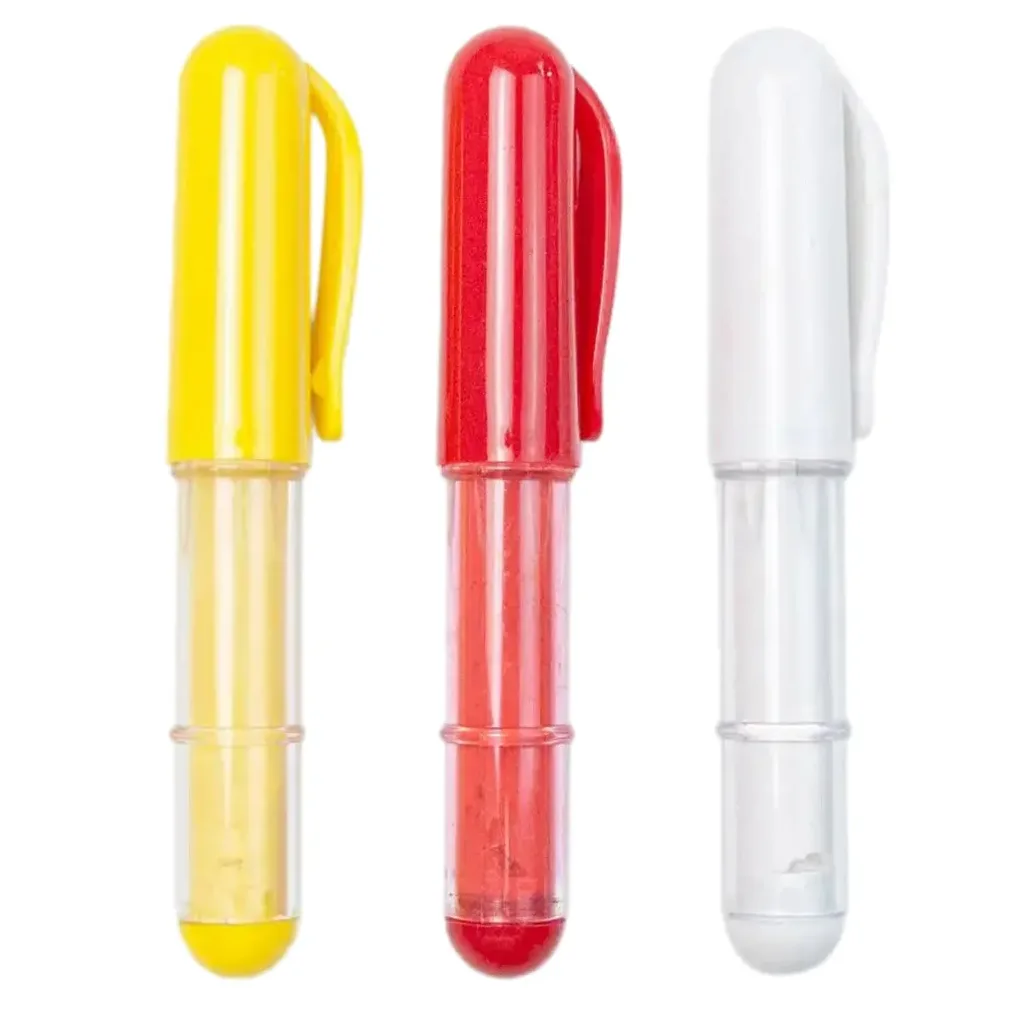
Chalk and chalk wheels are the safest for dark and delicate fabric, but the line is wider and can rub off as you handle the quilt. They are the right choice for wool, flannel, and any fabric you cannot wash. Mechanical chalk pencils give a finer chalk line and are the best all-around tool for machine quilting on medium to dark fabric.
Removable marker tape and painter's tape are underrated for straight-line quilting. They give you a physical edge for your walking foot and leave no residue when peeled. They are not useful for curves or free-motion motifs, and they can lift fuzzy batting if pressed too hard.
Fabric pencils and soapstone are traditional and removable by brushing or washing, but they can be too faint on busy prints and too waxy on tightly woven fabric. They work best on solid, medium-value fabric where a slightly thicker line is acceptable.
What to buy first if you are building a marking kit
Start with one fine chalk pencil, one water-soluble pen, and one chalk wheel. That trio covers light fabric, dark fabric, short timelines, and long timelines. Add removable tape if you quilt a lot of straight lines with a walking foot. Add a fine fabric pencil only if you quilt solid fabrics and prefer a dry mark over chalk.
Skip the specialty markers until you have a specific problem they solve. A tool you do not understand is more likely to damage a quilt than a simple chalk line you know how to remove.
Decision rules for choosing a marking tool
- If you will quilt within 24 hours on light cotton: Use a water-soluble pen for the thinnest line and remove marks before pressing. Test on a scrap first; if the line ghosts, switch to chalk.
- If the fabric is dark, napped, or hand-dyed: Use tailor's chalk or a chalk wheel, and accept a wider line in exchange for safe removal. Never use a water-soluble pen on fabric you cannot wash.
- If the marks will sit for more than a few days: Choose chalk or removable tape instead of any pen, because pens can set over time or with heat. Re-mark as you go rather than marking the whole quilt at once.
- If you are quilting straight lines with a walking foot: Use removable marker tape or painter's tape as a physical edge, and skip liquid marks entirely. Peel tape slowly and never iron over it.
- If you are doing ruler work or free-motion motifs: Mark only the spine or boundary with a fine chalk pencil and quilt the fill by eye. Too many marks slow you down and can distract from the motif.
Courses that show marking and quilting in practice
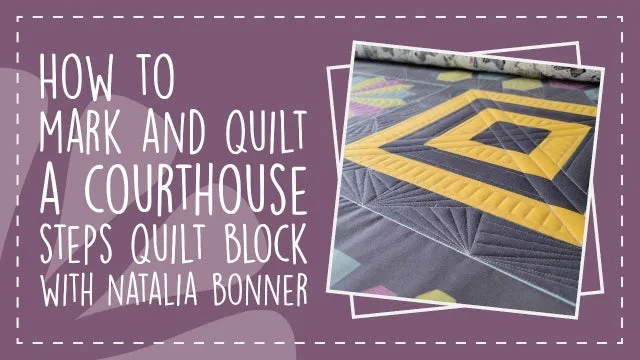
- How to Mark and Quilt a Courthouse Steps Quilt Block: Join Natalia as she walks you through her process of marking and quilting a detailed version of a Courthouse Steps quilt block. Seeing a marking plan executed on a real block shows you where a pen, chalk, or pencil actually matters and where you can quilt by eye.
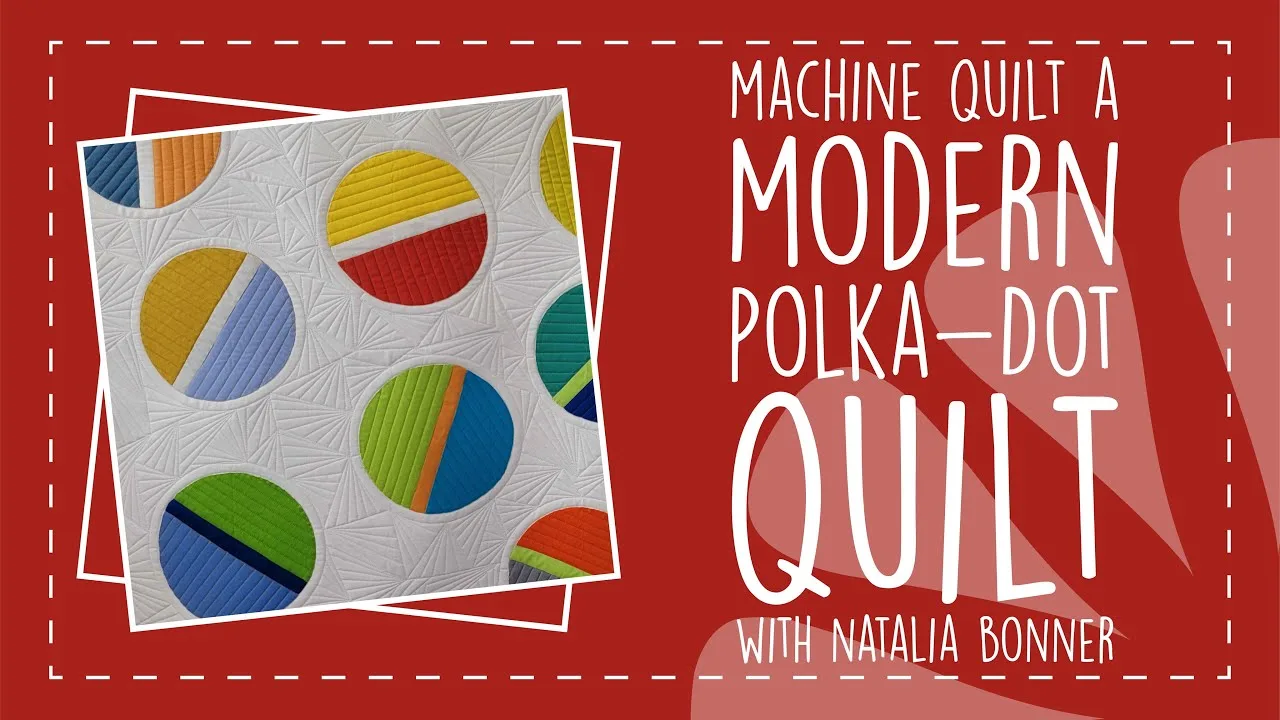
- Machine Quilt A Modern Polka-Dot Quilt with Natalia Bonner: Natalia walks through creating a modern Polka-Dot quilt using the 4-N-1, Mini 4-N-1, and Quilted Pineapple #8 machine quilting rulers, with modern motifs built from straight lines and thread color changes. Straight-line ruler work is where a fine chalk pencil or removable tape outperforms a thick pen line, so this course shows the marking choices that support that style.
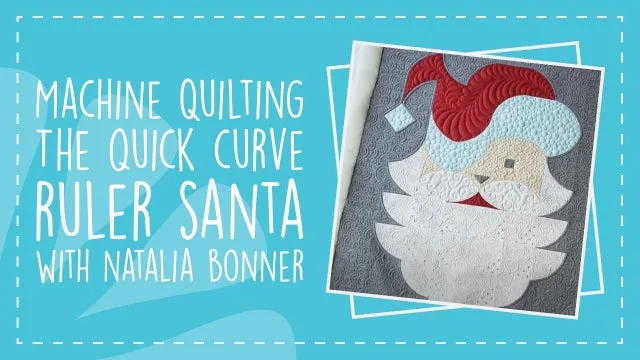
- Machine Quilting the Quick Curve Ruler Santa: Natalia shares her process for custom machine quilting the Posh Santa wall hanging, using feathers, swirls, stitch-in-the-ditch, outlining, pebbles, curls, and stippling, plus a rainbow background filler and thread changes. A wall hanging with many motifs is a realistic test of how much you mark versus how much you free-motion, which helps you decide whether you need a pen or only chalk.
Who this marking approach fits
Best for
- Quilters who want one small kit that covers light and dark fabric
- Machine quilters doing straight-line, ruler, or walking-foot work
- Anyone who has had ghost lines or smeared chalk and wants a repeatable method
Not for
- Quilters looking for a single tool that works on every fabric and timeline
- Hand quilters who need a permanent, very fine line that survives handling
- Anyone who refuses to test a marking tool on a scrap before using it on a quilt