Quick Answer
To match a 4-channel high-to-low converter with an amplifier for an OEM head unit, first identify your factory speaker outputs, then choose a converter with the right number of channels and input sensitivity. Connect the converter to the speaker wires, run RCA cables to your amp, and set the gain properly to avoid distortion.
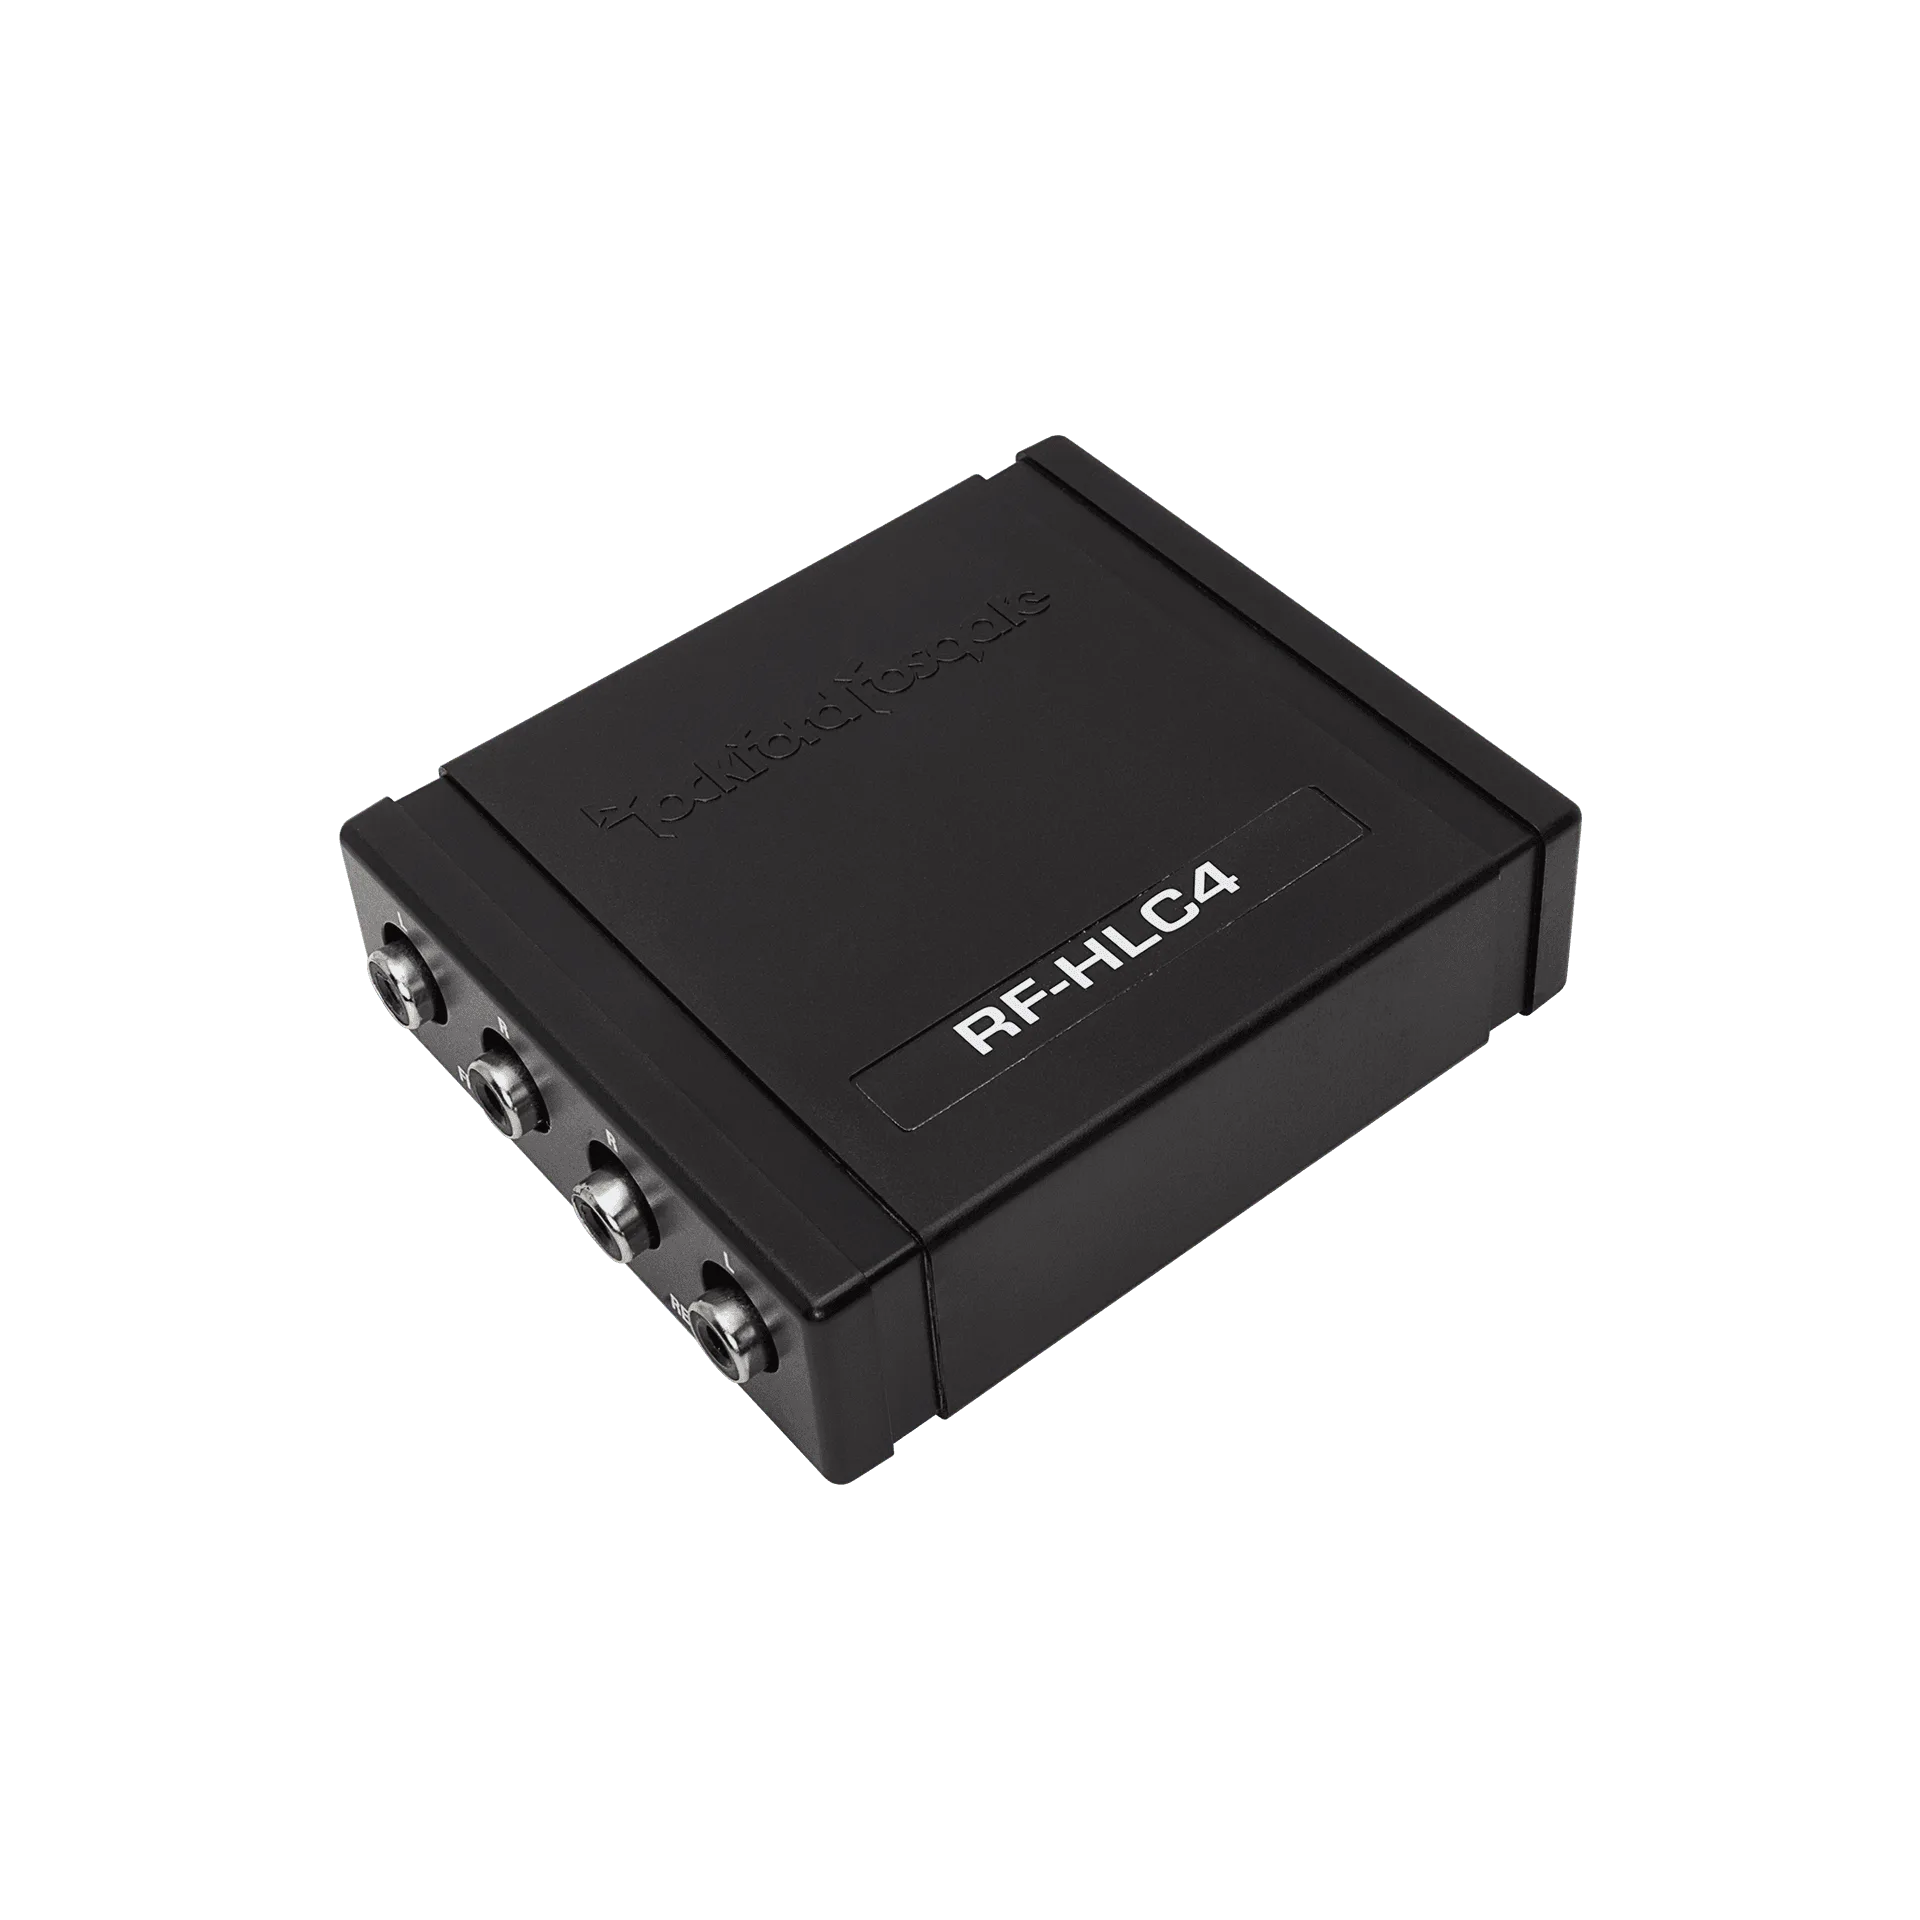
4-channel high-to-low converter
If you have an OEM head unit and want to add an aftermarket amplifier, a high-to-low converter (also called a line output converter) is essential. It taps into your factory speaker wires and converts the high-level signal to a low-level RCA signal your amp can accept.
This guide walks you through matching a 4-channel converter to your amp, including wiring, gain setting, and common pitfalls.
Why You Need a 4-Channel High-to-Low Converter
Most factory head units lack RCA outputs. A line output converter solves this by stepping down the speaker-level signal to a preamp-level signal. A 4-channel converter is ideal when you plan to power four speakers or a combination of front and rear channels with a multi-channel amp.
Choosing the right converter matters because not all are created equal. Some have adjustable output levels, which give you more control over signal strength. Others are fixed, meaning you must rely on your amp's gain settings to match levels.
- Check your factory stereo's wiring diagram to identify left/right and front/rear channels.
- If your OEM system has amplified speakers, you may need a converter that handles higher input levels.
Matching the Converter to Your Amplifier
Your amplifier's input sensitivity is measured in volts. Most aftermarket amps accept 0.2V to 6V. The converter's output voltage should fall within this range. If the converter outputs too low a voltage, you'll need to raise the amp's gain, which can introduce noise. If it outputs too high, you risk clipping.
Also consider the number of channels. A 4-channel converter is perfect for a 4-channel amp. If you're using a 5-channel amp, you might need a 4-channel converter for the main speakers plus a separate mono converter for the subwoofer channel.
- Look for a converter with adjustable output levels—it gives you more flexibility during setup.
- When in doubt, start with the amp's gain set low and increase slowly while listening for distortion.
Step-by-Step Installation Overview
Installing a high-to-low converter is straightforward, but attention to detail is key. You'll need basic tools: wire strippers, crimp connectors or solder, electrical tape, and a multimeter if you want to verify connections.
Begin by disconnecting the negative battery terminal. Locate the speaker wires from your OEM head unit—usually in the doors or behind the radio. Tap into the front left and right, and rear left and right wires. Connect each pair to the corresponding input on the converter.
Then run RCA cables from the converter's output to your amplifier's inputs. Finally, adjust the converter's output level and the amp's gain to achieve clean sound without distortion.
- Always double-check polarity: connect positive to positive, negative to negative.
- Use high-quality RCA cables to minimize noise pick-up.
Step-by-Step: Matching and Installing Your Converter
- Identify your speaker wires: Use a wiring diagram or a multimeter to find the front and rear speaker outputs from your OEM head unit. Confirm polarity with a 9V battery test if needed. Checkpoint: You should have four pairs of wires (front left, front right, rear left, rear right).
- Choose the right converter: Select a 4-channel converter that matches your amp's input sensitivity. If your amp accepts 2V minimum, ensure the converter outputs at least that. Common mistake: Picking a converter with too low output, forcing you to crank the amp gain and introduce noise.
- Connect the converter inputs: Tap into the speaker wires using T-taps or solder. Connect the converter's left/right inputs to the corresponding front and rear channels. Double-check polarity—reversed connections cause phase issues and weak bass.
- Run RCA cables to the amp: Use quality RCA cables and route them away from power wires to avoid interference. Connect the converter's outputs to the amp's inputs. Checkpoint: Ensure RCA cables are not pinched or kinked.
- Set the converter output level: Start with the converter's output level at its lowest setting. Play music at a moderate volume and slowly increase the output until you get a strong signal without distortion. If you hear distortion from the converter, lower the output level.
- Adjust amplifier gain: With the converter set, adjust the amp's gain to match the head unit's volume. Turn the volume to about 75% and increase gain until distortion is audible, then back off slightly. Final check: Play a variety of music to ensure clean sound at all volumes.
Products That Work with Your Setup
- Punch Marine 600 Watt 4-Channel Amplifier: The PM600X4 is a 600 Watt 4-channel amplifier with high dynamic power using Class-a/b technology and a conformal coated pc board designed for motorsport and marine applications. If you're upgrading a boat or off-road vehicle with an OEM head unit, this amp pairs well with a 4-channel converter, and its conformal coating protects against moisture.
- Punch Boosted Rail 300 Watt 2-Channel Amplifier: The PBR300X2 is a 300 Watt car audio amplifier with Boosted Rail Technology, allowing it to be compact and efficient while providing big power. For a simple two-speaker setup, this compact amp is efficient and won't strain your electrical system—ideal when using a converter with an OEM head unit.
Matching a 4-channel high-to-low converter with your amplifier is straightforward once you understand the signal path. Take your time with wiring and gain setting to get clean, distortion-free sound from your OEM head unit.