Quick answer
Match miniatures to dice and terrain by choosing one shared color story, confirming scale compatibility before you buy or build, and repeating that palette across paint, bases, and dice. Start with a 28mm miniature and a dice set that share a dominant hue, then let terrain stay neutral so both the figure and the dice remain readable during play.
A miniature that clashes with your dice and terrain does more than look off. It slows the table down, because players scan for a figure that does not separate from the board, and it makes your dice feel like a separate purchase rather than part of the same kit. The fix is not buying more stuff. It is picking a visual anchor and repeating it.
This process works whether you are painting your first armored miniature or restyling a shelf of figures. You will check scale, choose a palette from a dice set you already own, prime and paint in layers, seal the finish, and base the figure so it sits naturally on your terrain.
Why scale comes before color
Scale determines whether a miniature belongs on your table at all. A 28mm figure is built to stand roughly 28 millimeters from base to eye level, which is the common size for most fantasy RPG ranges. If your terrain is built for a different scale, doors, stairs, and cover will look wrong no matter how well you paint. Check the product listing for a stated scale rather than guessing from a photo.
Color is the easier variable. Once scale is settled, you can pull a palette from anything: a dice set, a terrain mat, or a faction banner. The goal is one dominant hue, one supporting hue, and one small accent. That structure keeps a painted figure from turning into a muddy pile of competing colors.
- Measure your terrain doorways and stairs against a known figure before committing to a new scale.
- If a listing does not state a scale, treat that as a limitation and ask before buying.
Pull your palette from a dice set you already own
The fastest way to make miniatures and dice feel related is to sample color directly from the dice. Put the set on the table in daylight, pick the most saturated color on the highest face, and write it down. That becomes your accent. The body of the figure takes a muted version of the same color, and the base stays neutral.
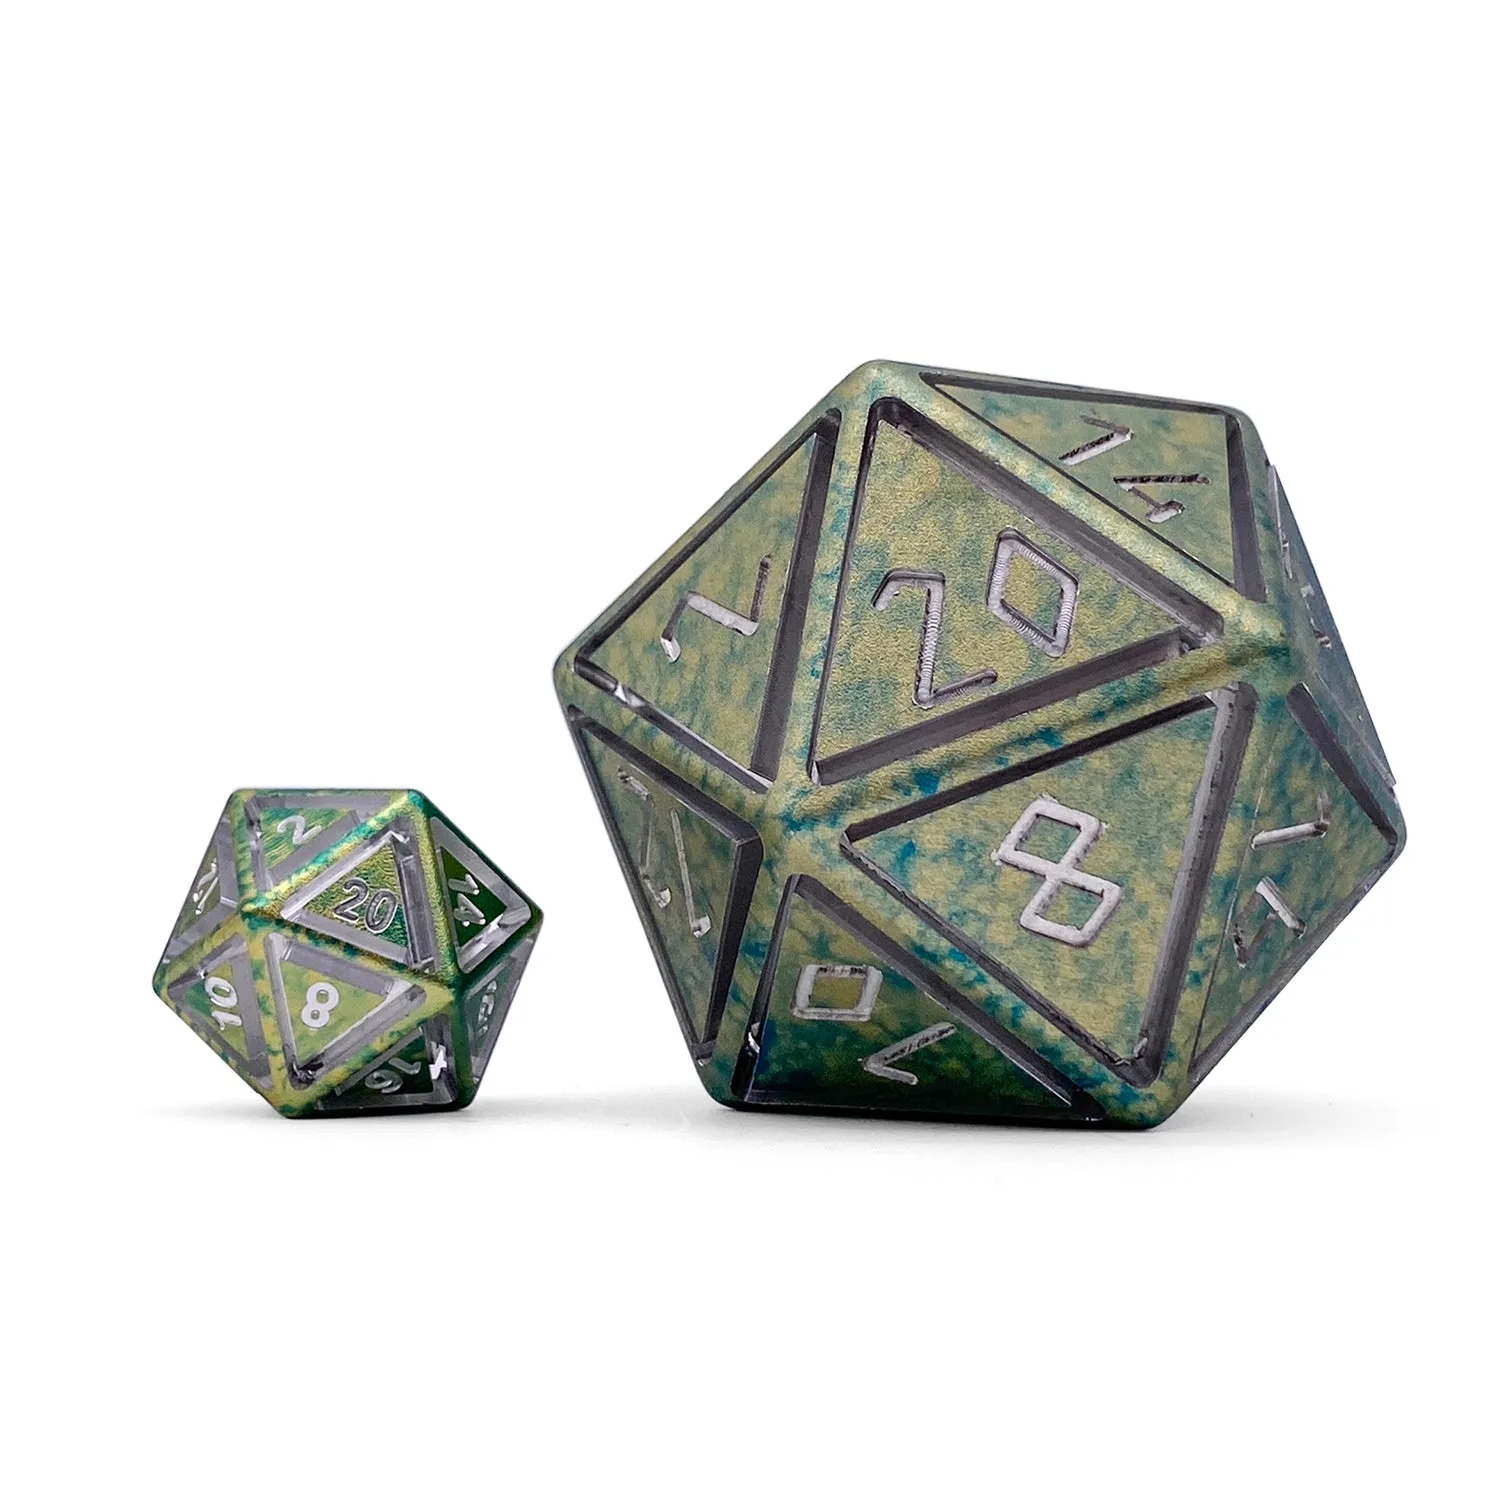
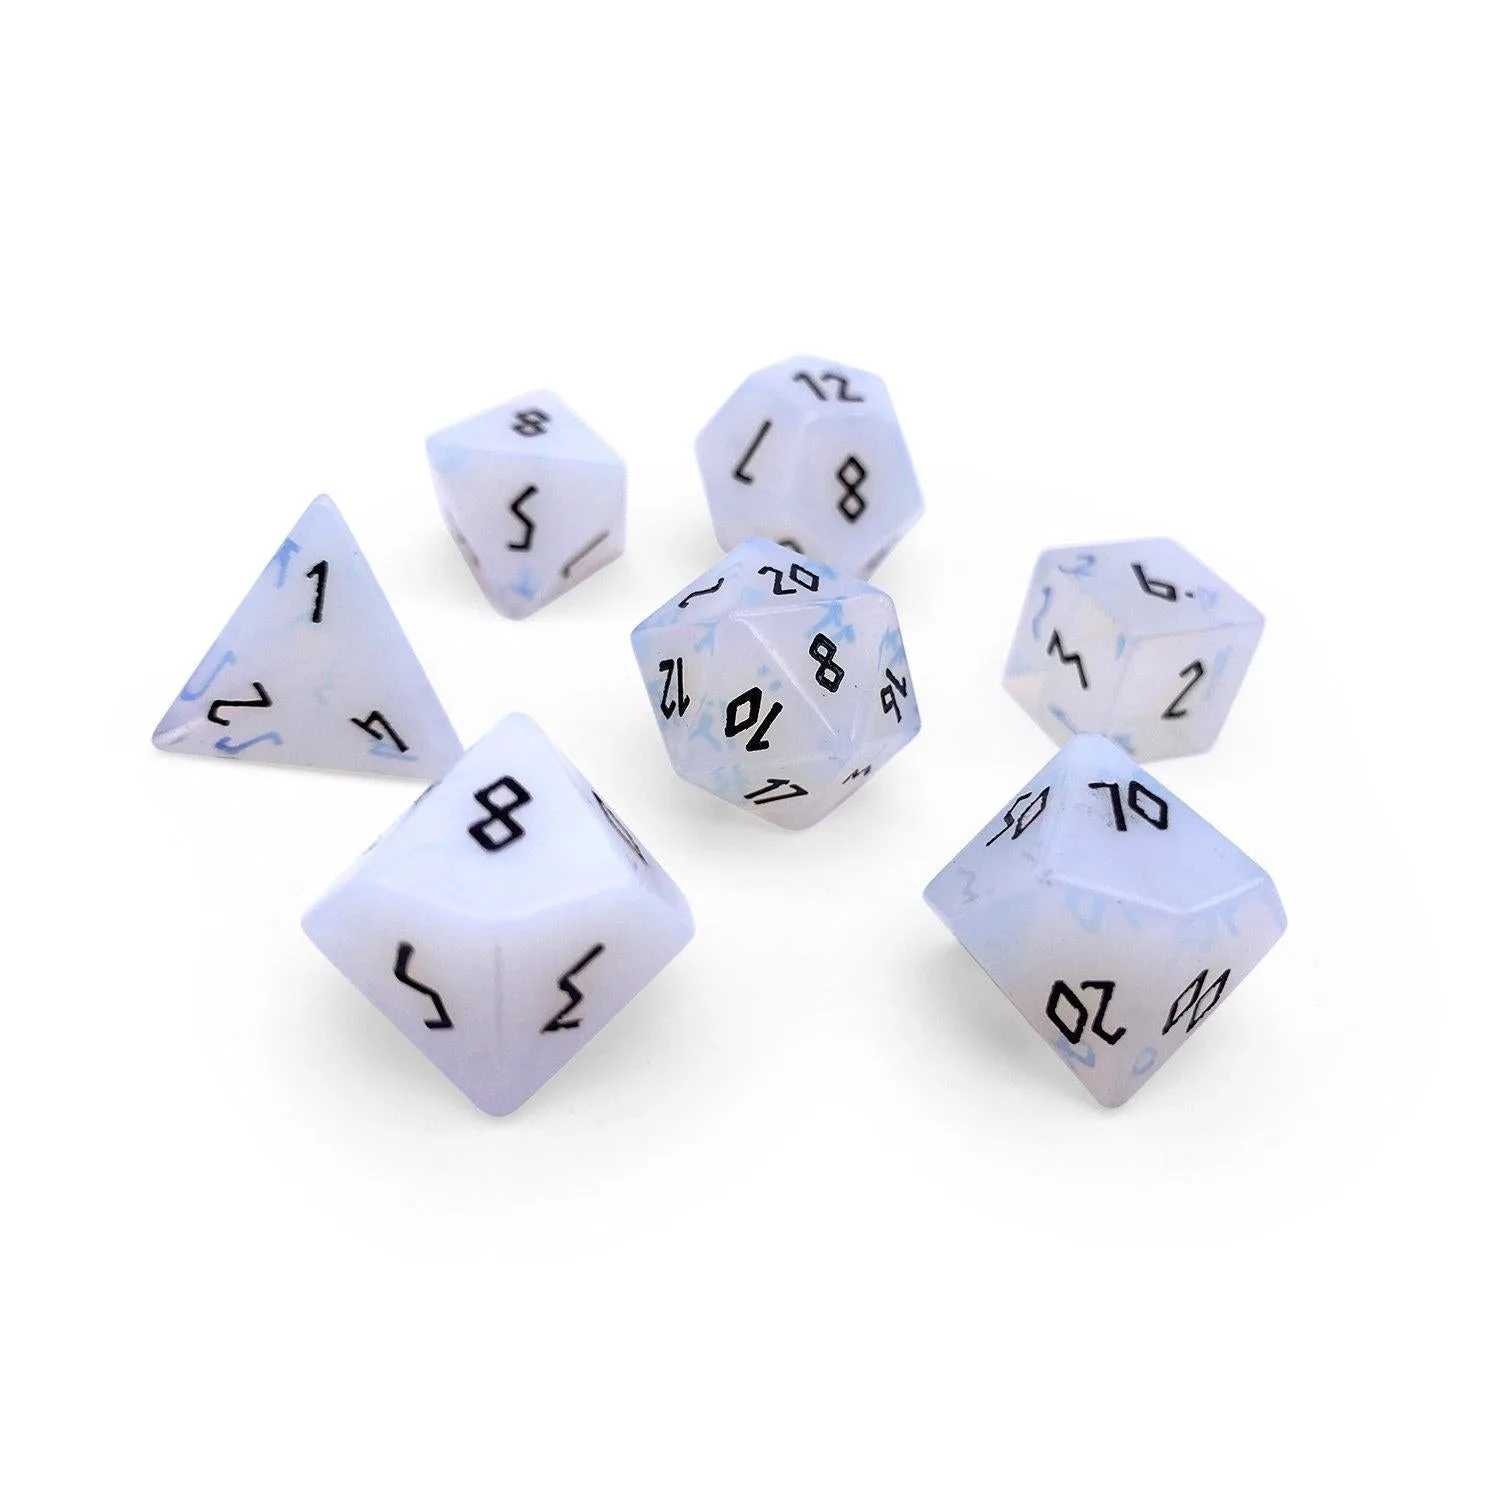
This is where material matters. Anodized aluminum dice hold a flat, even color that is easy to match with paint. Gemstone dice shift tone as light moves across them, so they work better as an accent reference than an exact match. If you try to replicate a shifting stone exactly, you will chase a color that never settles.
- Photograph your dice in the same light you play in, then match paint under that light.
- Use the dice as an accent, not the whole figure, so the paint job still reads at arm's length.
Prime, base, and layer in that order
Prime the assembled miniature in a neutral gray or the dominant body color. Gray shows you the shapes honestly and takes both warm and cool paint evenly. A colored primer saves time but hides mold lines and gaps, so save it for simple figures.
Block in the base coat next, then layer the accent color only on the areas you want players to notice: a shoulder, a weapon, a cloak edge. Keep the accent to roughly a tenth of the visible surface. If the accent spreads, the figure stops reading as a single silhouette and starts competing with the terrain.
- Let each layer dry fully before the next one; wet-on-wet layering is the most common cause of a chalky finish.
- Thin paint to a skim-milk consistency so detail survives the base coat.
Seal the finish to match your dice material
Matte varnish suits stone, wood, and gemstone dice because it keeps the figure visually quiet next to a surface that already has depth. Satin or gloss reads better beside polished metal dice, because a flat figure next to a reflective die looks unfinished. Pick one finish per warband and stay consistent.
Resin miniatures are sold unpainted and require assembly, so seal after assembly and after any touch-up, not before. A thin coat protects the paint from handling during play without filling in fine detail.
- Test your varnish on a spare base or the underside of a figure before committing.
- Reapply a light seal on high-touch areas like weapons and shoulders after heavy sessions.
Base the figure to sit on your terrain
The base is the bridge between figure and board. Match the base texture to your terrain material: sand and static grass for natural ground, cracked texture paste for stone, and flat pigment for urban or indoor settings. Add one small element from your dice palette, such as a painted stone or a tuft, so the figure echoes the set.
Keep base height consistent across a unit. Mixed base heights make a squad look like it was assembled from leftovers, and it complicates line-of-sight calls during play. If you use magnetic bases, check that your storage case and terrain both accept them.
- Paint the base rim a single dark color across the whole force for a clean, finished look.
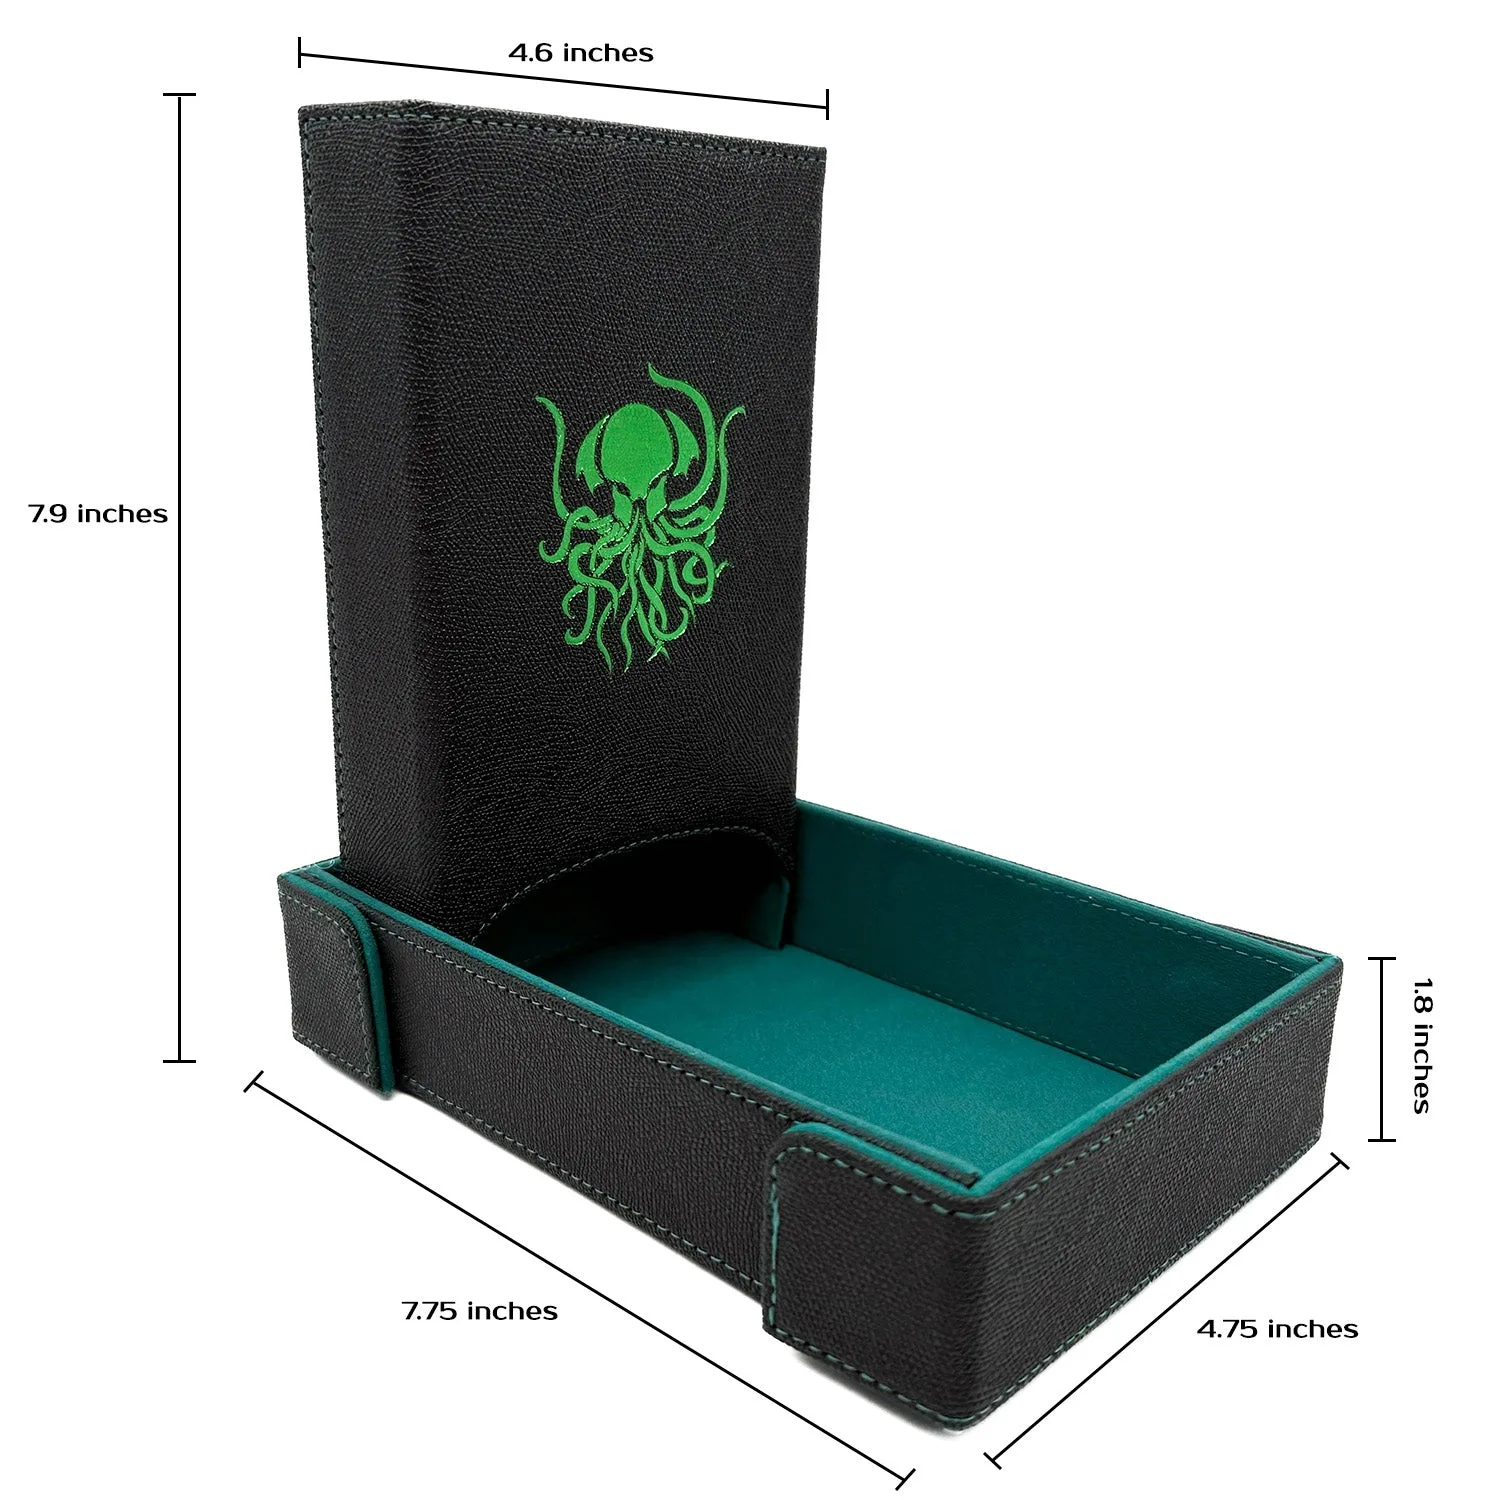
- Avoid loose flock that sheds on the table; it ends up in your dice tray and on your dice.
Your matching process, step by step
- Step 1: Confirm scale before anything else: Read the listed scale on the miniature and compare it to your terrain doorways and stairs. Common mistake: buying a figure because the sculpt looks good, then discovering it towers over your buildings. Checkpoint: if the scale is not stated, treat that as a limitation and ask before purchasing.
- Step 2: Choose one dice set as your color anchor: Place the dice in your normal play lighting and pick one saturated accent color from them. Common mistake: trying to match every face of a multi-colored or shifting set at once. Checkpoint: one dominant hue, one supporting hue, one accent. No more.
- Step 3: Prime and base coat the assembled figure: Assemble first, then prime in neutral gray or your dominant body color and block in the base coat. Common mistake: priming before assembly, which leaves bare patches at joints. Checkpoint: thin the paint and let each layer dry completely.
- Step 4: Apply the accent sparingly: Layer the dice-derived accent onto shoulders, weapons, and cloak edges only. Common mistake: spreading the accent across the whole figure until it competes with the terrain. Checkpoint: the accent should cover roughly a tenth of the visible surface.
- Step 5: Seal to match your dice material: Use matte for stone, wood, and gemstone dice; satin or gloss beside polished metal dice. Common mistake: sealing before touch-ups, which locks in mistakes. Checkpoint: test the varnish on a spare base first.
- Step 6: Base the figure and match the terrain: Texture the base to suit your board, keep base heights consistent across the unit, and paint the rim one dark color. Common mistake: loose flock that sheds into your dice tray. Next step: repeat the same palette across the rest of the unit so the force reads as one army.
Products that fit this process
- Zeril - Demonkin 28mm Miniature By Adventurers & Adversaries: Adventurers & Adversaries miniatures are 28mm customizable resin figures, proudly made in the USA, sold unpainted and requiring assembly. A stated 28mm scale lets you check terrain compatibility before buying, and the unpainted resin surface gives you full control over the palette you pull from your dice.
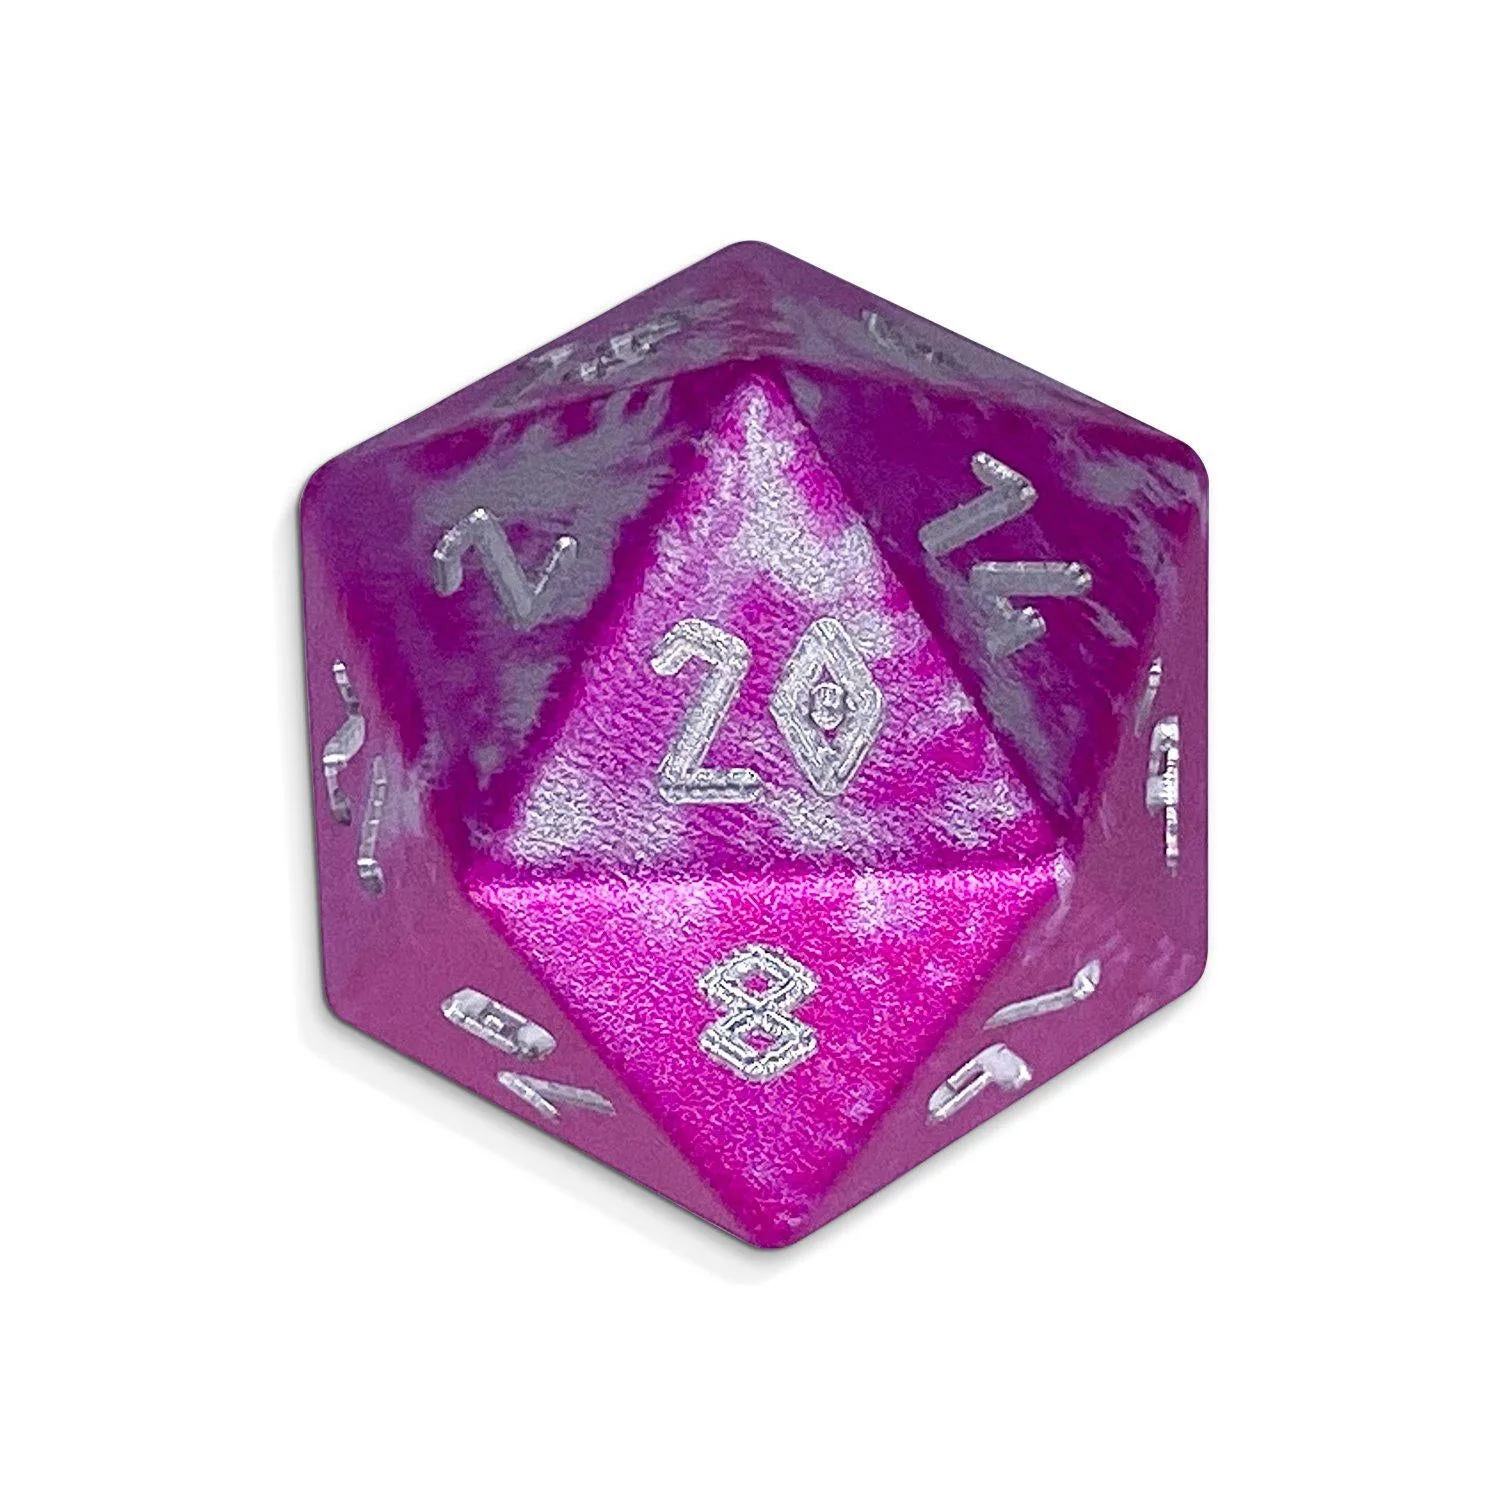
- Rose Quartz - Black Font Pebble RPG Set Gemstone Dice: Rose Quartz is a gemstone set with a calming pink hue, described as formed by the crystallization of cooling magma. Its soft pink tone works as an accent reference for cloaks, banners, or base details, and the shifting gemstone surface is better matched loosely than replicated exactly.
- Berserker's Frenzy - 7 Piece RPG Set 6063 Aluminum Wondrous Dice: A seven-piece set crafted in 6063 aluminum, themed around the reckless, relentless Berserker archetype. The flat anodized color is easy to sample for a paint accent, and the aggressive theme pairs naturally with armored or barbarian-style figures.
- Gravestones - Ghost Reaper - Metal Dice Set: 14mm polyhedral dice in silver alloy with ethereal purple and fiery red enamel infusion. The purple and red enamel gives you two ready-made accent colors for undead, spectral, or grimdark figures, and the smaller 14mm size is worth checking against your table space.
Matching miniatures to dice and terrain is a repeatable habit, not a talent. Confirm scale, borrow your palette from a dice set you already own, paint in layers, seal to suit the dice material, and finish the base so the figure sits naturally on the board. Do that once, and the next figure takes half the time.