Quick answer
Mount your 1000 lumen light on the top or offset Picatinny section, set the mount so the bezel clears the barrel and suppressor, tighten rail screws to about 15–20 in-lbs, and route the pressure switch where your support hand naturally sits. Test activation with an empty chamber before you hunt or shoot.
Pick the rail section and offset before you tighten anything
Your first decision is where the light body sits relative to your hand and line of sight. A top-rail mount at 12 o’clock keeps the light close to the bore but can block part of your view through a low-power scope. An offset flashlight mount at 1 or 11 o’clock moves the body out of the sight picture and shortens your reach to the tail button or pressure switch. For a 1000 lumen light, the extra standoff also reduces heat transfer to the rail and handguard.
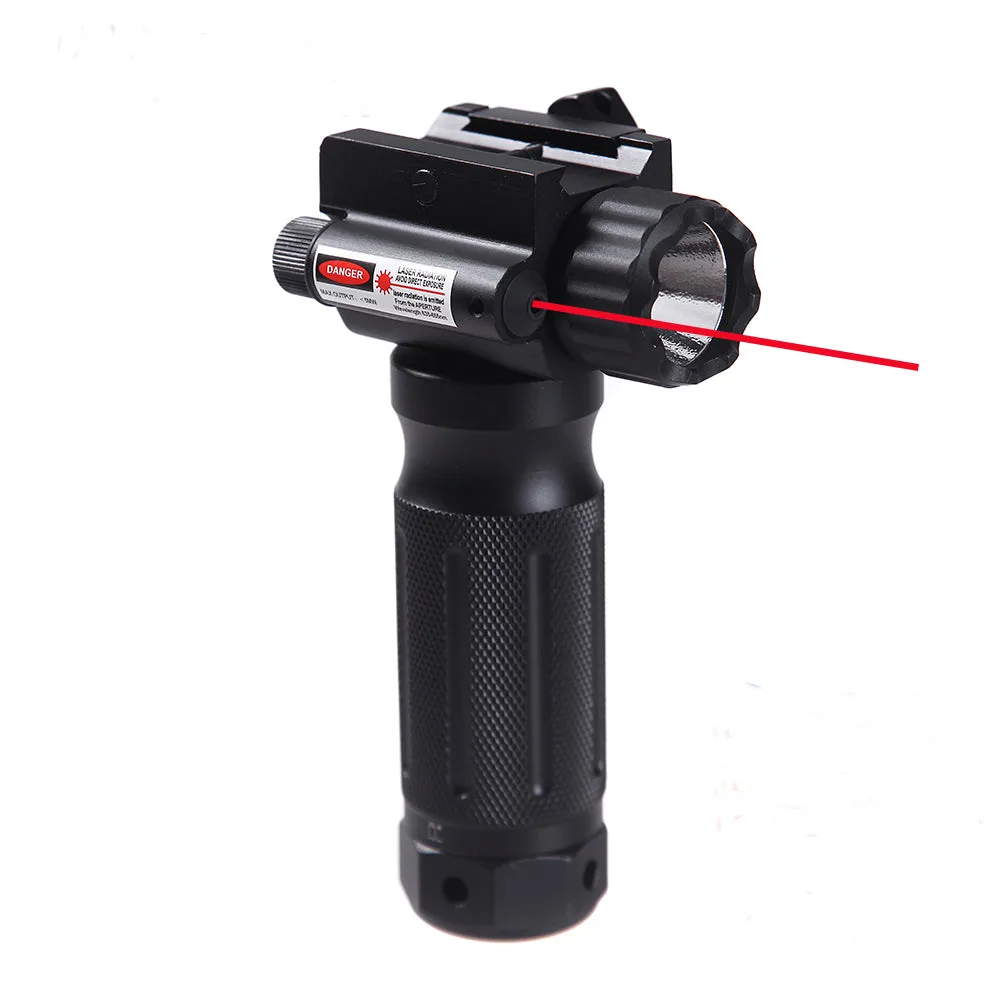
Check clearance before you commit. The bezel should not touch the barrel, front sight, or suppressor. If you run a foregrip with an integrated light, like the Sniper GP01R, the light and laser sit inside the grip body, so you only need to confirm the grip’s Picatinny clamp aligns with a rail slot and that the unit does not crowd your hand.
Mount the body, then add the switch
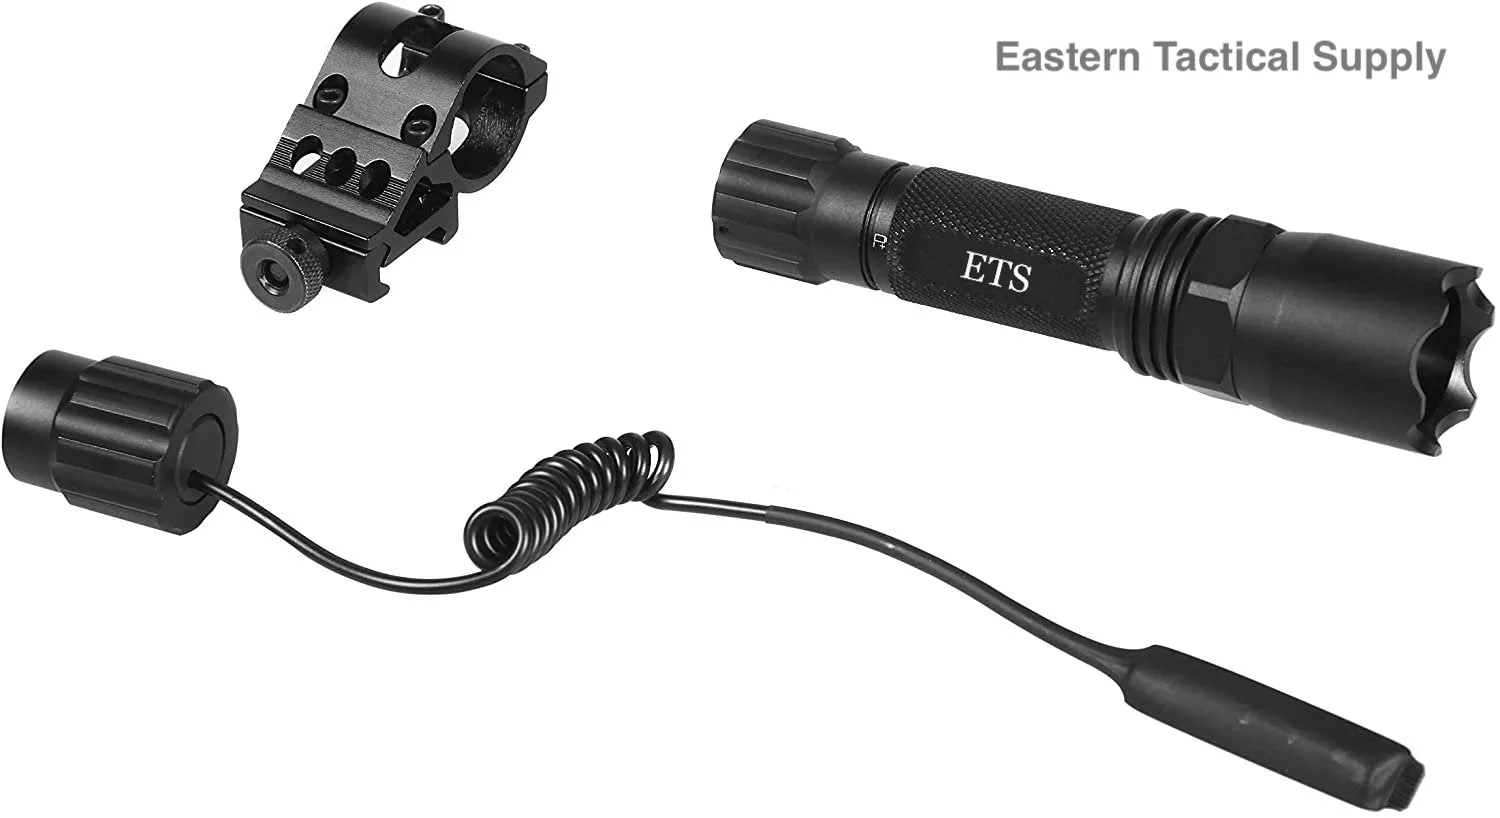
Seat the mount on a clean rail slot and start both screws by hand. Snug them in an X pattern so the clamp pulls down evenly. A common mistake is overtightening one side first, which tilts the mount and makes the light sit crooked. Once the body is straight, attach the pressure switch. Most rail-mount lights use a two-switch layout: a tail button for constant on and a pressure pad for momentary. The Eastern Tactical Supply FL60 uses both a pressure switch and an updated tail button rated for over 60,000 uses, so you can choose the control that matches your grip.
Route the switch cable along the handguard with the supplied pads or a small zip tie. Leave a slight loop near the light so recoil does not pull the connector. Do not cross the cable over a hot gas block or a sharp rail edge.
Confirm activation and light placement with an empty rifle
With the rifle cleared and no magazine inserted, practice activating the light from your normal shooting position. Your support-hand thumb should reach the pressure pad without shifting your grip. If you have to break your grip, move the pad or switch to the offset mount position. Check that the light beam does not wash out your optic or reflect off a front sight. For hunting, a light that sits too far forward can cast a shadow from the muzzle; moving it back one or two rail slots often fixes this.
Step-by-step mounting process
- Clear the rifle and remove the magazine: Visually and physically check the chamber, then remove the magazine before you touch the rail. Checkpoint: no ammunition in the room where you work.
- Choose the rail slot and offset position: Test the light at 12 o’clock and at 1 or 11 o’clock. Confirm the bezel clears the barrel, front sight, and suppressor. For a foregrip light, check that the grip’s clamp matches a Picatinny slot and does not crowd your hand. Common mistake: mounting too far forward and creating a muzzle shadow.
- Attach the mount and snug the screws: Start both rail screws by hand, then tighten in an X pattern to about 15–20 in-lbs. Do not overtighten one side first. Checkpoint: the mount sits flat and the light body is straight.
- Install the pressure switch and route the cable: Place the pressure pad where your support-hand thumb rests without shifting your grip. Use the supplied pads or a small zip tie, and leave a small loop near the connector. Common mistake: pulling the cable tight, which can unplug under recoil.
- Test activation with an empty chamber: From your normal shooting position, press the pad and the tail button. Confirm the light turns on and off consistently and that the beam does not wash out your optic. Next step: live-fire a few rounds to confirm the mount and switch hold zero.
Products that fit this setup
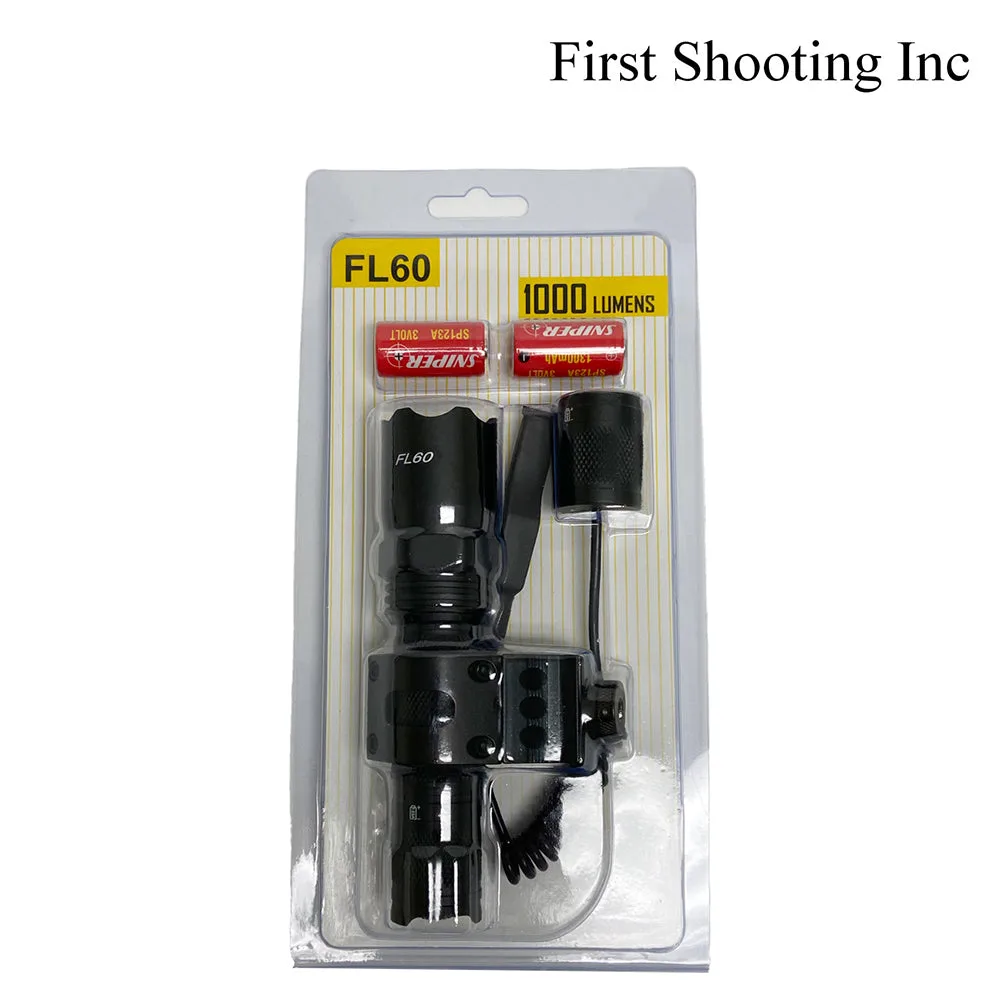
- Tactical Flashlight 1000 Lumen LED Light with Picatinny Rail Mount for Outdoor Hunting Shooting: Flashlight Zoomable 1000 Lumens. Super Bright Weapon Light for AR with Offset Rail Mount, Pressure Switch. Brand: First Shooting Inc. The included offset mount and pressure switch let you move the light off the top rail and activate it without changing your grip, which is the core of a 1000 lumen flashlight setup.
- Eastern Tactical Supply FL60 Flashlight 1000 Lumen LED Light with Picatinny Rail Mount: SUPER-BRIGHT & FOCUS ADJUSTABLE: 1000 lumens brightness and Cree T6 LED bulb. TWO SWITCHES: pressure switch and updated tail button, usable over 60,000 times. TOUGH & WATER RESISTANT: IP65-rated water resistant, durable aluminum body. The focus adjustment helps you tighten the beam for identification at distance, and the IP65 rating means rain during a hunt will not stop the light.
- Sniper GP01R Tactical Vertical Foregrip - 1000 Lumen LED Flashlight RED Laser Fit 20mm Picatinny Rail Mount: Sniper GP01R tactical foregrip with LED flashlight and RED laser. 1000 lumens, constant/blinding modes, aluminum body, 5.5" x 1.25" x 2.75", 13 oz, two CR123A batteries included, fits Picatinny rail. Combining the light and laser in a foregrip reduces rail clutter and gives you a consistent hand position, but the 13 oz weight and Picatinny-only fit mean you should check your handguard type and balance before buying.