Quick answer
Mount your camera by first securing the HiGlide support rails and end stops, then attaching the Lite-Lift Pantograph carriage, setting the spring tension for your camera weight, and finally hanging the camera via a compatible head or clamp. Always perform a tension and safety check before letting go.
Why rail alignment and end stops matter before you hang anything
The pantograph rides along the support rail, so any misalignment or missing end stop will cause binding, uneven travel, or a dangerous run-off. The HiGlide 4.5m Support Rails (Single) include end stops as standard, and you should fit them before the carriage goes on. Check that the rail is straight and level along its full length; a slight twist will make the pantograph drag and can stress the springs.
If you are installing into a ceiling, confirm the fixing points are sound and spaced according to the rail’s structural requirements. The catalog does not specify a maximum fixing spacing, so consult a qualified installer if you are unsure. Self-installation is undertaken entirely at your own risk.
Matching spring tension to your camera weight
The Lite-Lift Pantograph ships with two constant-force compensator springs. These are designed to counterbalance the payload so the camera stays where you put it. The catalog does not state a maximum load or a spring force rating, so you must test with your actual camera and lens combination. Start with both springs fitted; if the pantograph creeps upward with the camera attached, remove one spring using the supplied spring-removal tool. If it sinks, add the second spring back.
Never remove a spring while the pantograph is under load. Always lower the pantograph to its minimum extension and support the camera before making changes.
Choosing the right camera attachment
The pantograph’s bottom fitting is not specified in the catalog, so you will need to check the actual unit or ask The Flash Centre for the interface type. In most setups, you will attach a camera head or a clamp to the pantograph’s base, then mount the camera to that. Use a locking pin or secondary safety cable in addition to the primary fixing, especially when working overhead.
If you are using a quick-release plate, make sure the plate is fully seated and the locking lever is engaged before you let go. A common mistake is to rely on friction alone; always use a positive lock.
Step-by-step camera mounting
- Inspect and prepare the rail: Check the full length of the HiGlide support rail for straightness and that both end stops are firmly fitted at the ends. Wipe the rail clean with a dry cloth. Common mistake: forgetting to fit one end stop, which allows the carriage to slide off under load. With the pantograph off the rail, slide the carriage by hand along the full travel to confirm it moves freely.
- Attach the pantograph to the rail: Lift the pantograph carriage onto the rail and engage the wheels or sliders according to the manufacturer’s instructions. Do not force it; it should sit square and roll smoothly. Checkpoint: the pantograph should hang level and not bind at any point along the rail.
- Set the spring tension for your camera: With the pantograph fully retracted and the camera not yet attached, fit both springs. Then attach your camera and head, lower the pantograph to about half extension, and release gently. If it rises on its own, remove one spring using the supplied tool; if it sinks, refit the second spring. Always support the camera during this test. Repeat the test at minimum and maximum extension; the pantograph should stay put at both ends.
- Mount the camera and engage the safety cable: Fix your camera head or clamp to the pantograph’s base, then attach the camera and lock any quick-release mechanism. Clip the supplied safety cable from the pantograph to a secure point on the camera or head. Common mistake: clipping the safety cable to a strap lug or accessory shoe that is not rated for the load. Give the camera a gentle tug to confirm the primary fixing and safety cable are both secure before letting go.
- Final movement and balance check: Raise and lower the pantograph through its full 40 cm to 300 cm range. It should move without jerking and stay in position when released. Check that cables have enough slack and cannot snag on the rail or end stops. If you need to adjust tension, repeat step 3. Mark the rail position with a pencil or tape so you can quickly return to a known balanced spot.
Key product facts
-
HiGlide 3m Lite-Lift Pantograph: Extends from 40 cm to 300 cm and includes two constant-force compensator springs, a safety cable, and a spring removal tool. The wide extension range suits both low tabletop shots and high overhead angles, while the included safety cable provides a secondary retention point for your camera.
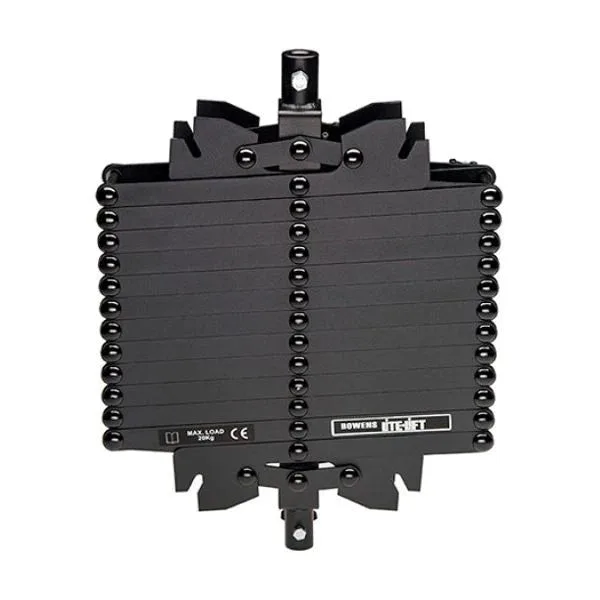
HiGlide 3m Lite-Lift Pantograph
-
HiGlide 4.5m Support Rails (Single) inc. End Stops: Manufactured in the UK from structural-grade aluminium and supplied with end stops. The lightweight yet strong rail keeps the system rigid, and the included end stops prevent the carriage from running off the track.
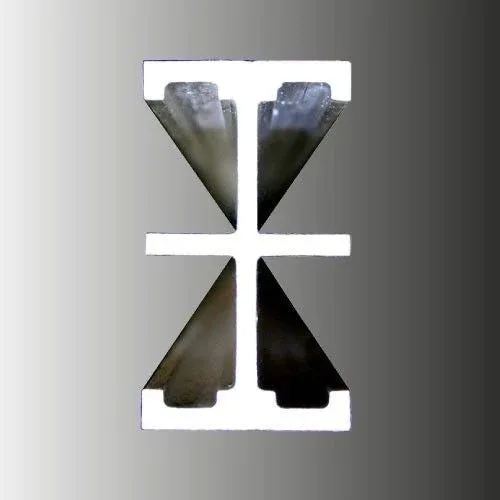
HiGlide 4.5m Support Rails (Single) inc. End Stops